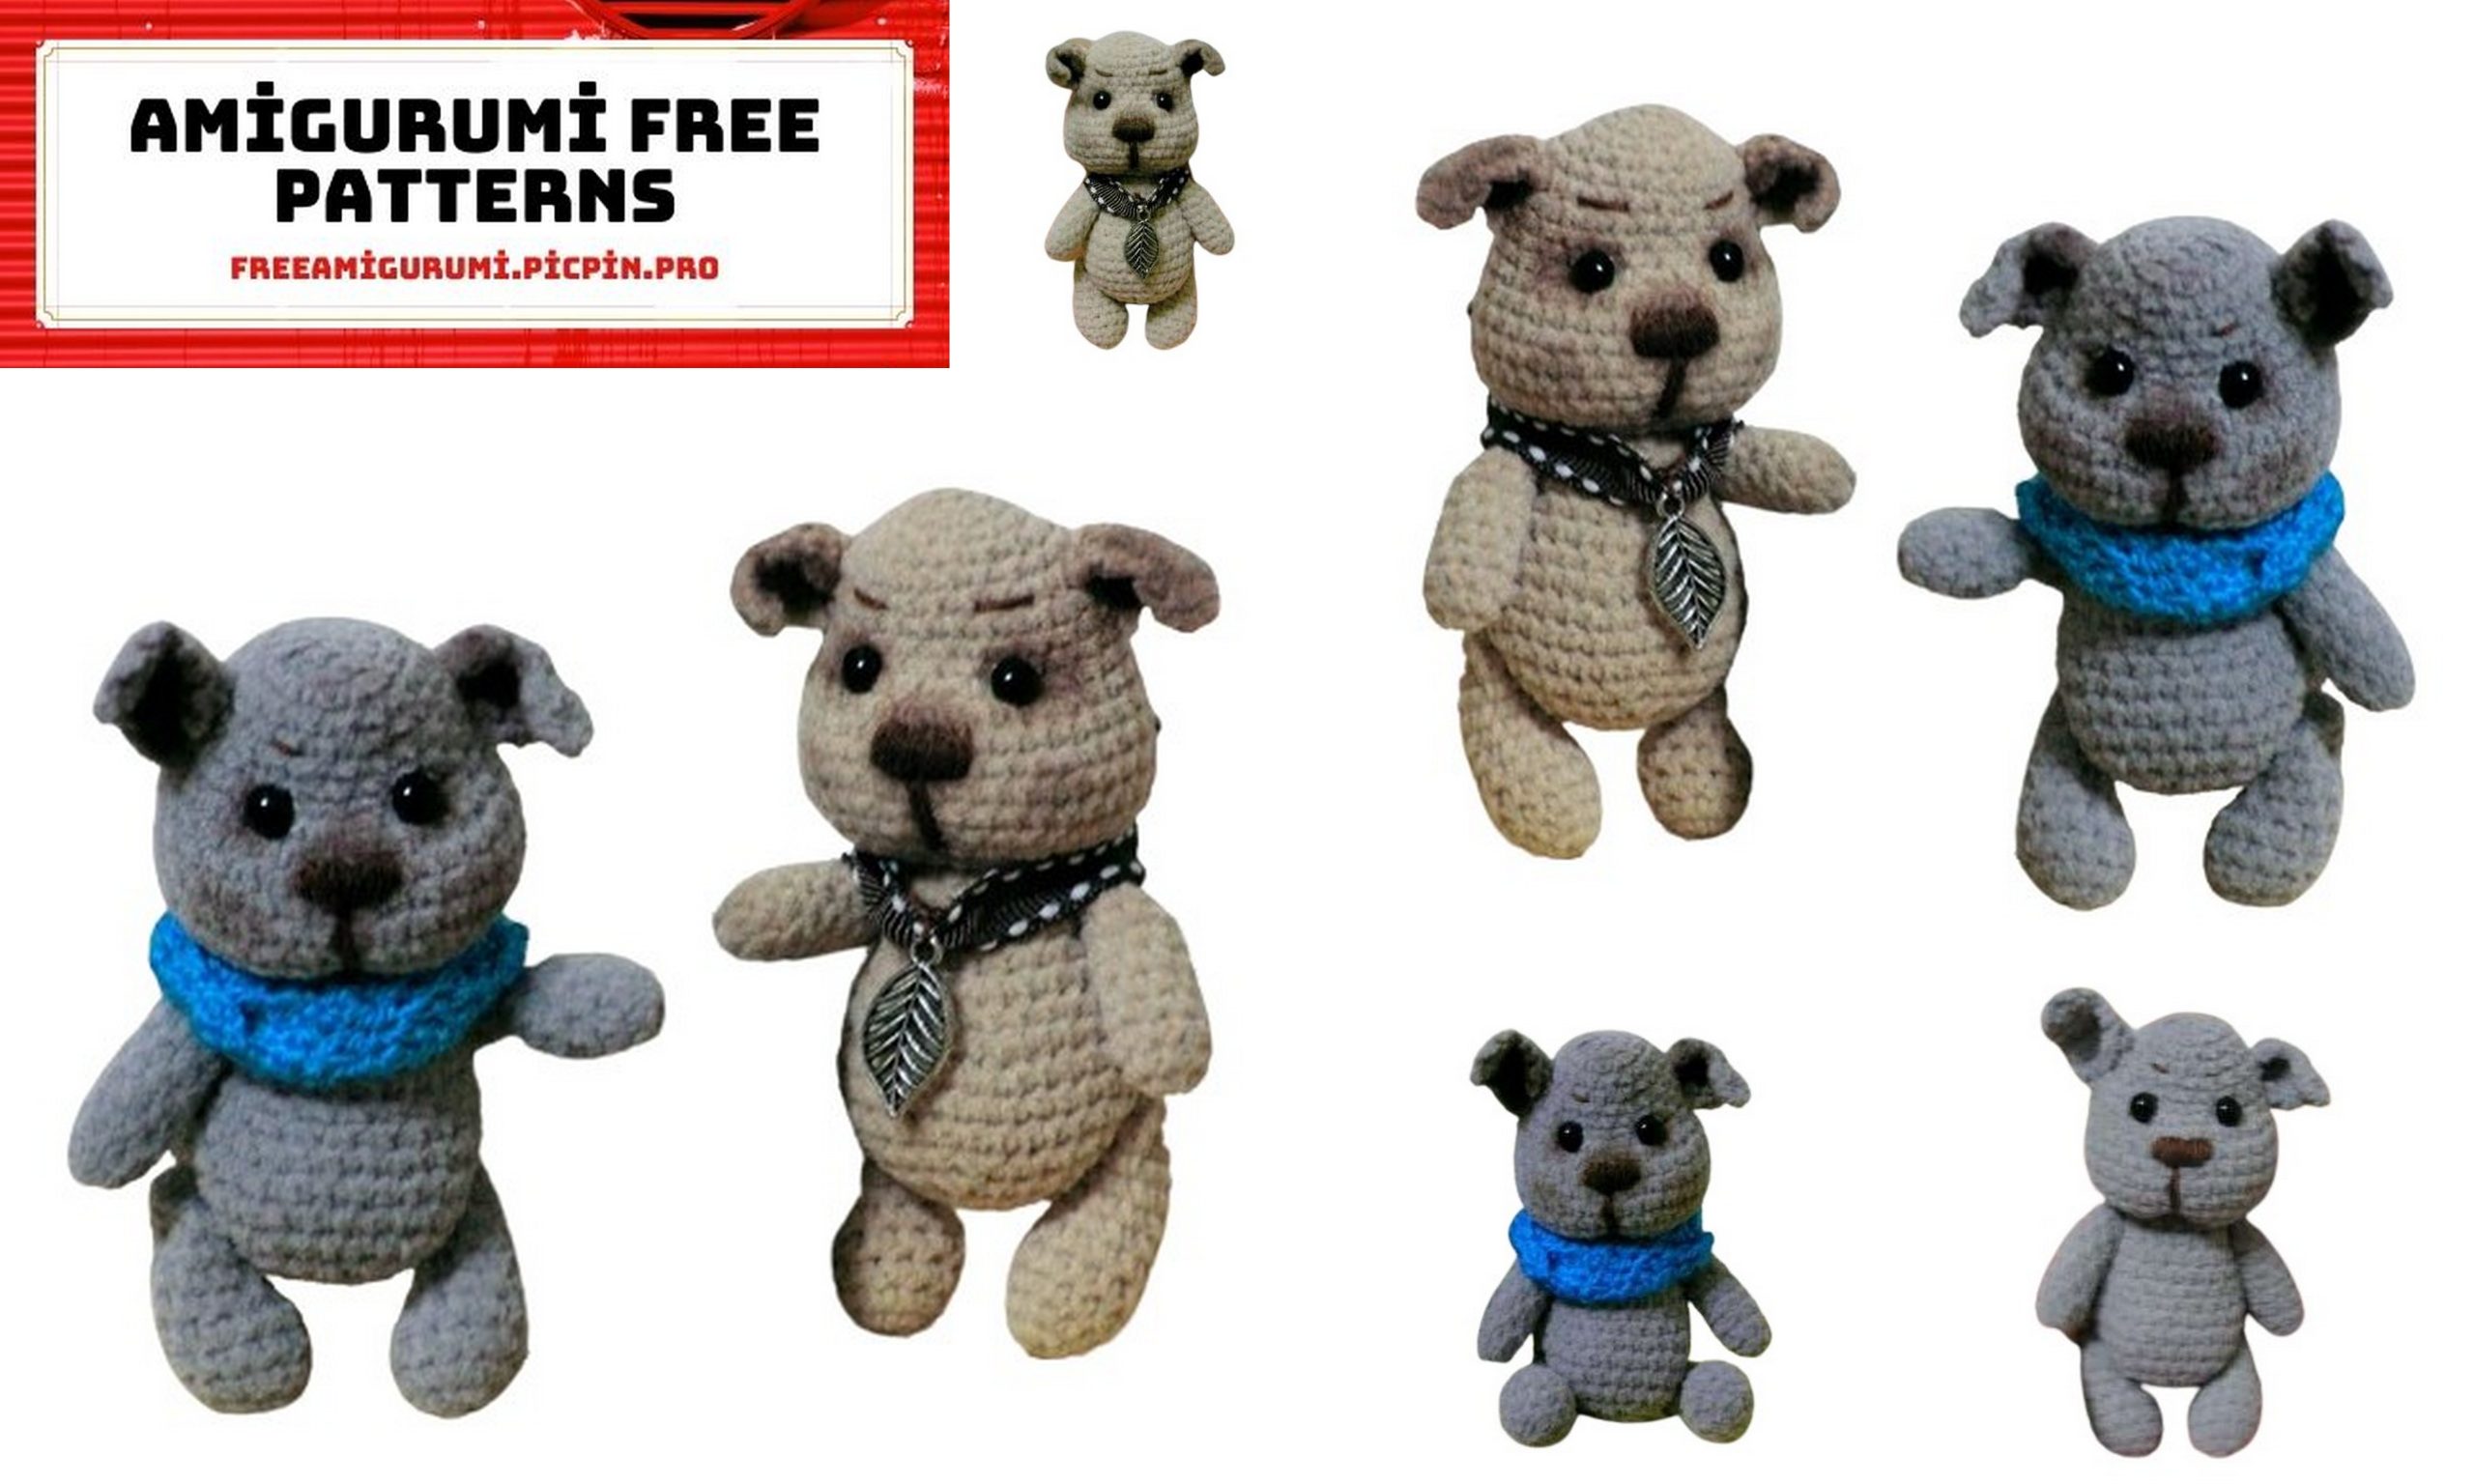
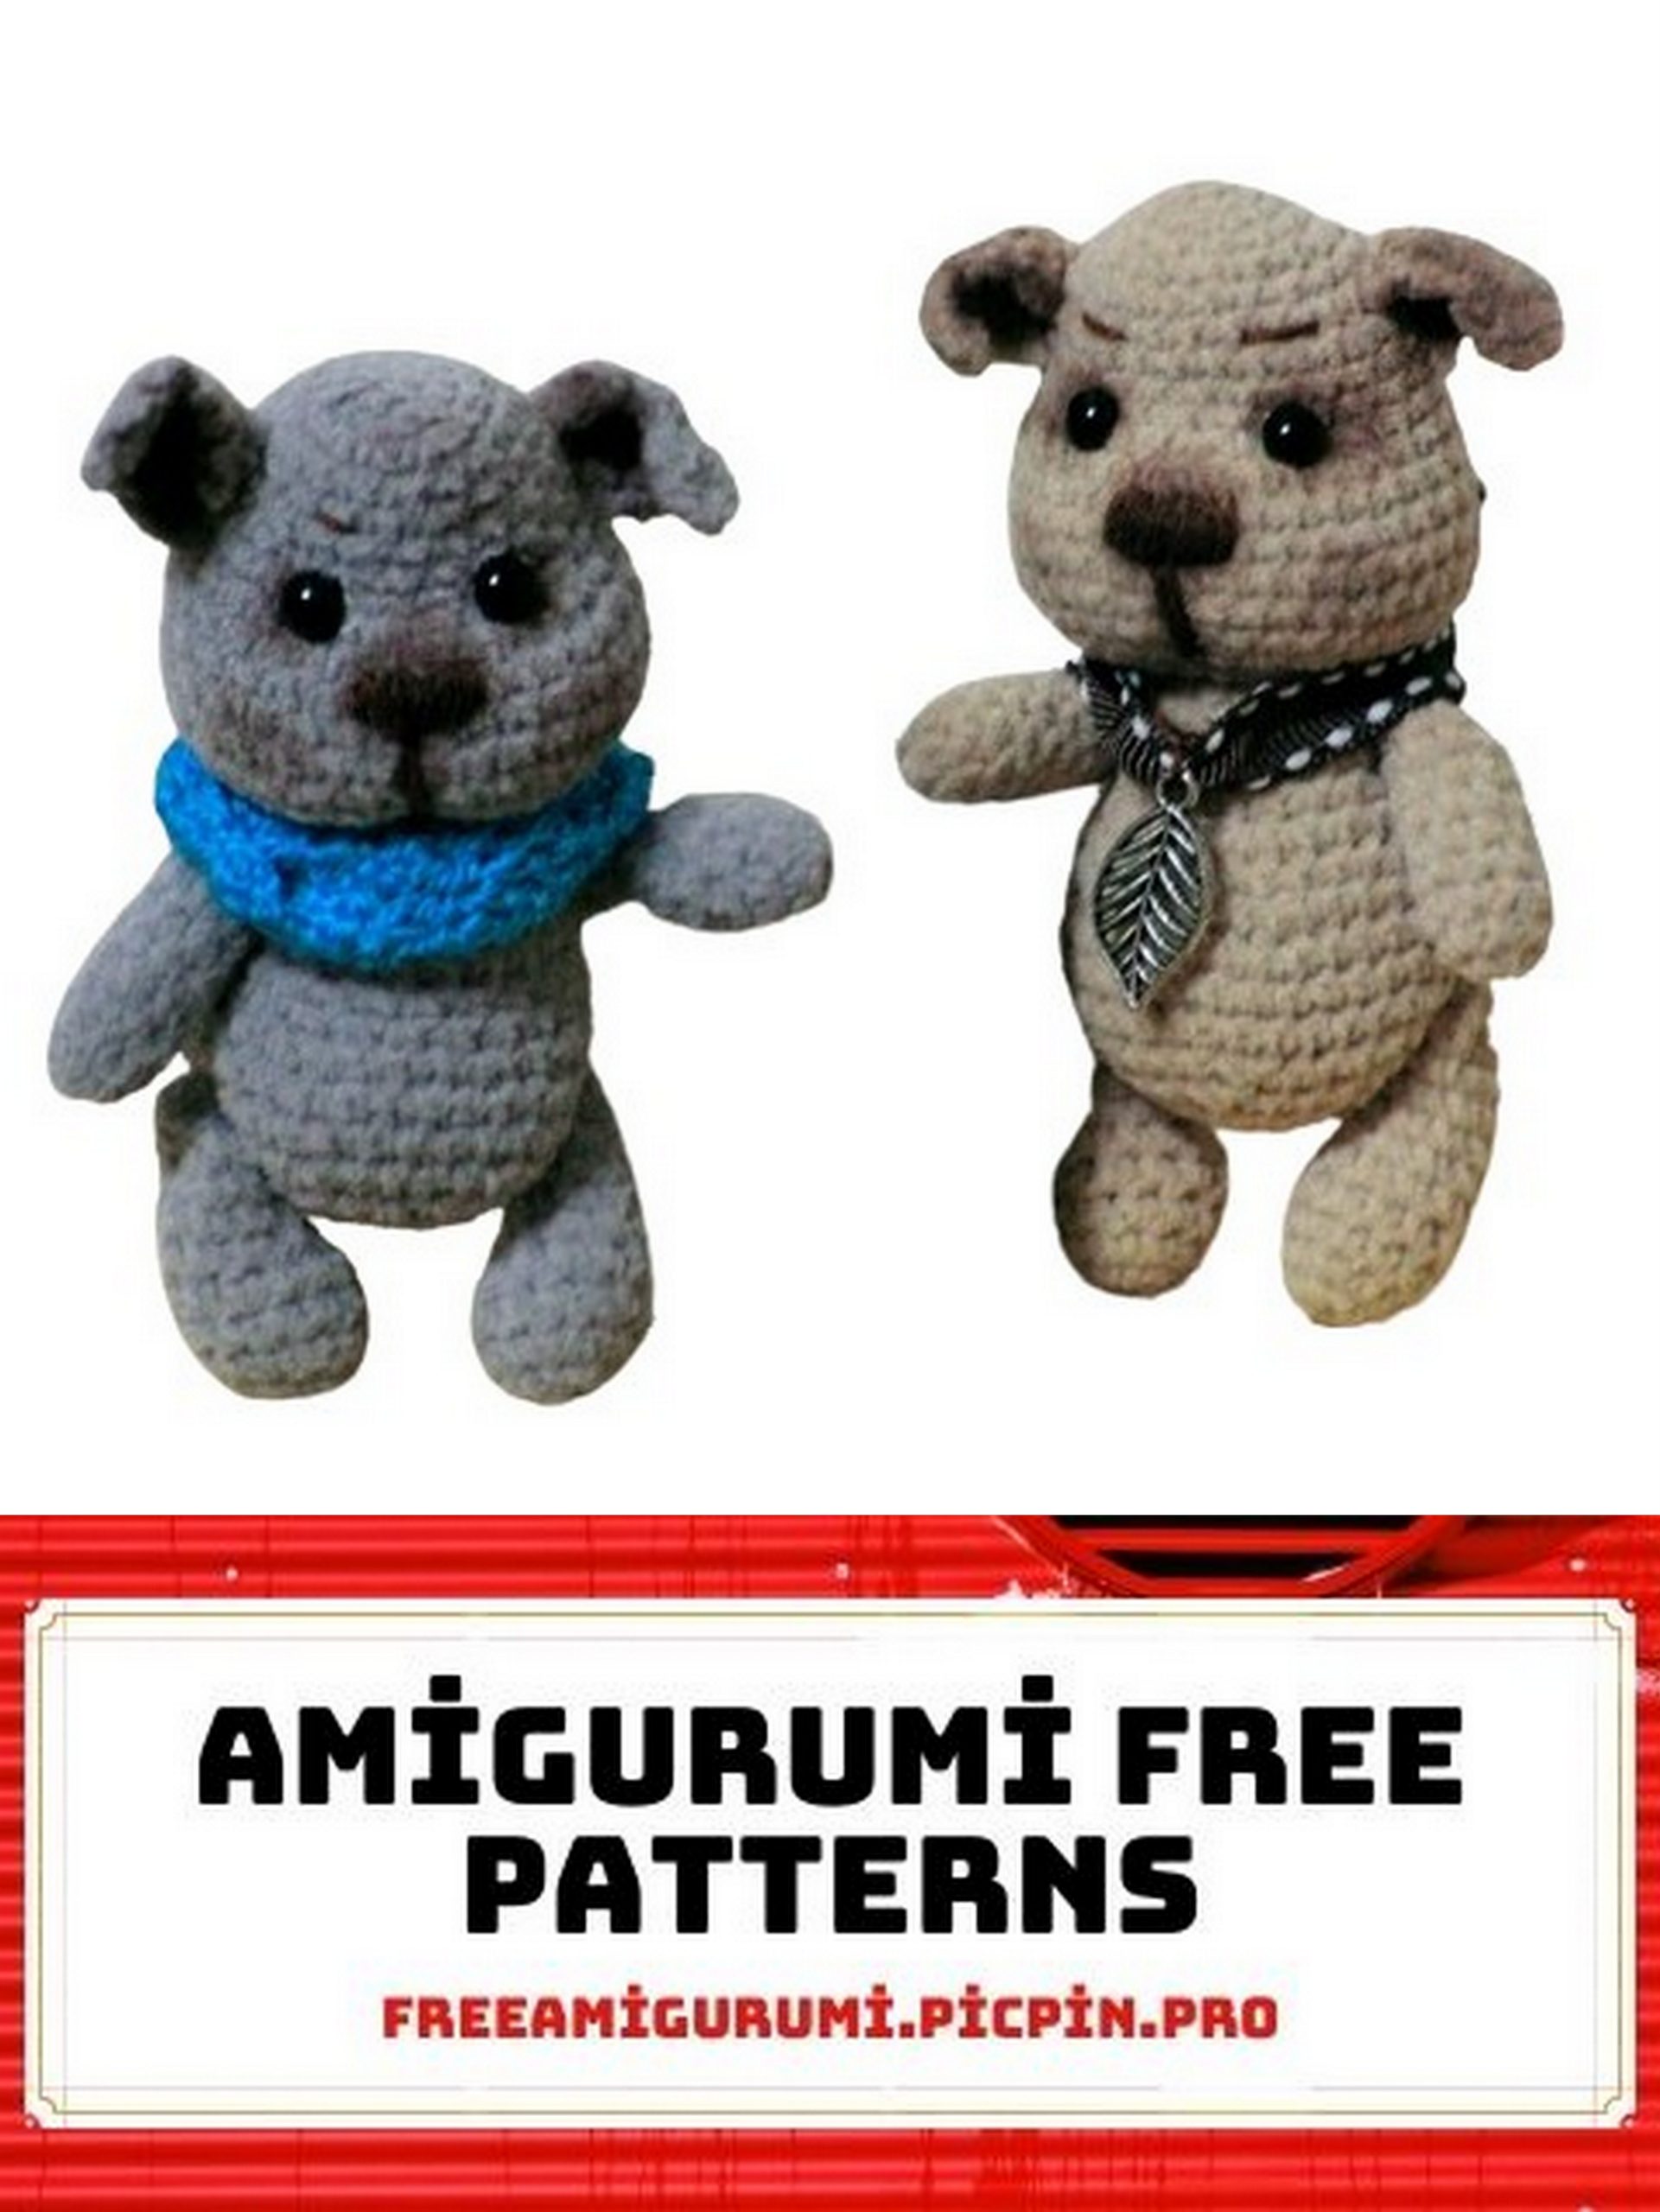
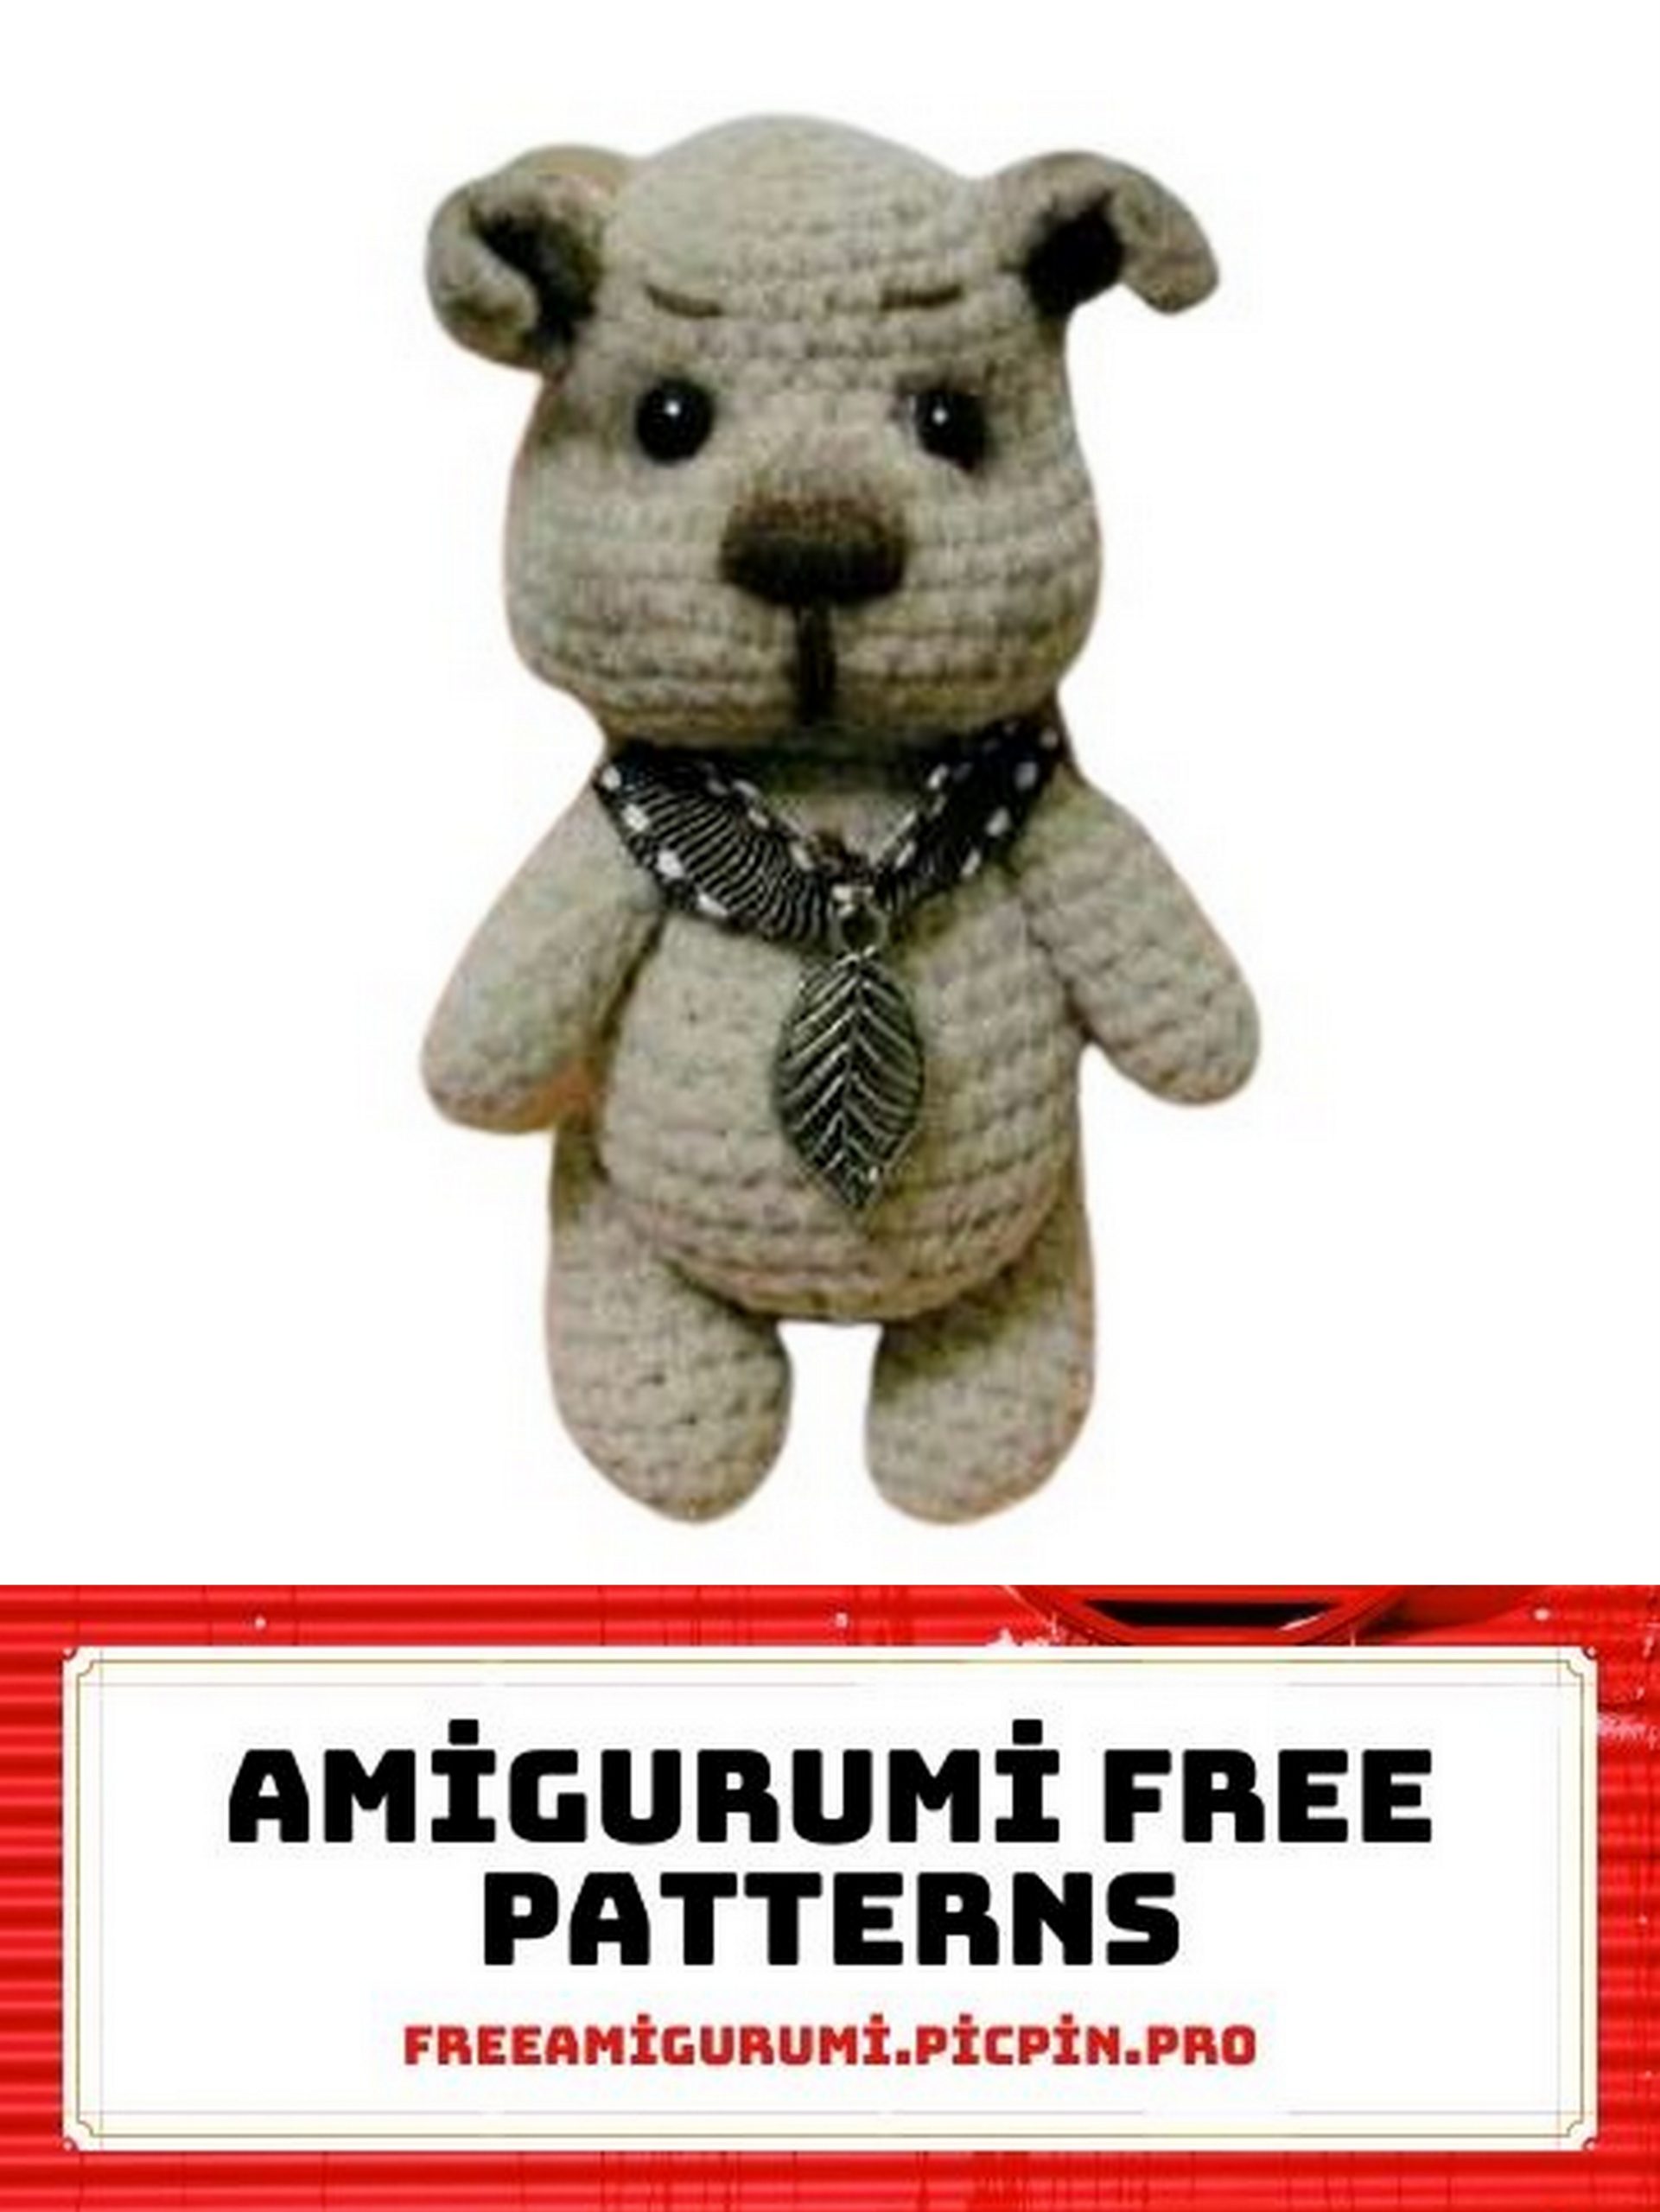
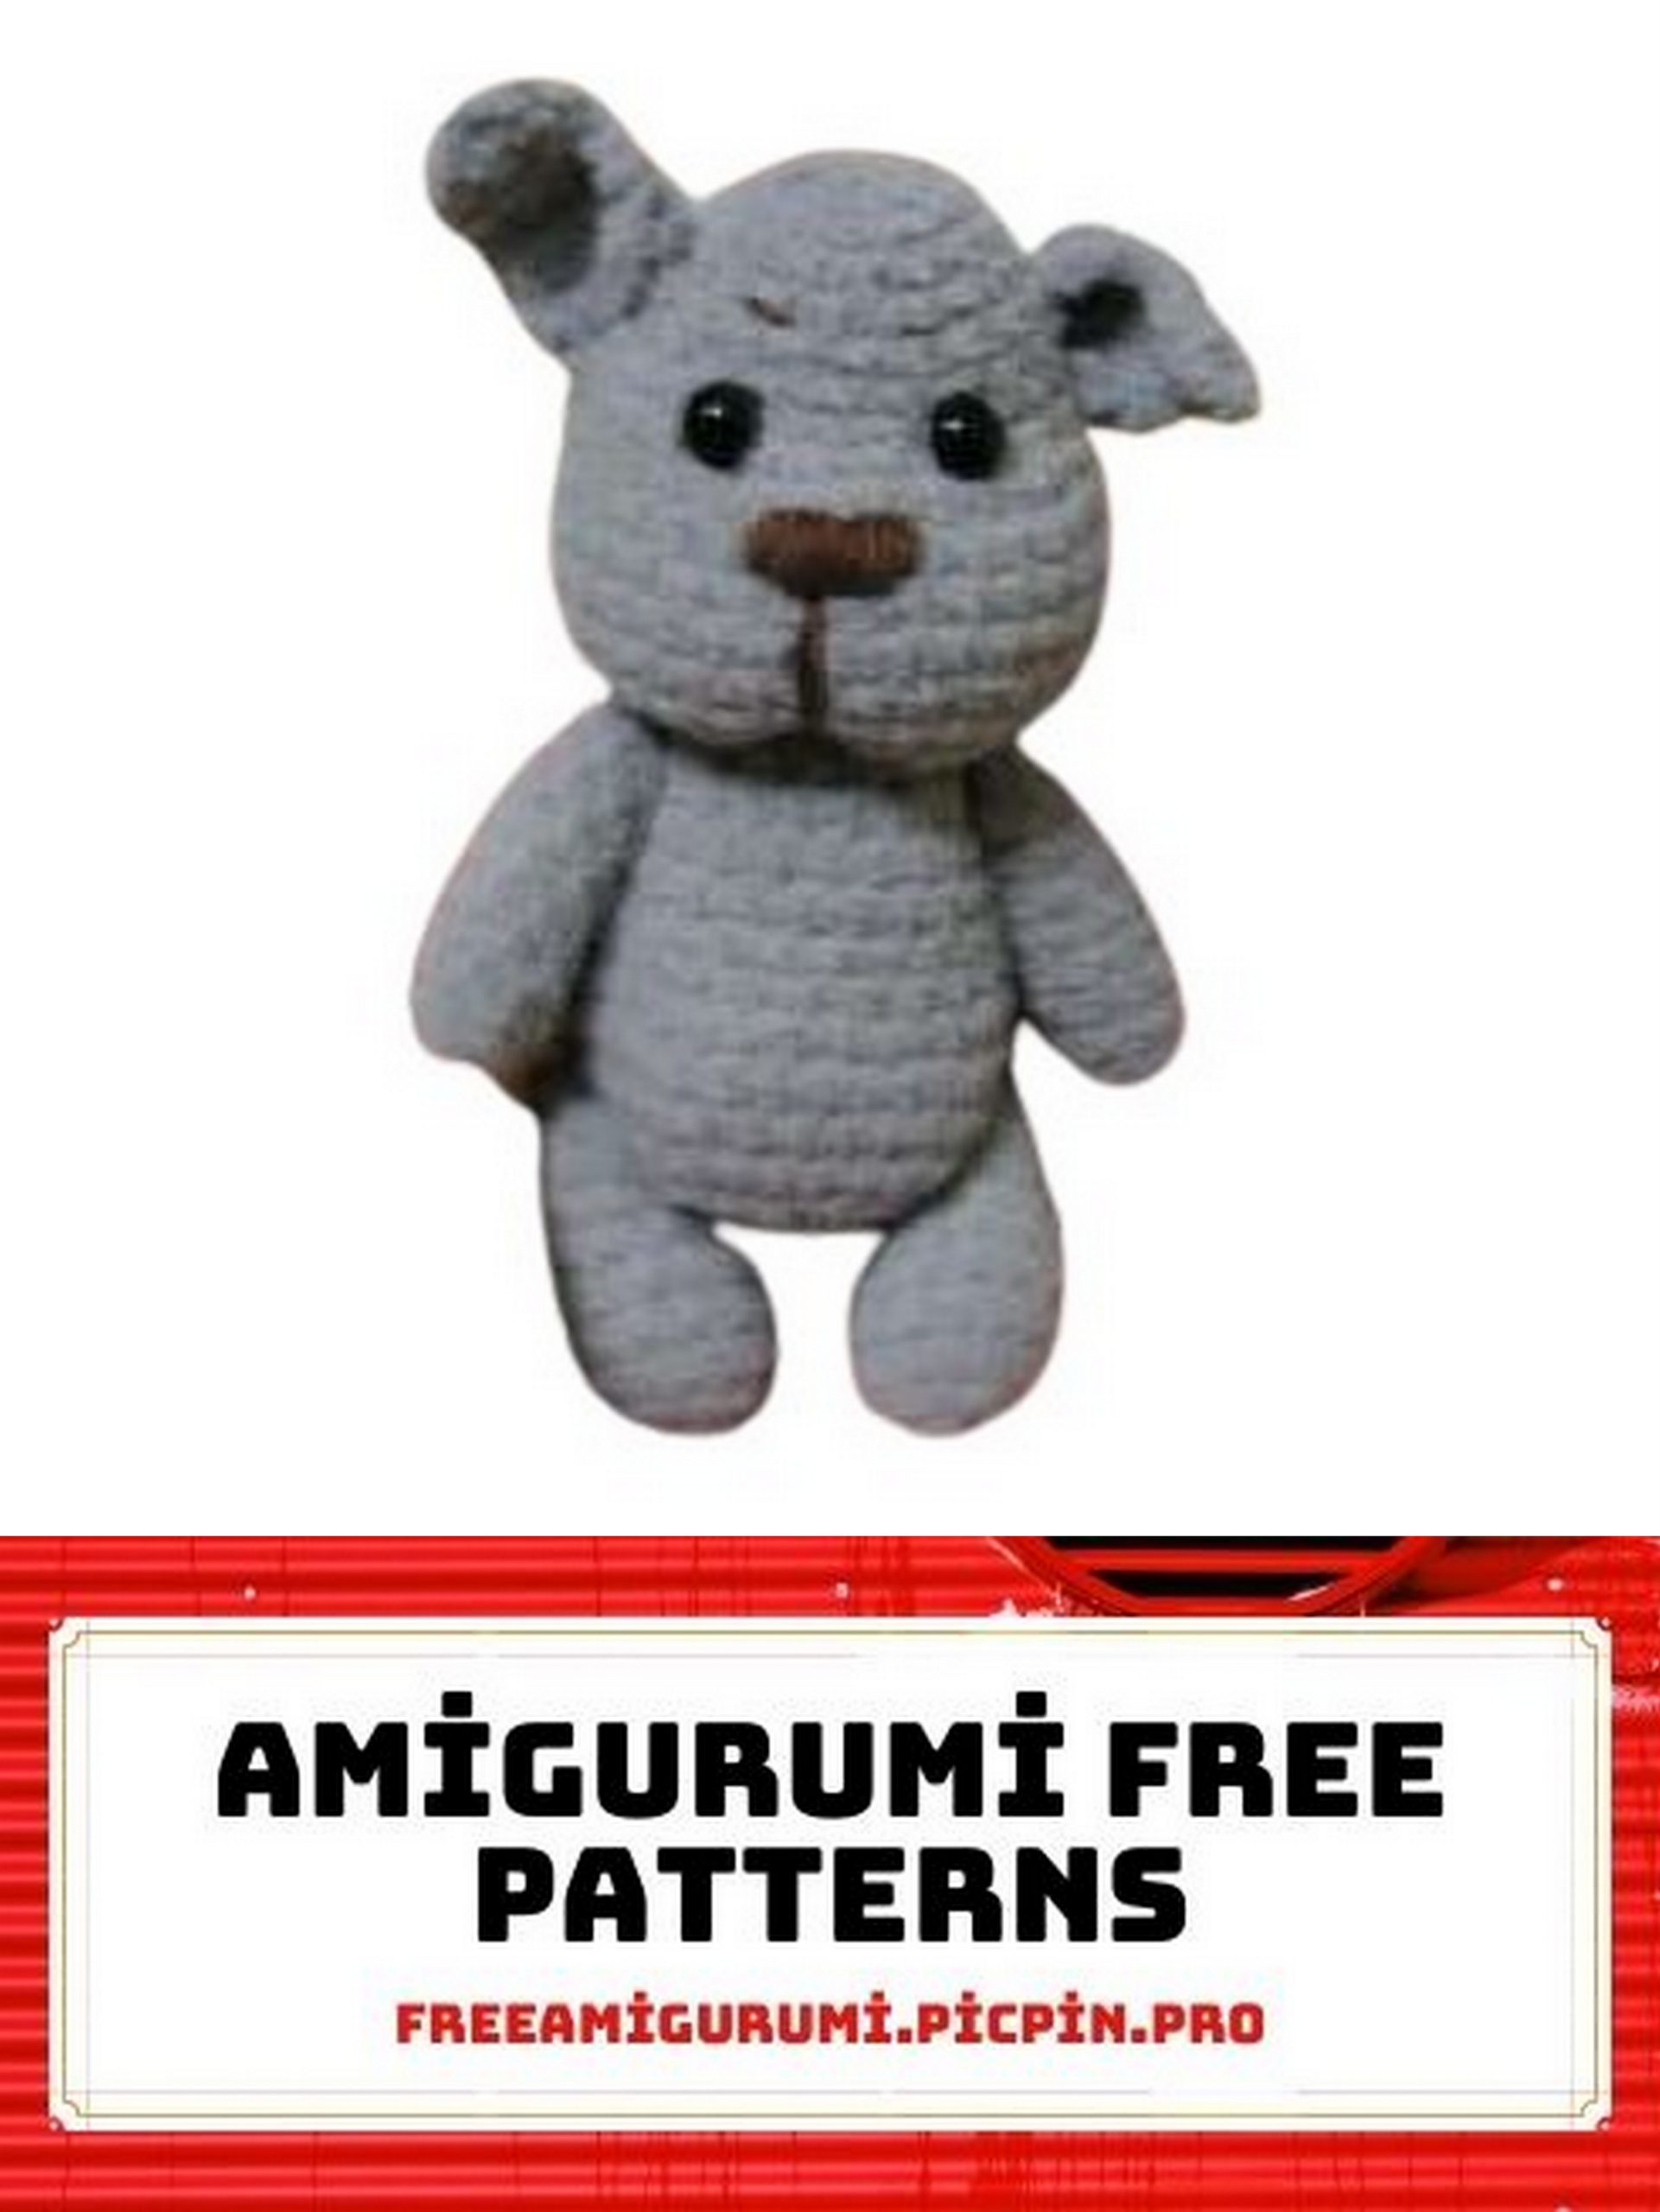
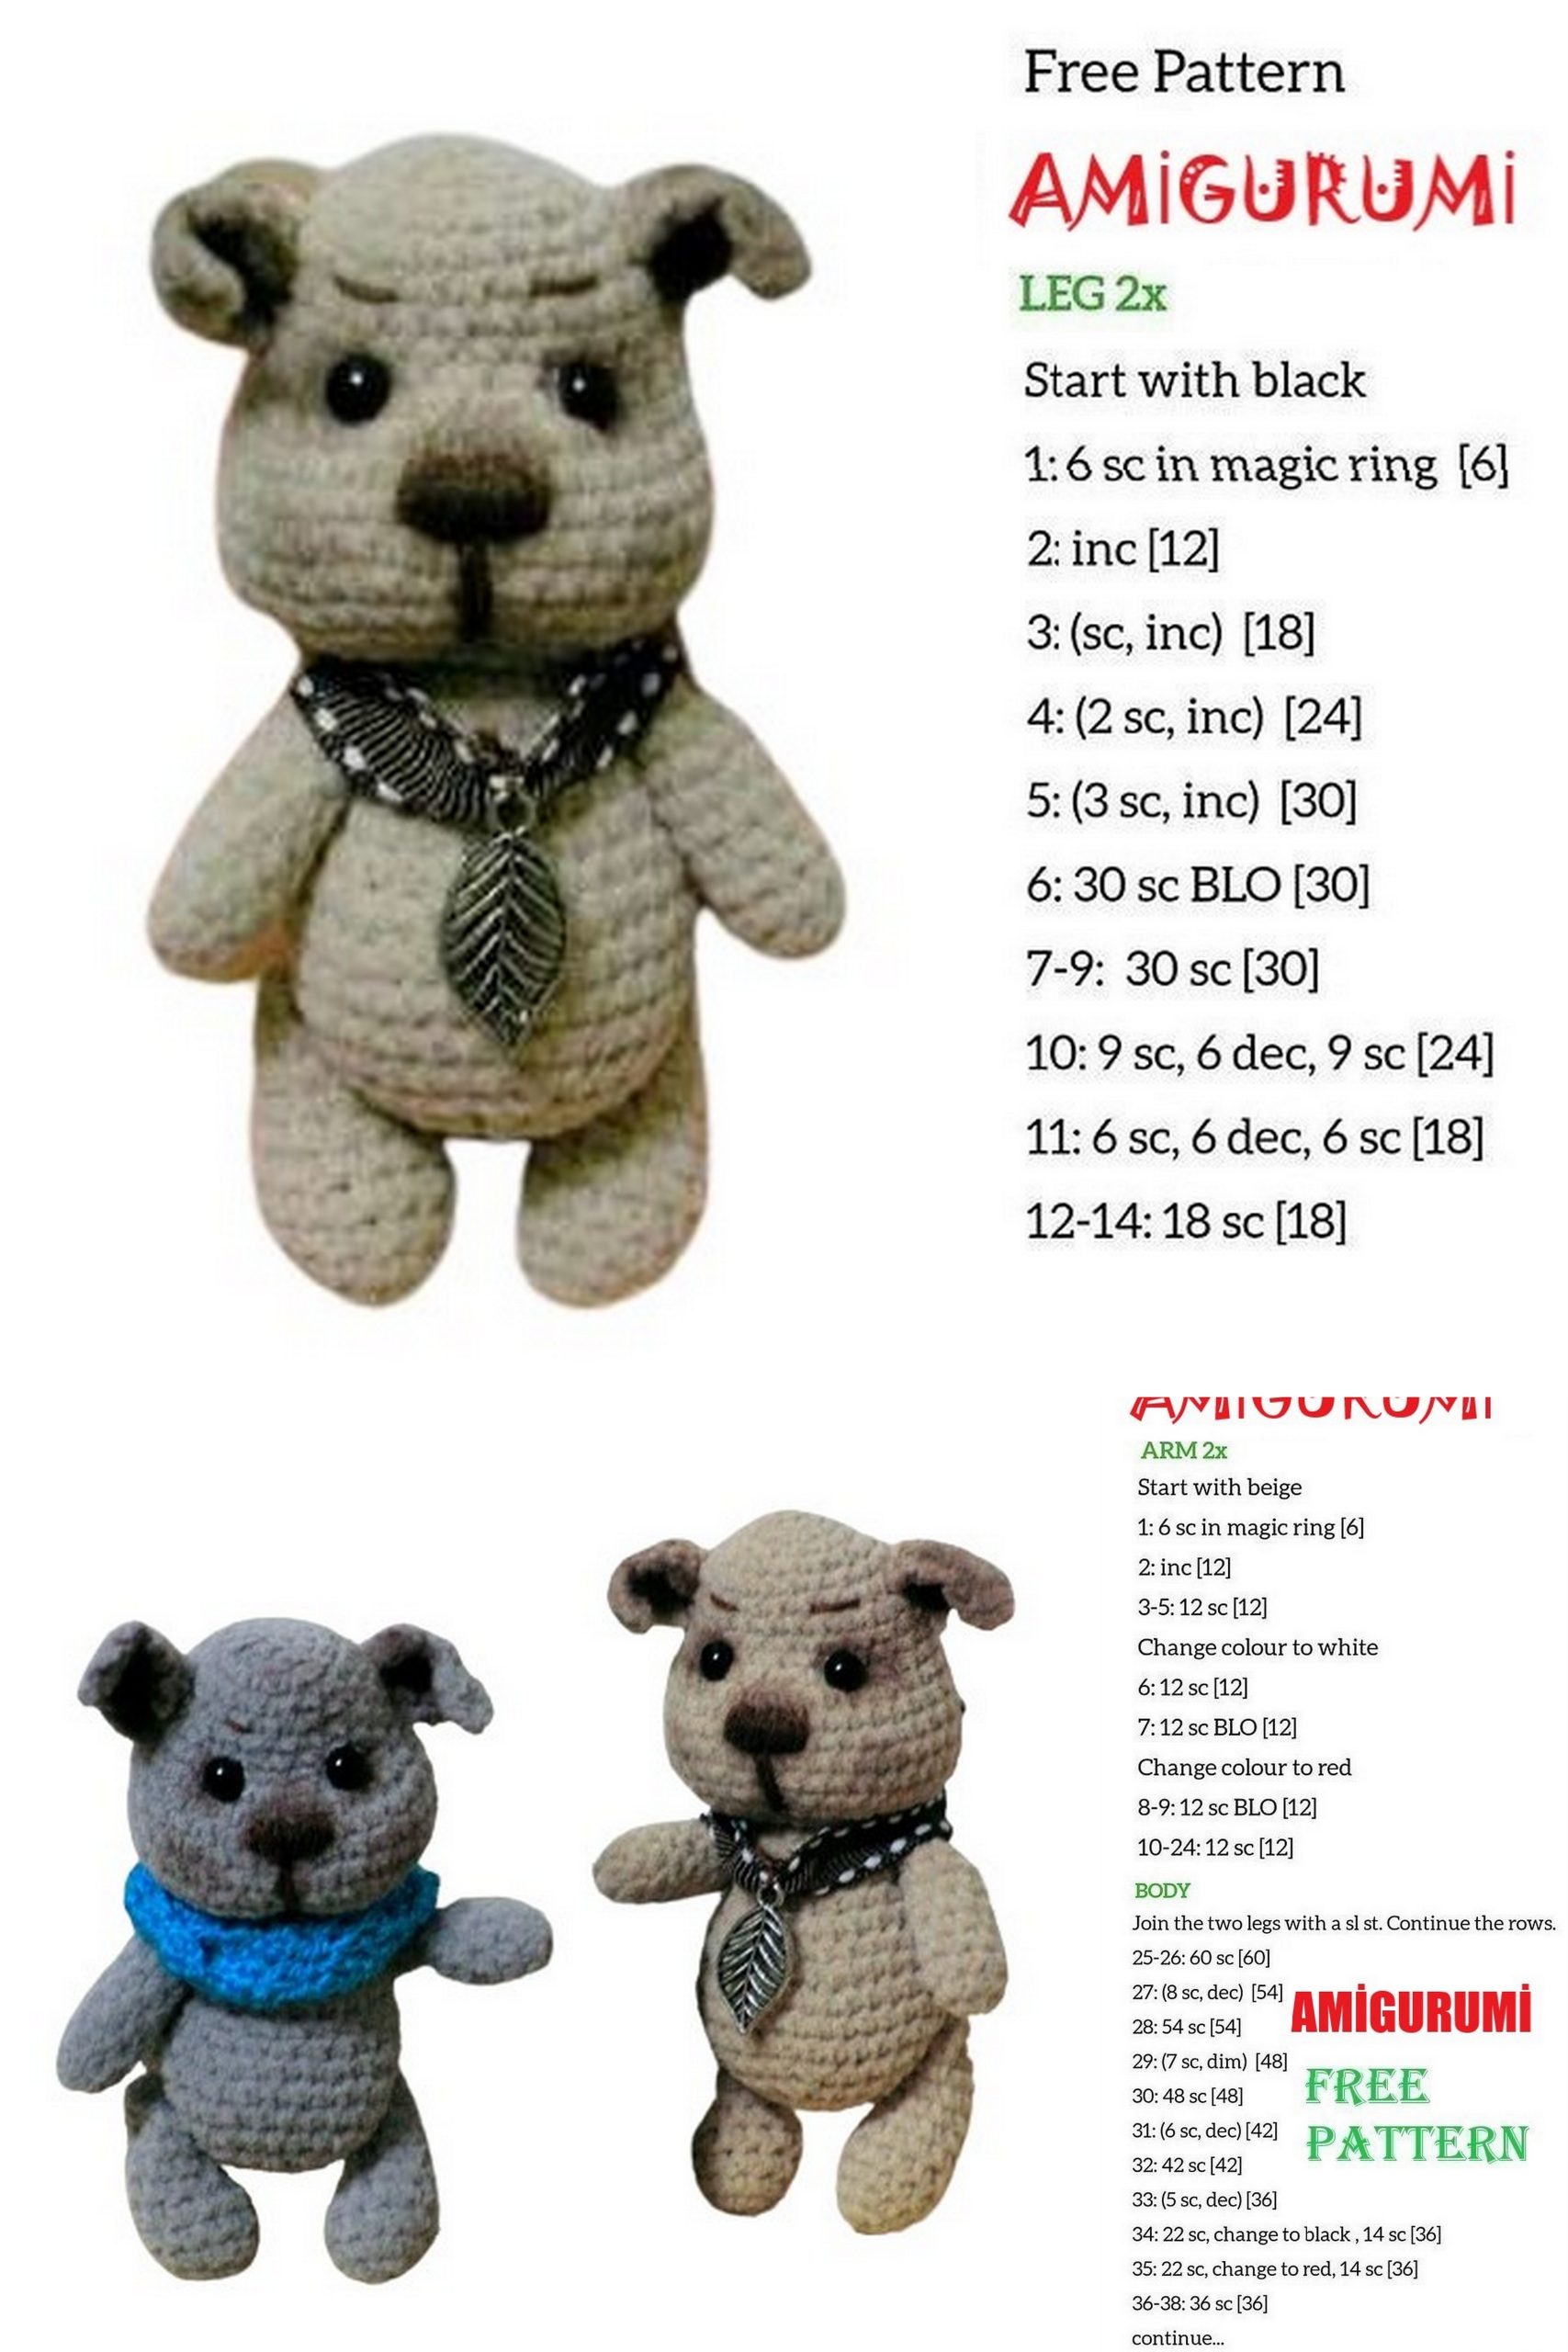
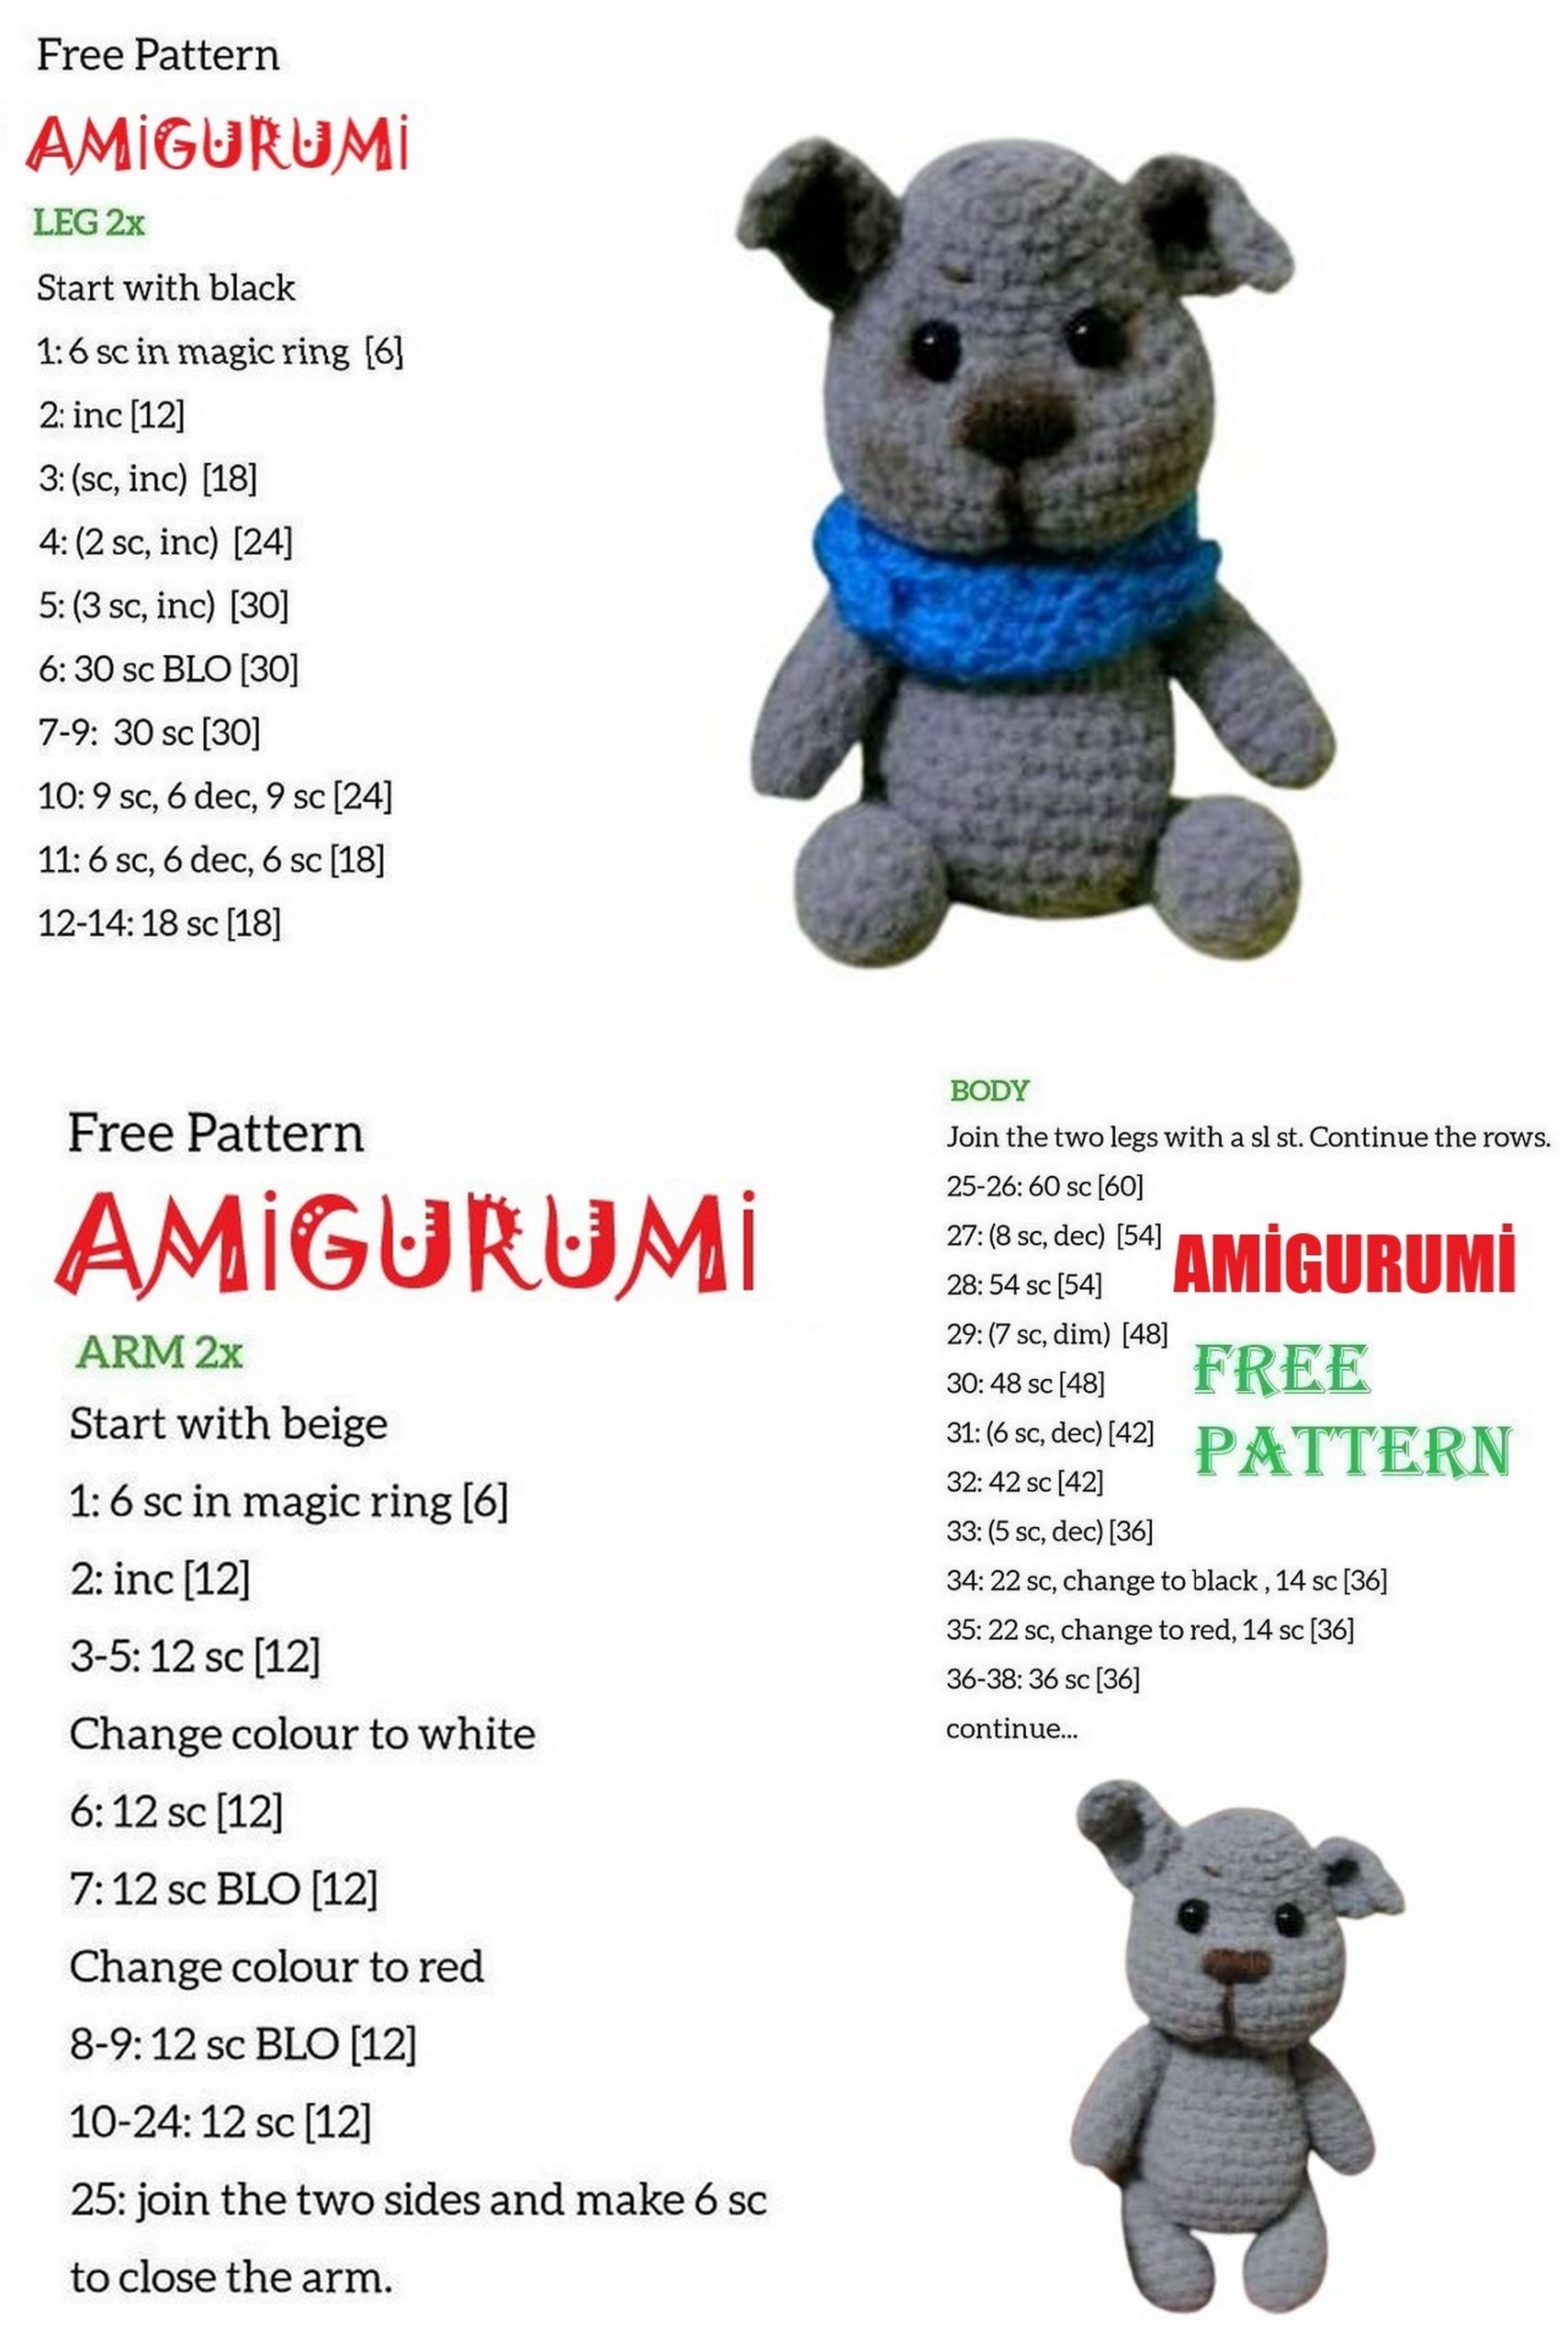
Little Cute Dog Amigurumi Free Pattern: Crochet Your Adorable Canine Companion!
Welcome to the delightful world of crochet! If you’re a dog lover and enjoy crafting, get ready for an exciting project. Our amigurumi free pattern for the Little Cute Dog Amigurumi is here to bring joy and warmth to your crochet collection.
Whether you’re new to crochet or an experienced crafter, this pattern offers a fun and rewarding experience for everyone. With easy-to-follow instructions and helpful tips, you’ll soon be crafting your very own adorable canine companion.
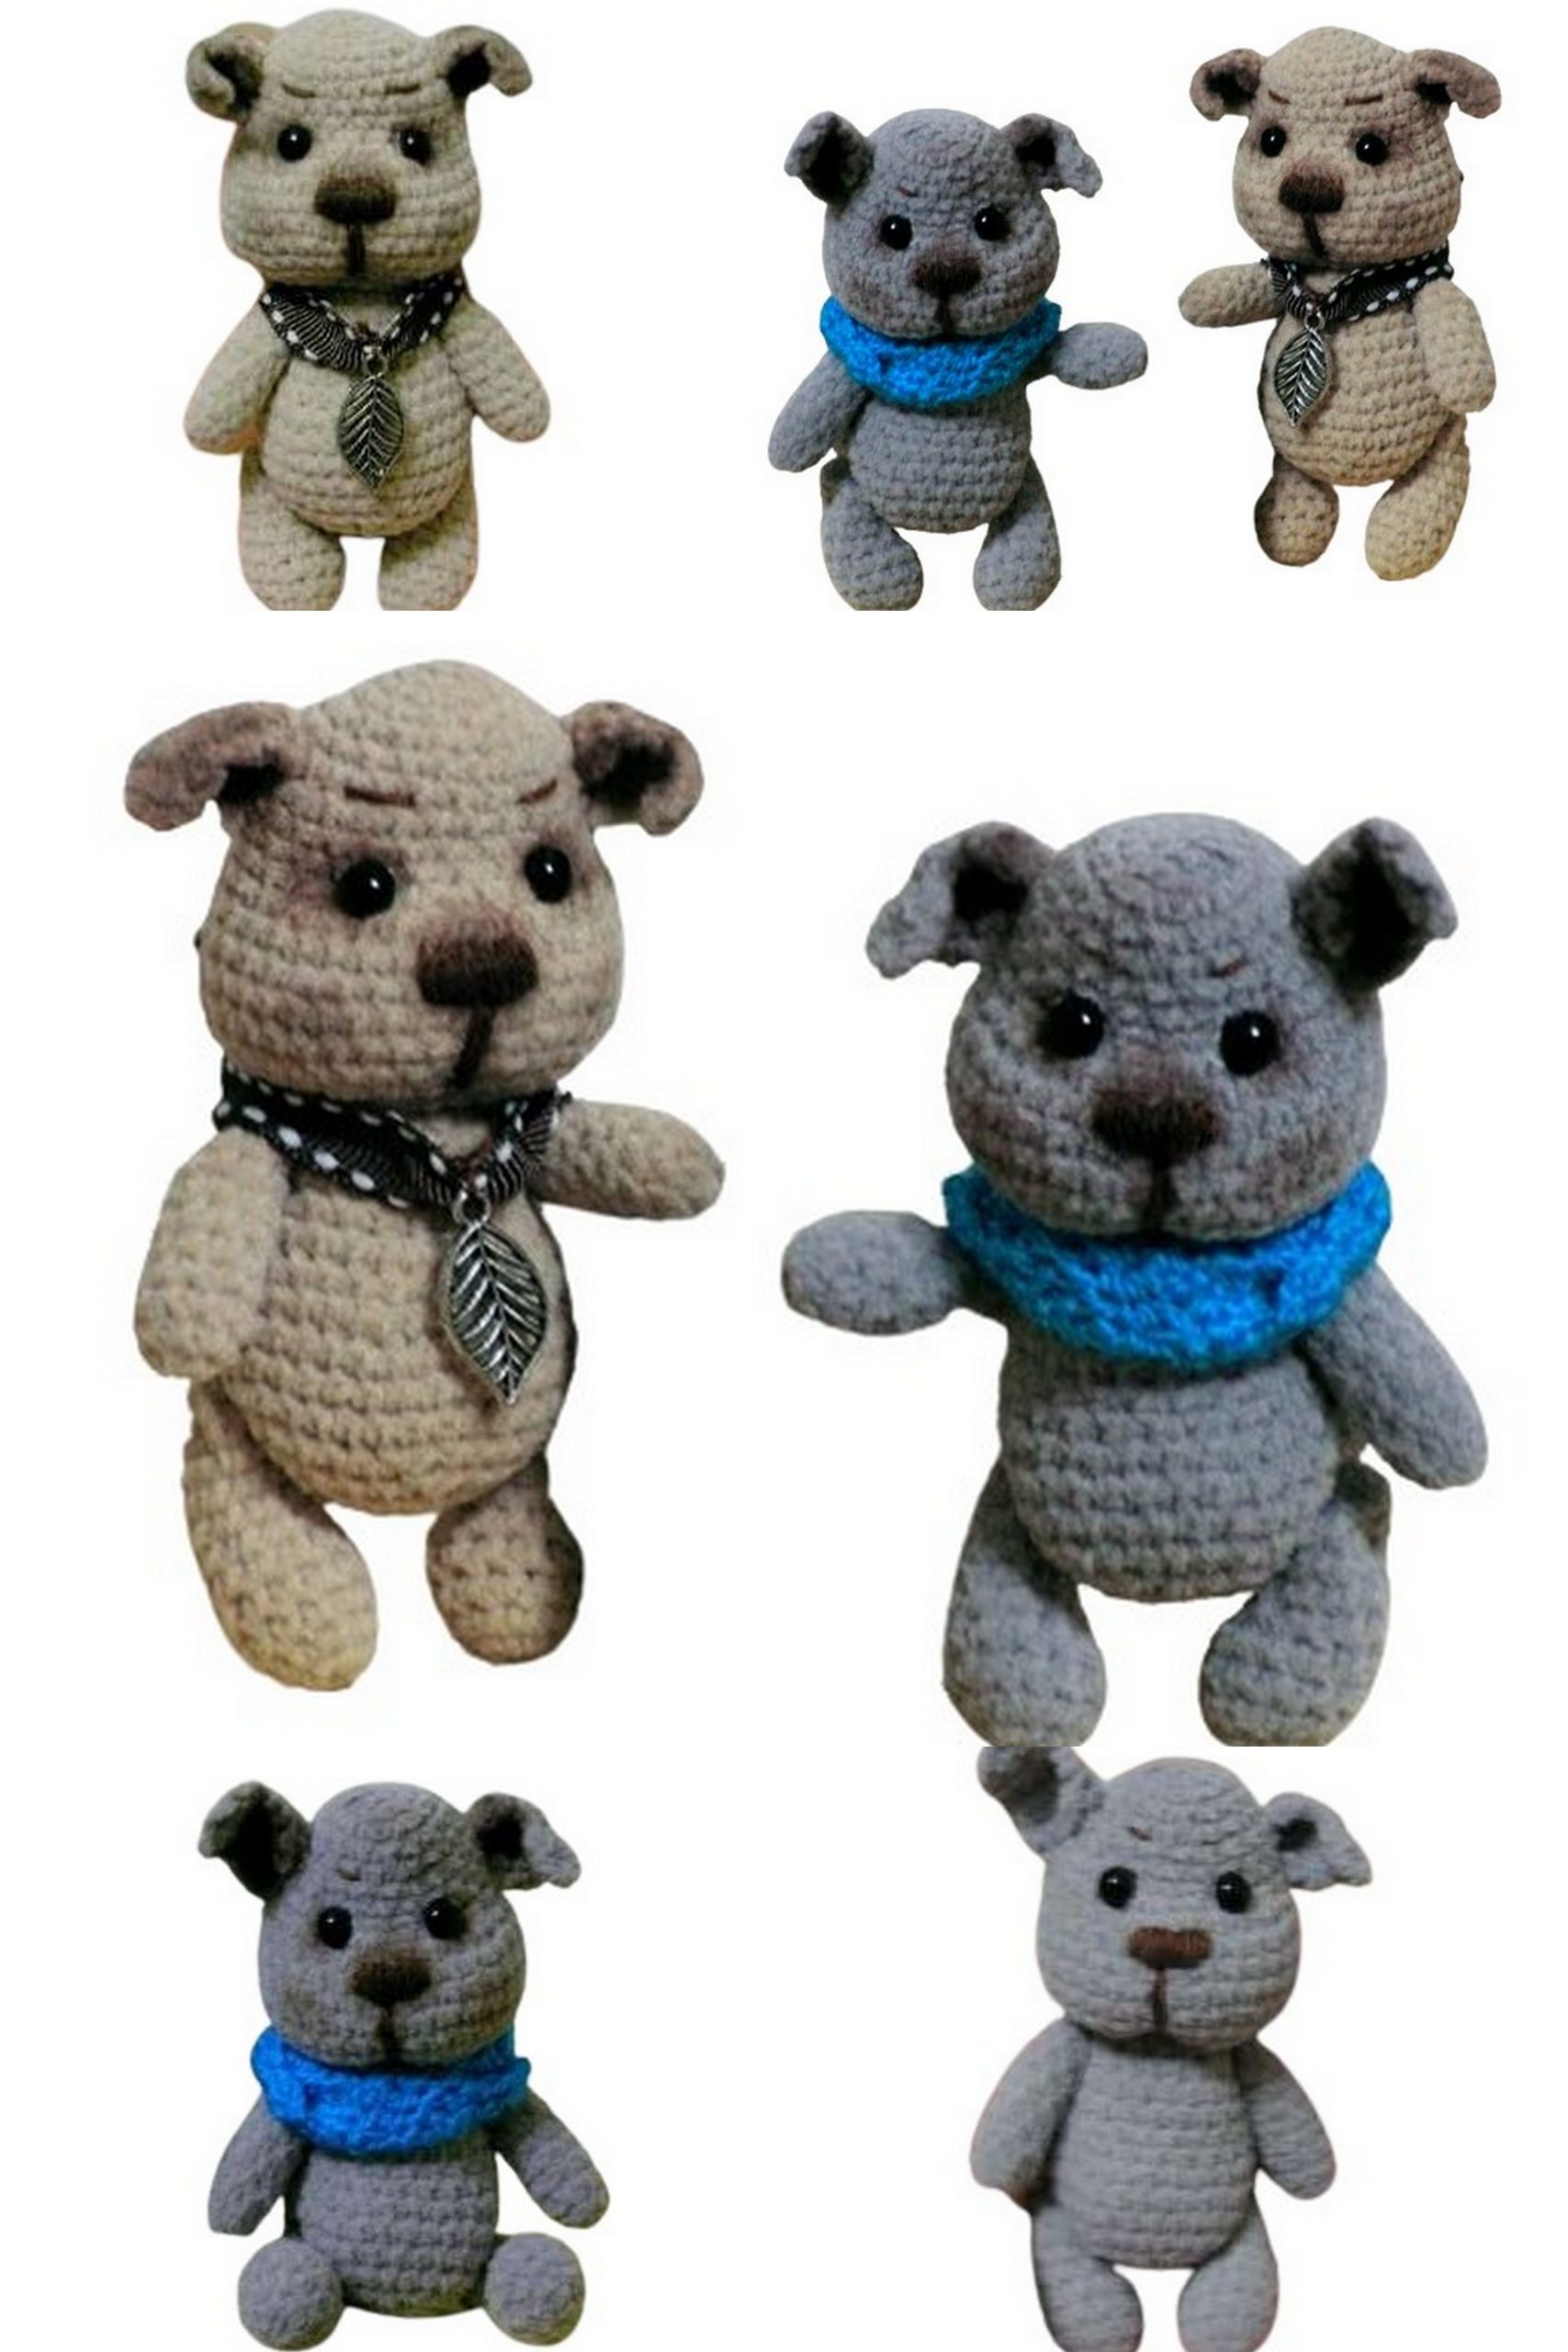
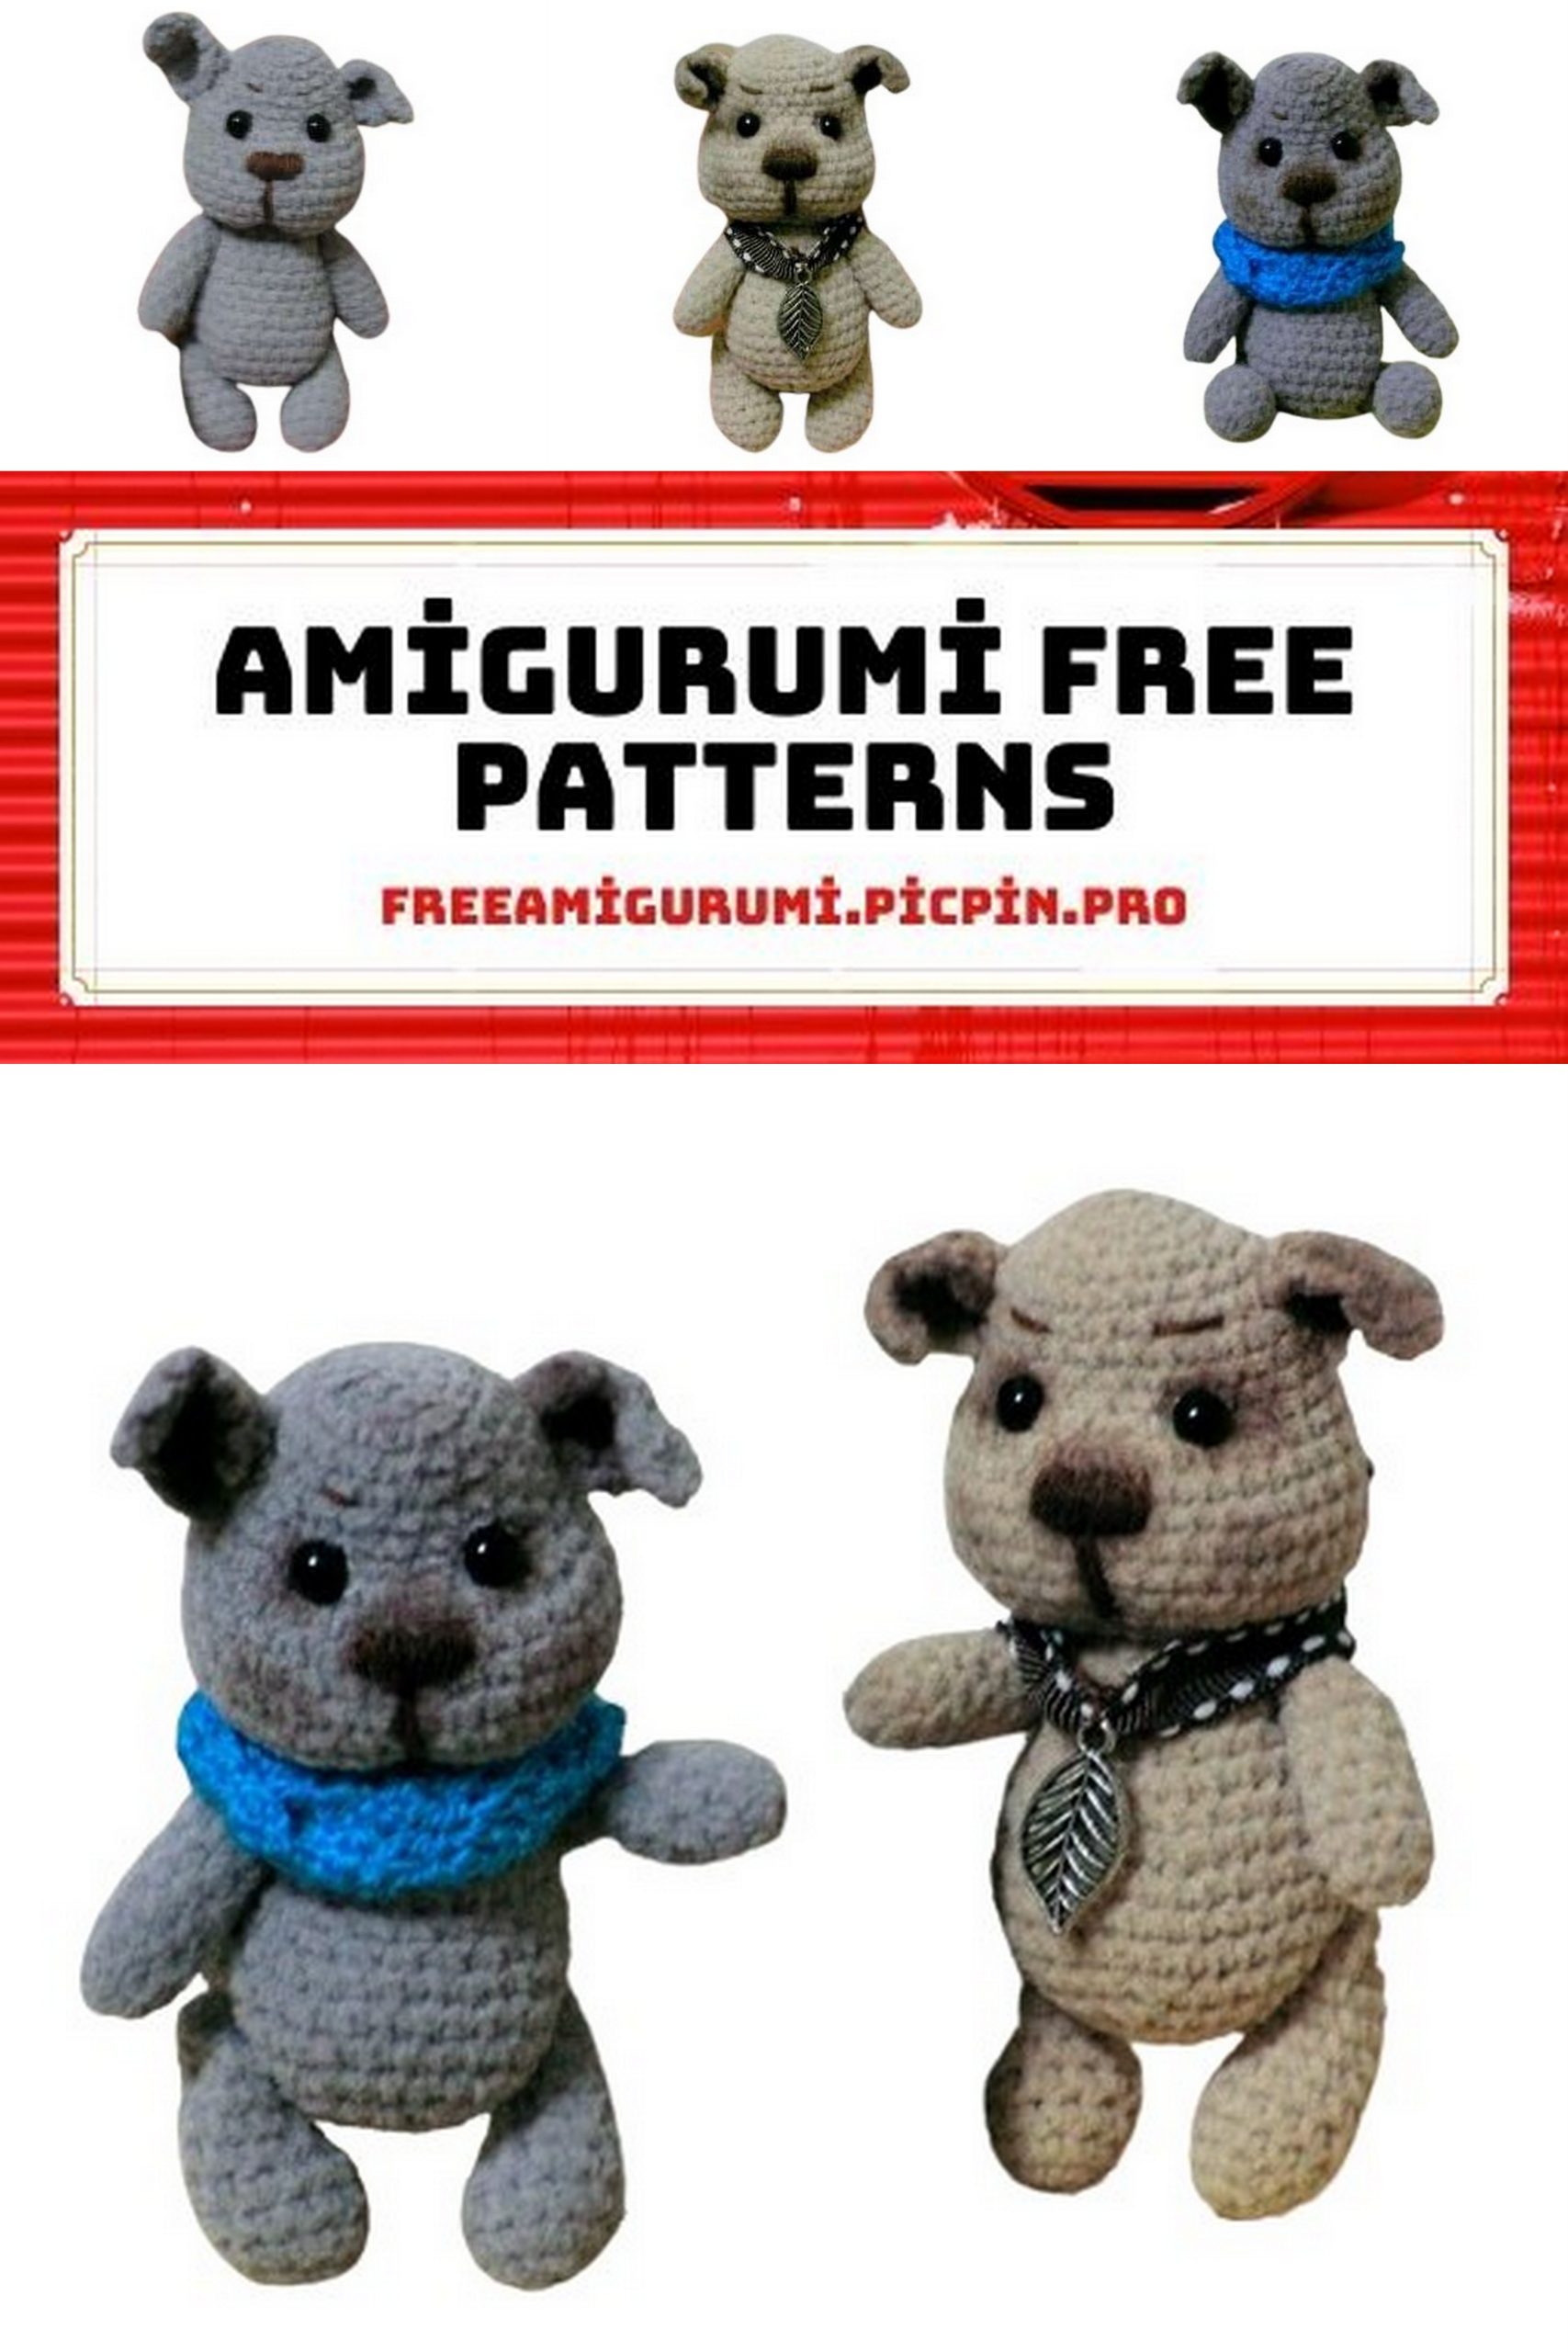
From its floppy ears to its wagging tail, each Little Cute Dog is crafted with love and care to capture the essence of our beloved furry friends. Plus, you have the freedom to customize your creation with different colors and accessories to make it uniquely yours.
So, grab your crochet hook and let’s embark on this heartwarming crafting journey together. Get ready to crochet your own Little Cute Dog and add a touch of canine charm to your home. Happy crocheting!
Materials Used:
Nubuc yarn (any color)
Iris dark brown
Crochet hook 1.25
Polyester fiberfill
Safety eyes 15-20 mm – 2 pieces
T-shaped cotter pin – 1 piece
Moment glue
2 half-beads
Acrylic paints or pastels for shading
Any yarn for the scarf
Abbreviations:
MR – Magic Ring
sc – Single Crochet
inc – Increase
dec – Decrease
With the materials used, the height of the babies is approximately 8 cm standing.
PATTERN
Head: (marker goes along the side of the head)
6 sc in MR
Row 1: 6 inc = 12 sc
Row 2: (2 sc, inc)*4 = 16 sc
Row 3: 16 sc
Row 4: (3 sc, inc)*4 = 20 sc
Rows 5-6: 20 sc
Row 7: (3 inc, 7 sc)*2 = 26 sc
Row 8: 26 sc
Row 9: 4 sc, 2 inc, 1 sc, (center of the muzzle, you can put a marker) 2 inc, 17 sc = 30 sc
Rows 10-14: 30 sc
Row 15: (3 sc, dec)*6 = 24 sc
Row 16: (2 sc, dec)*6 = 18 sc
Row 17: (sc, dec)*6 = 12 sc
Stuff and insert the cotter pin. Decrease until the end.
Ears: (2 pieces)
Crochet in turning rows, make 1 ch at the beginning of each row.
3 ch in MR
Rows 1-2: 3 sc
Row 3: 1 sc, inc, 1 sc = 4 sc
Row 4: inc, 2 sc, inc = 6 sc
Rows 5-6: 6 sc, fasten off and leave for sewing.

Decoration of the muzzle:
Find the center of the muzzle in the 11th row from the top (use the additional marker that we placed in the 9th row) and embroider the nose with iris dark brown. The width of the nose is approximately 1 sc, length 5-6 sc. Embroider the center of the muzzle with the same thread. Bring the thread down to 6-7 sc and slightly tighten with 2-3 stitches upwards and downwards. Mark points for the eyes. Above the nose by 2 sc and sideways by 2 sc, use the same thread to make pulls, tighten slightly, moving up by 1 sc and sideways by one stitch. Glue the eyes and embroider the eyebrows with the same thread. Secure and cut the thread.
Fold the ears in half and sew them on. The fold should be upwards towards the crown.
Body:
6 sc in MR.
Row 1: 6 inc = 12 sc
Row 2: (sc, inc)*6 = 18 sc
Row 3: 18 sc
Row 4: (2 sc, inc)*6 = 24 sc
Rows 5-8: 24 sc
Insert the cotter pin.
Row 9: (2 sc, inc)*8 = 32 sc
Rows 10-12: 32 sc
Row 13: (2 sc, dec)*8 = 24 sc
Row 14: (2 sc, dec)*6 = 18 sc
Row 15: (sc, dec)*6 = 12 sc, stuff.
Row 16: Decrease until the end.
Upper Paws: (2 pieces)
6 sc in MR.
Row 1: (inc, 2 sc)*2 = 8 sc
Rows 2-8: 8 sc
Stuff slightly, decrease until the end, fasten off, hide the thread. Leave a thread for sewing on one paw.
Lower Paws: (2 pieces)
6 sc in MR.
Row 1: 6 inc = 12 sc
Rows 2-4: 12 sc
Row 5: 3 dec, 6 sc = 9 sc
Rows 6-8: 9 sc, stuff moderately, decrease until the end, fasten off, hide the thread. Leave a thread for sewing on one paw.
Sew the paws through to the body.
Tail:
Start on the body with 6 sc
Row 1: 6 sc
Row 2: 2 sc, dec, 2 sc = 5 sc
Decrease until the end, don’t stuff. Secure and hide the thread.
Shade around the eyes, cheeks, ears. Crochet a scarf or tie a ribbon and tie it nicely.
Assembly:
Sew the head to the body, loop by loop, using the thread left on the head.
Tighten the eye sockets.
Sew on the ears (to start, I pin the ears with tailor’s pins and adjust).
Attach the muzzle (I also pin it with needles to avoid displacement).
Embroider the muzzle, embroider the nose, mouth, and whiskers. Embroider eyebrows, eyelashes, and eye white dots.
Sew on the tail.
And there you have it, your cute little Barbosik puppies are complete! Enjoy your amigurumi creations!