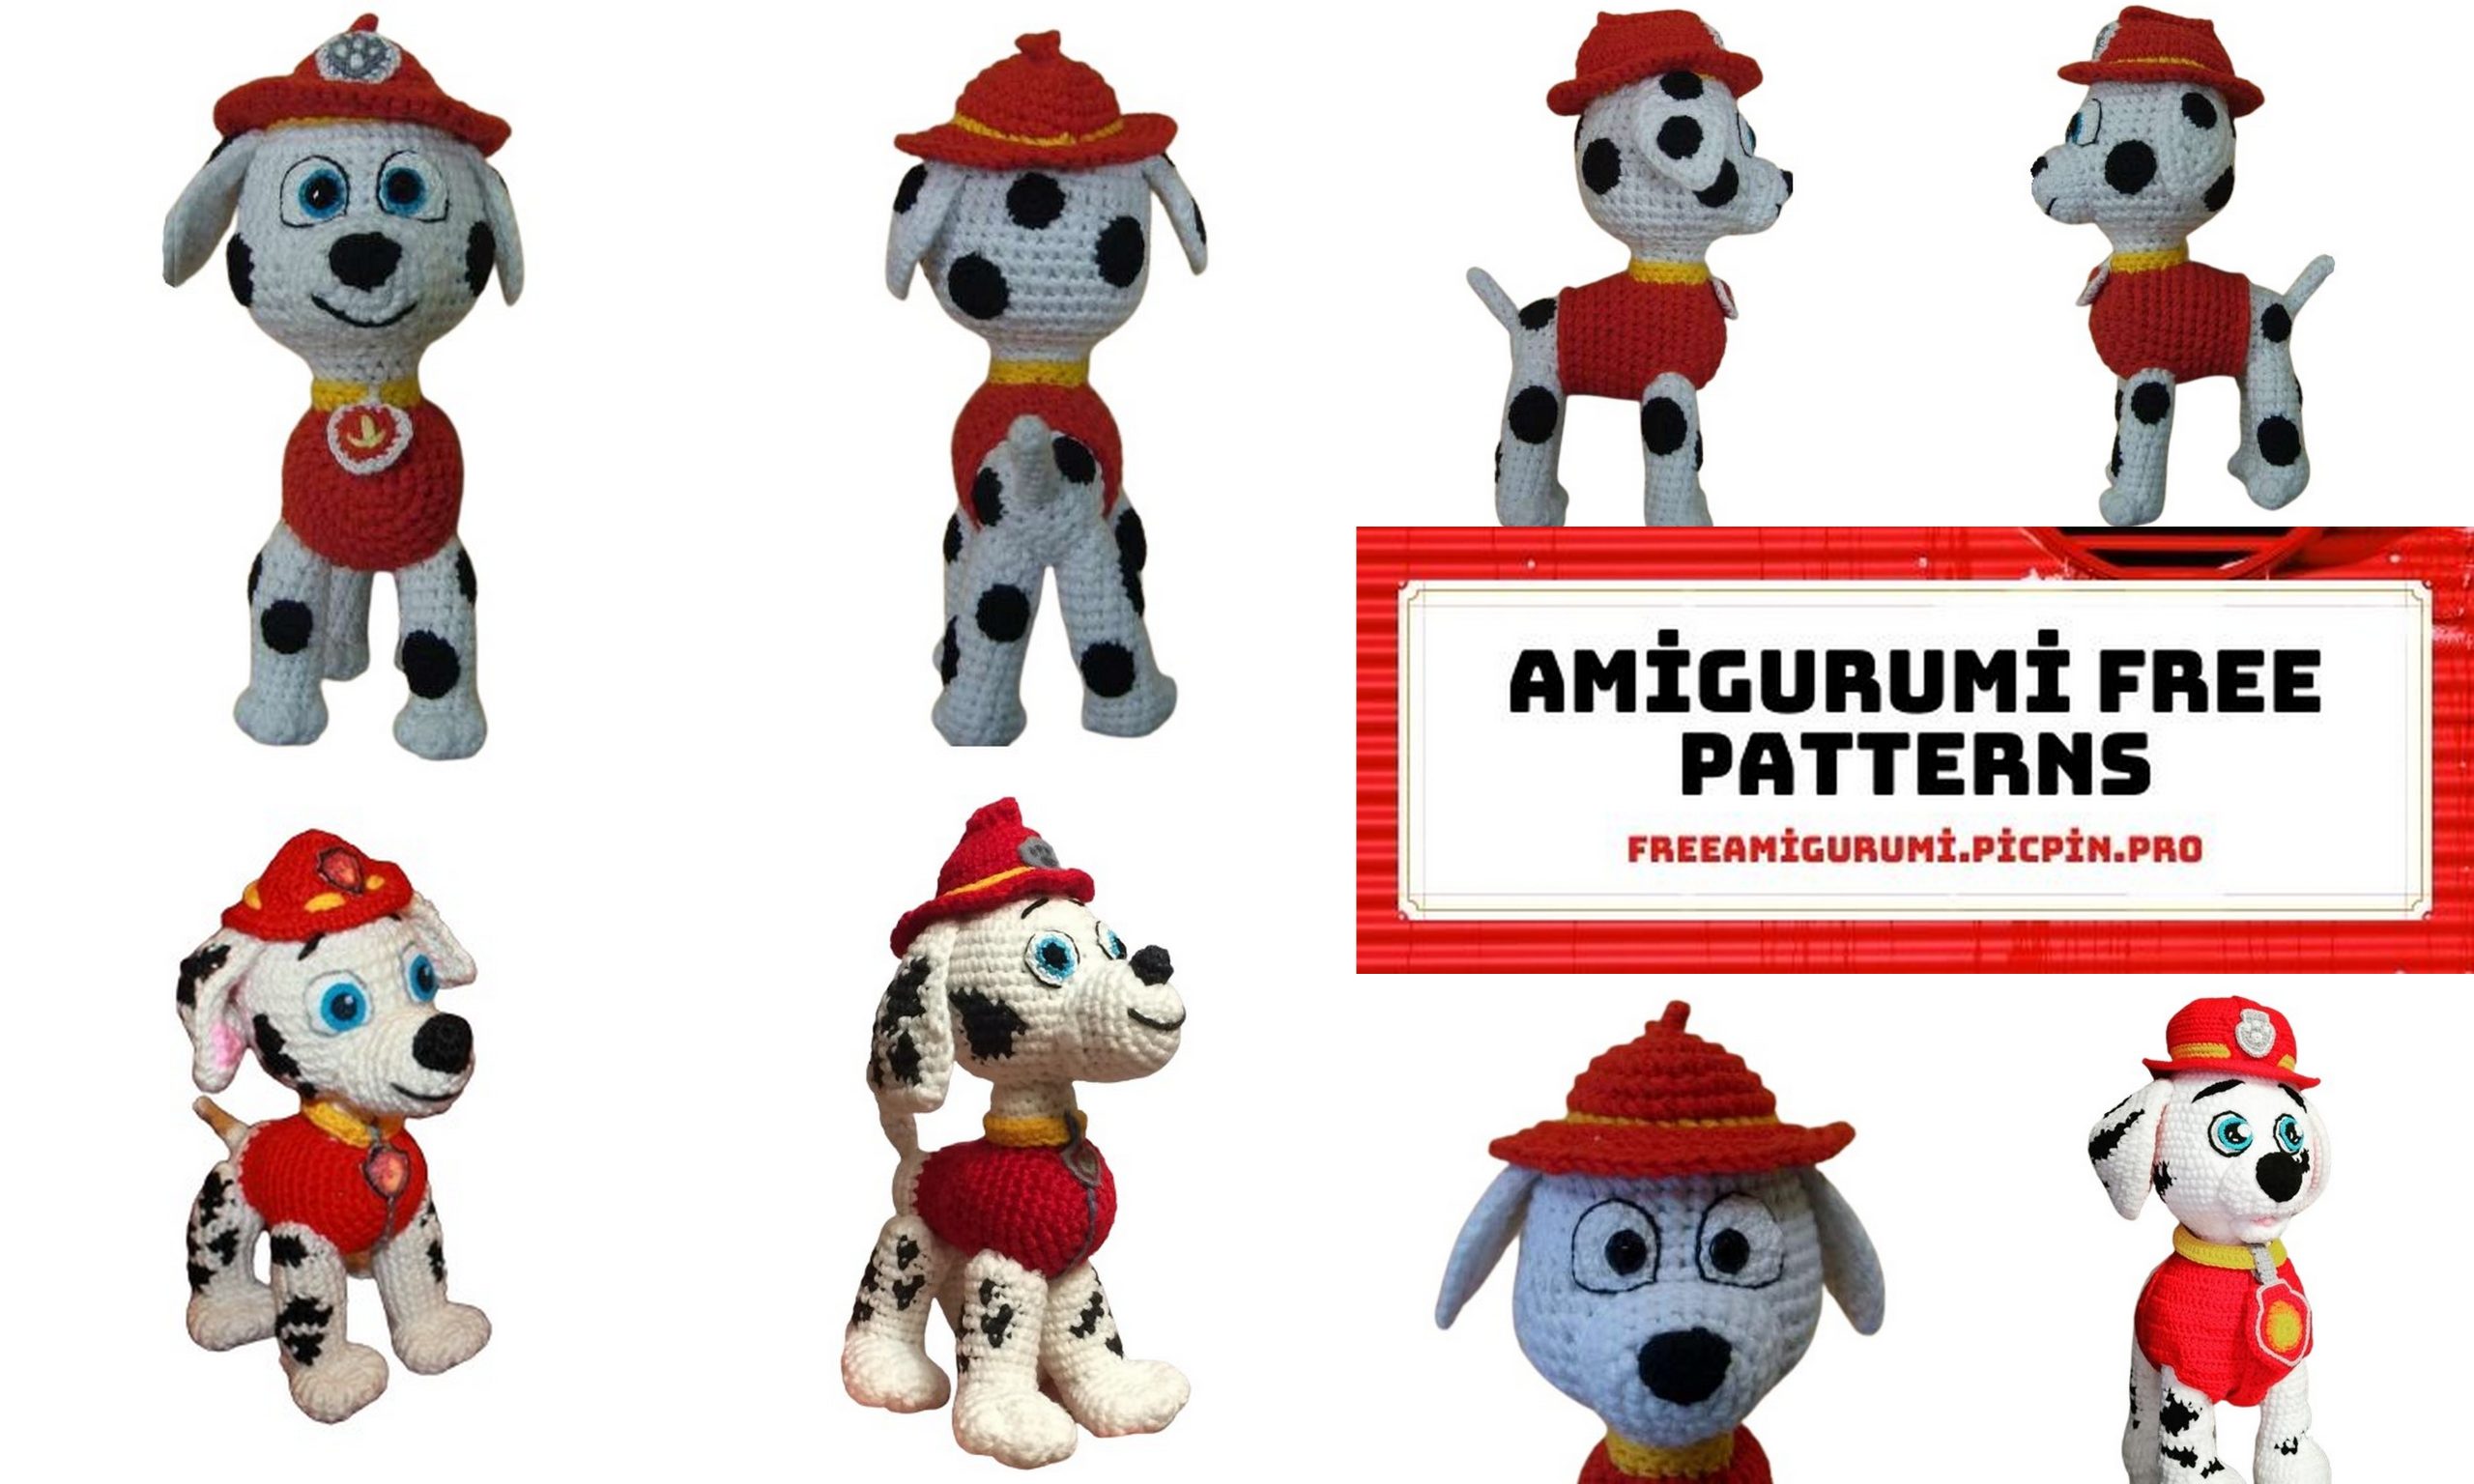
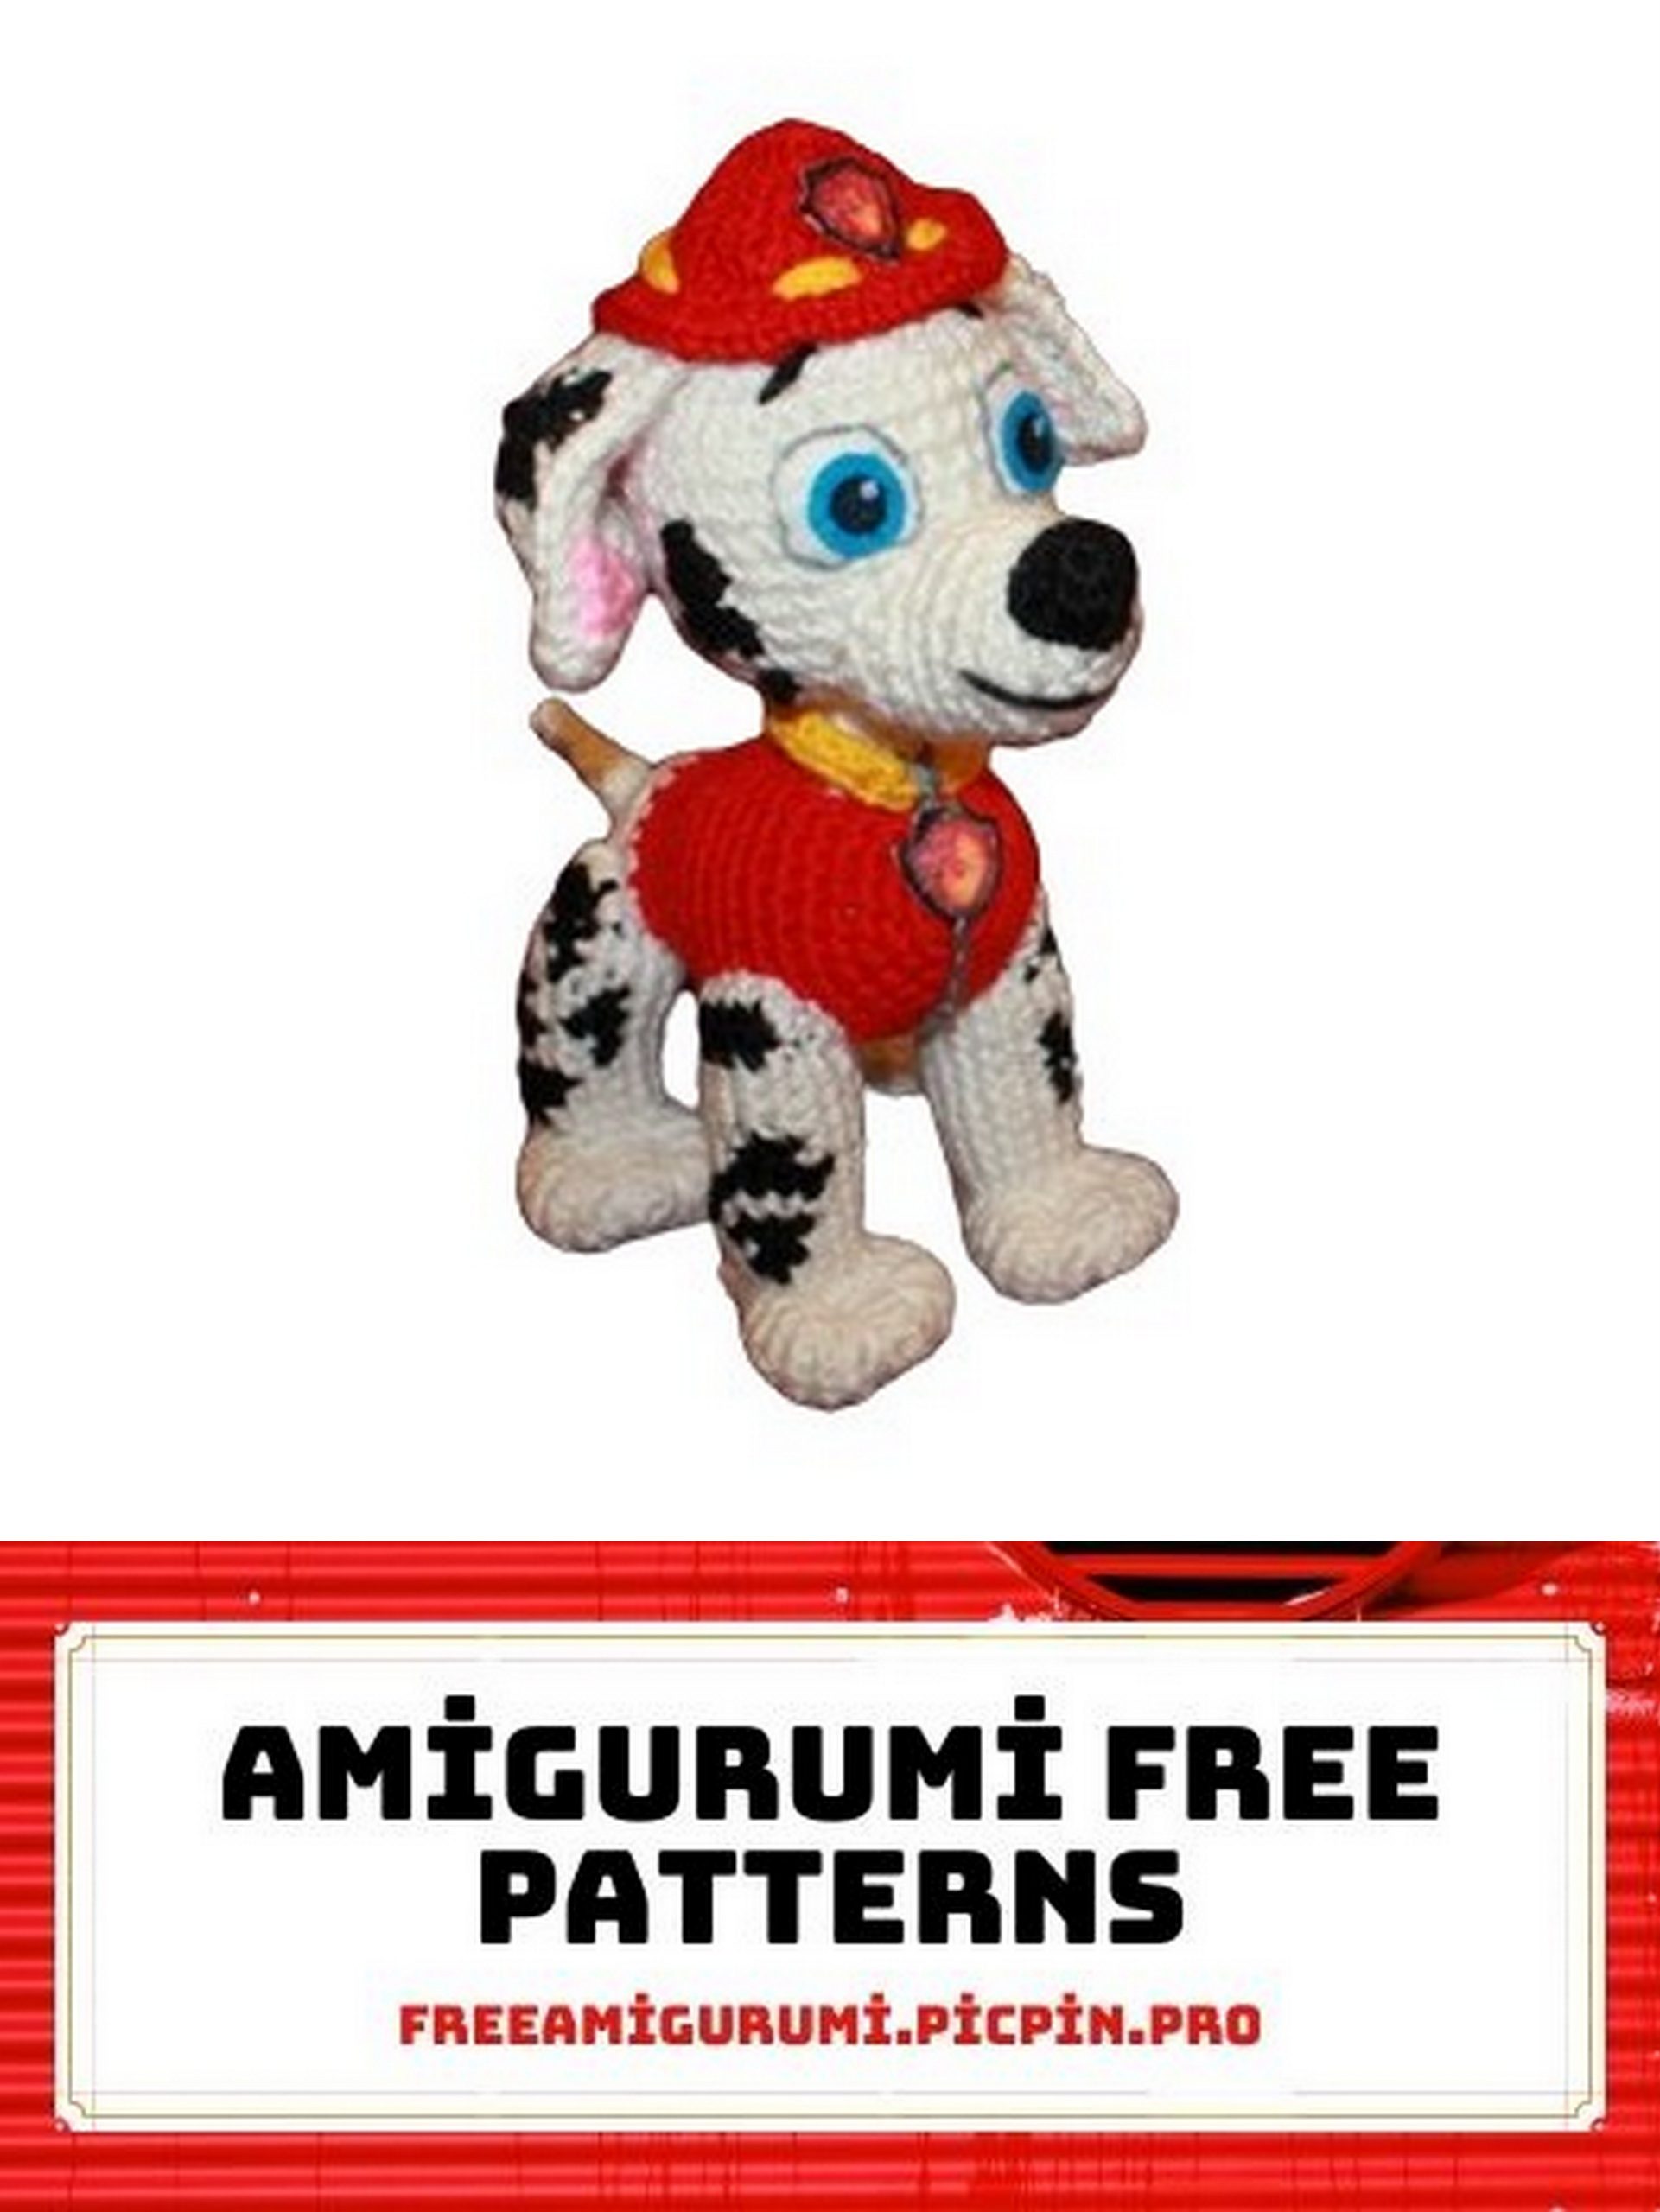
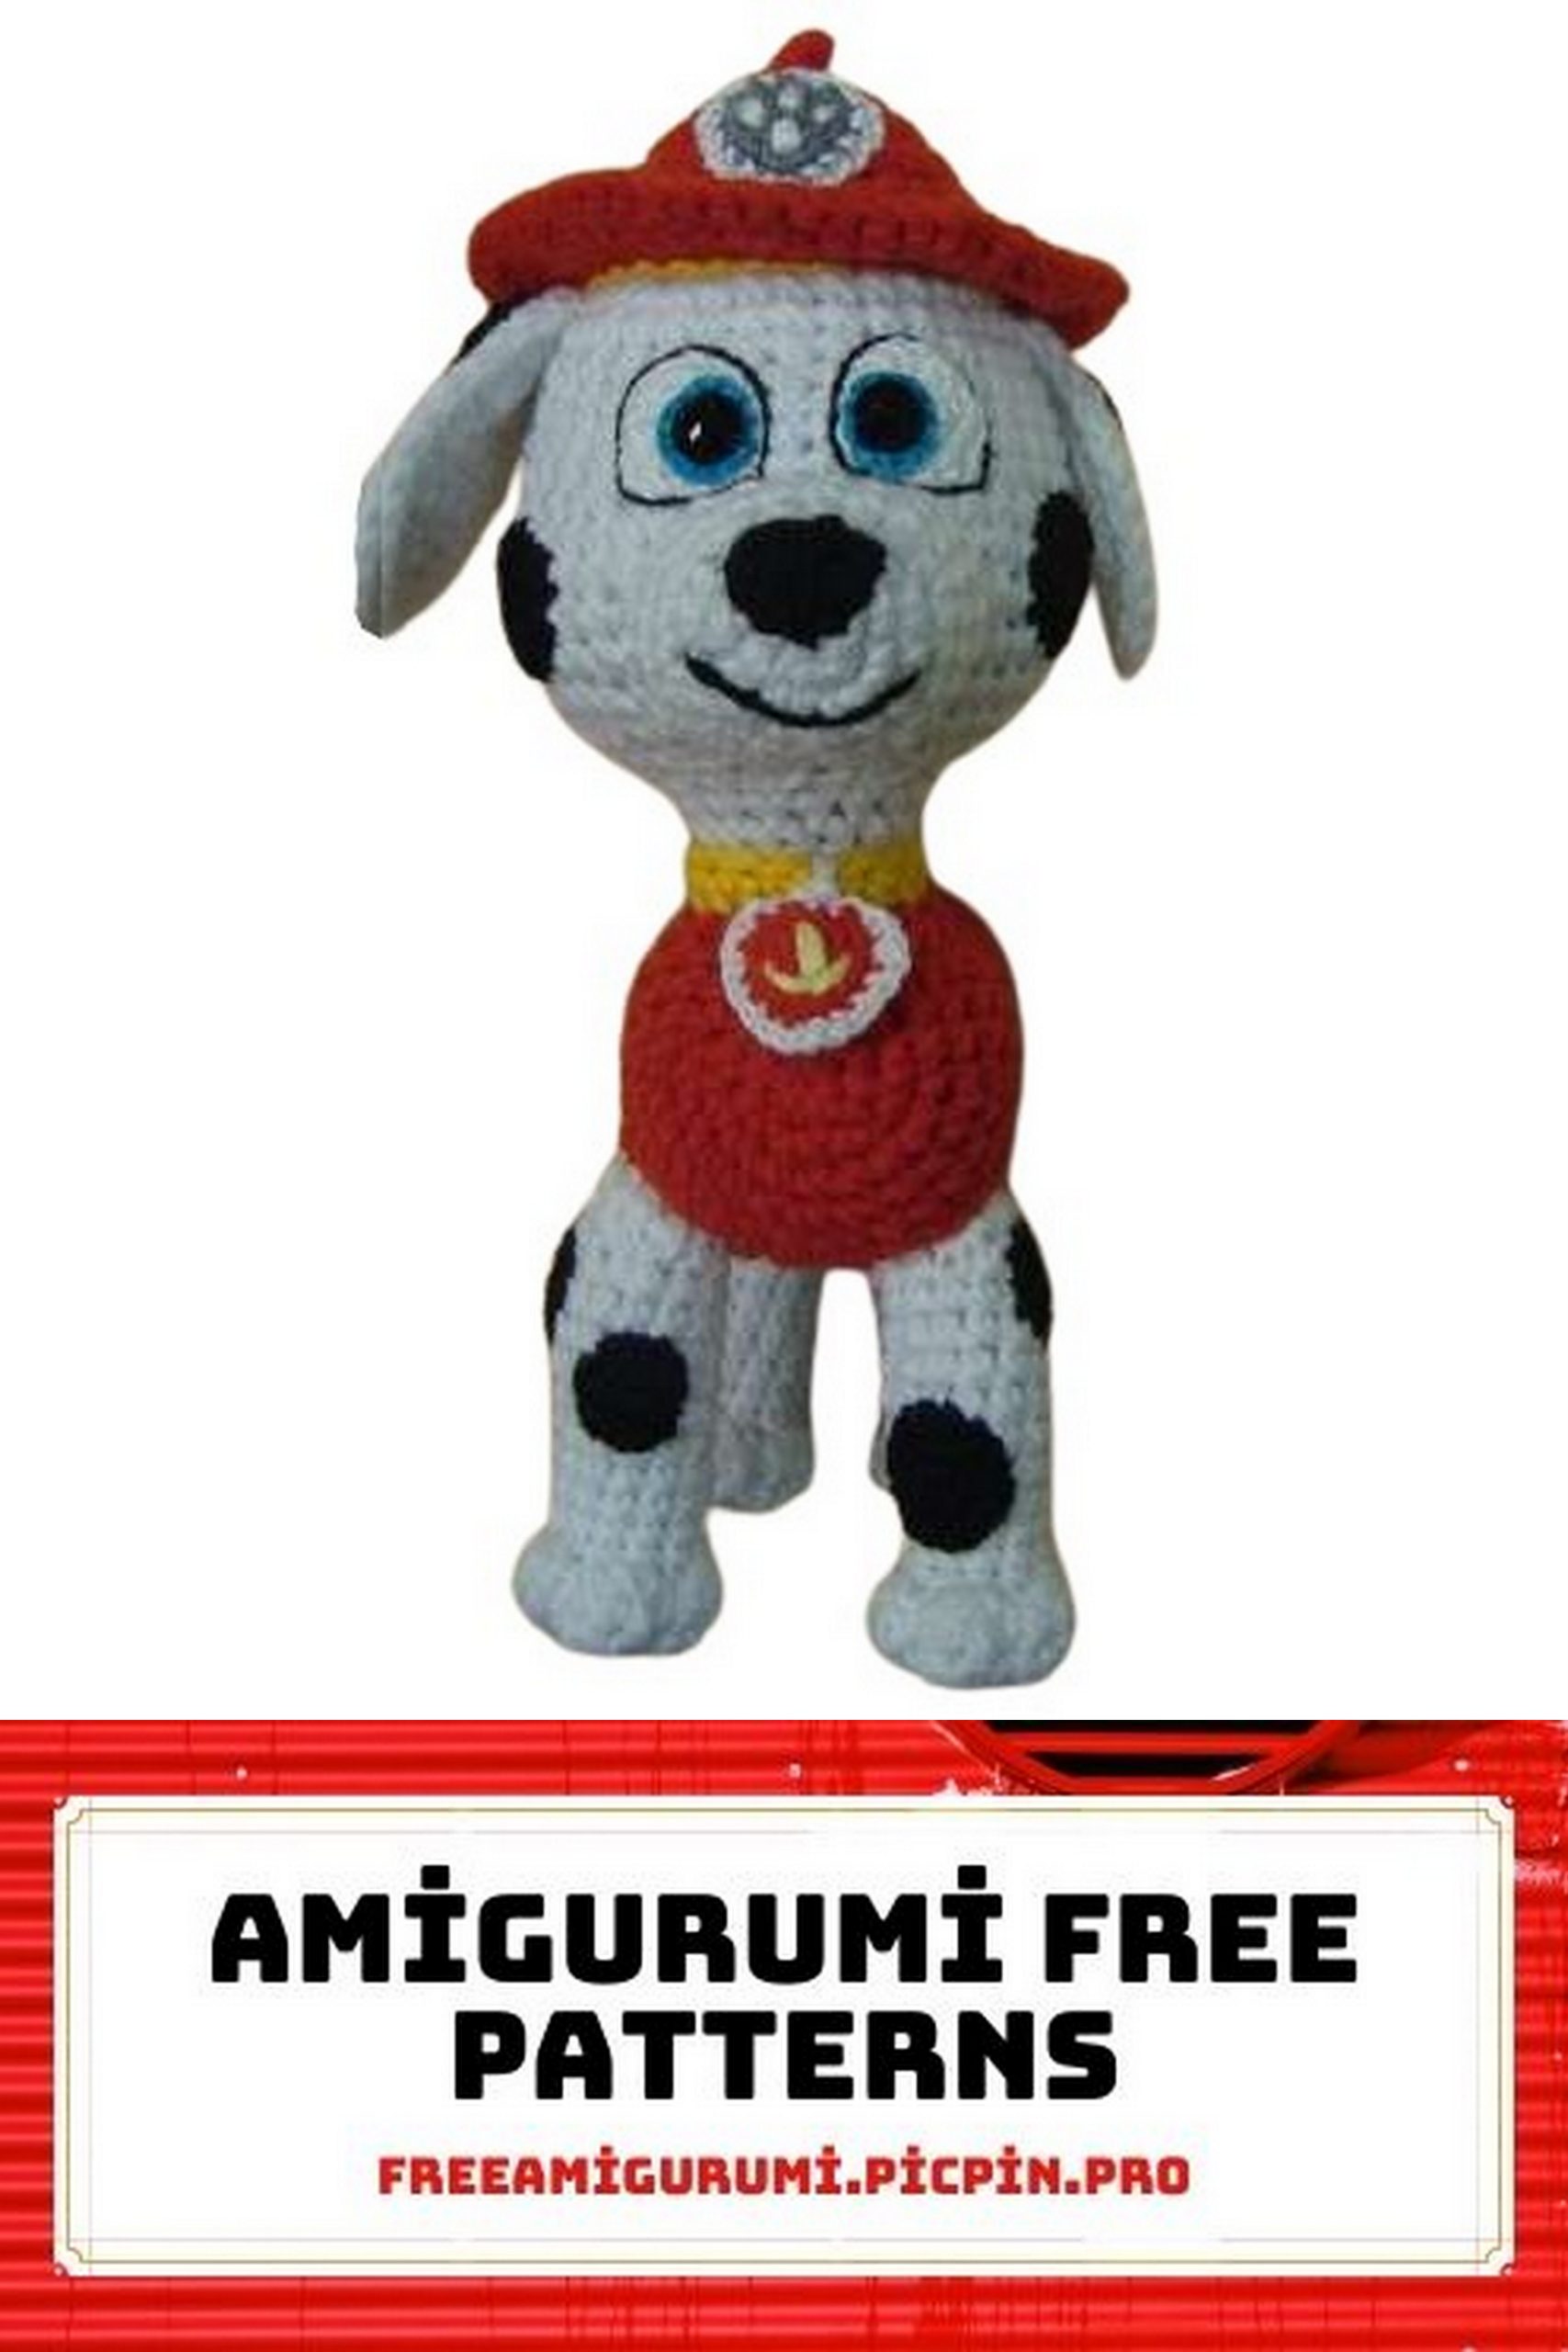
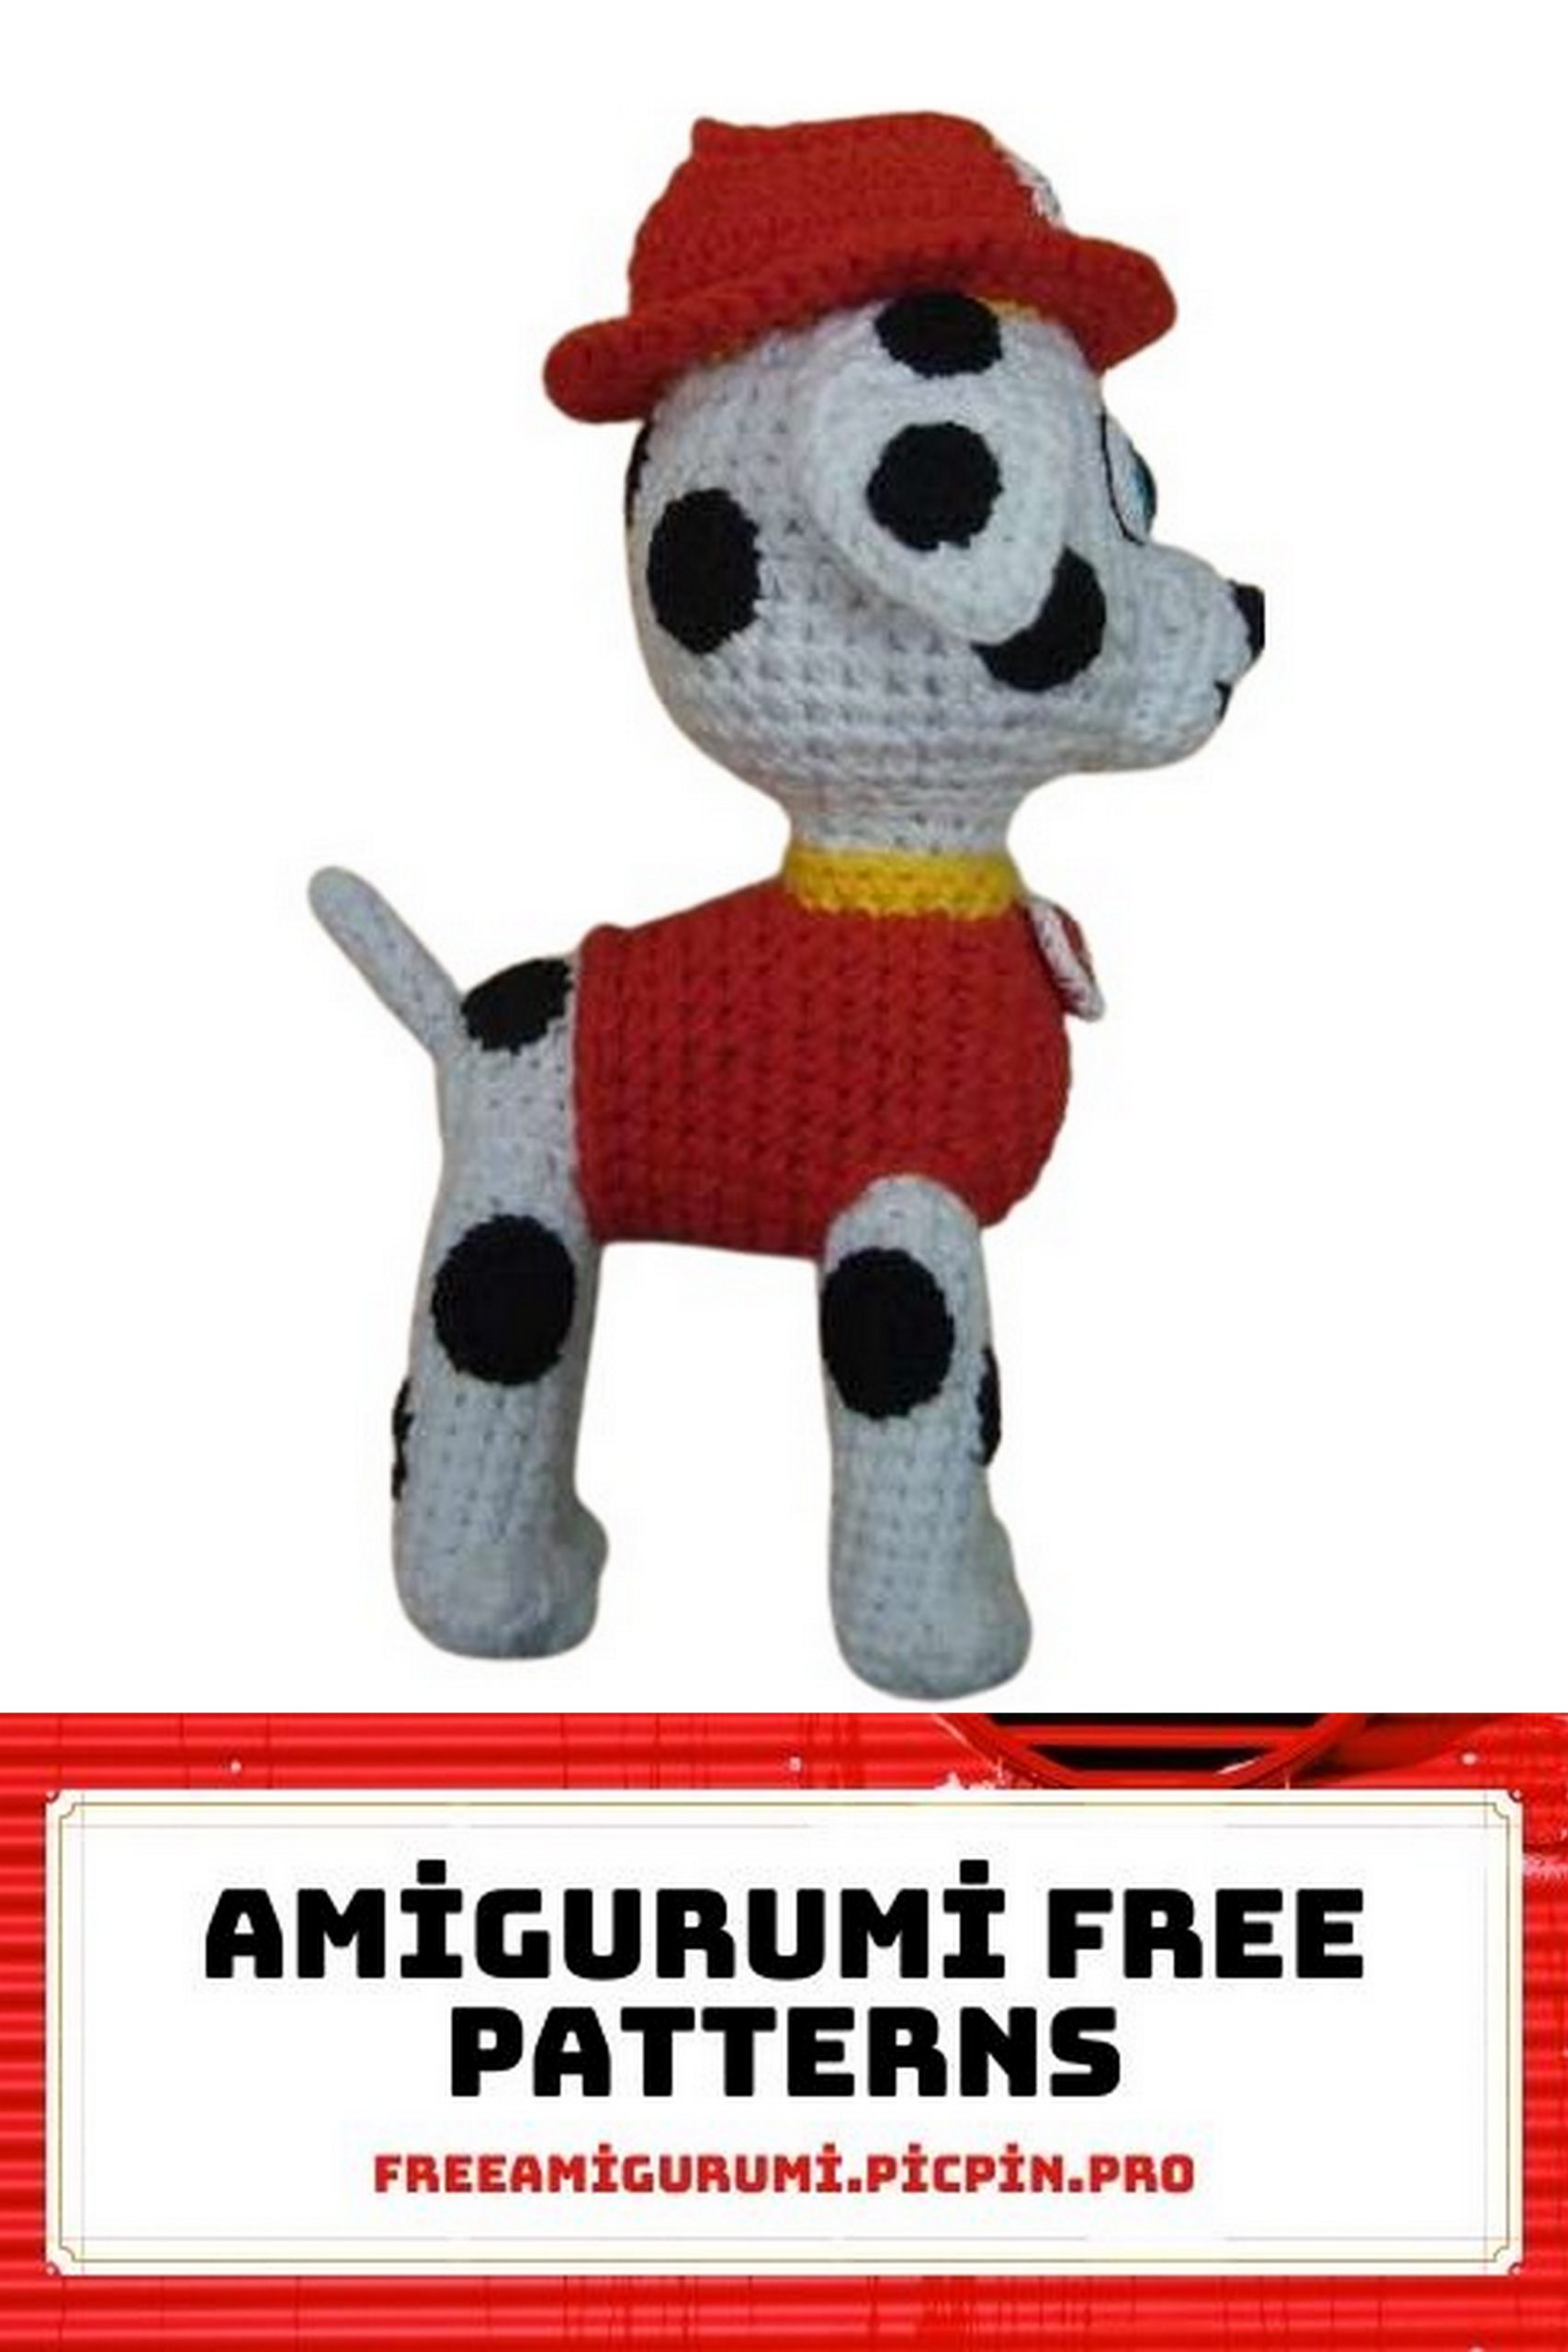
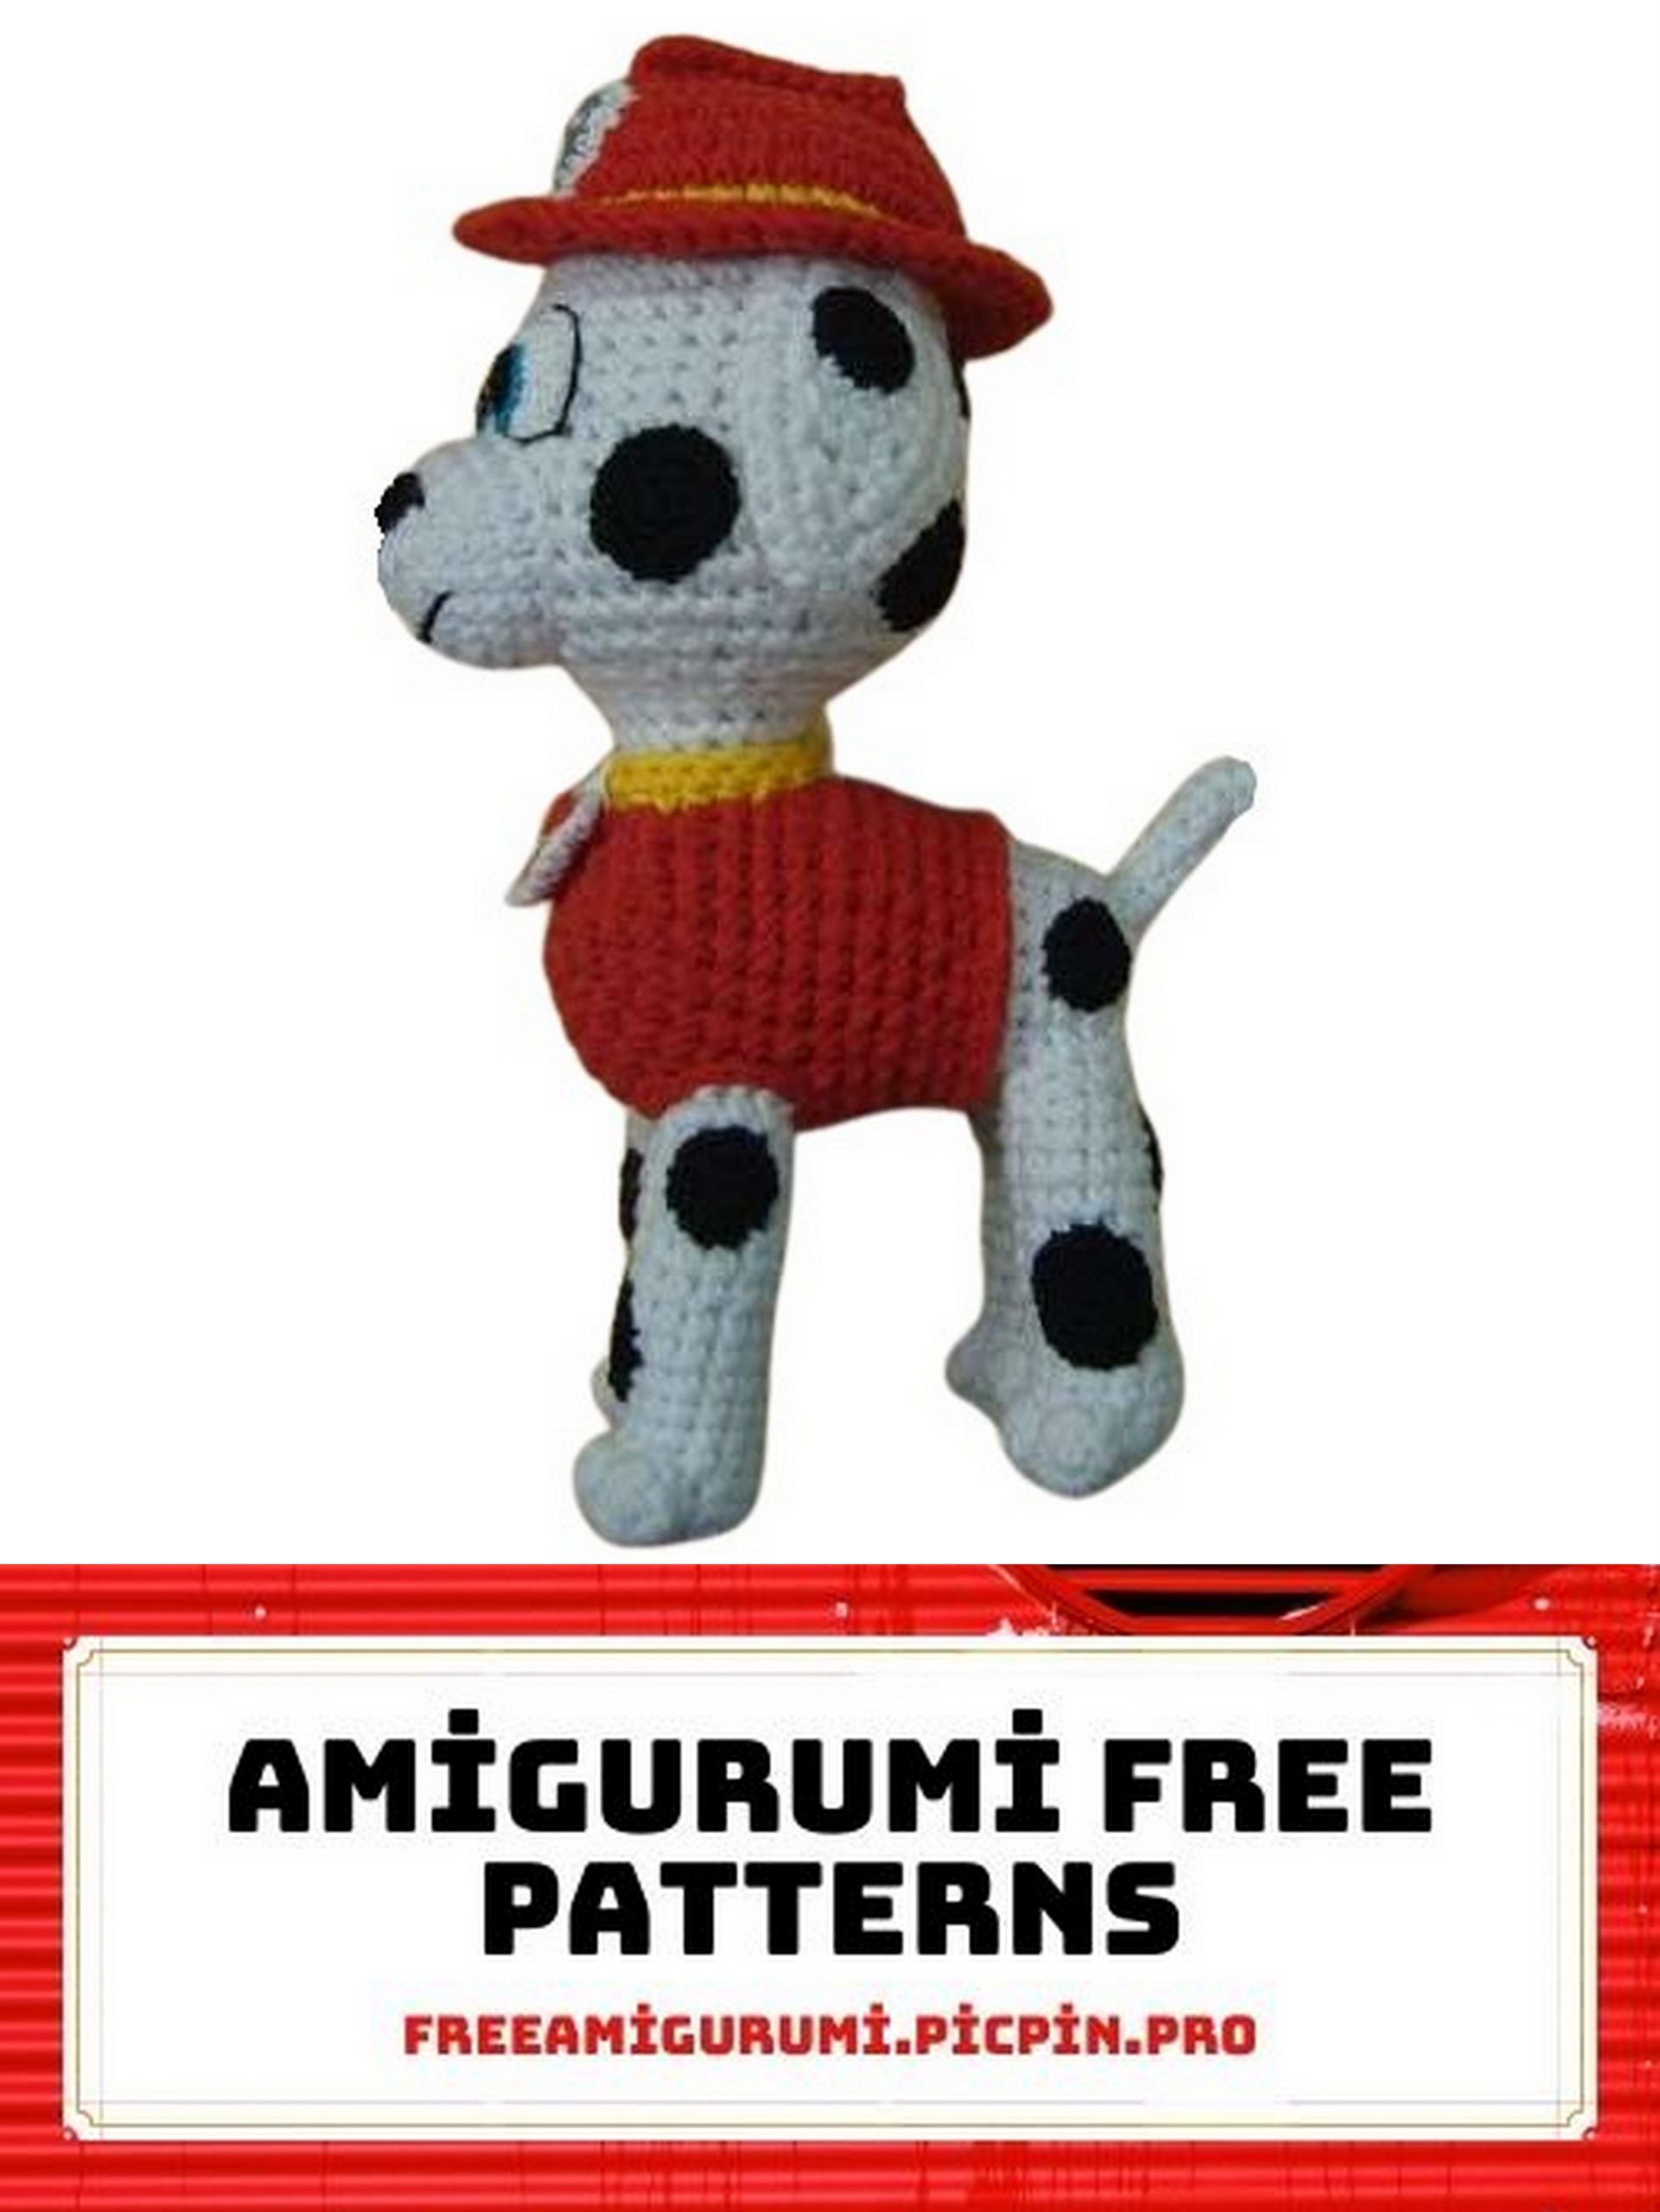
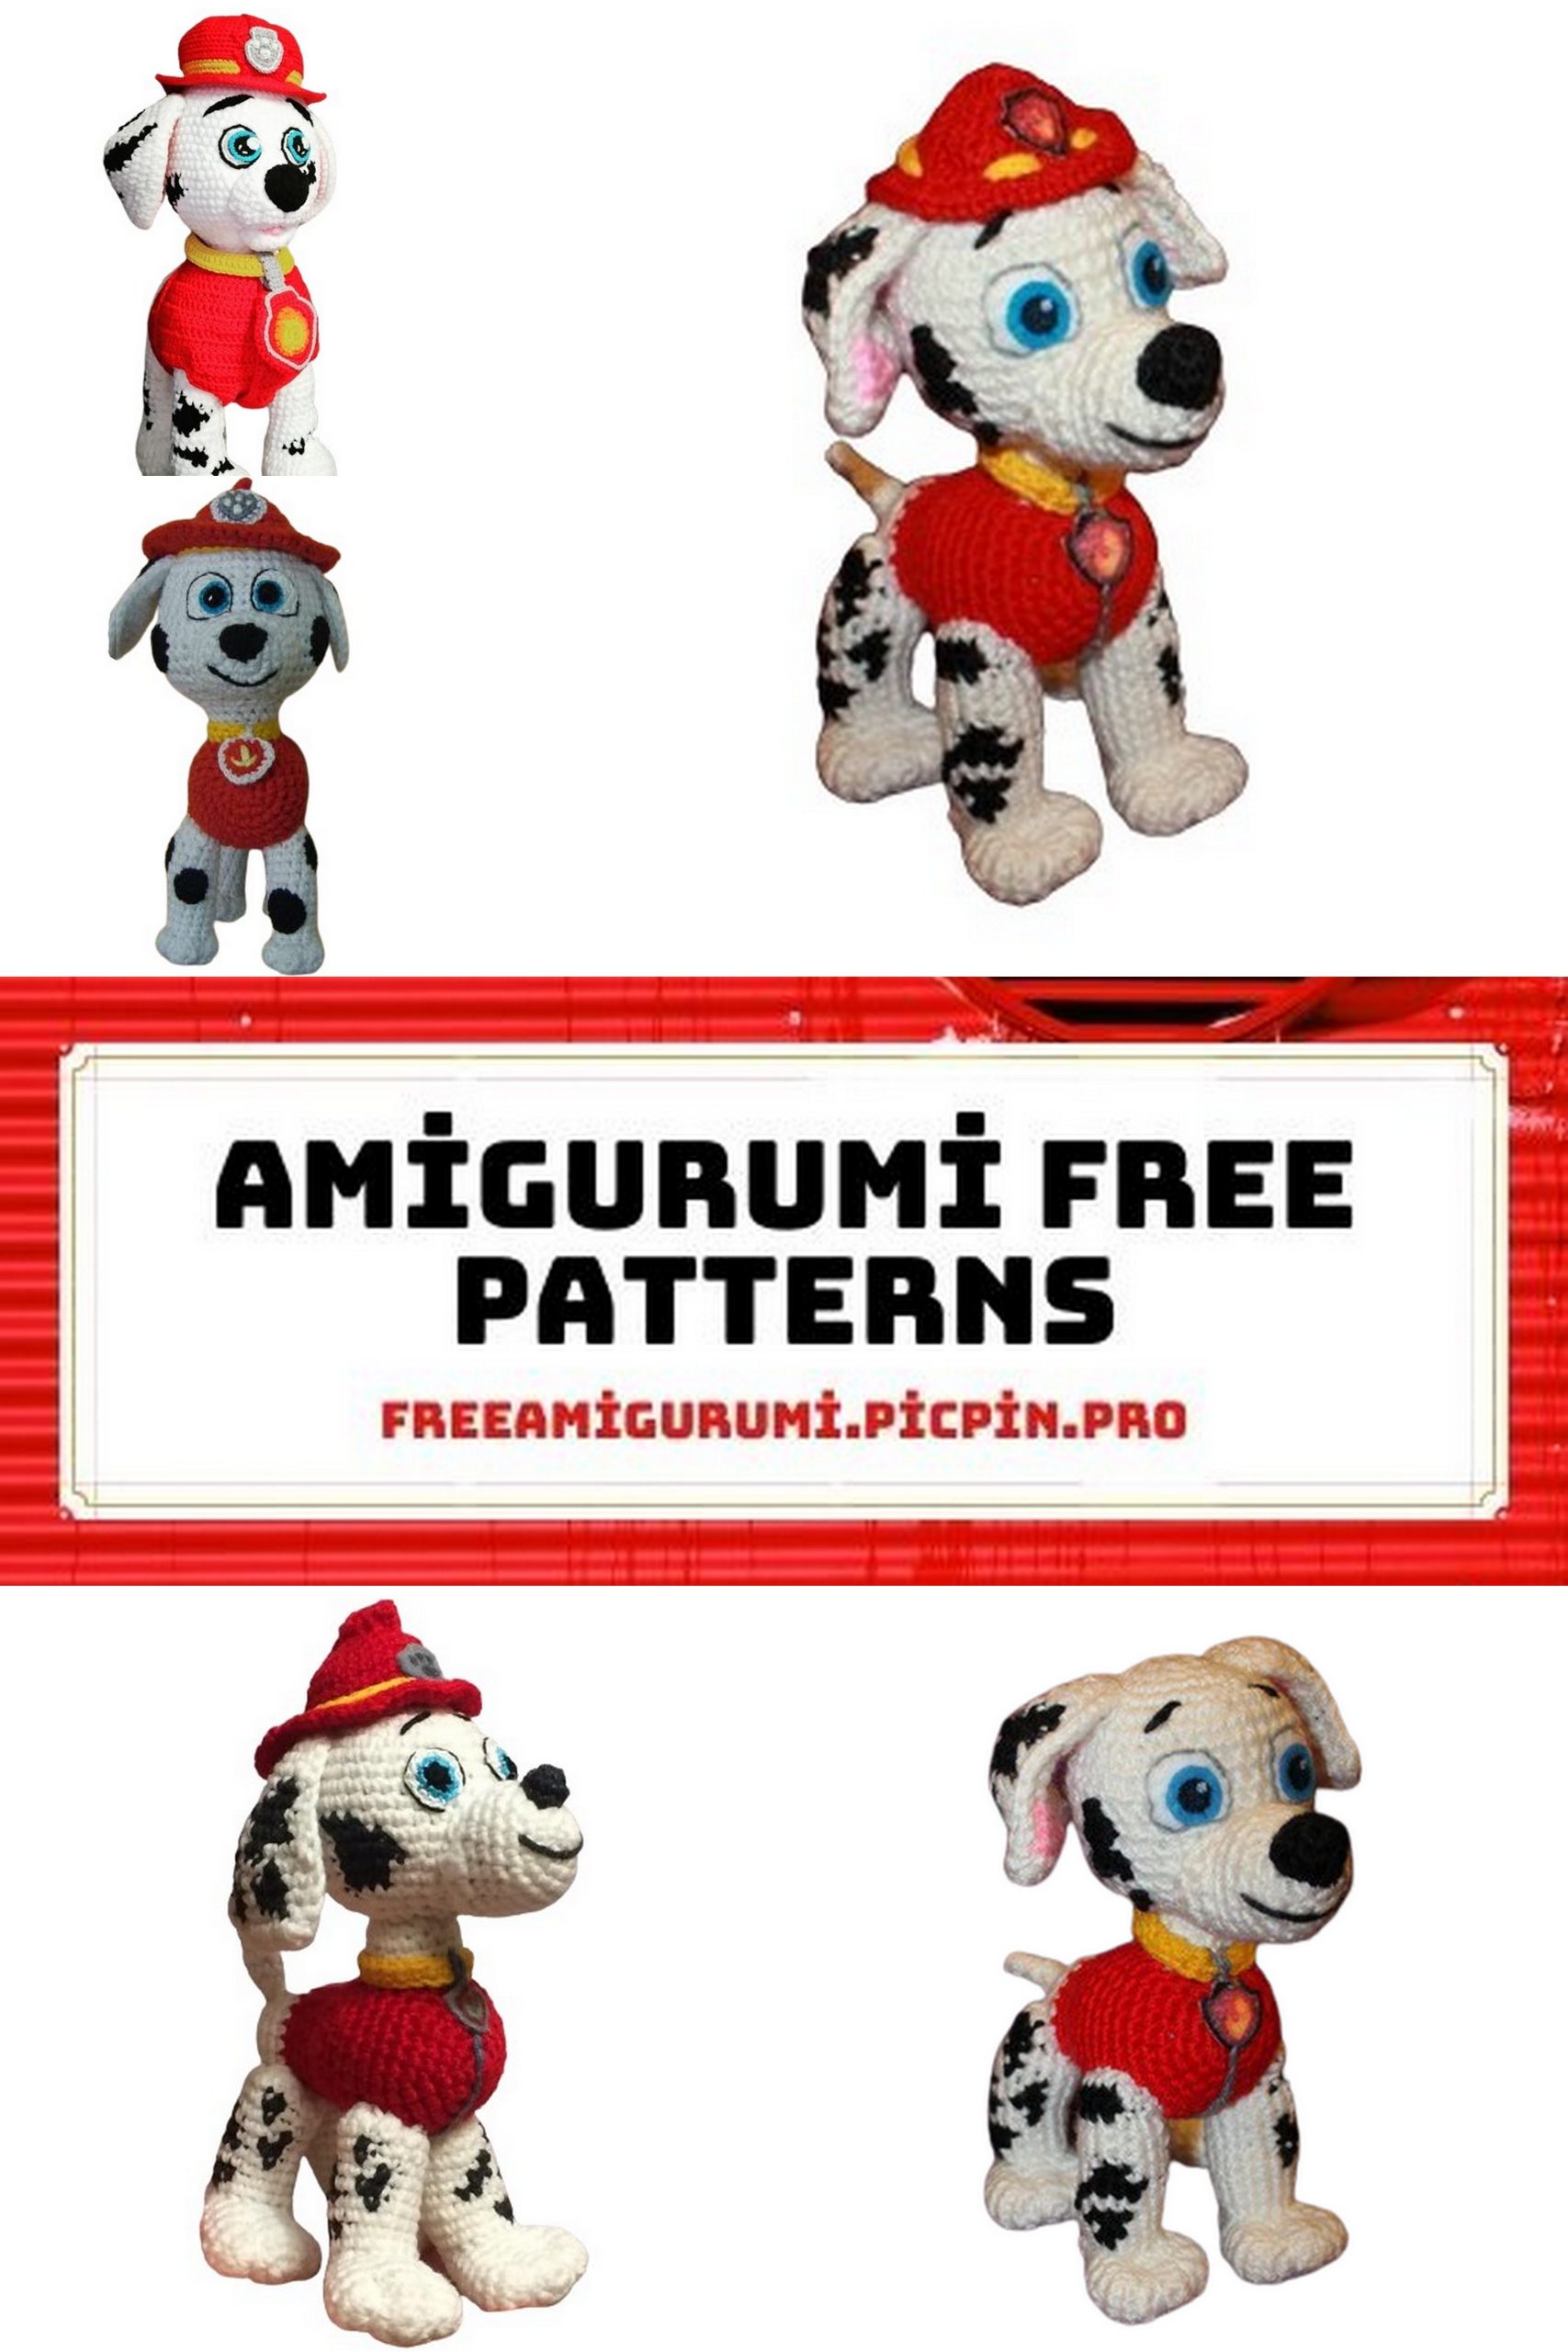
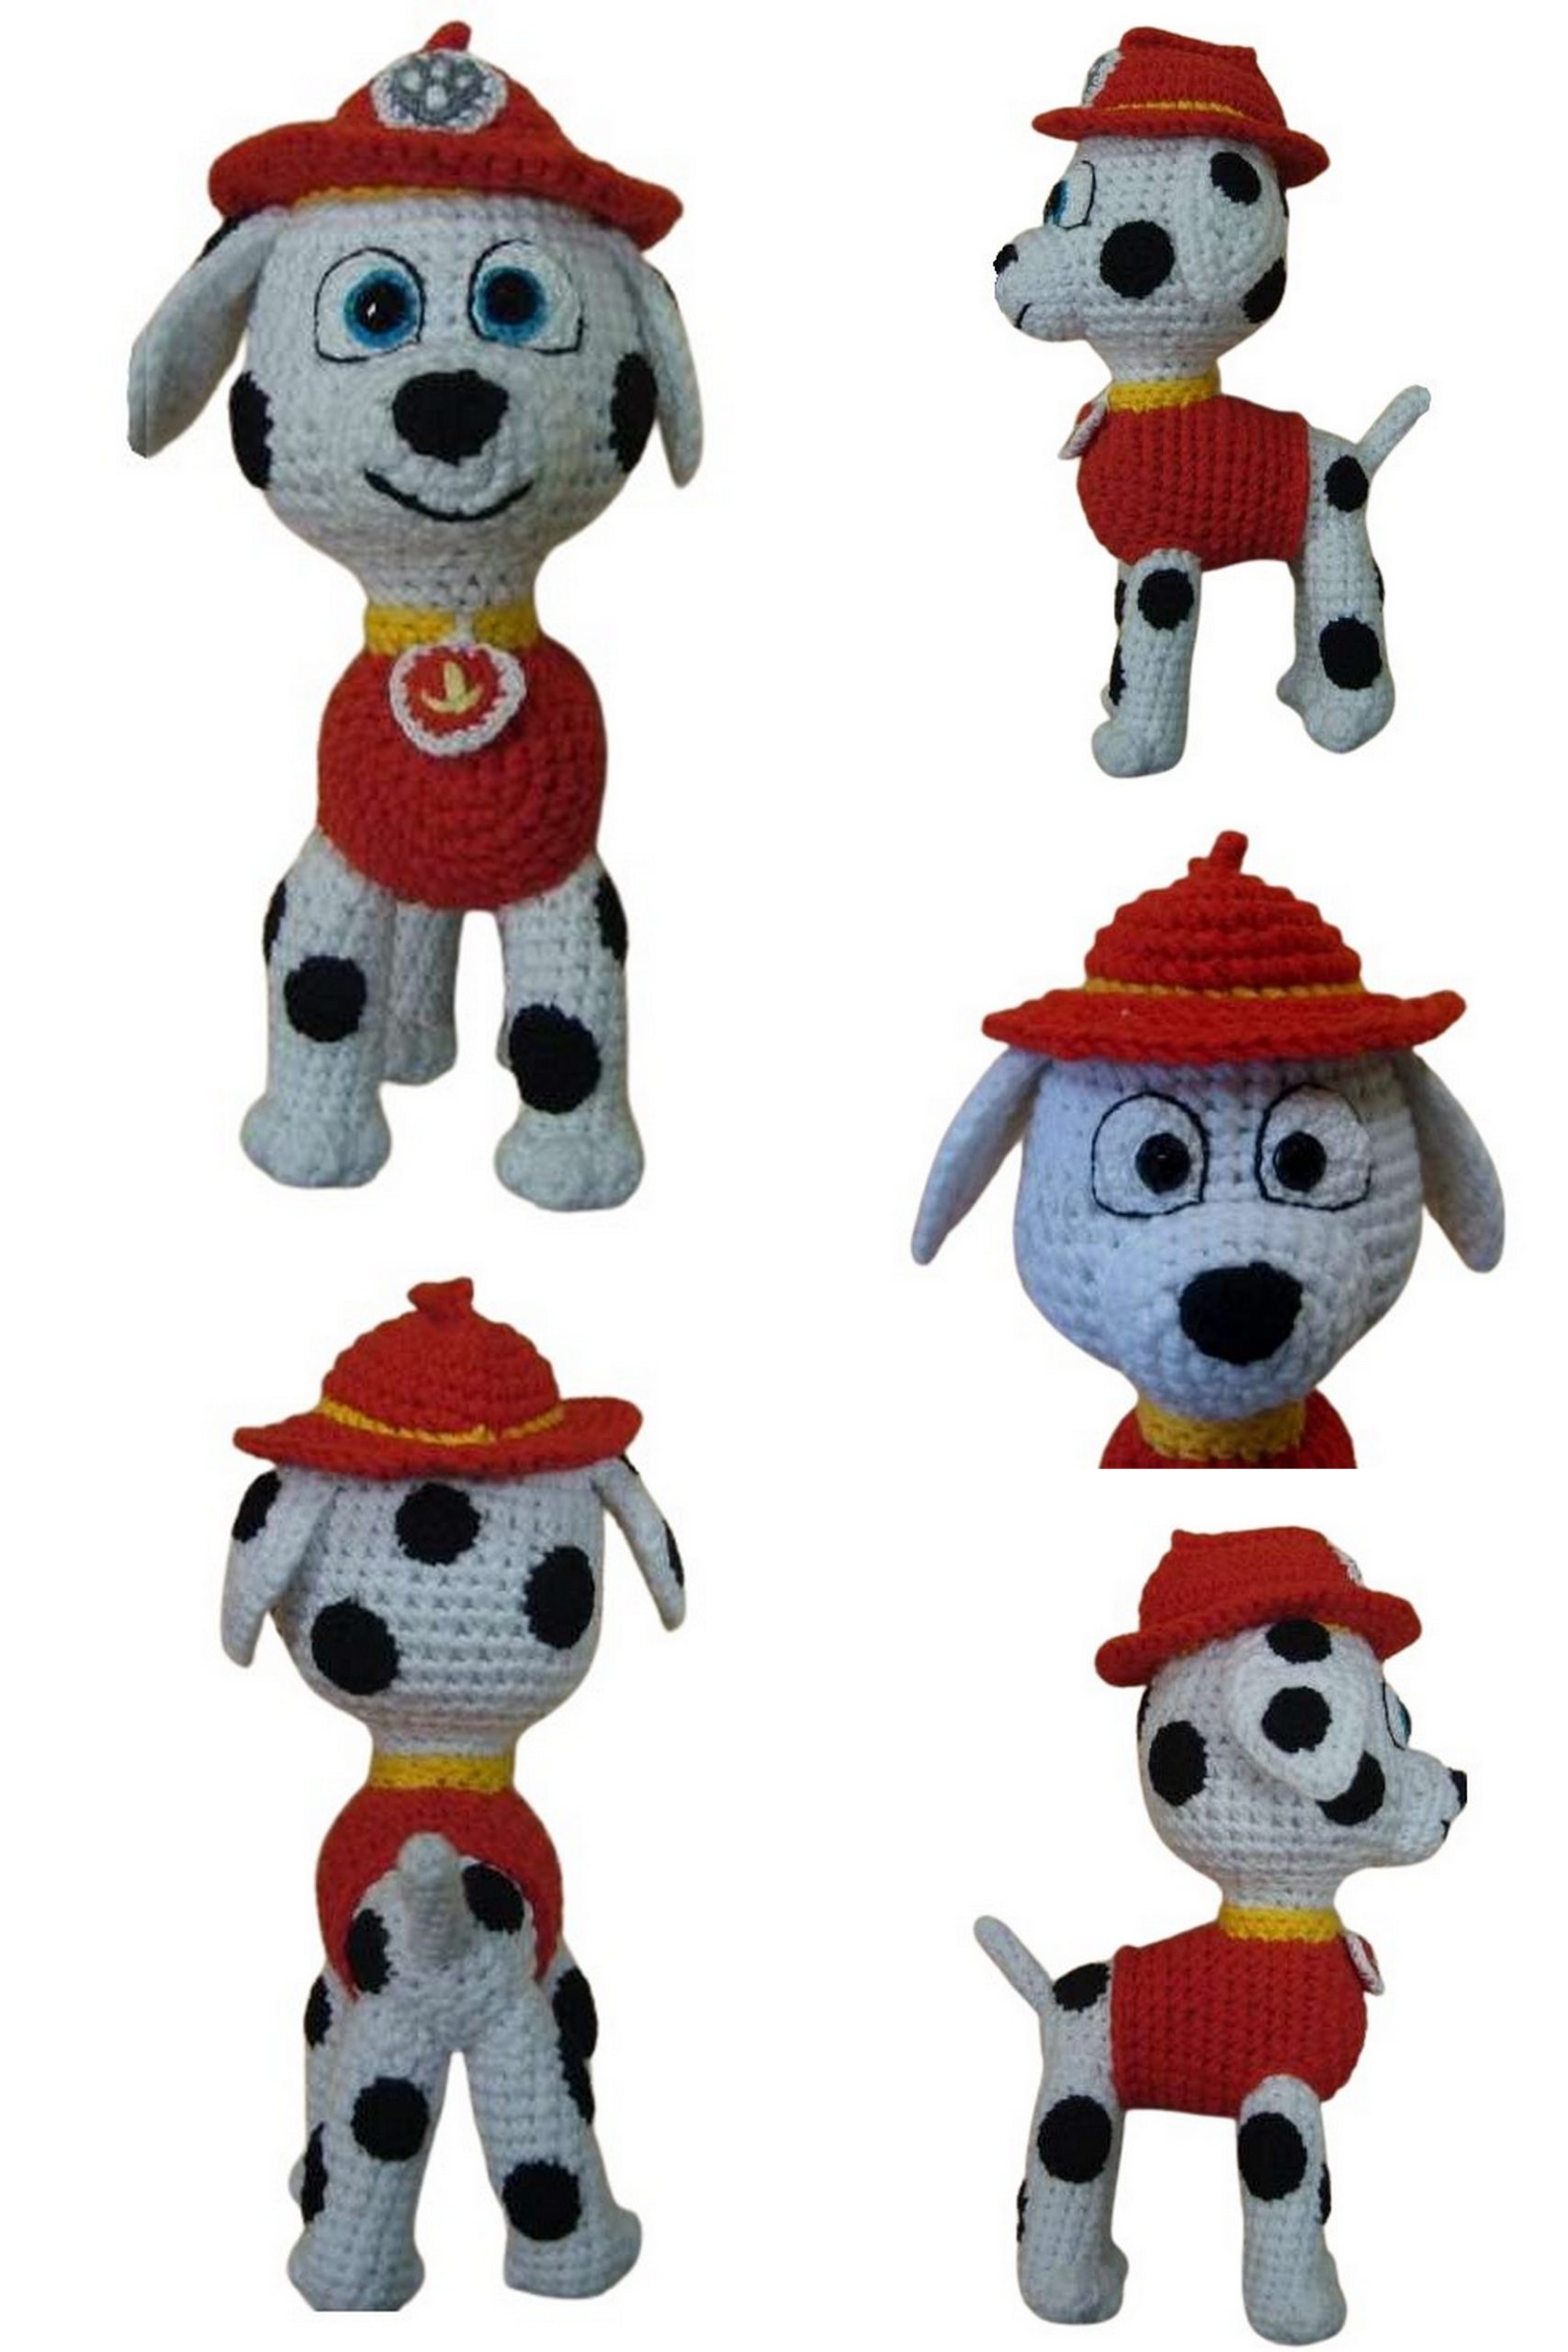
Free Dog Marshall Amigurumi Pattern: Crochet Your Own Paw Patrol Pup!
Crochet enthusiasts and Paw Patrol fans, rejoice! Get ready to embark on a fun and creative journey with our free Dog Marshall Amigurumi pattern. Bring the beloved character Marshall to life in adorable crochet form. Whether you’re a seasoned crocheter or just starting out, this pattern is perfect for crafting your very own cuddly companion. Join Marshall on his adventures with Ryder and the rest of the Paw Patrol crew, all while honing your crochet skills and creating a treasured keepsake.
Height 19 cm.
Tools and materials:
Crochet hook 2.5 or 2 mm. Crochet hook 1.5 or 1.25 for eyes and emblems.
Filling – polyester fiberfill.
Yarn ALIZE Cotton Gold, 55% cotton, 45% acrylic, 330 m/100 g. An alternative yarn is YarnArt Jeans.
Colors: white, red, a bit of yellow, and black.
Thin black yarn for spots and mouth embroidery, white yarn for eyes, blue (or embroidery floss) for iris embroidery, gray and red for emblems. VITA cotton COCO can be used, or another yarn (at least 200 m/50 g), alternatively, split the main yarn in half.
Sew-on rhinestones d = 8 mm.
Abbreviations:
ch – chain
sc – single crochet
sl st – slip stitch
inc – increase
dec – decrease
inc 3 in one – 3 single crochets in one stitch of the previous row
hdc – half double crochet
inc hdc 3 in one – 3 half double crochets in one stitch of the previous row
dec hdc 3 in one – 3 half double crochets worked together
Unless otherwise specified, all parts are crocheted in spirals.
PATTERN
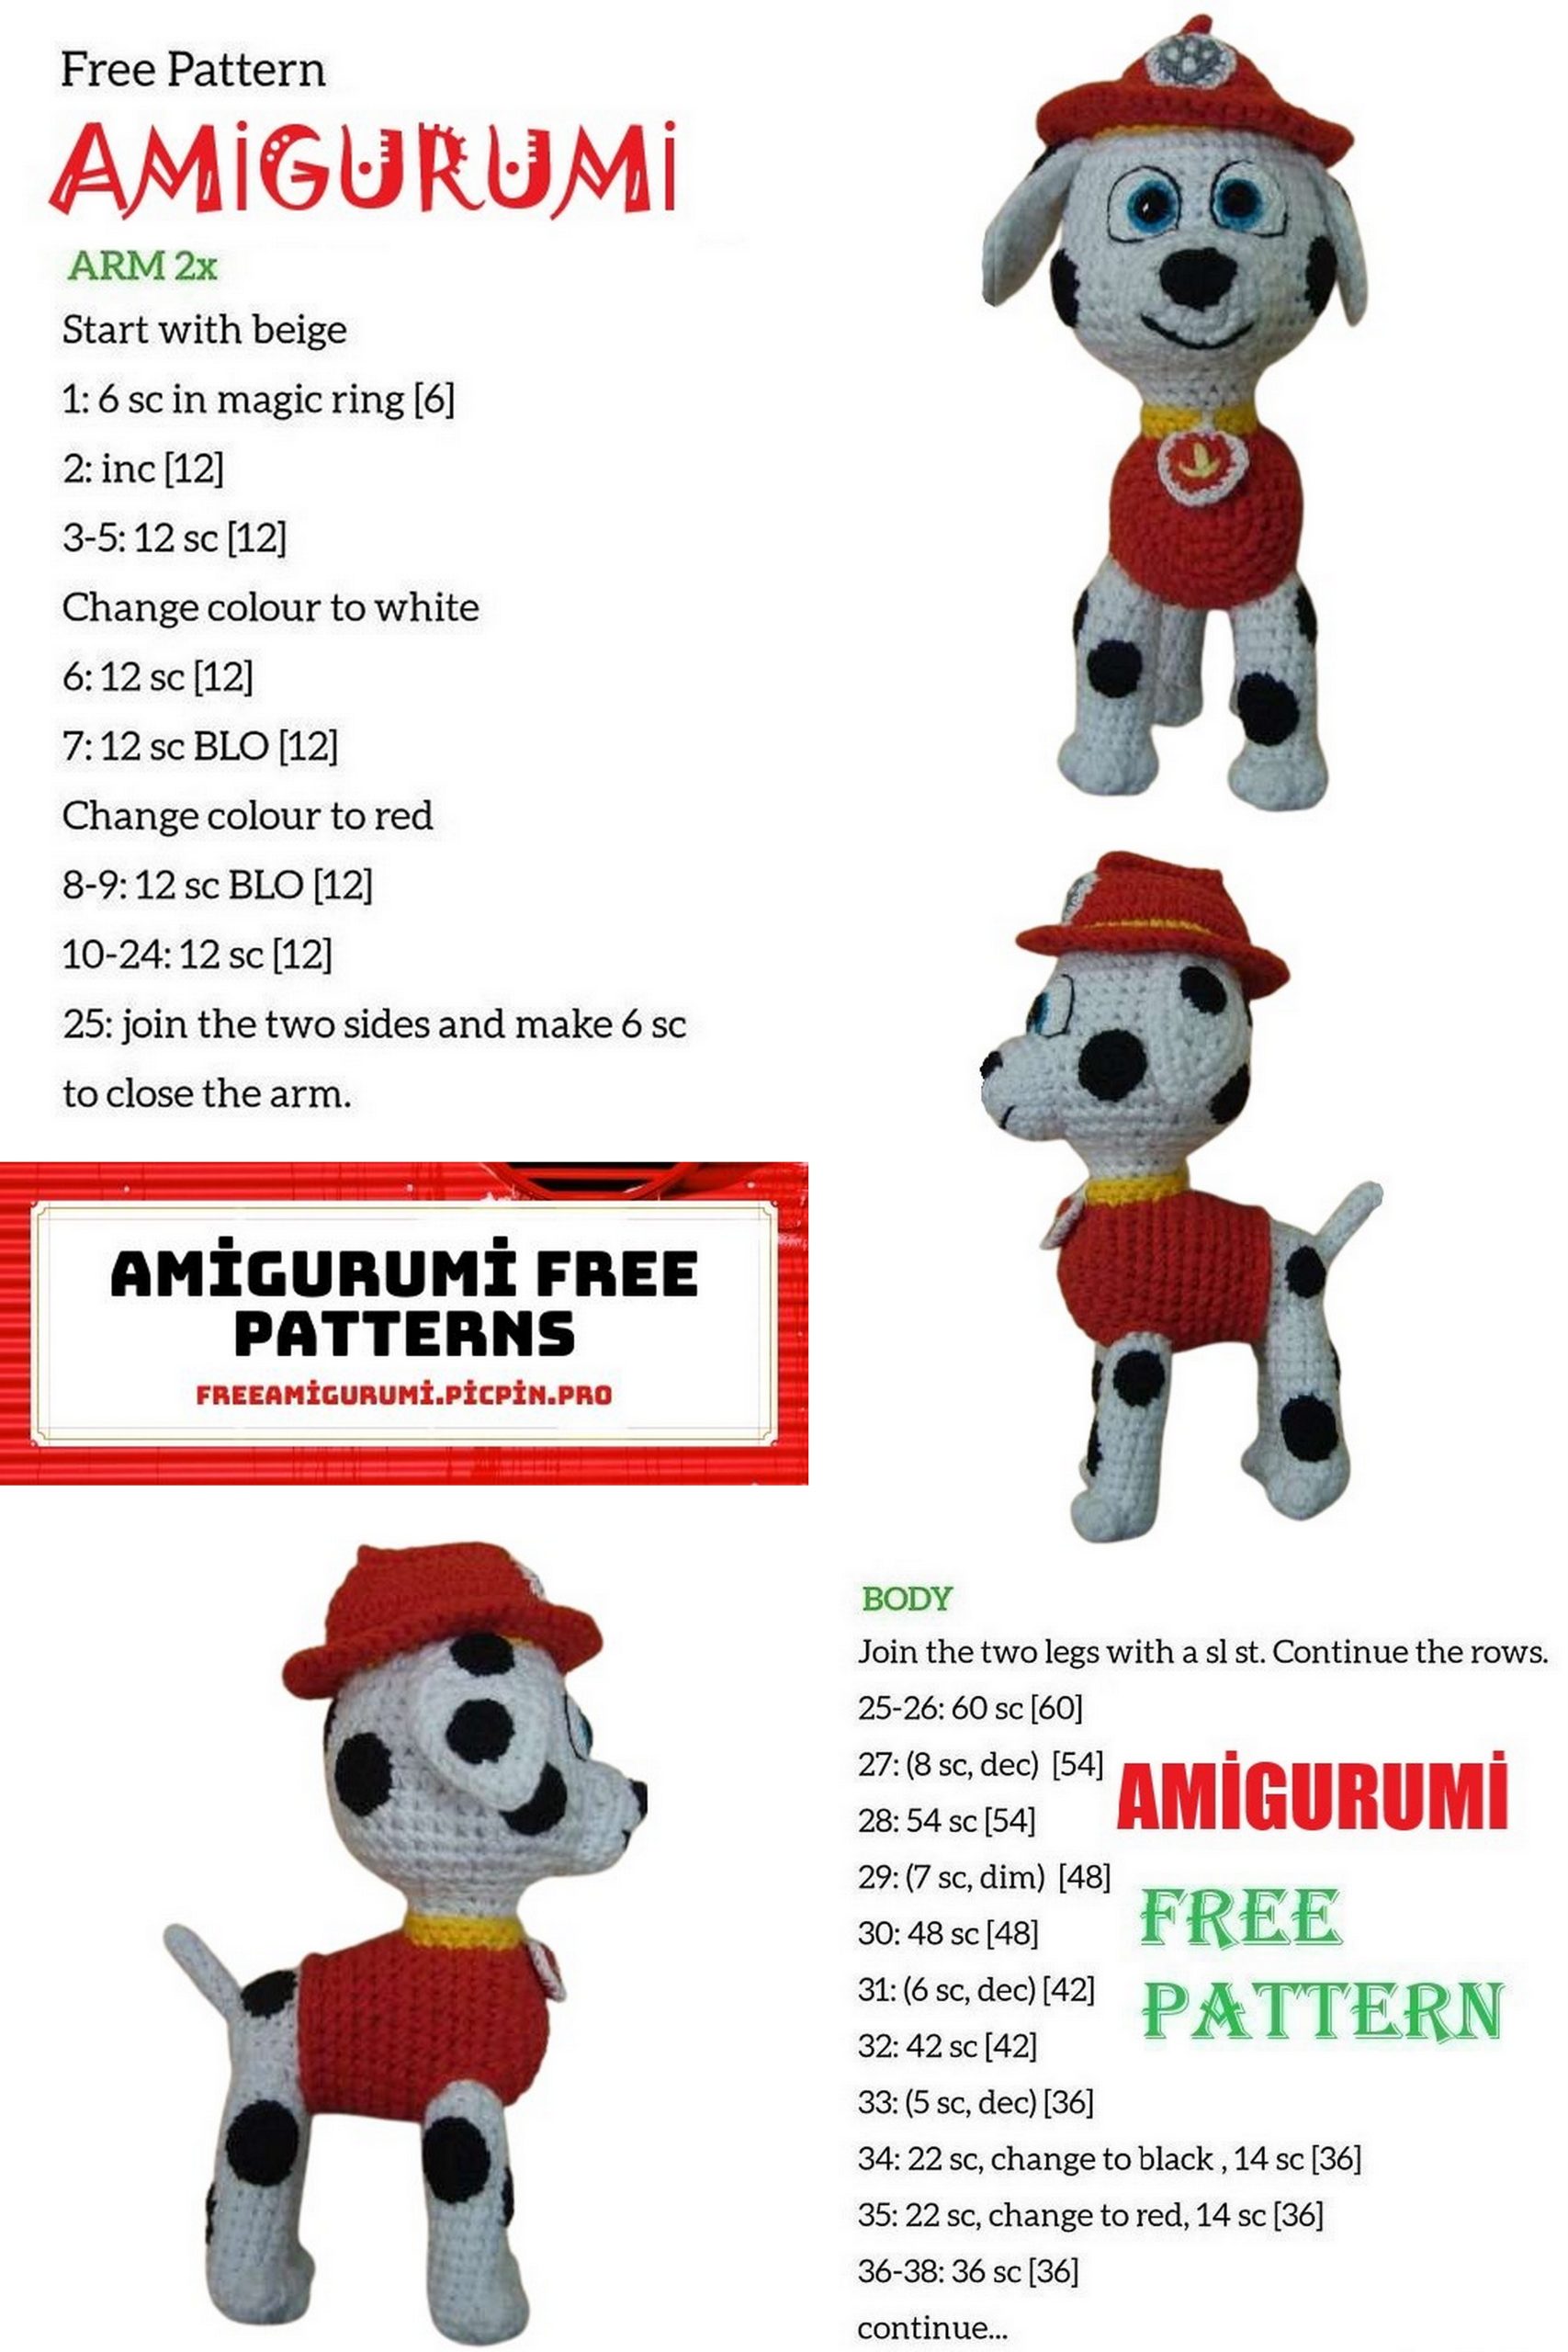
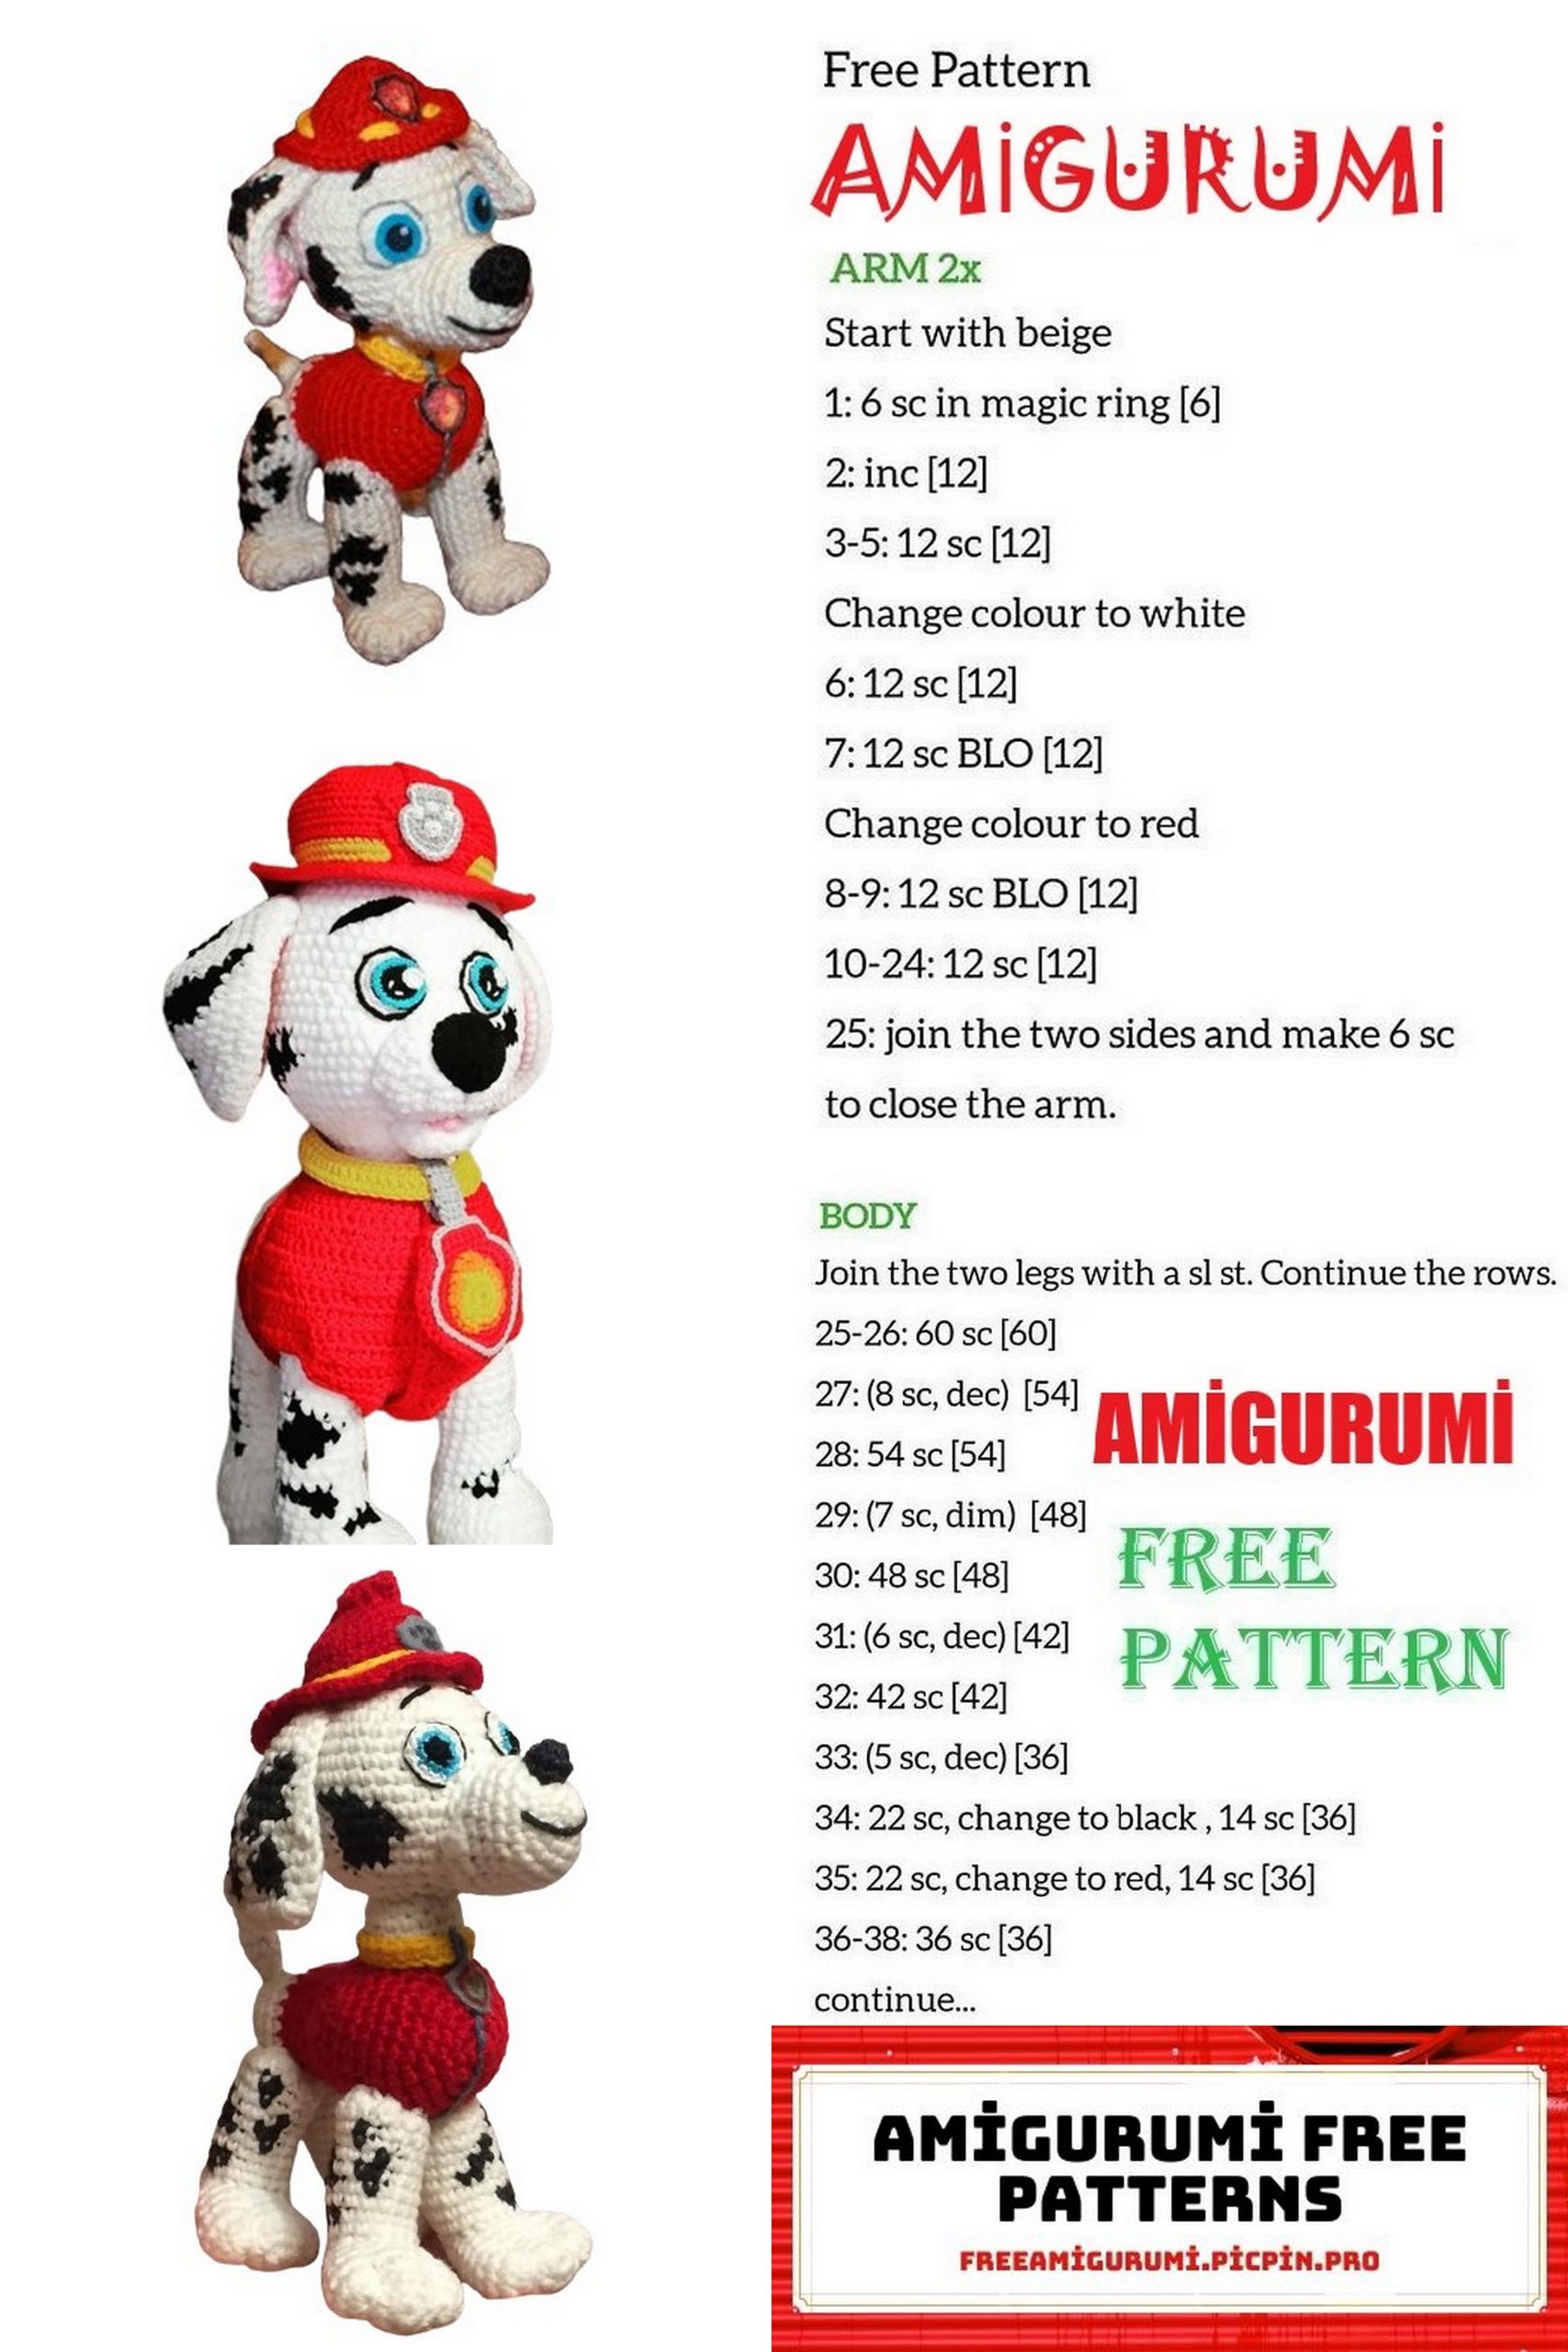
Body (red, white):
Start crocheting with red yarn.
Rnd 1: 6 sc in the magic ring.
Rnd 2: 6 inc = 12 sc.
Rnd 3: (inc, 1 sc)*6 = 18 sc ( )*6 – repeat 6 times.
Rnd 4: (2 sc, inc)*6 = 24 sc.
Rnd 5: (inc, 3 sc)*6 = 30 sc.
Rnds 6-11: 30 sc.
Rnd 12: (dec, 8 sc)*3 = 27 sc.
Rnd 13: 27 sc.
Rnd 14: 4 sc, (dec, 7 sc)*2, dec, 3 sc = 24 sc.
Rnd 15: 24 sc.
Stretch the last loop a bit longer so it doesn’t unravel, leave the yarn without cutting, leave it before crocheting. Continue crocheting with white yarn.
Rnd 16: in the back loop (6 sc, dec)*3 = 21 sc.
Rnd 17: 21 sc.
Stretch the last loop again while leaving the white yarn. Crochet red trim: over the remaining white front loops, 23 sc, slip stitch into the 24th stitch. Do not fasten off the yarn, cut it and pull the end. Then tuck it through the next stitch inside the crochet and tie it with a knot to the beginning end of the white yarn. Continue crocheting with white yarn.
Rnds 18-20: 21 sc.
Stuff the body.
Rnd 21: (dec, 1 sc)*7 = 14 sc.
Rnd 22: 7 dec = 7 sc.
Finish stuffing, cut the yarn and draw the hole closed.
Legs (white), 4 pieces:
To crochet the legs, we will need an additional white yarn. You can pull the second end from the middle of the skein, if it’s difficult, wind a small amount in a separate ball in advance (knots inside the toy are not visible, so you can use the leftovers later).
Rnd 1: 6 sc in the magic ring.
Rnd 2: 6 inc = 12 sc.
Rnd 3: sl st, (inc hdc 3 in one, sl st)*3, 5 sc = 18 sc.
Rnd 4: sl st, (3 hdc, sl st)*3, 5 sc = 18 sc.
Rnd 5: sl st, (dec hdc 3 in one, sl st)*3, 5 sc = 12 sc.
To make dec hdc 3 in one, gather all three half double crochets with yarn over on the hook, work them together and pull them tighter (but carefully), otherwise, there will be a hole in this place.
Rnds 6-14: 12 sc.
Further, we will crochet right and left legs differently. Additional rows that we will make should be on the sides. The density of crocheting may vary, so it’s better to make sure it turns out just right.
Right (front and back):
Rnd 15: 12 sc + 2 sc of the next row (to shift the beginning of the row), stretch the loop longer so it doesn’t get lost. Count back (against the direction of crocheting) 5 stitches, join the second yarn (from another skein), crochet 2 sc starting from the stitch next to the join, sl st 5 stitches, join the yarn, cut it without fastening off, just pull the end.
Count back from the first join again, then count back 1 stitch, join the yarn from another skein, crochet 6 sc, sl st, pull out the end of the thread again. Return to the main yarn left aside.
Rnd 16: 12 sc, sl st, cut the yarn, leaving an end for sewing, secure it. Tie the ends of the secondary thread inside the leg with knots (between the beginning ones and the ending ones).
Left (front and back):
Rnd 15: 10 sc (incomplete row to shift the beginning of the row), stretch the loop so it doesn’t get lost. Count forward (in the direction of crocheting) 2 stitches, join the second yarn, crochet 2 sc, sl st, cut the yarn, pull out the end. Count back from the first join, then count back 1 stitch, join the yarn from another skein, crochet 6 sc, sl st, pull out the end of the thread again. Return to the main yarn left aside.
Rnd 16: 12 sc + 2 sc (which were not crocheted in the 15th row), sl st, cut the yarn, leaving an end for sewing, secure it. Tie the ends of the secondary thread inside the leg with knots.
The legs are ready.
Sometimes, sewing on four legs is not very successful. Stuff and sew on the legs. Pull the higher side of the leg a little higher onto the body during sewing, otherwise, the leg will have an unsightly lump.
Do not sew completely, stuff the leg tighter, then finish sewing. Therefore, do not rush to cut off the thread after sewing the last leg, you can pull the leftovers to the right place for the hanging legs.
With red yarn, embroider the front legs in a tambour stitch around the attachment point. Make the stitch close to the body, but close to the leg. The rear ones are almost
to the body 3 sts ≈ 6 rows from the beginning of crocheting
Tail (white):
Rnd 1: 5 sc in the magic ring.
Rnd 2: inc, 4 sc = 6 sc.
Rnds 3-8: 6 sc.
Make sl st, cut the yarn, leaving an end for sewing, secure it. Stuff and sew on the tail.
Head (white):
Row 1: 6 single crochet (sc) in the magic ring
Row 2: 6 increases (inc) = 12 sc
Row 3: (inc, 1 sc)*6 = 18 sc
Row 4: (2 sc, inc)*6 = 24 sc
Row 5: (inc, 3 sc)*6 = 30 sc
Row 6: 3 sc, (inc, 4 sc)*5, inc, 1 sc = 36 sc
Rows 7-12: 36 sc
Row 13: (inc, 1 sc)*2, inc, 4 sc, (inc, 1 sc)*2, inc, 22 sc = 42 sc
Highlighted stitches are somehow marked; this is the front part of the head.
Rows 14-17: 42 sc
Row 18: (dec, 19 sc)*2 = 40 sc
Row 19: 2 sc, (dec, 3 sc)*7, dec, 1 sc = 32 sc
Row 20: (dec, 2 sc)*8 = 24 sc
Stuff the head.
Row 21: (1 sc, dec)*8 = 16 sc
Rows 22-24: 16 sc
Fasten off and leave a tail for sewing the head.
The head is quite large, so reinforce the neck. Insert 2 cotton sticks into the body, 6 rows below the start of the head, placing them in the middle between the stitches. Then, add 5 more sticks towards the back. Stuff the head well, emphasizing the cheeks. Make a depression in the stuffing in the middle of the head. Put the head on the sticks and sew it on. Ensure that the marked center of the face stays in the front during sewing. When the head is almost sewn on, stuff the neck around the sticks (carefully, without sharp scissors) and finish sewing.
Collar (yellow):
Row 1: Crochet around the neck straight to the body ≈ 16 sc. Adjusting is not necessary, ± 1-2 sc is acceptable.
Row 2: Crochet another row of sc around the stitches, slip stitch (ss) to join. Cut the yarn, pull the tail through, pull it through the next stitch inside the collar, tie it to the starting end of the yellow thread, and hide the ends inside the crochet.
Muzzle (white):
Row 1: 6 sc in the magic ring
Row 2: 6 inc = 12 sc
Row 3: (inc, 1 sc)*6 = 18 sc
Row 4: inc, 6 sc, inc, 2 sc, inc, 4 sc, inc, 2 sc = 22 sc
Row 5: 1 sc, inc, 6 sc, inc, 13 sc = 24 sc
Row 6: 24 sc
Row 7: 11 sc, ss (incomplete row), cut the yarn, leaving a tail for sewing, fasten off. 11 stitches of the incomplete row represent the top of the muzzle. The center of the top coincides with the previously marked center on the head. Make the top flatter. Slightly stuff the muzzle, pin it to prevent it from shifting, and sew it on. When there is a small hole left, stuff it tighter and finish sewing.
Hat (red, yellow):
Start with red yarn.
Row 1: Chain (ch) 10 stitches (st) (the loop on the hook is never counted as a stitch). Start from the 2nd stitch from the hook, single crochet (sc) around the chain, working through both loops of each stitch = 18 sc.
Row 2: Fold the piece in half and crochet the edges together, still sc = 9 sc.
Hide the initial yarn end inside.
Row 3: Crochet around again, through different loops of the stitches, starting from the front loops, otherwise, the right side of the work will end up inside. = 18 sc.
Row 4: (1 sc, inc, 2 sc, inc, 2 sc, inc, 1 sc)*2 = 24 sc.
Row 5: (inc, 3 sc)*6 = 30 sc.
Row 6: (3 sc, inc, 1 sc)*6 = 36 sc.
Rows 7-9: 36 sc.
Join with ss, cut the yarn, fasten off.
Continue with yellow yarn.
Row 10: Work this row in front post single crochet (fpsc).
Row 11: Attach yarn, ch (counts as the first stitch of the row), crochet 35 more sc = 36 sc.
Join with ss into the first stitch of the row, cut the yarn, leaving a tail for sewing, and fasten off.
Continue with red yarn.
Row 11: Work this row in fpsc.
Row 12: (inc, 3 sc)*9 = 45 sc.
Row 13: (3 sc, inc, 1 sc)*9 = 54 sc.
Row 14: (inc, 8 sc)*6 = 60 sc.
Make a ss, cut the yarn not too short, fasten off, and hide the end inside the hat. We will sew the hat to the head using the leftover yellow end above the yellow row.
Nose (black):
Row 1: 6 sc in the magic ring.
Row 2: (inc, 1 sc)*2, inc, ss = 9 sc.
Cut the yarn, leaving a tail for sewing, fasten off.
Sew it on one row above the initial ring of the muzzle.
Eyes (white), 2 pieces:
For the eyes, use a thin crochet hook (1.5 or 1.25 mm) and thin yarn.
Row 1: 6 sc in the magic ring.
Row 2: 6 inc = 12 sc.
Row 3: inc, 1 sc, inc, 2 sc, inc, 1 sc, inc (crochet the second stitch of the increase together with ss) – incomplete row.
Cut the yarn, leaving a tail for sewing, fasten off. The row where you didn’t finish is the bottom of the eye.
Sew it so that the bottom inner part of the eye is snug against the muzzle, between eyes approximately 1.5-2 stitches.
Sew the rhinestones inside, at the bottom, but set back from the edge of the eye to accommodate the iris. Sew them with 2 stitches using coil thread; this should be enough. With black thread, single-threaded (or using coil thread), embroider around the eyes with tambour stitch, with small stitches around the circle.
Ears (white), 2 pieces:
Each ear consists of 2 white pieces.
Ear 1:
Piece 1
Row 1: 2 sc in the magic ring, do not join, crochet back and forth in rows, at the end of each row, make a chain, turn the work, and start each next row from the 2nd chain from the hook (the loop on the hook is not counted).
Row 2: inc, 1 sc = 3 sc.
Row 3: 2 sc, inc = 4 sc.
Row 4: inc, 3 sc = 5 sc.
Row 5: 5 sc.
Row 6: dec, 3 sc = 4 sc.
Row 7: 4 sc.
Row 8: dec, 2 sc = 3 sc.
Row 9: 3 sc.
Row 10: dec, 1 sc = 2 sc.
Crochet around the edge of the piece with sc in a circle: in the last stitch of the previous row, crochet another inc (3 sc in one stitch), 8 sc along the side (insert the hook between the rows), inc 3 in 1 at the corner of the ear, [4 sc, inc, 3 sc] along the side, inc in the last stitch and ss into the first stitch of the foundation chain. Cut the yarn, fasten off.
Ear 2:
Crochet similarly, but first crochet Detail 2, cut the yarn, then crochet Detail 1, leaving a tail for connecting the pieces.
Fold the pieces with the wrong sides facing each other and crochet them together with single crochet (sc), make 3 sc in one stitch at the side where the increases were made during crocheting the pieces together, and 3 sc in 1 at the tip of the ear.
Do not crochet the base of the ear.
Do not crochet.
Insert a little stuffing into the hat, attach it to the top of the head, stretching it slightly in all directions, and sew it on. Sew almost to the end; when there is a small hole left, stuff it tighter, then finish sewing.
Sew the ears to the head, close to the hat on both sides. Sew through both edges of the ear at once. The highlighted corners on the side of the ear should be at the back.
Embroider around the rhinestones with fine blue thread (or fourfold stranded embroidery floss) using tambour stitch with small stitches. Make the stitches close but not too tight; otherwise, the thread will be hidden under the rhinestone.
Emblem on the Collar (Red):
For the emblem, use a 1.25-1.5 mm crochet hook and thin yarn in the color of the sweater (in this case, split the main red yarn in half lengthwise).
Row 1: 6 single crochet (sc) in the magic ring.
Row 2: (inc, 1 sc)*3, inc, 1 sc, inc, 1 sc = 10 sc.
Row 3: 1 sc, inc, 2 sc, (inc, 1 sc)*2, inc, slip stitch (ss) – incomplete row.
Crochet 2 such pieces.
Embroider three flames with thin yellow thread or fourfold stranded embroidery floss on one piece: using tambour stitch, make 3 stitches from top to bottom, with the middle one having 3 stitches and the side ones having 2 stitches.
Fold the pieces with the wrong sides facing each other and crochet them together with white thin thread. Start with the stitch between the tips.
Crochet according to the pattern (description) of the 4th row.
Hide all yarn ends inside as you crochet.
Make the last ss in the loop where you inserted the first stitch.
Pull the piece through the loop, securing the thread, cut it, leaving a long tail.
Wrap around the collar with three stitches (each time picking up the emblem at the top).
Wrap it a couple of times above the emblem to prevent the stitches from coming apart. Bring the thread out through the body below; there also catch the emblem with small stitches and secure the thread.
Emblem on the Hat (Gray):
For the emblem, use a 1.25-1.5 mm crochet hook and thin gray yarn. Crochet one piece following the pattern of the orange emblem rows 1-3. Embroider. Use tambour stitch to make 3 stitches from the bottom through every other hole for 1.5 rows. Similarly, use tambour stitch through the same holes slightly higher, 2 stitches up for 1 row, and 2 stitches diagonally for the corner.
Crochet around with white thin thread following the pattern of connecting the orange pieces (4th row). Cut the yarn, leaving a tail for sewing, and fasten off. Sew it onto the hat.
Spots (Black):
For the spots, use a 1.25-1.5 mm crochet hook and thin black yarn.
On the cheeks:
Row 1: 6 single crochet (sc) in the magic ring.
Row 2: 6 increases (inc) = 12 sc.
Row 3: (inc, 1 sc, inc, 3 sc)*2 = 16 sc.
Crochet 2 pieces, sew them symmetrically on the cheeks.
For each paw, Spot 1 and Spot 2, sew them in any order.
On the paws:
Spot 1:
Row 1: 6 single crochet (sc) in the magic ring.
Row 2: 6 increases (inc) = 12 sc.
Row 3: (inc, 3 sc)*3 = 15 sc.
Spot 2:
Row 1: 6 single crochet (sc) in the magic ring.
Row 2: 6 increases (inc) = 12 sc.
On the head:
Spot 1:
Row 1: 6 single crochet (sc) in the magic ring.
Row 2: 6 increases (inc) = 12 sc.
Row 3: (inc, 3 sc)*3 = 15 sc.
Spot 2:
Row 1: 6 single crochet (sc) in the magic ring.
Row 2: 6 increases (inc) = 12 sc.
Spot 1 – 2 pieces, Spot 2 – 1 piece, sew them in any order.
Crochet 2 pieces, sew them in any order.
On the butt:
Row 1: 6 single crochet (sc) in the magic ring.
Row 2: 6 increases (inc) = 12 sc.
On the ears:
Row 1: 6 single crochet (sc) in the magic ring.
Row 2: 6 increases (inc) = 12 sc.
Crochet 3 pieces, sew them in any order, 2 pieces on one ear, 1 piece on the other.
Embroider the mouth with thin black thread using tambour stitch approximately 2 rows below the nose.
MARSHALL IS READY!