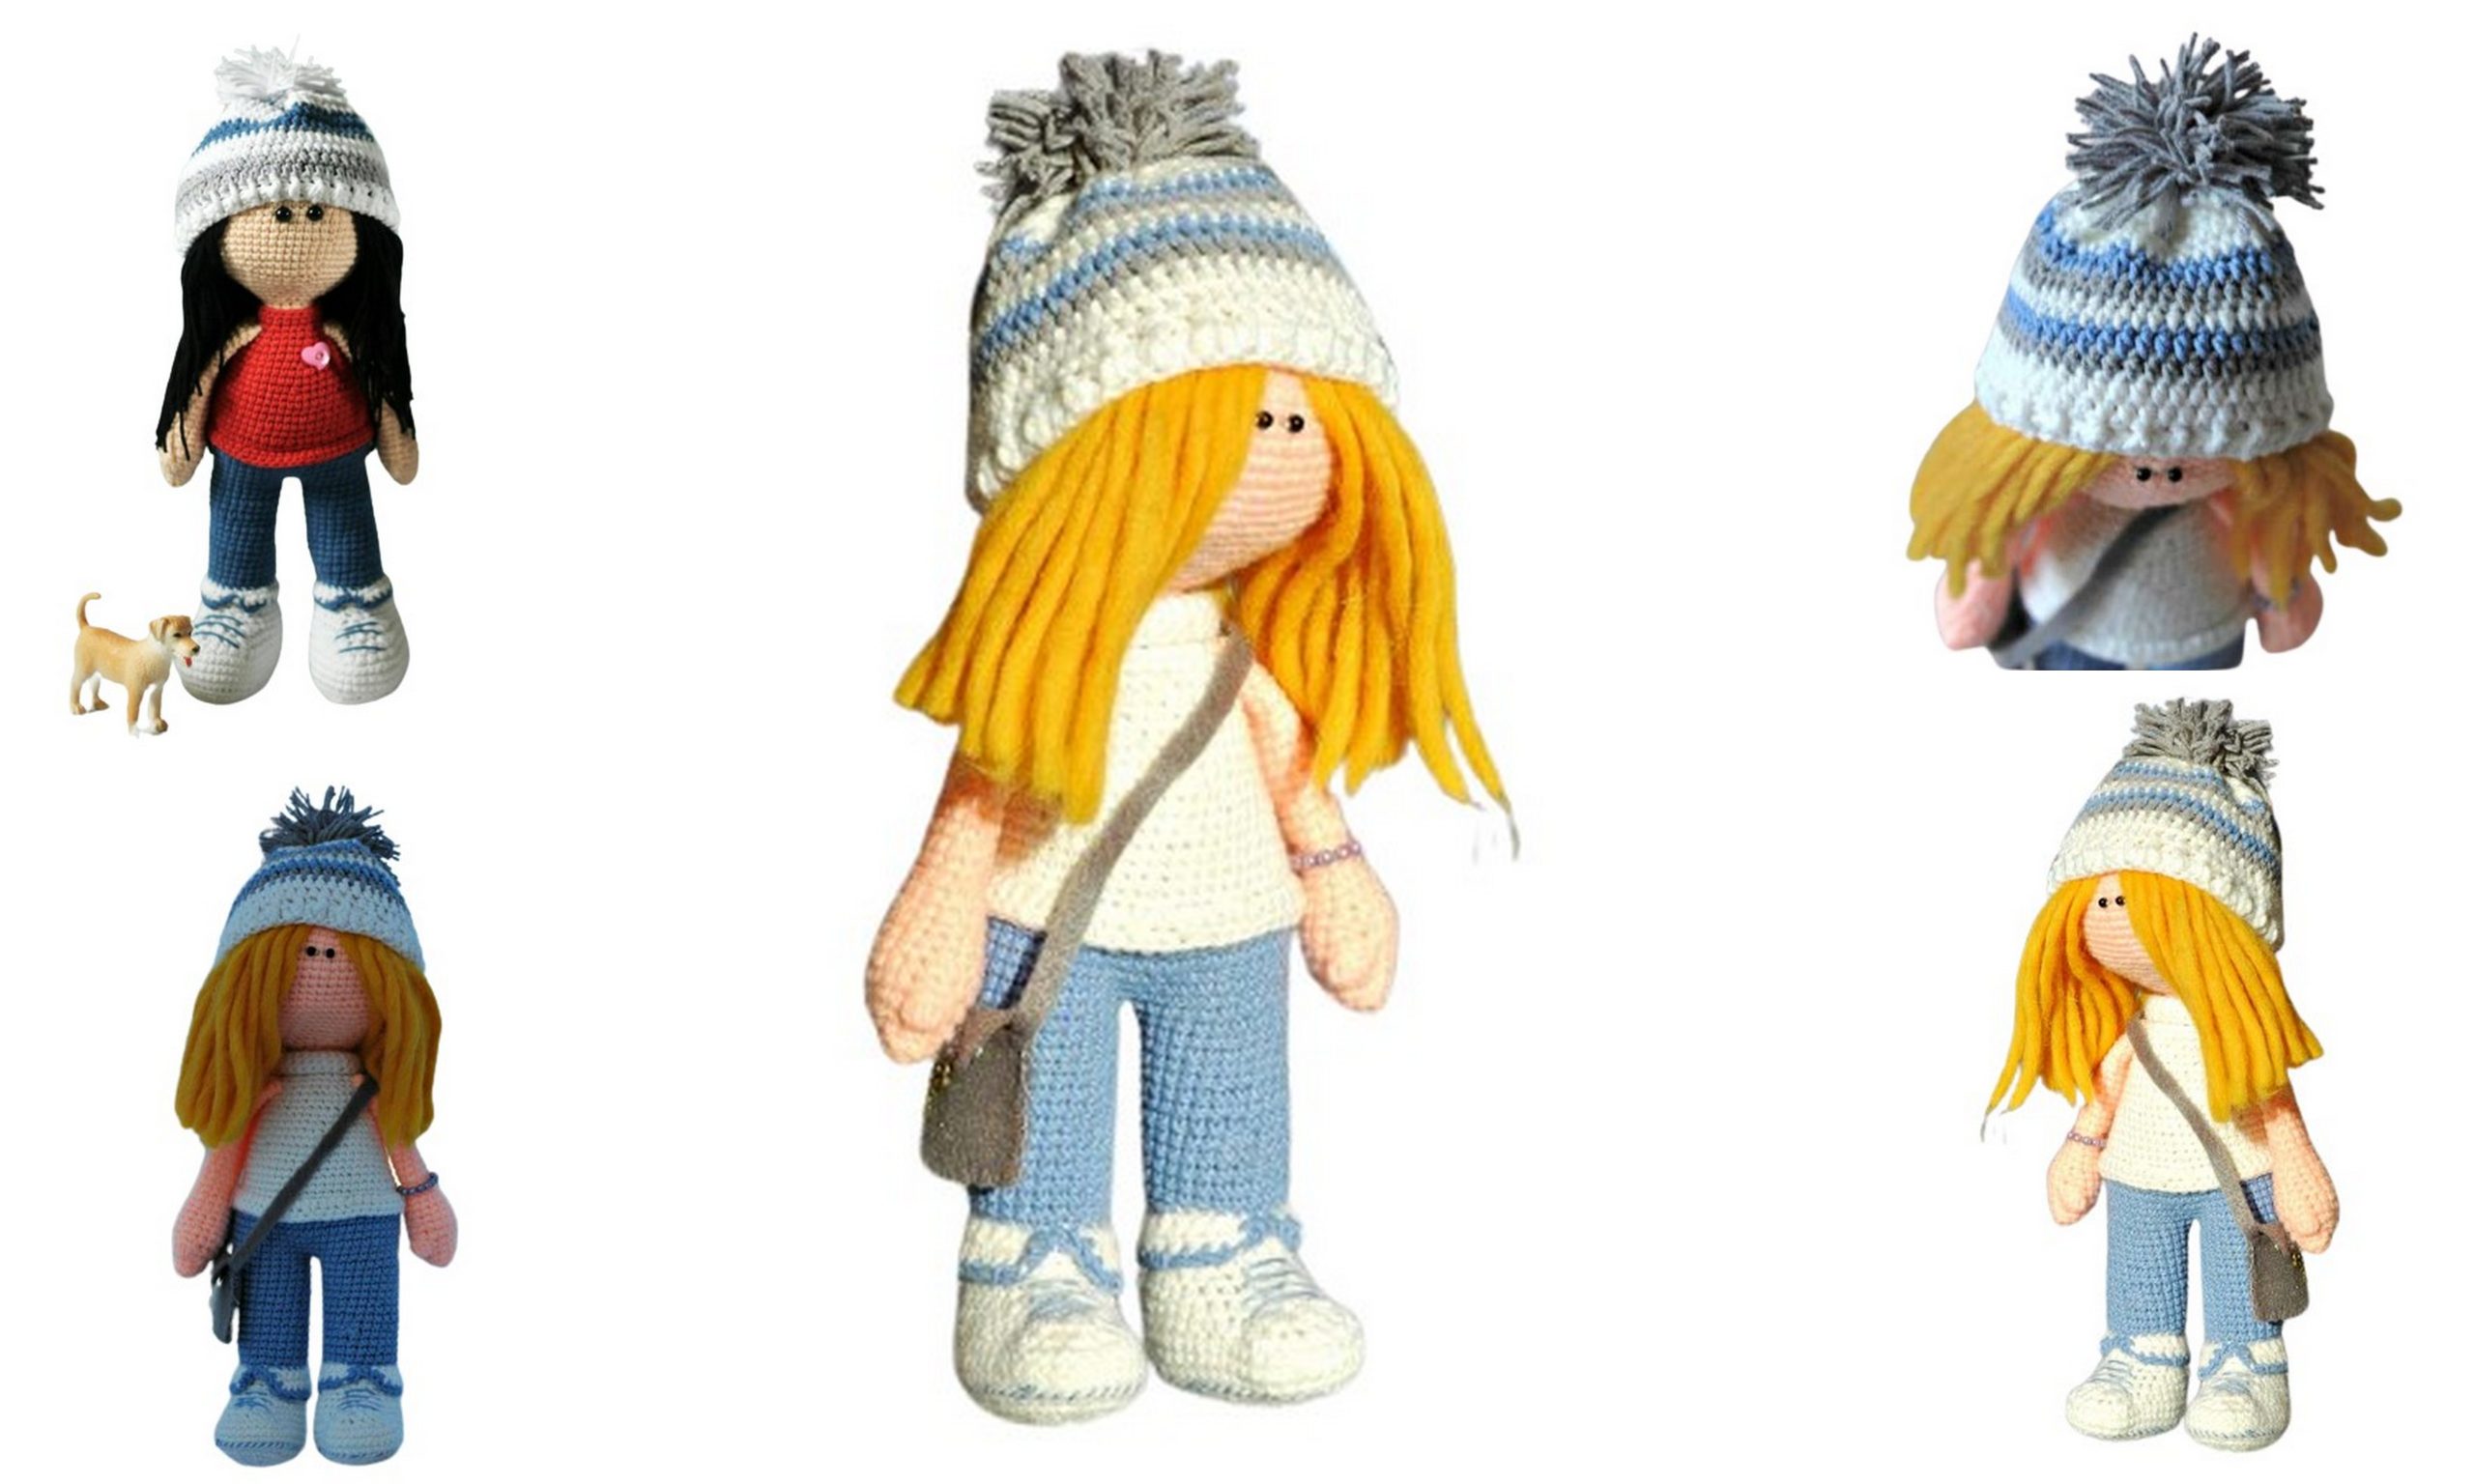
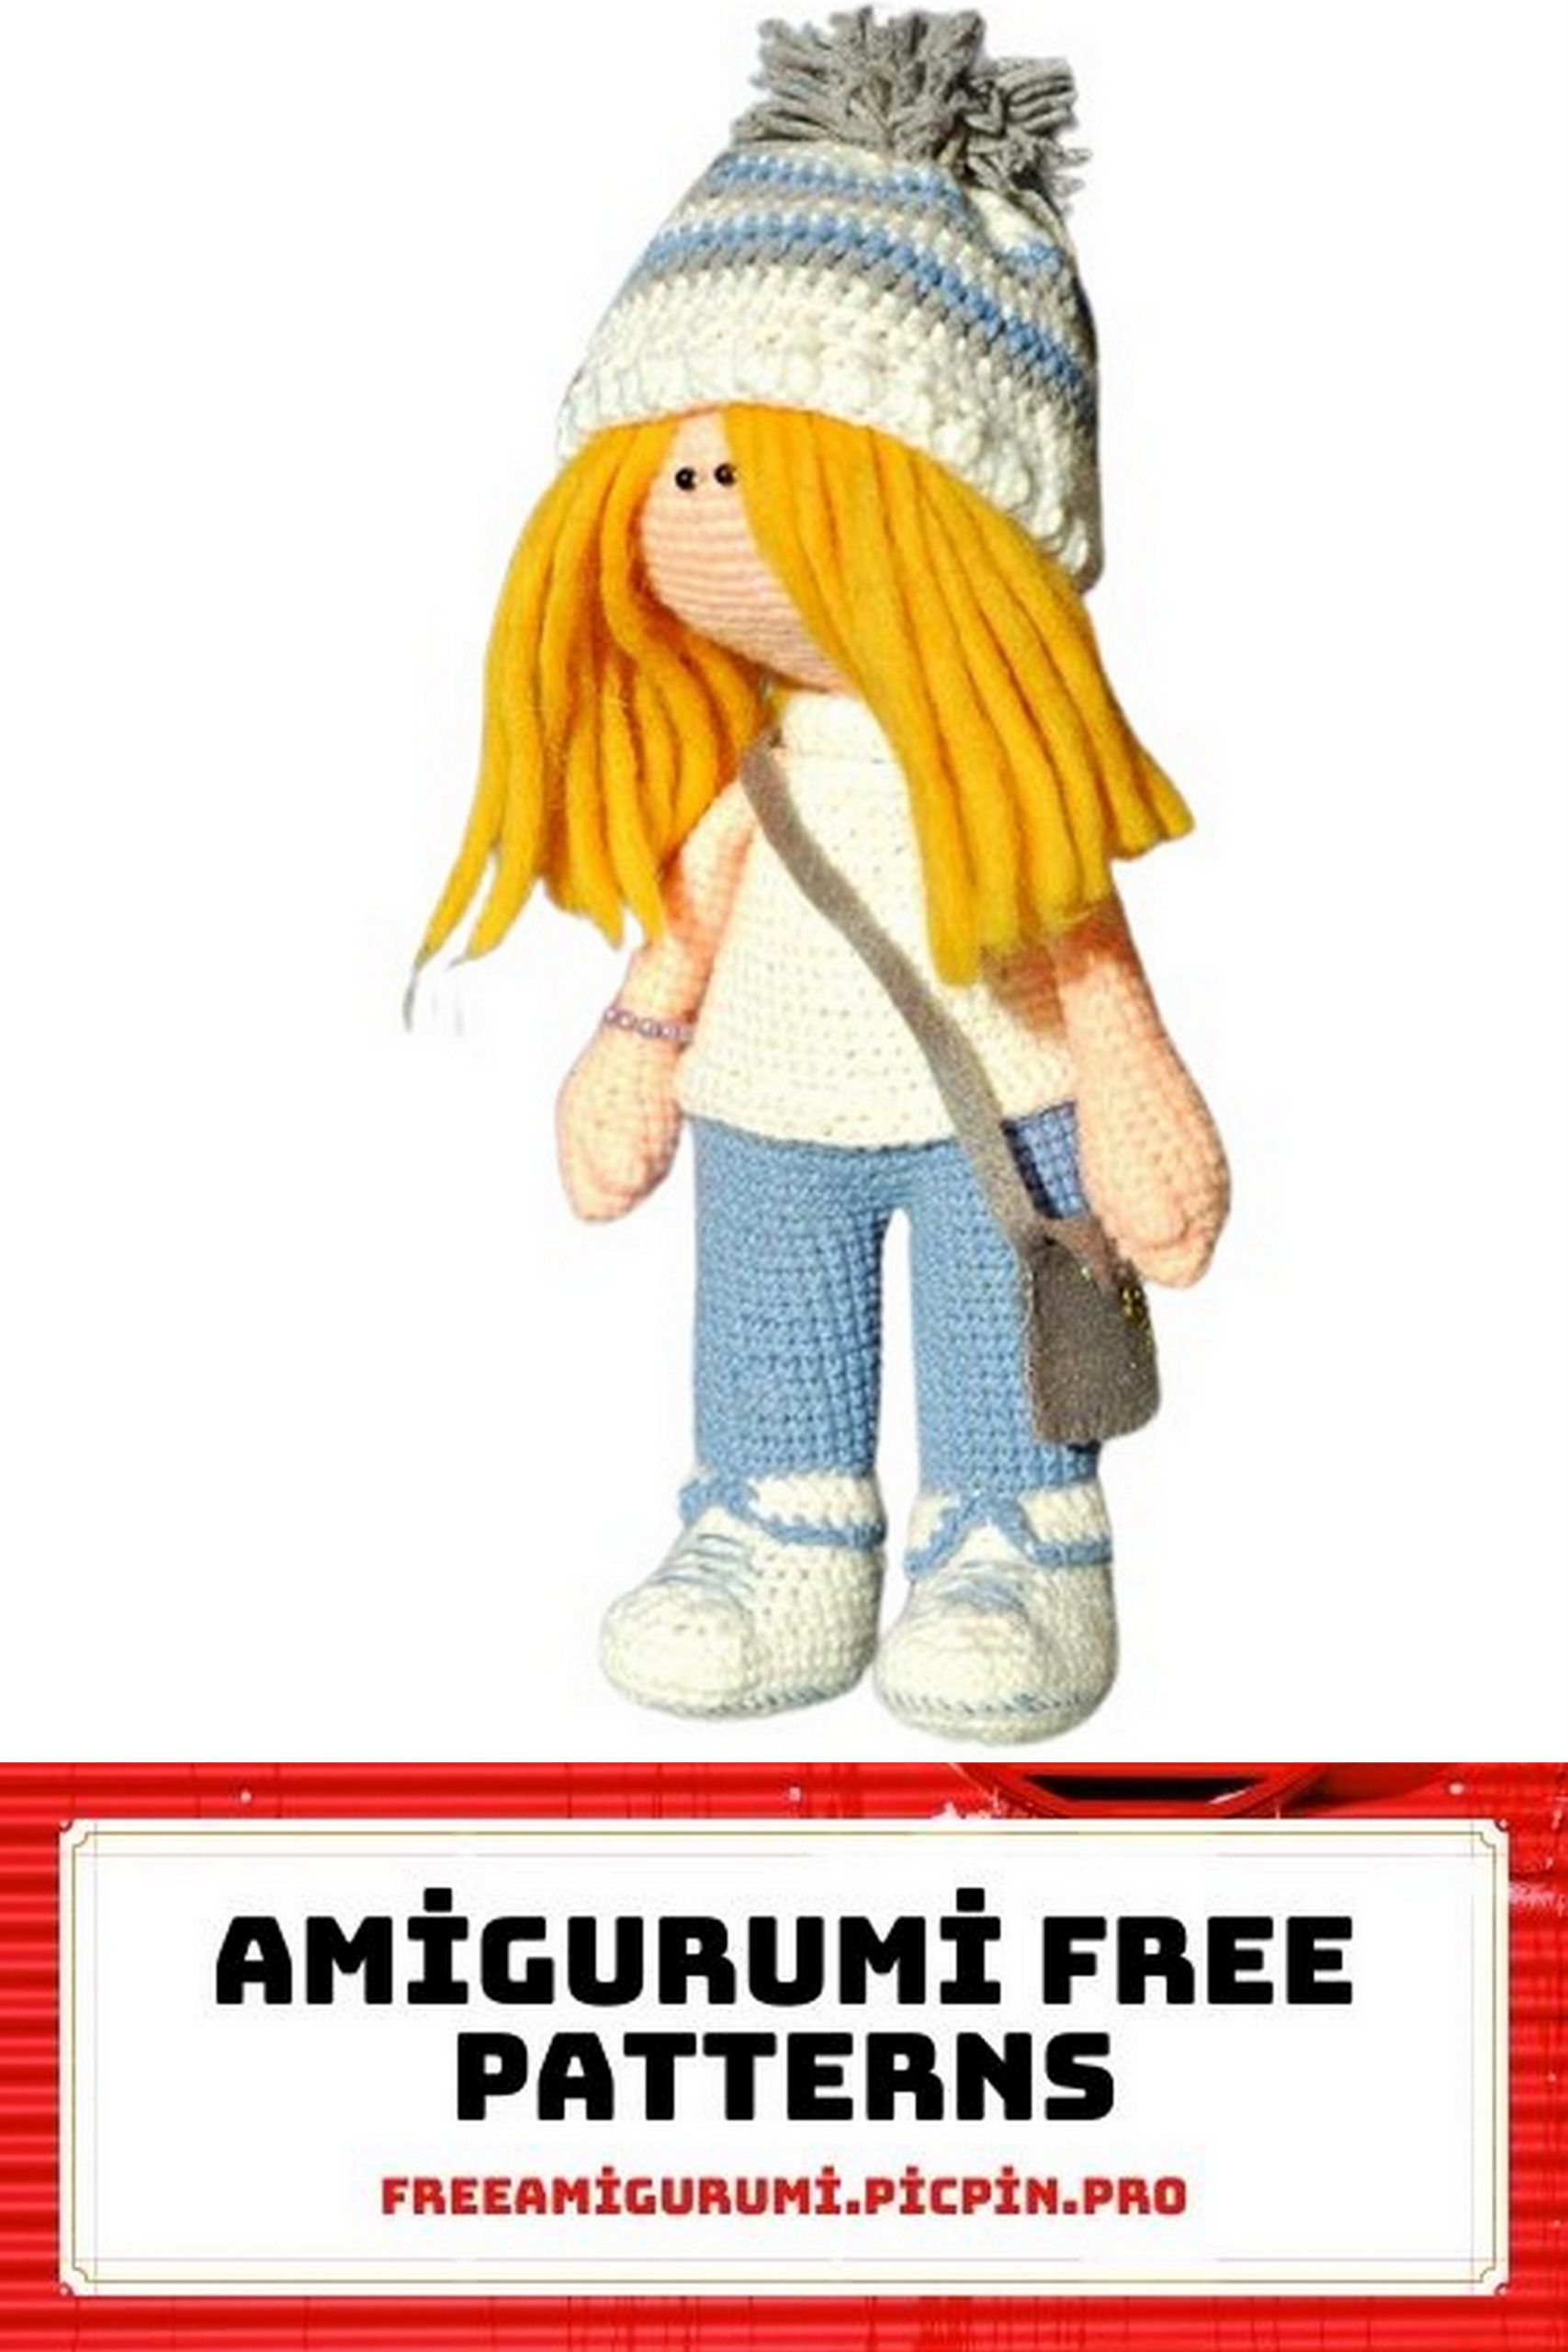
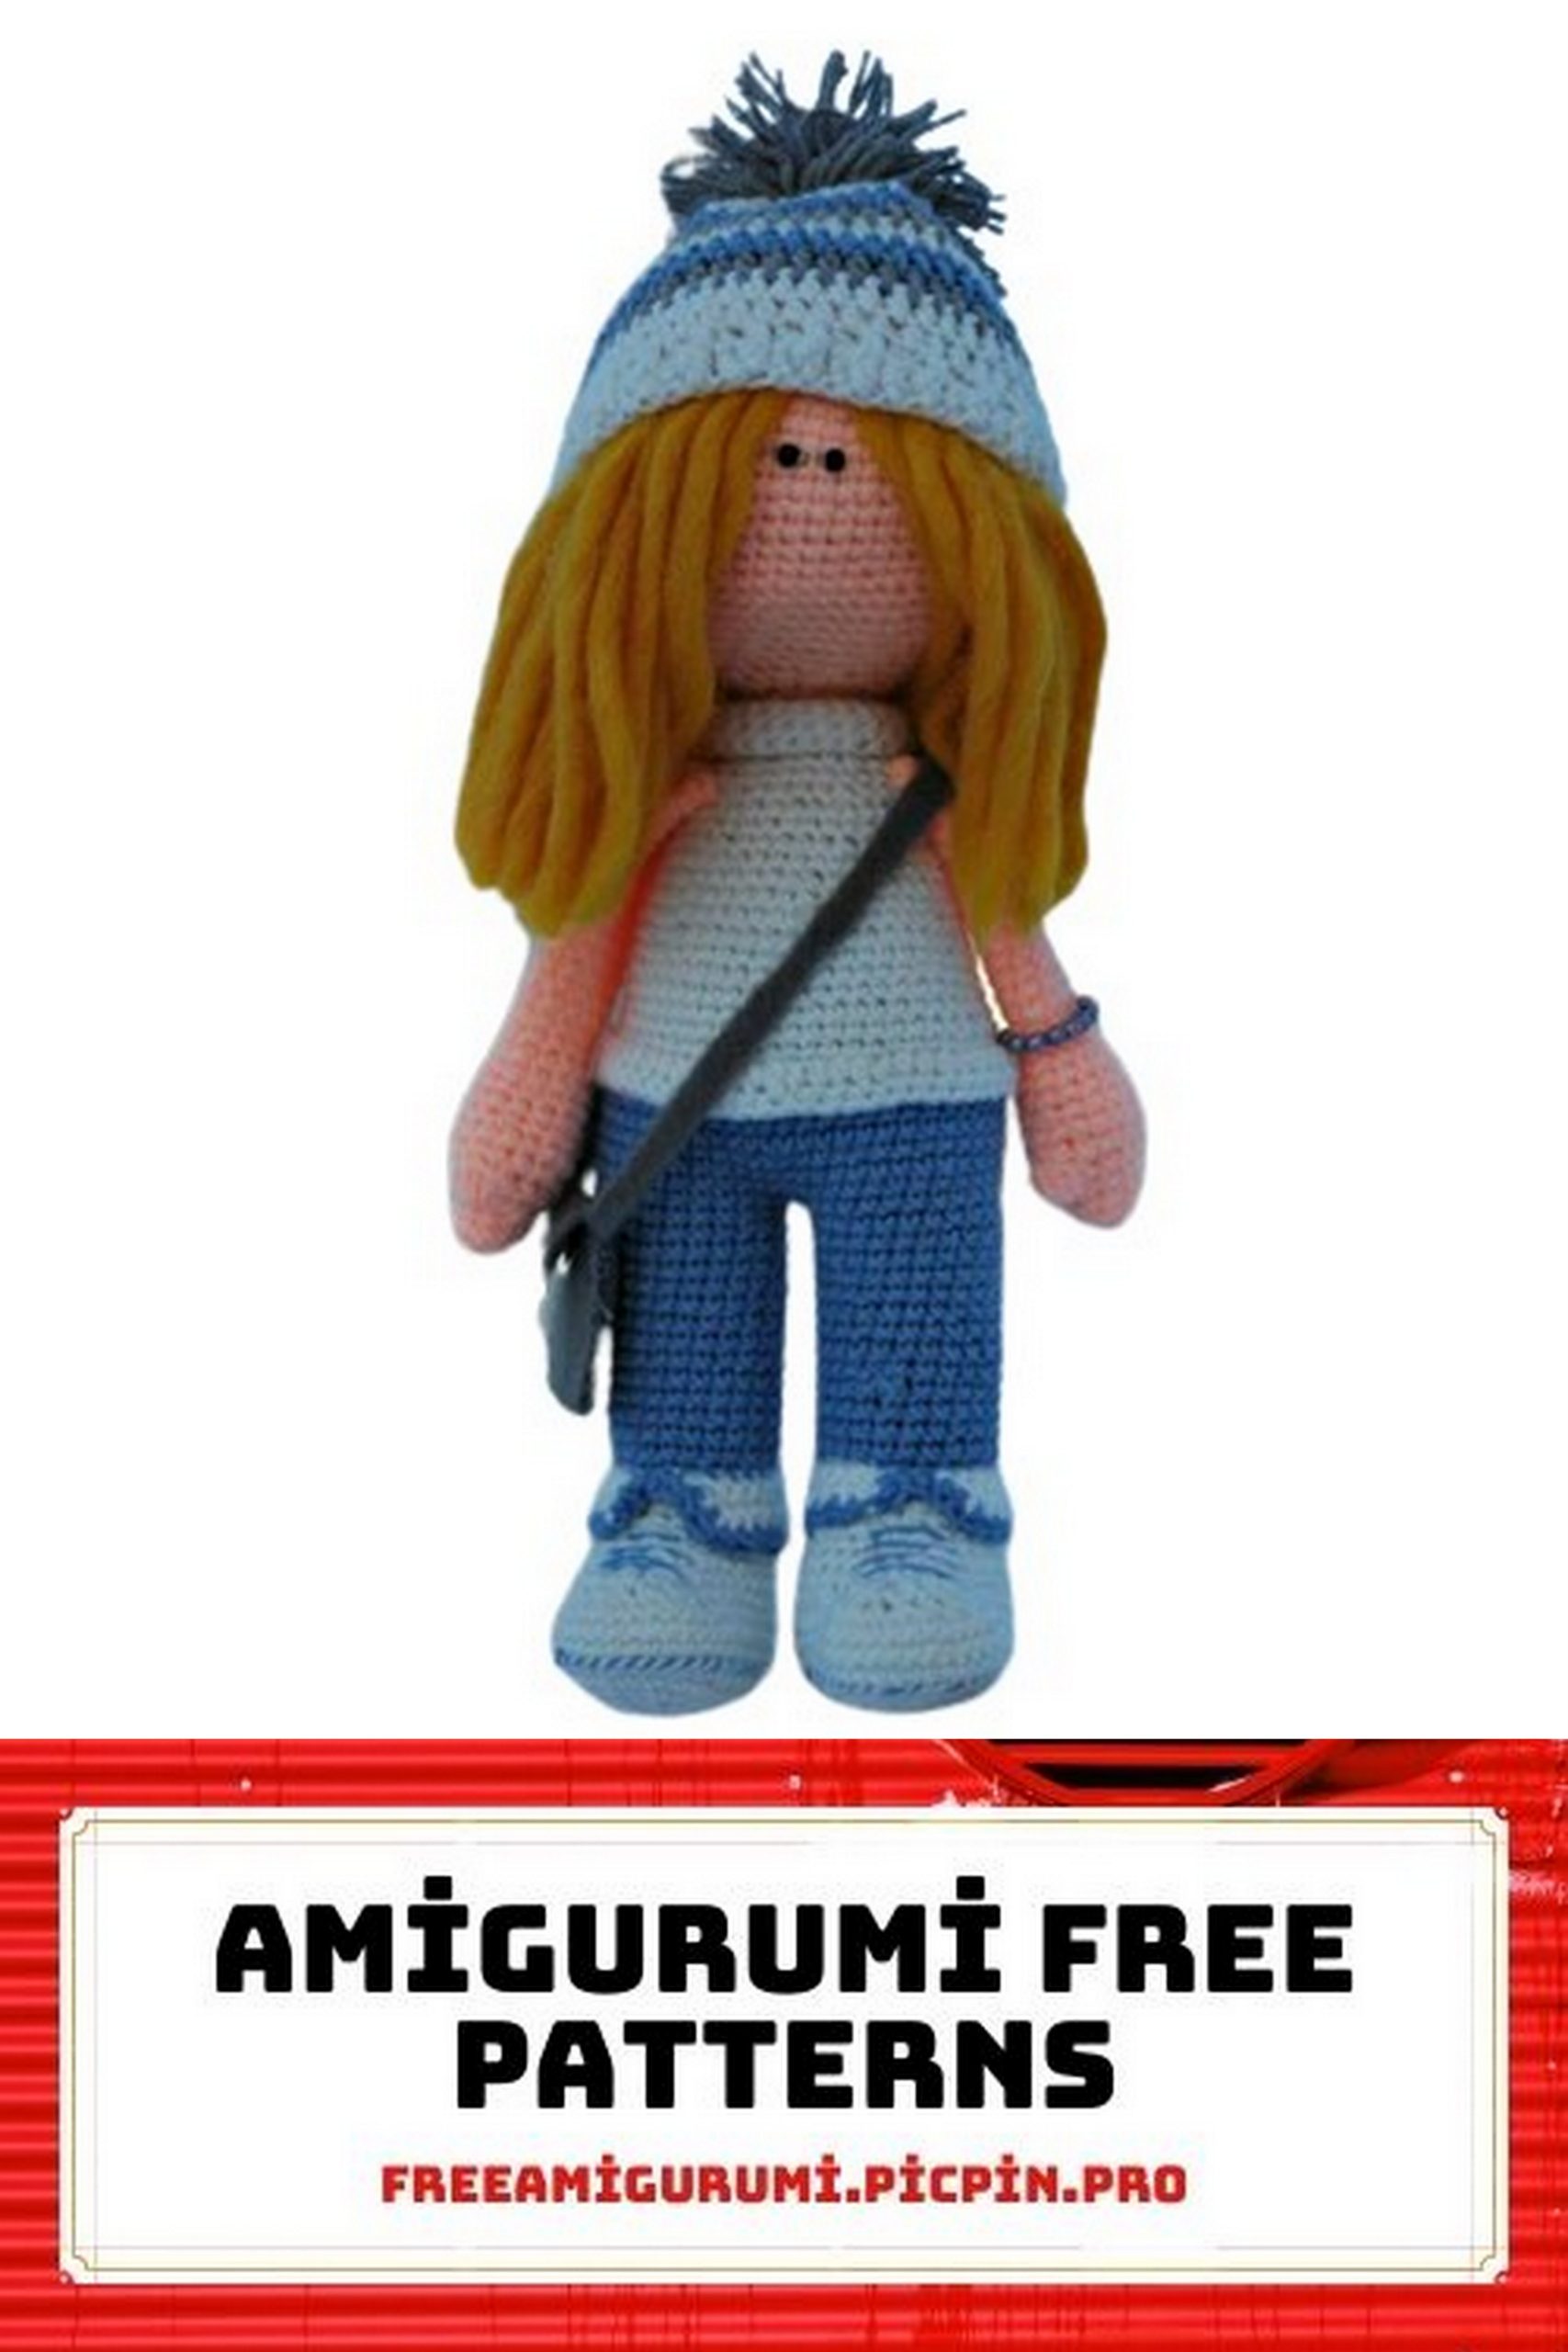
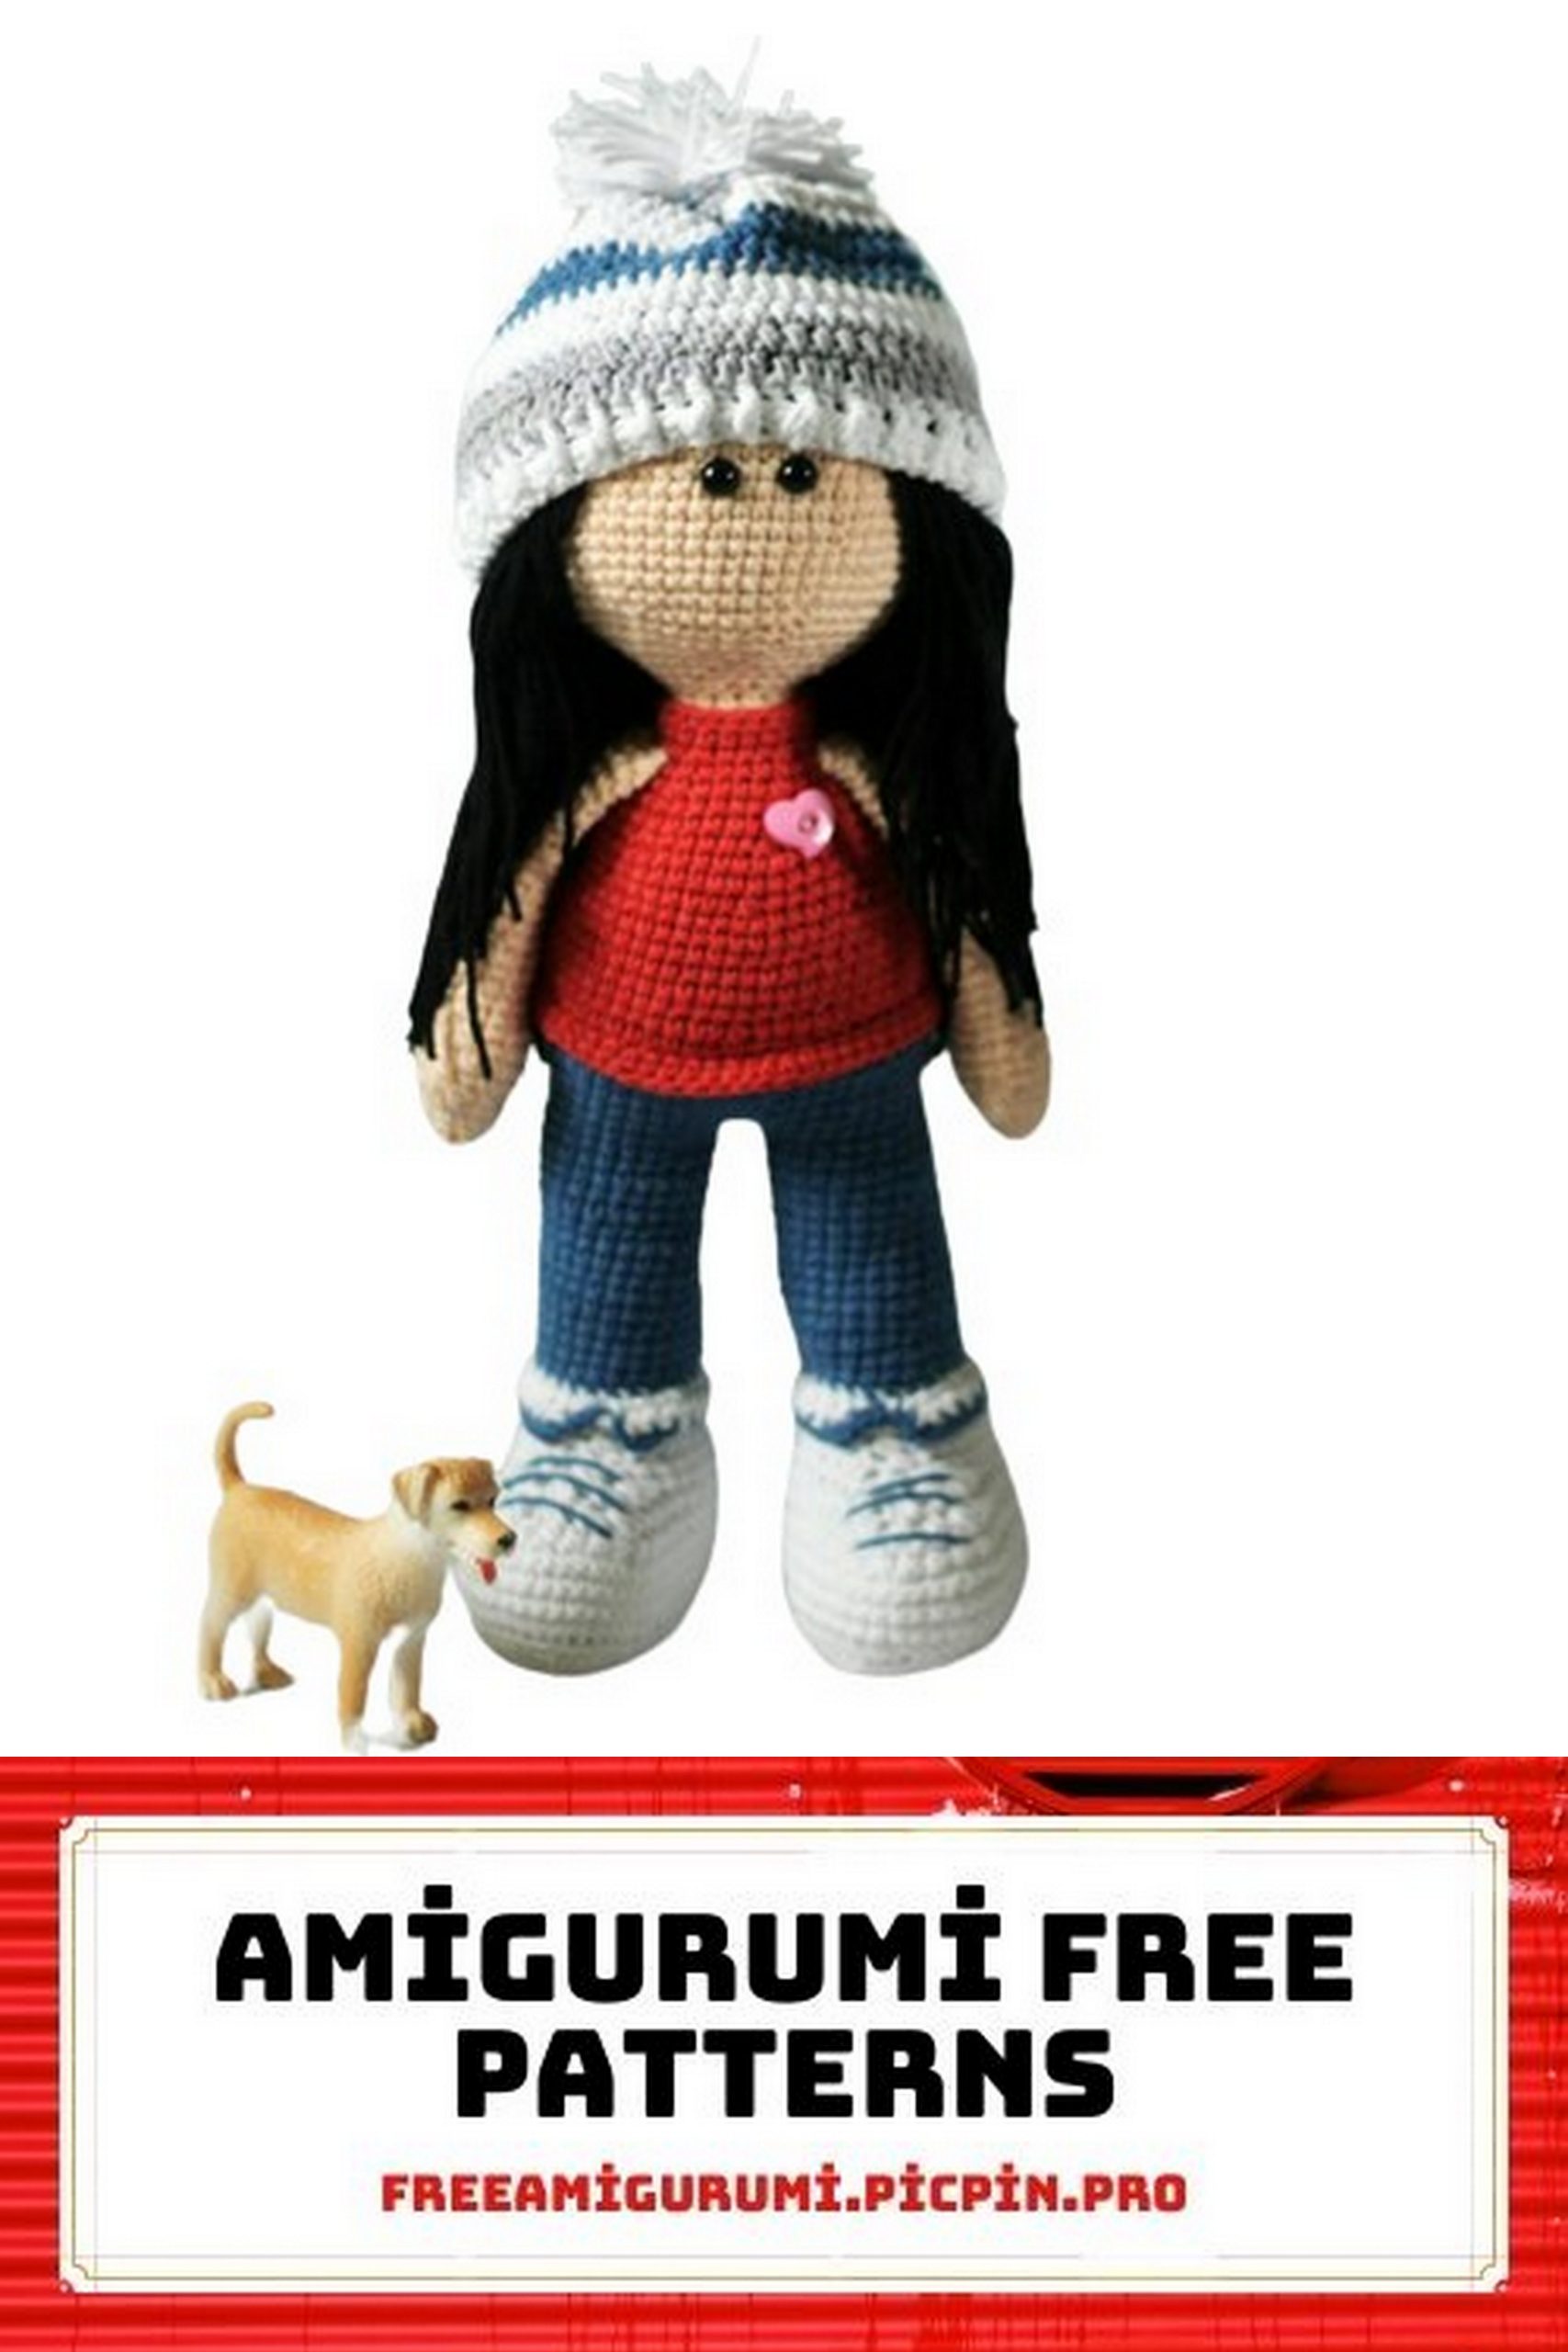
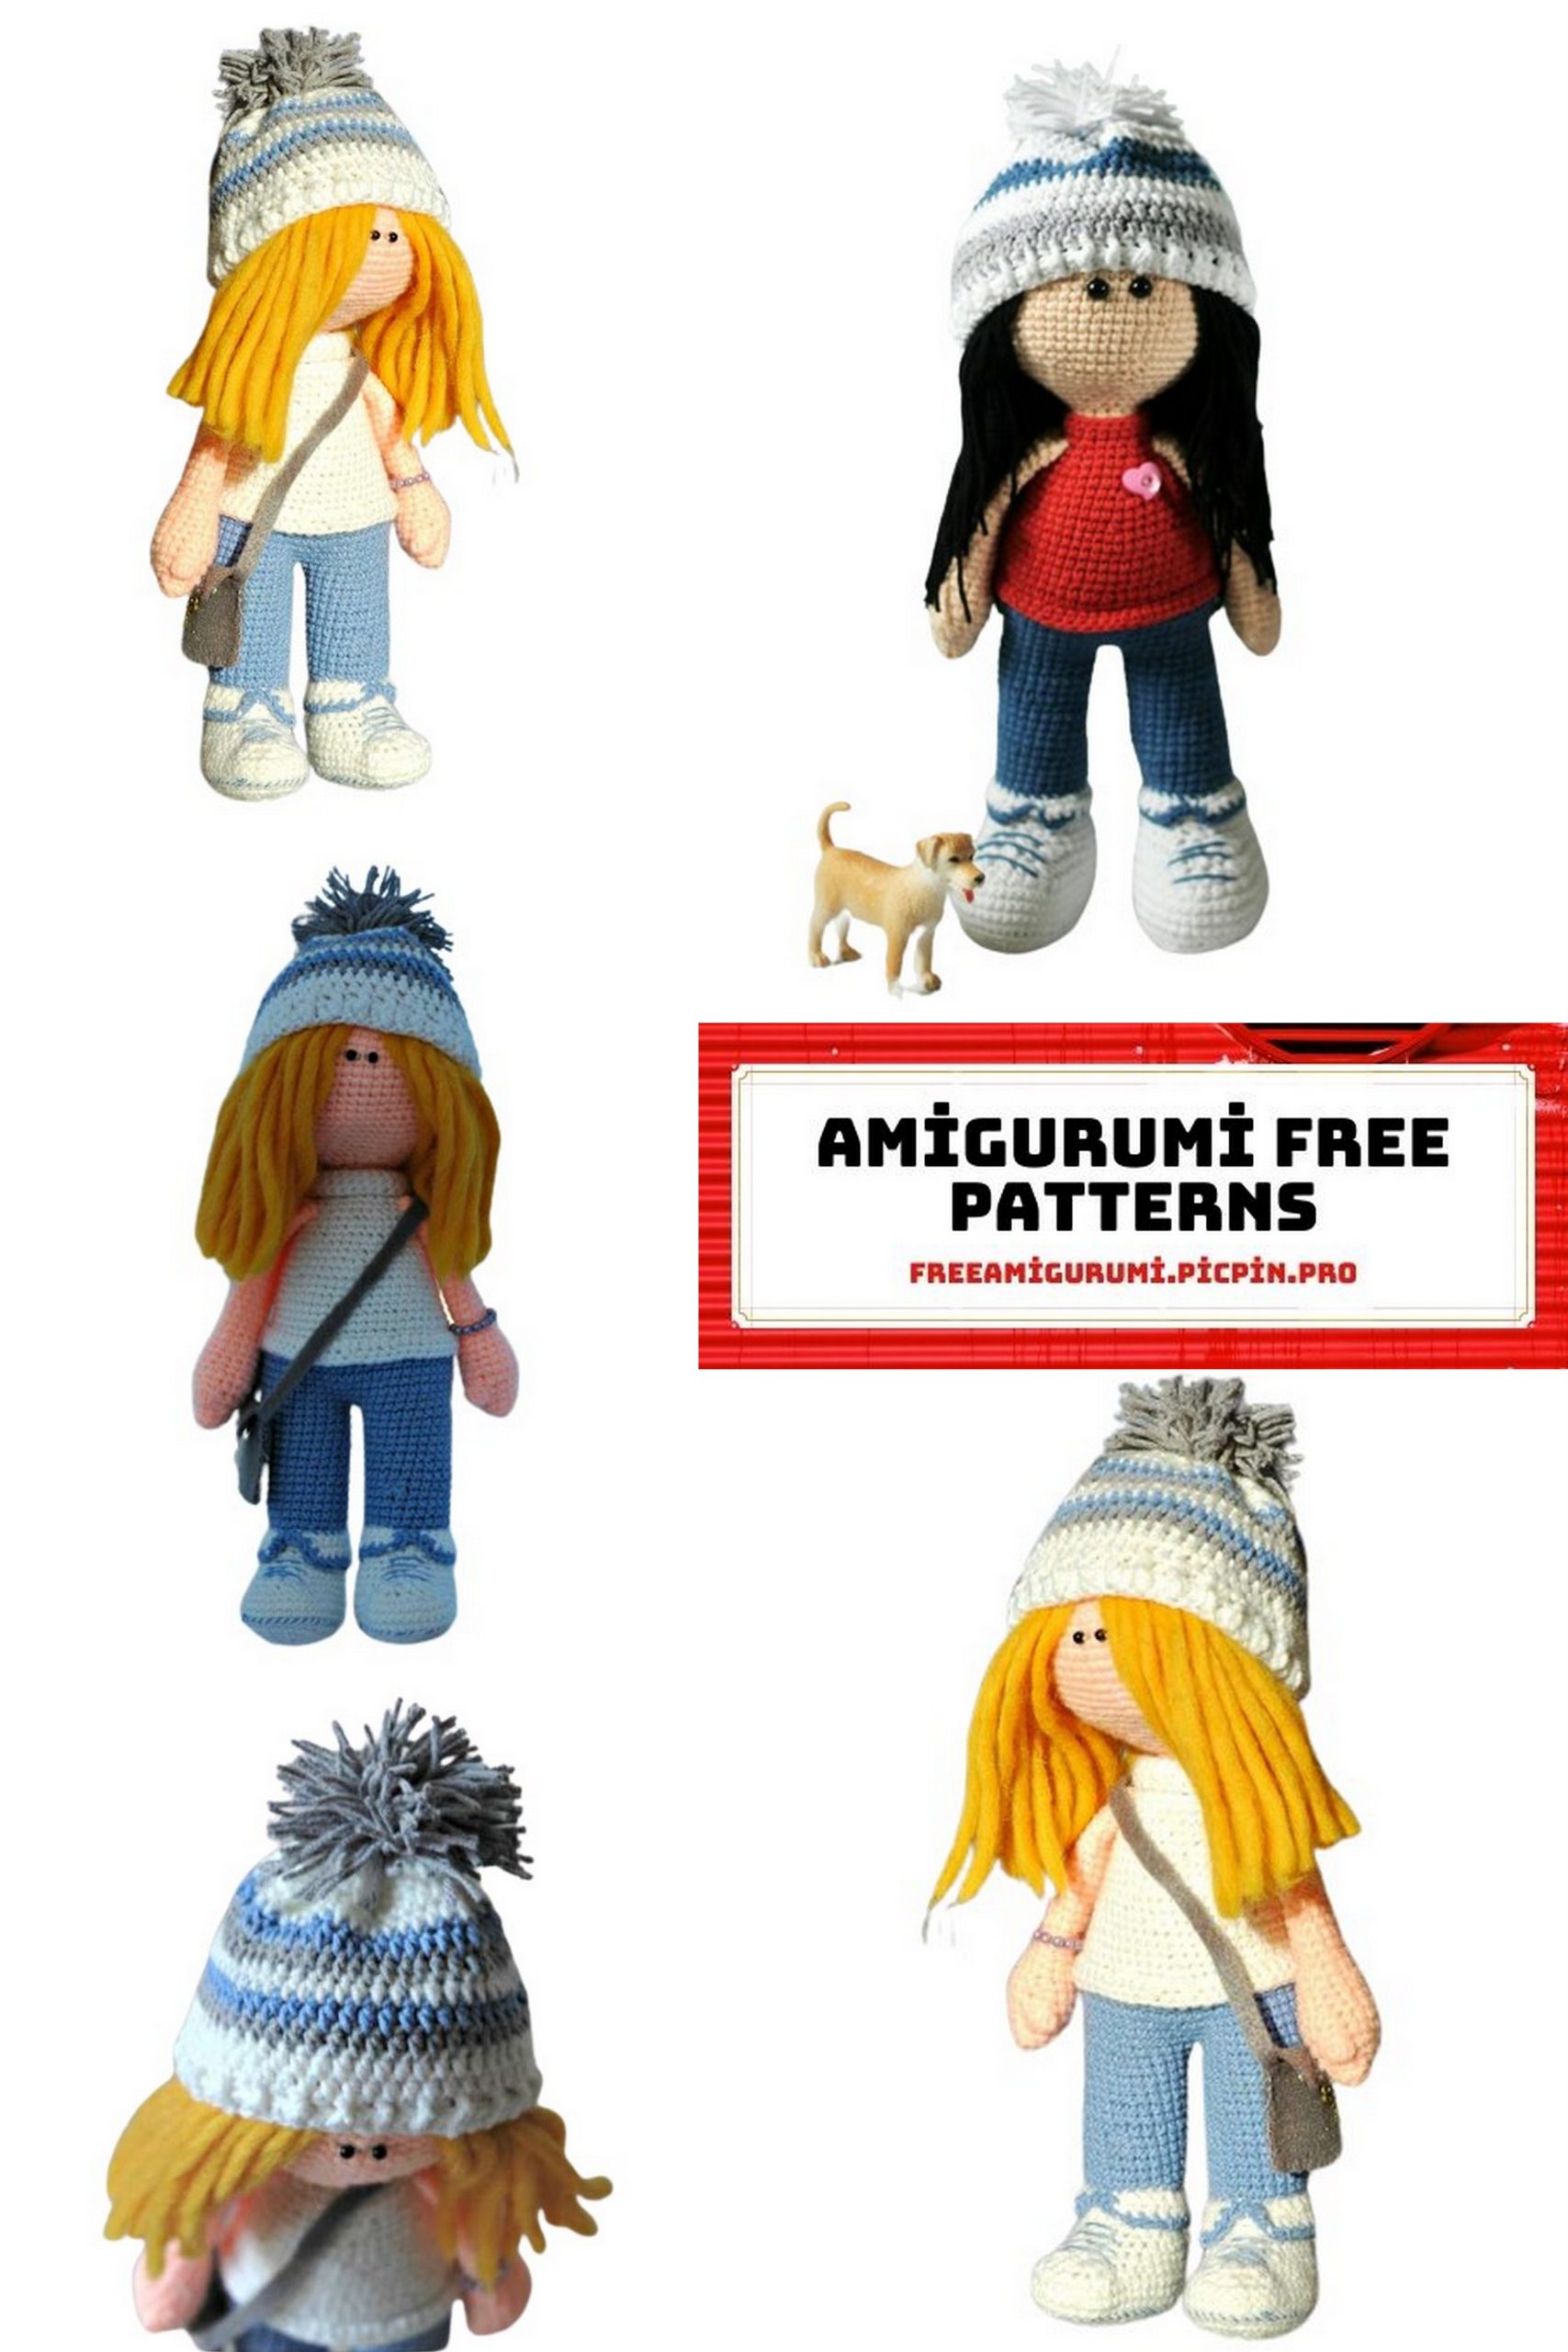
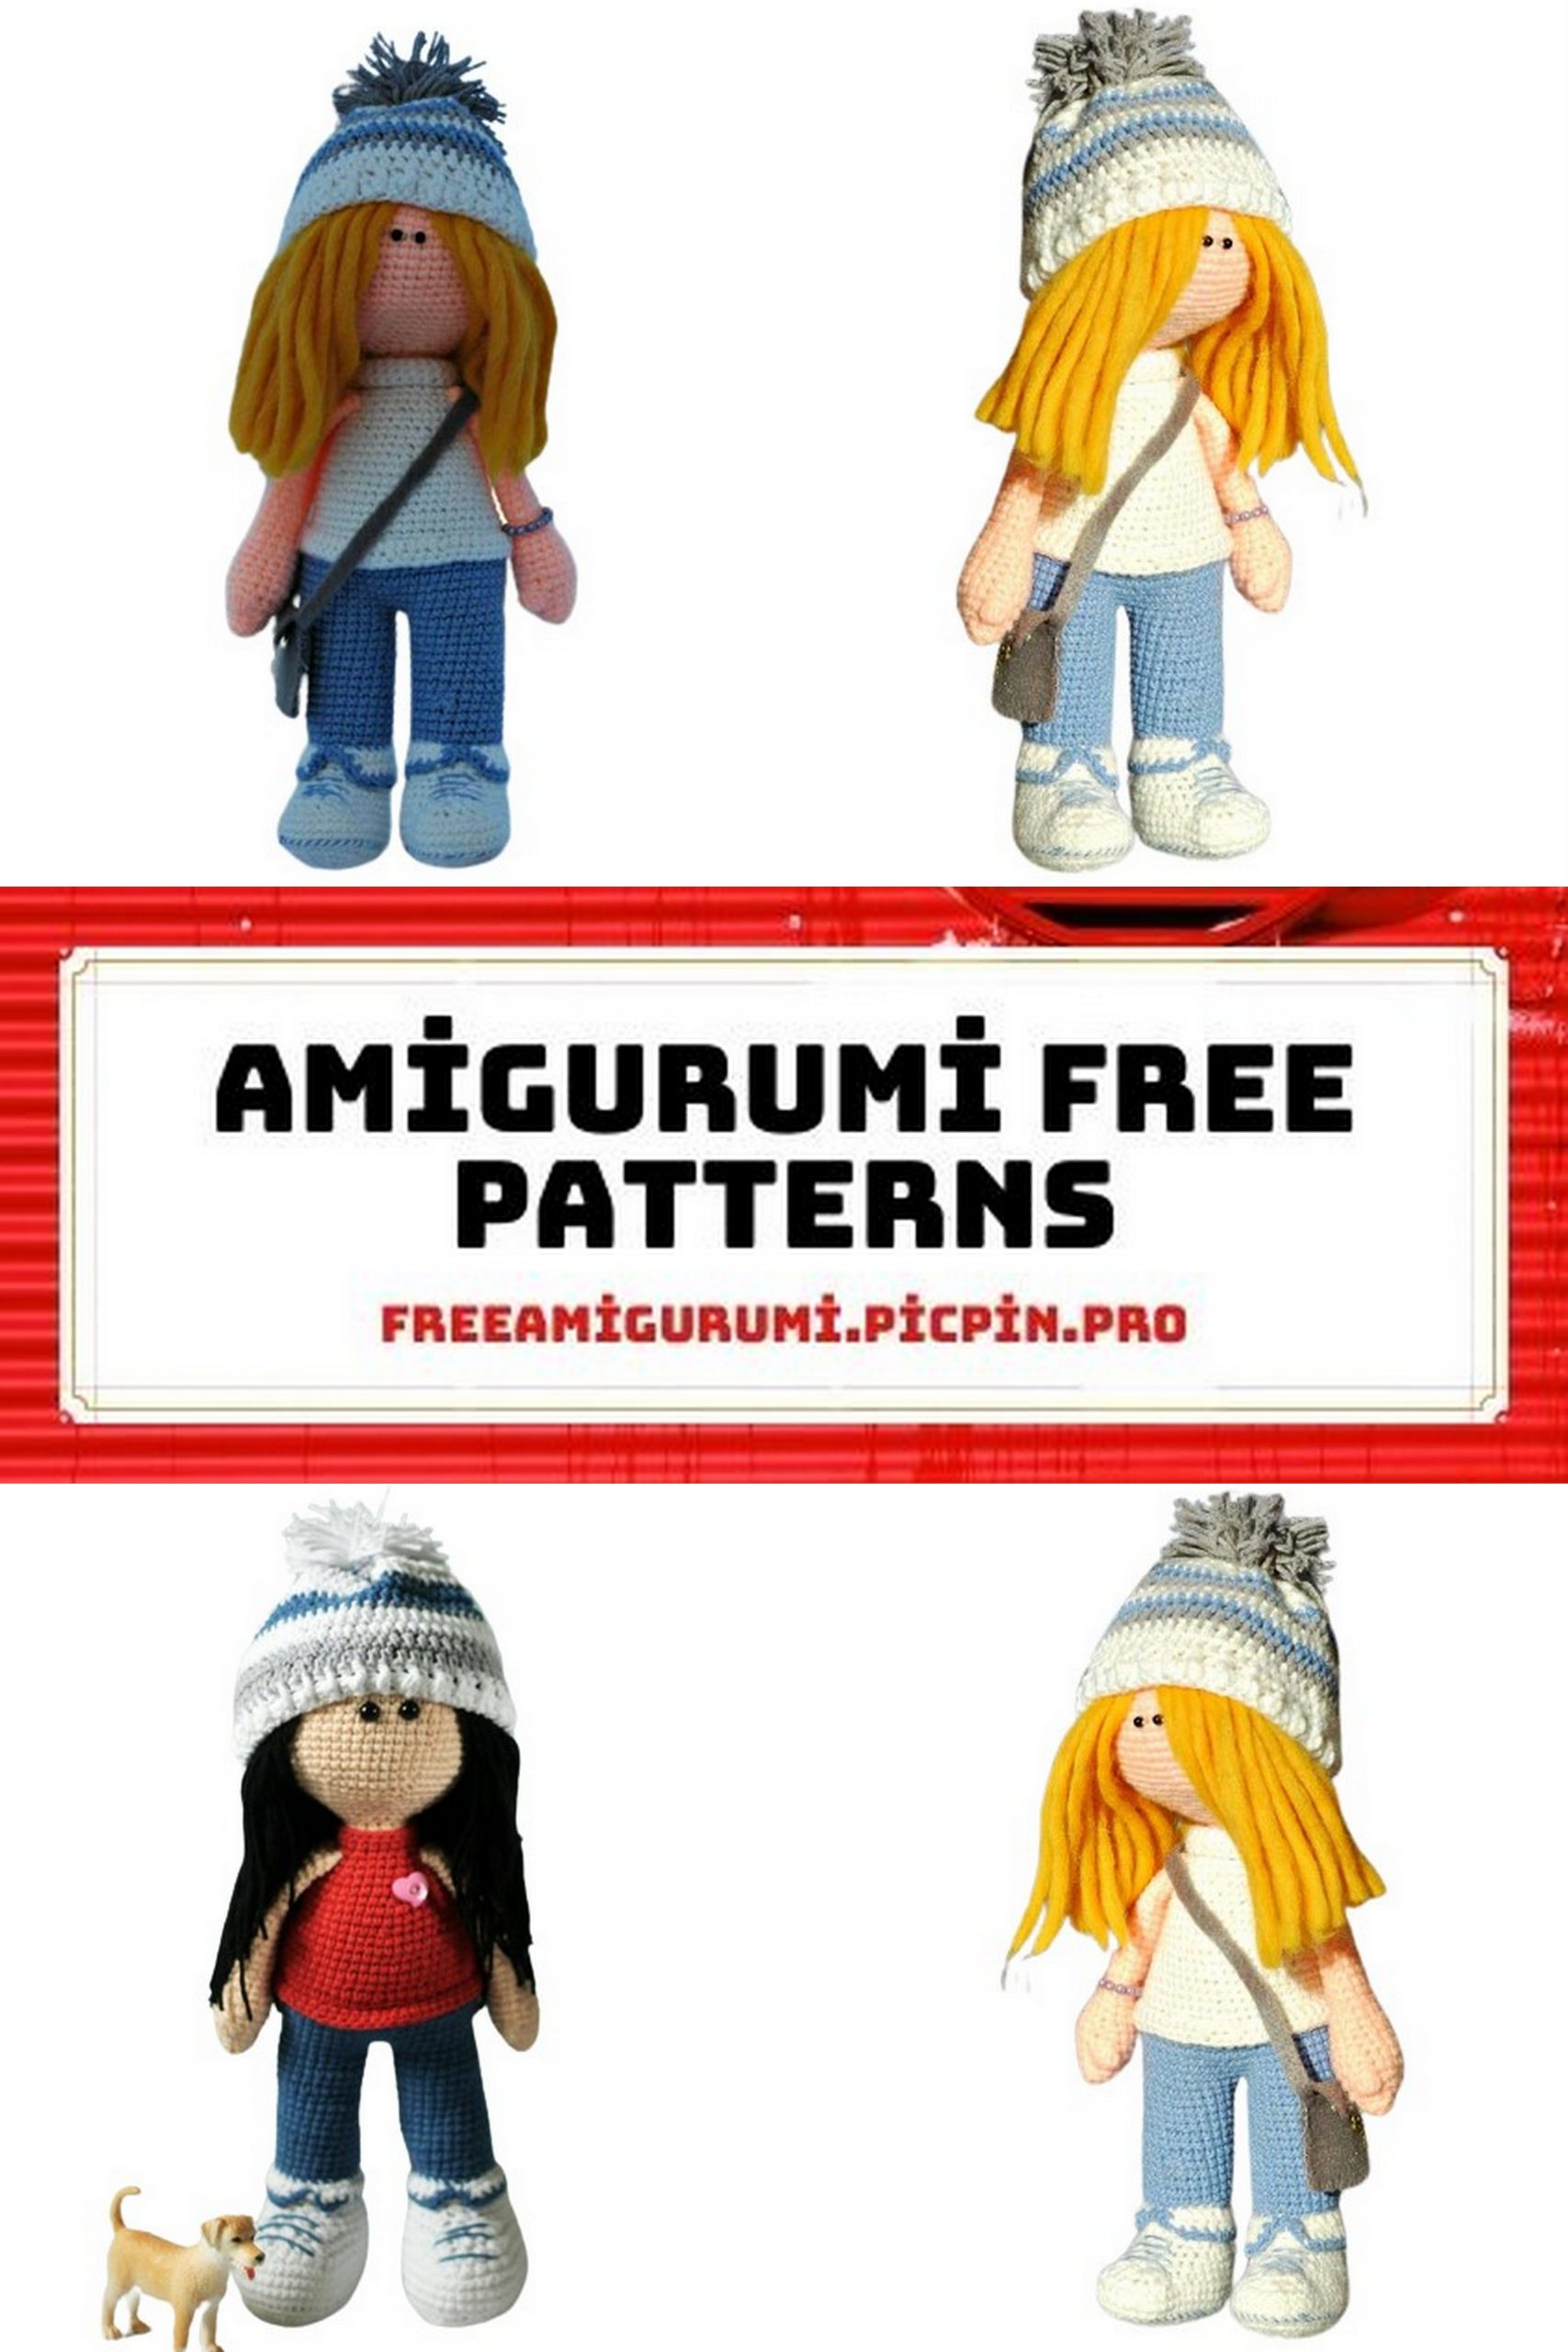
Free Amigurumi Doll Agatha Pattern | Crochet Your Own Adorable Toy
Welcome to our Amigurumi Doll Agatha Free Pattern page! If you’re a crochet enthusiast or looking to start your crafting journey, you’re in the right place. Our detailed tutorial will guide you through the process of creating an adorable Amigurumi Doll named Agatha. Whether you’re a beginner or an experienced crocheter, our step-by-step instructions make it easy for you to crochet this delightful toy. Get your hooks and yarn ready, and let’s start crafting your very own Amigurumi Agatha!
Materials Needed:
- Yarn 150 m/50 g for the doll and hair
- Crochet hook size 2
- Stuffing
- Felt for the purse
- Beads for eyes and trinkets
- Embroidery floss for the sneakers
- Doll’s height with materials used – 30 cm
Abbreviations:
- sc – single crochet
- ch – chain
- inc – increase (work 2 sc in one stitch)
- dec – decrease (work 2 sc together)
- sl st – slip stitch
- dc – double crochet
- hdc – half double crochet
PATTERN
Legs
All parts are stuffed tightly as you crochet, except for the arms, where only the hands are stuffed.
Begin with shoe color. Note that all decreases should be strictly in the middle of the sneaker, either in the front and/or back.
Row 1: Ch 10, sc in the 2nd ch from the hook: inc, 7 sc, inc, 6 sc, inc (21)
Row 2: Inc, 8 sc, 3 inc, 8 sc, inc (26)
Row 3: 3 inc, 8 sc, 4 inc, 11 sc (33)
Row 4: 4 inc, 11 sc, 6 inc, 12 sc (43)
Row 5: (43)
Row 6: In the back loops only (43)
Rows 7-8: (43)
Row 9: 19 sc, 6 dec, 12 sc (37)
Row 10: 18 sc, 4 dec in hdc, 11 sc (33)
Row 11: 17 sc, 4 dec in hdc, 8 sc (29)
Row 12: 18 sc, dec in 3 sc, 8 sc (27)
Row 13: 3 sc, dec, 22 sc (26)
Row 14: 2 sc, dec, 13 sc, dec, 7 sc (24)
Rows 15-16: (24)
Change color to pants color.
Row 17: In the back loops only (24)
Rows 18-32: (24) for 15 rows
Cut the yarn. Crochet the second leg following the same pattern, but do not cut the yarn. Embroider laces and the sole as desired. You can decorate the sole by catching the needle and thread through the loops of the 6th row.
Shoe Cuff
Row 1: Join the yarn to the middle of the 17th row, sc in a circle, keeping the foot facing down so the cuff points downward. Do not connect the row.
Rows 2-3: Ch 1, turn the work, hdc to the end.
Change color.
Row 4: Crab stitch around.

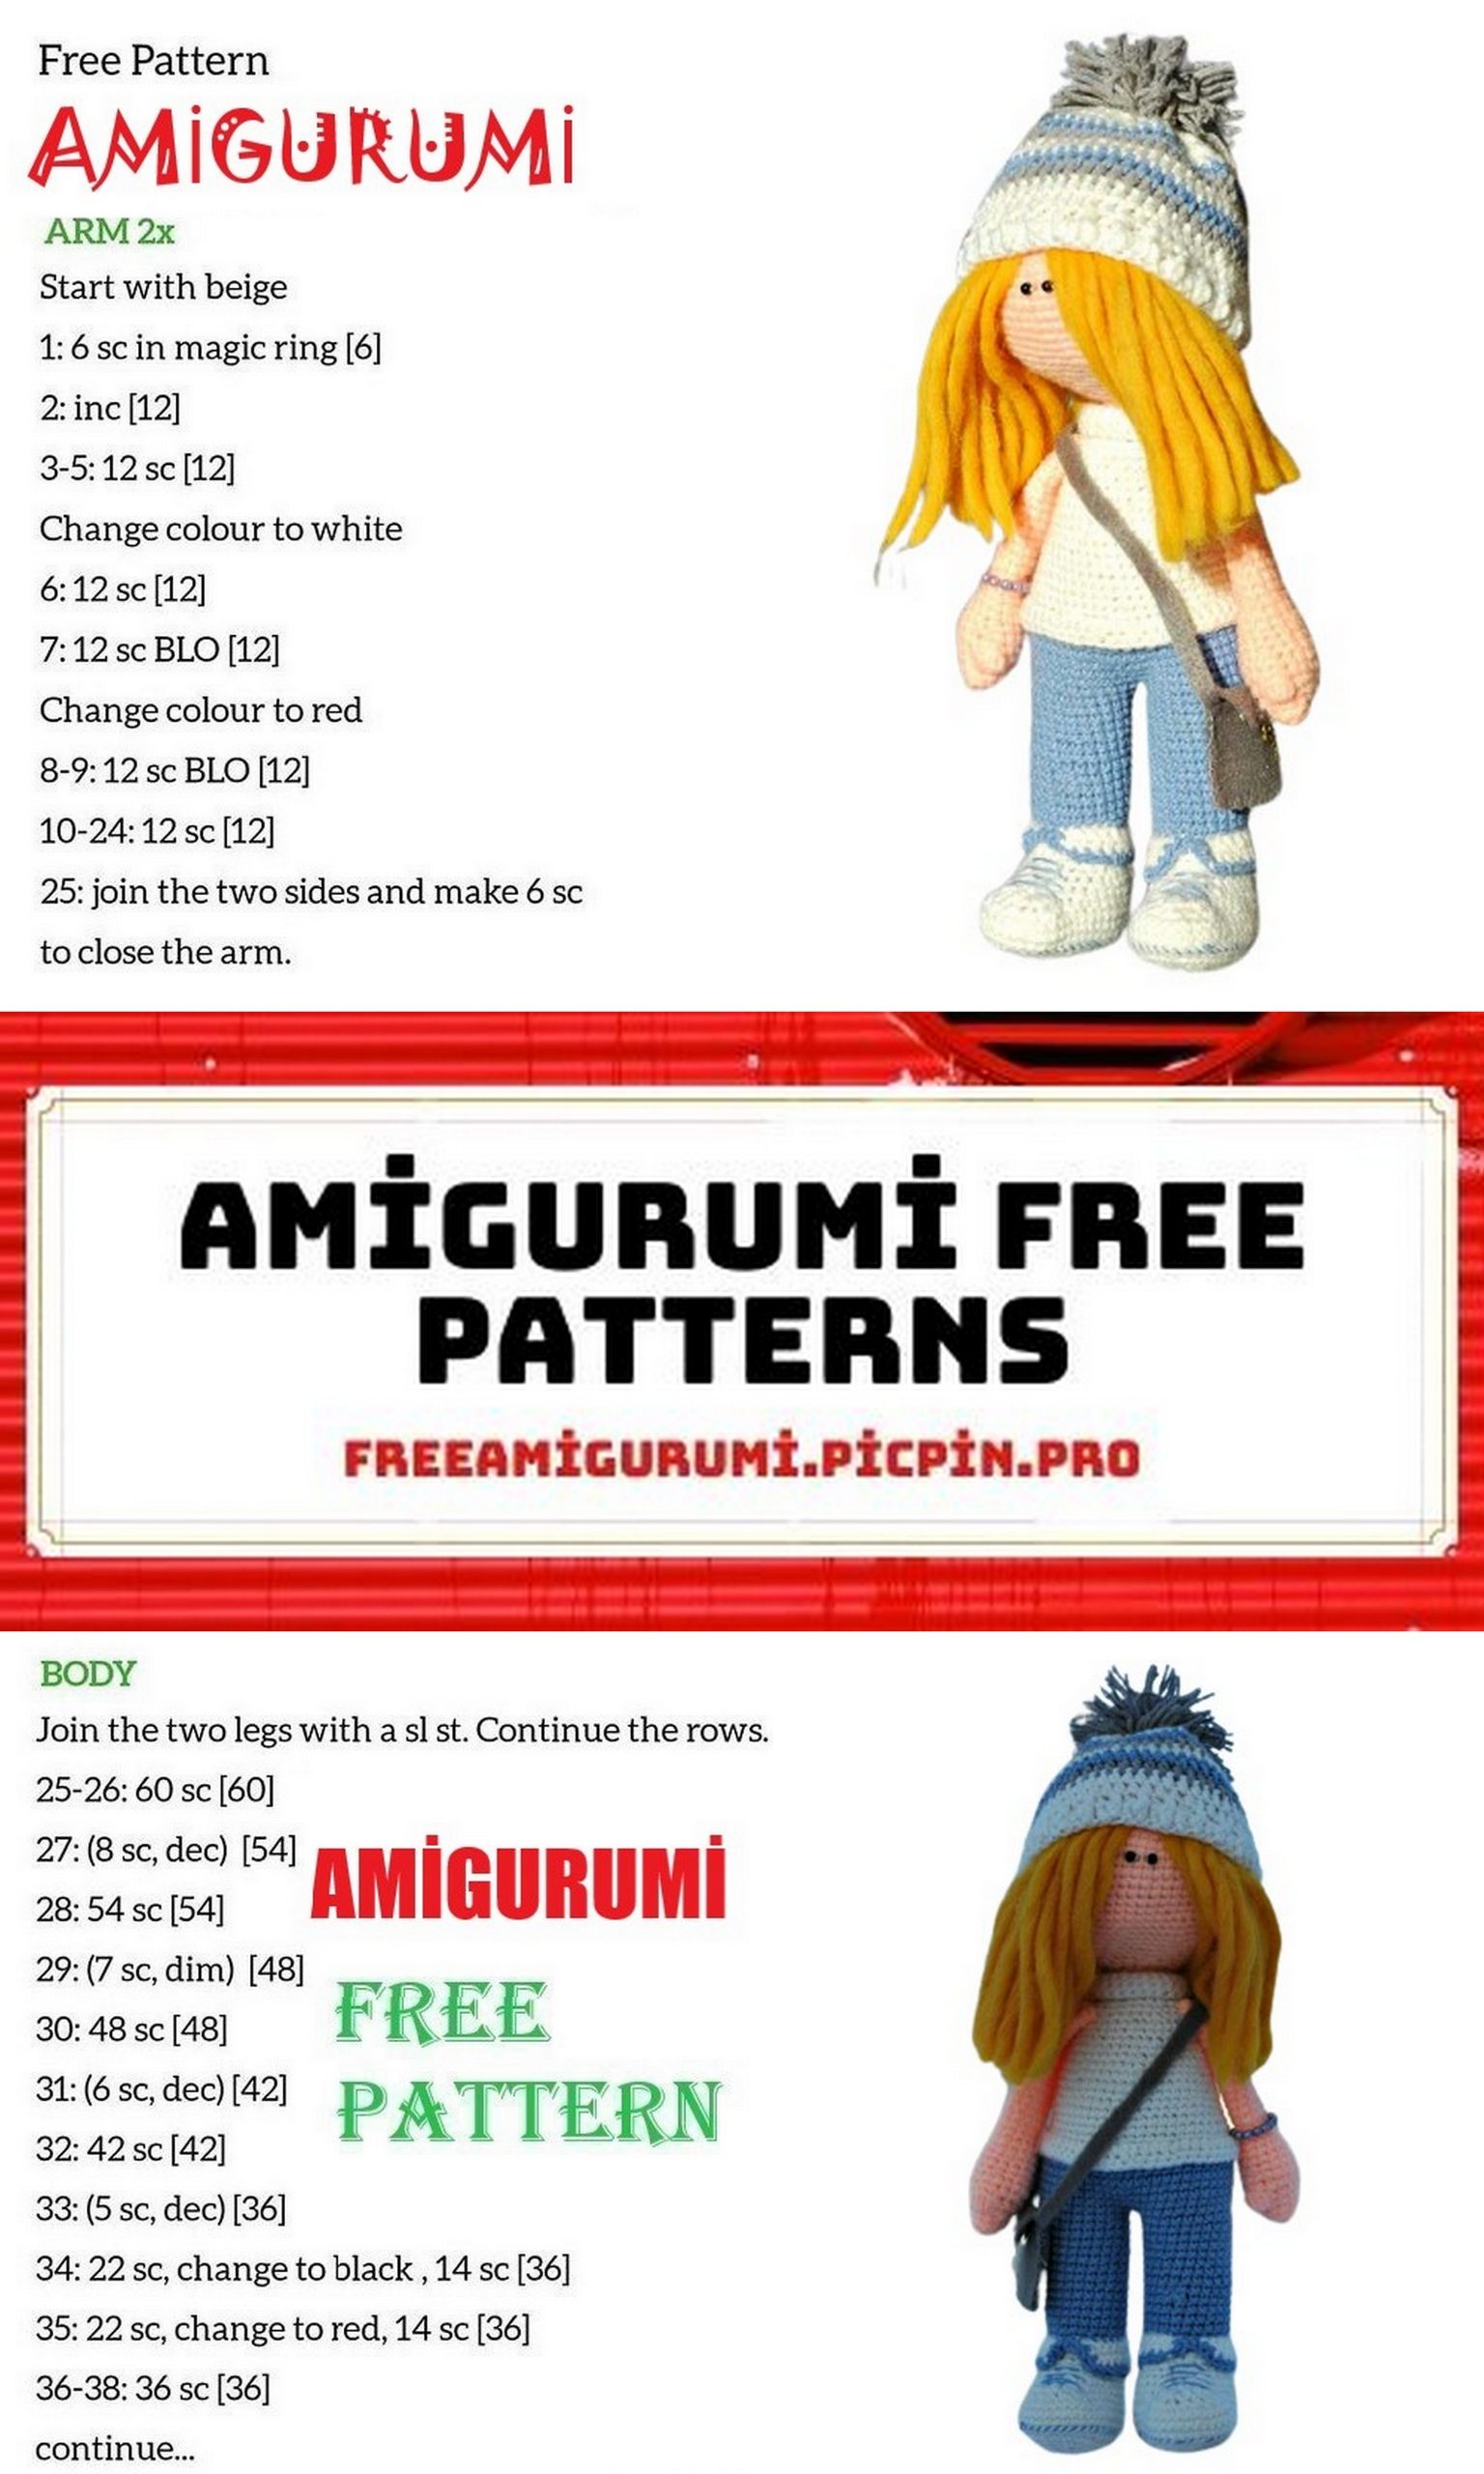
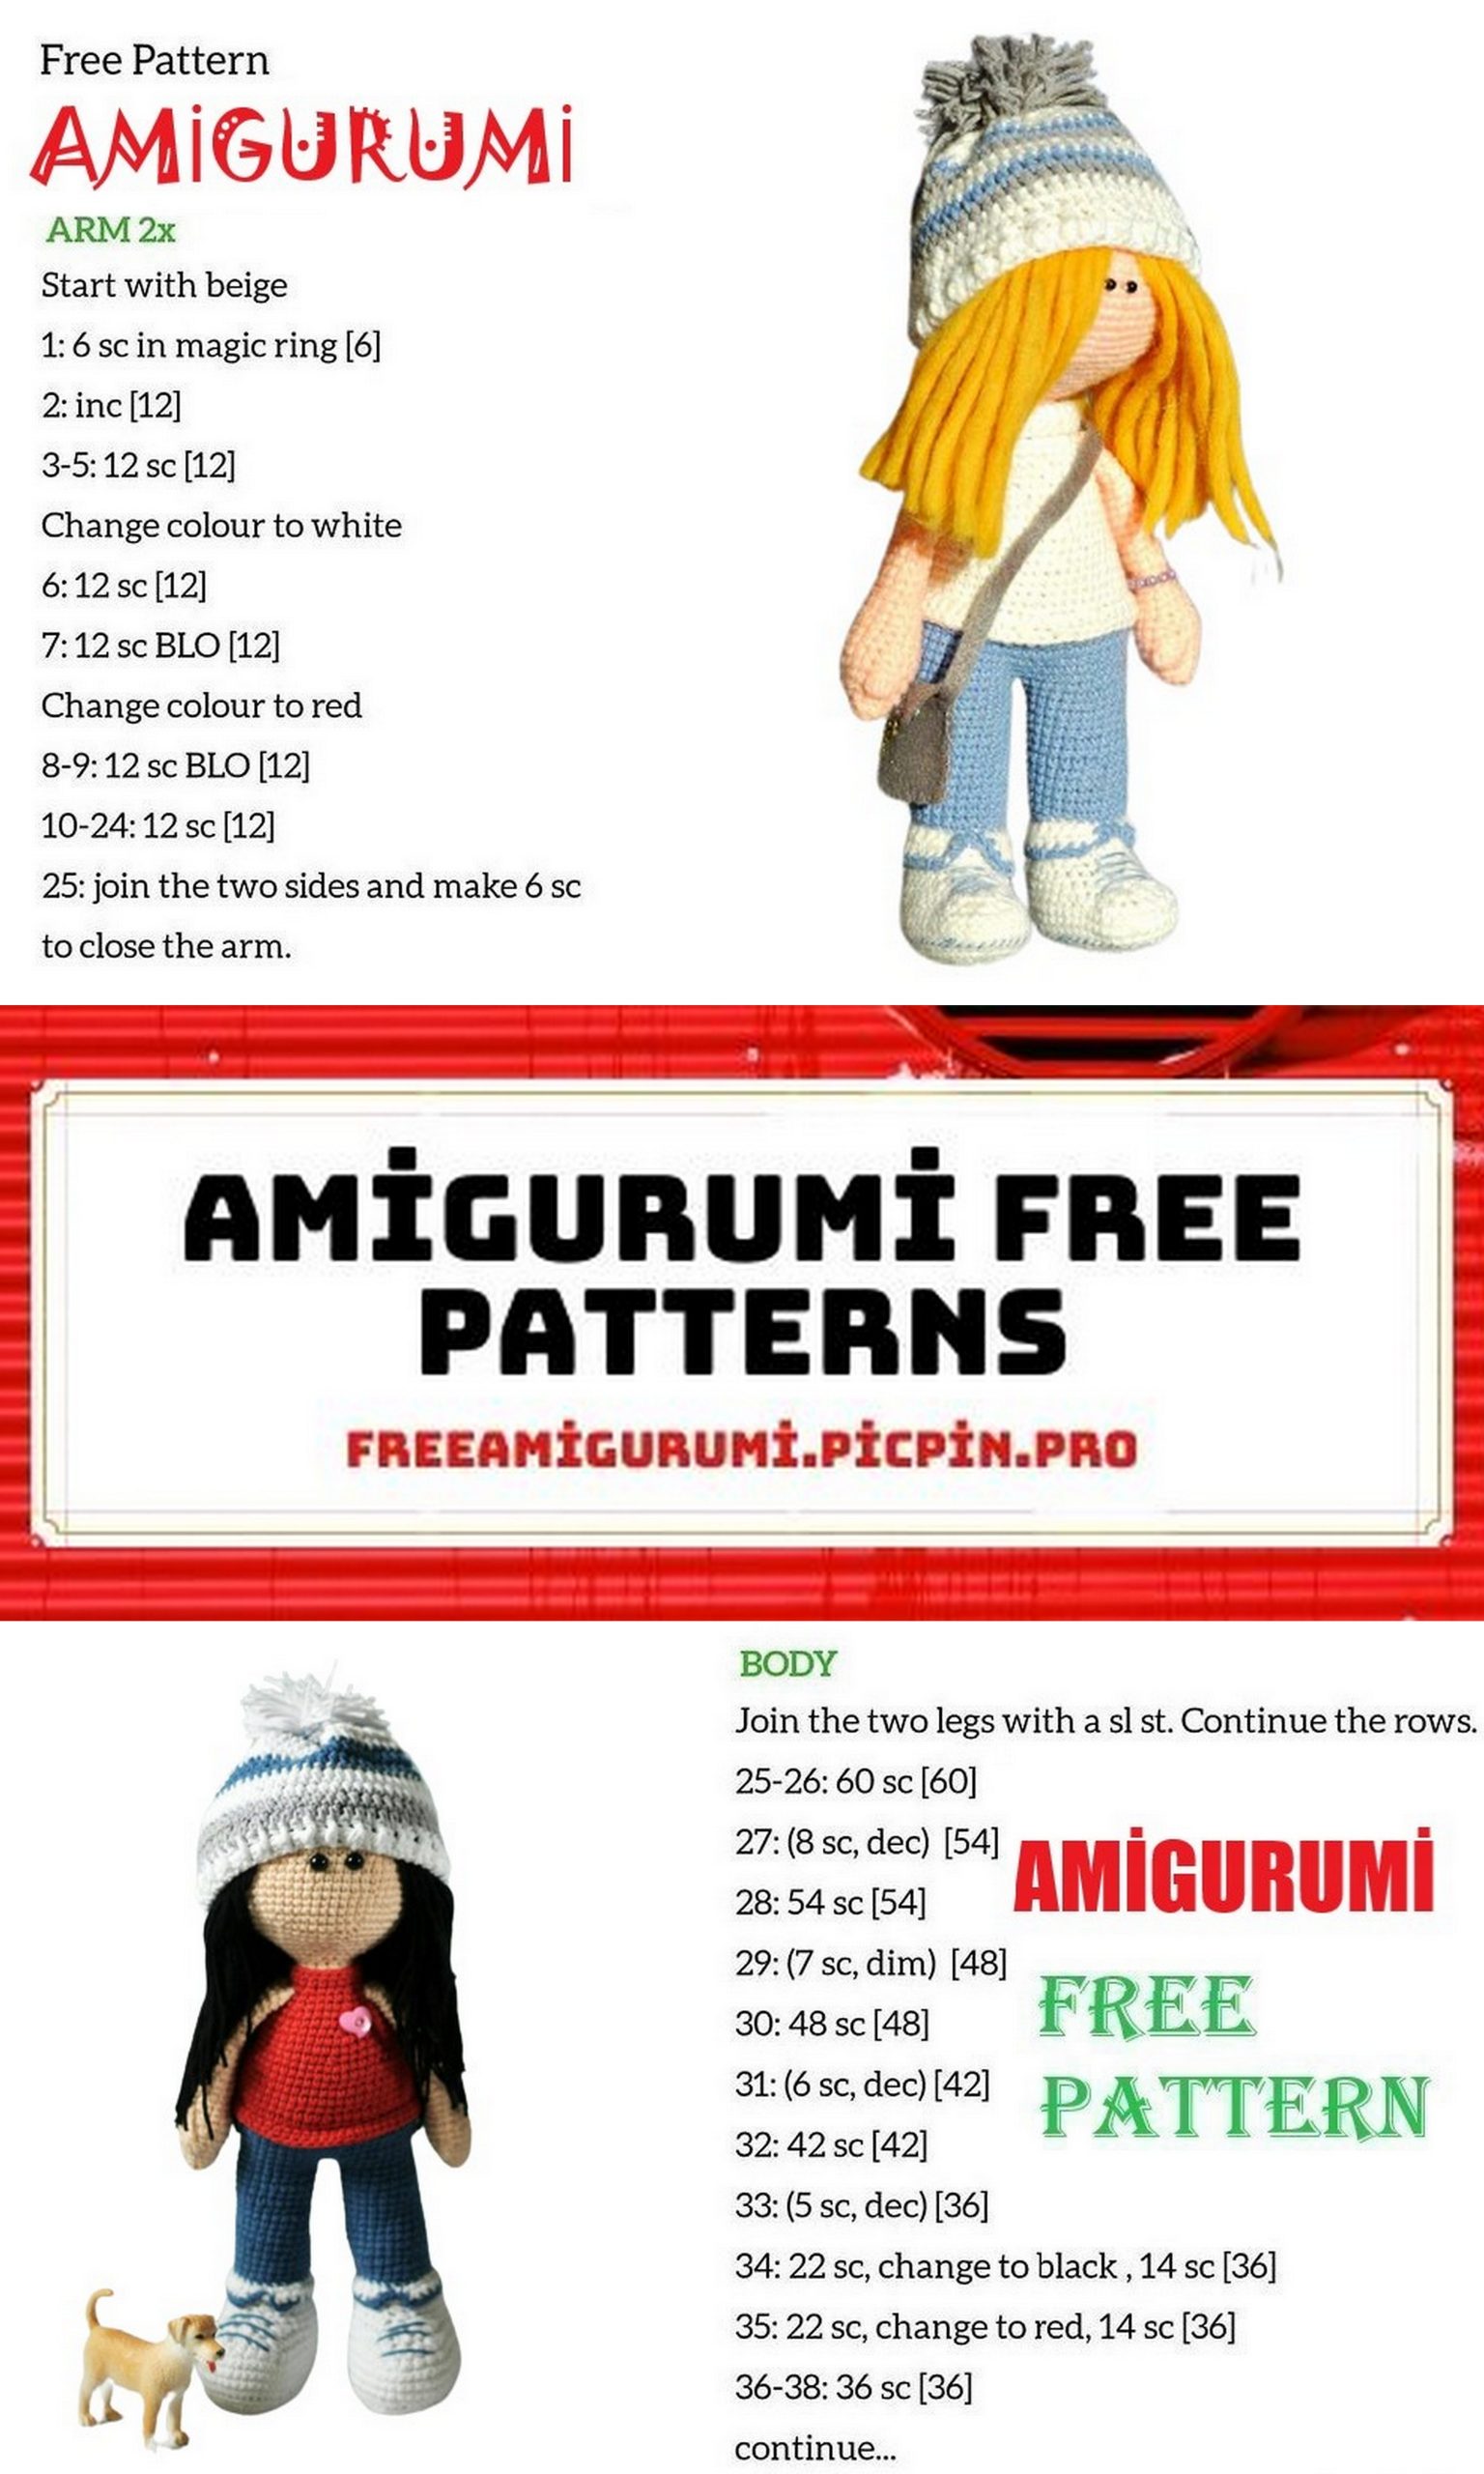
Torso
For the torso, make increases strictly on the sides.
Row 1: Finish the required number of sc on the second leg. Insert the hook into the first leg, sc 24 around the first leg, and another 24 sc around the second leg.
Row 2: 11 sc, inc, 23 sc, inc, 12 sc (50)
Row 3: 12 sc, inc, 23 sc, inc, 13 sc (52)
Row 4: 14 sc, inc, 23 sc, inc, 13 sc (54)
Rows 5-6: (54)
Row 7: 27 sc, change color, crochet 1.5 rows with the new color, up to the color change point—this is the new start, at the back (54)
Row 8: In the back loops only (54)
Row 9: Dec, 13 sc, dec, 10 sc, dec, 13 sc, dec, 10 sc (50)
Rows 10-12: (50)
Row 13: 12 sc, dec, 22 sc, dec, 12 sc (48)
Rows 14-15: (48)
Row 16: (6 sc, dec) x 6 (42)
Rows 17-18: (42)
Row 19: (5 sc, dec) x 6 (36)
Rows 20-21: (36)
Row 22: (4 sc, dec) x 6 (30)
Row 23: (30)
Row 24: (3 sc, dec) x 6 (24)
Row 25: In the back loops only (24)
Row 26: (24)
Change yarn color to match the skin.
Row 27: (2 sc, dec) x 6 (18)
Row 28: (18)
Skirt
Row 1: Attach the yarn to the 8th row, sc around, join with a sl st. Crochet spirally without chaining.
Row 2: Sc around, cut the yarn and hide it.
Collar
Attach the yarn to the 25th row, sc 6 rows with sc stitches, holding the piece upside down. Crochet spirally.
Head
Row 1: 6 sc into a ring.
Row 2: Inc in each sc around (12)
Row 3: (1 sc, inc) x 6 (18)
Row 4: (2 sc, inc) x 6 (24)
Row 5: (3 sc, inc) x 6 (30)
Row 6: (4 sc, inc) x 6 (36)
Row 7: (5 sc, inc) x 6 (42)
Row 8: (6 sc, inc) x 6 (48)
Row 9: (7 sc, inc) x 6 (54)
Row 10: (8 sc, inc) x 6 (60)
Rows 11-20: (60) for ten rows
At this point, you can attach the hair.
Row 21: (8 sc, dec) x 6 (54)
Row 22: (7 sc, dec) x 6 (48)
Row 23: (6 sc, dec) x 6 (42)
Row 24: (5 sc, dec) x 6 (36)
Row 25: (4 sc, dec) x 6 (30)
Row 26: (3 sc, dec) x 6 (24)
Row 27: (2 sc, dec) x 6 (18)
Row 28: (18)
Sew the head to the body and attach the eyes around the 12th-13th row.
Arms
Row 1: Ch 4, join to form a ring, sc 8 in the ring.
Row 2: Inc in each sc around (16)
Row 3: (3 sc, inc) x 4 (20)
Row 4: (4 sc, inc) x 4 (24)
Row 5: (24)
Row 6: Crochet 4 sc in one loop and with one vertex (this is the thumb), inc, (1 sc, inc) x 5 (30)
Row 7: (30)
Row 8: (4 sc, dec) x 3 (27)
Rows 9-28: (27) for twenty rows
Stuff only the hands. Crochet a few more sc if necessary, so the thumb points in the right direction. Fold the arm in half and crochet 10 sc through both sides. Attach the arms one row below the collar.
Hair
For the hair, use “Valya” yarn (Semenovskaya factory). Cut pieces of the desired length and attach them to the head while crocheting before decreases. Thread each “hair” inside between the stitches spirally, starting from the top. Tie a knot inside on each “hair.” Since this yarn is thick, you may need to crochet 5-6 rows spirally for the desired volume. You can also watch a similar attachment method by Nelly Shisterova. Of course, you can attach the hair using any known and convenient method.
Hat
To crochet the hat, create a chain of ch stitches equal to the circumference of your doll’s head. For example, 56 stitches. Join the chain to form a ring.
Round 1: Sc in a circle.
Round 2: Ribbing with alternating front and back post double crochet stitches around the circle.
Round 3: Crochet several rounds with sc stitches, constantly trying on the hat. I did 11 rounds. Tighten the opening, sew up any holes if necessary. Make a pom-pom and sew it on.
Purse
I hand-sewed the purse from felt. Cut it according to the pattern, sew the sides, attaching the handle, sew a button on the lid, and decorate it (in my case with a key charm). I stitched it with a blanket stitch “over the edge.” Note: Before cutting the purse handle, measure the required length based on your doll; you may need to lengthen or shorten the pattern. Remember that the doll’s head is large, so the handle should not be too short. The pattern is approximate.
Congratulations! Your Agatha is ready!