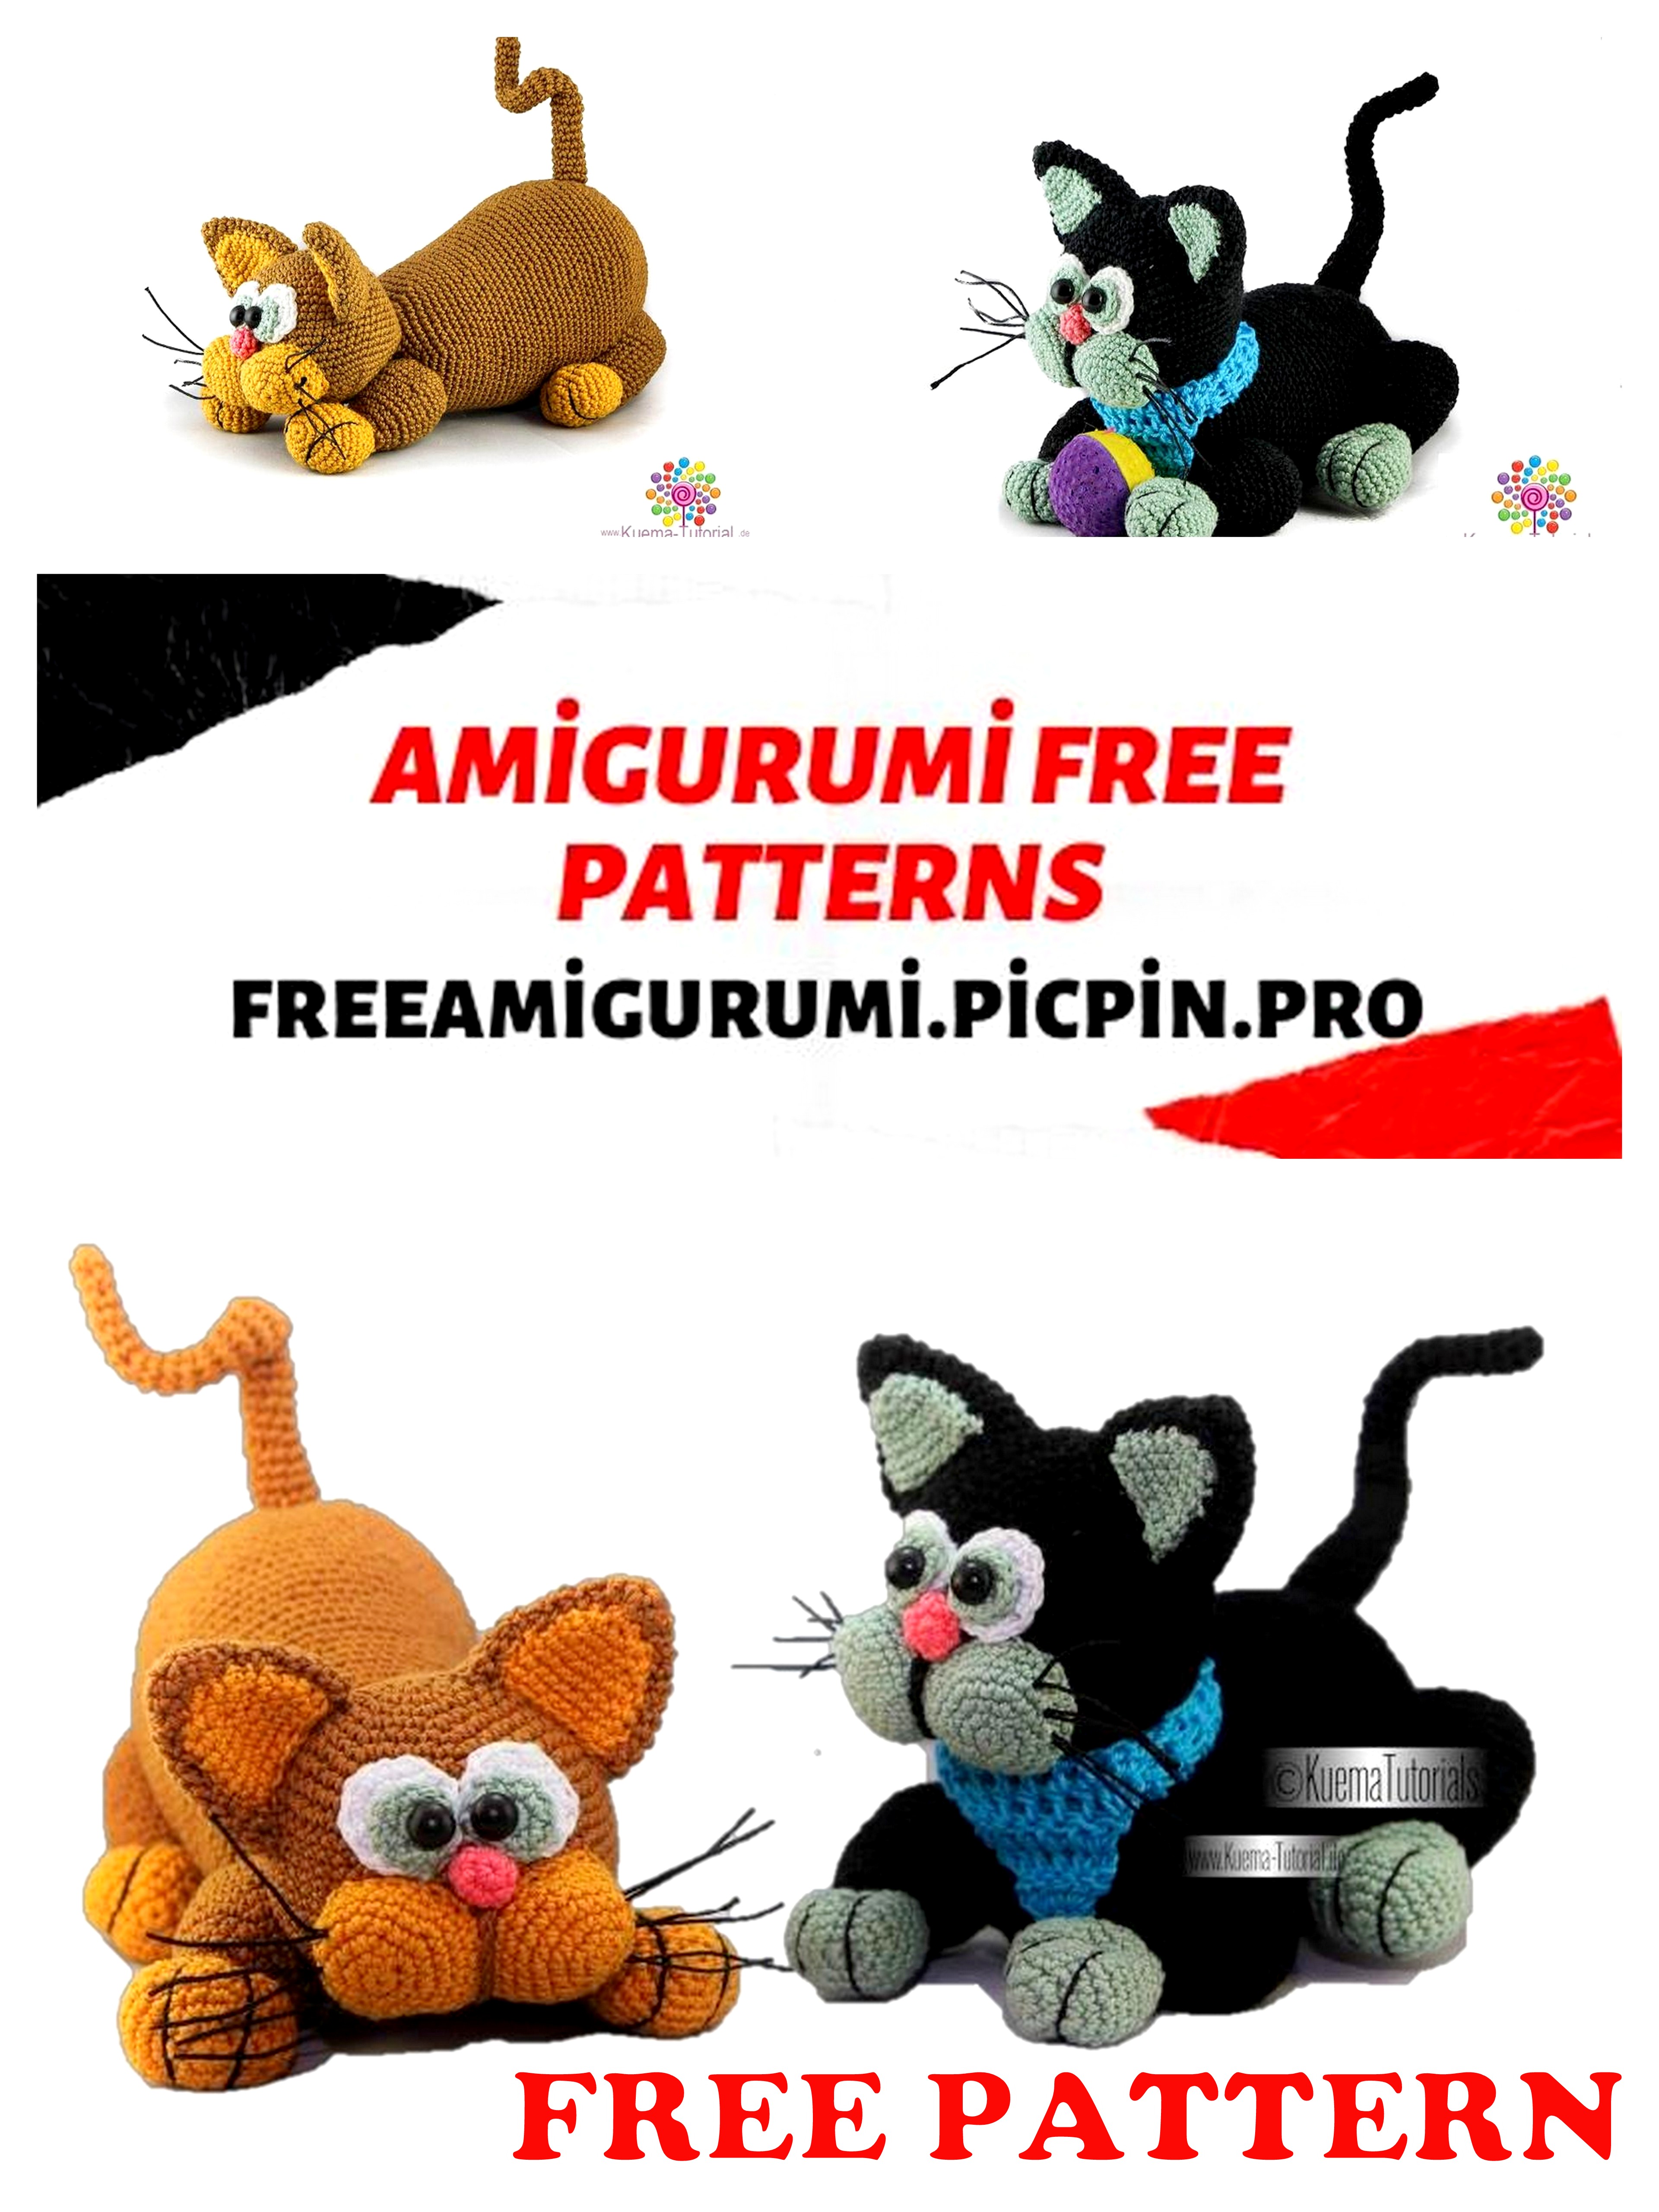
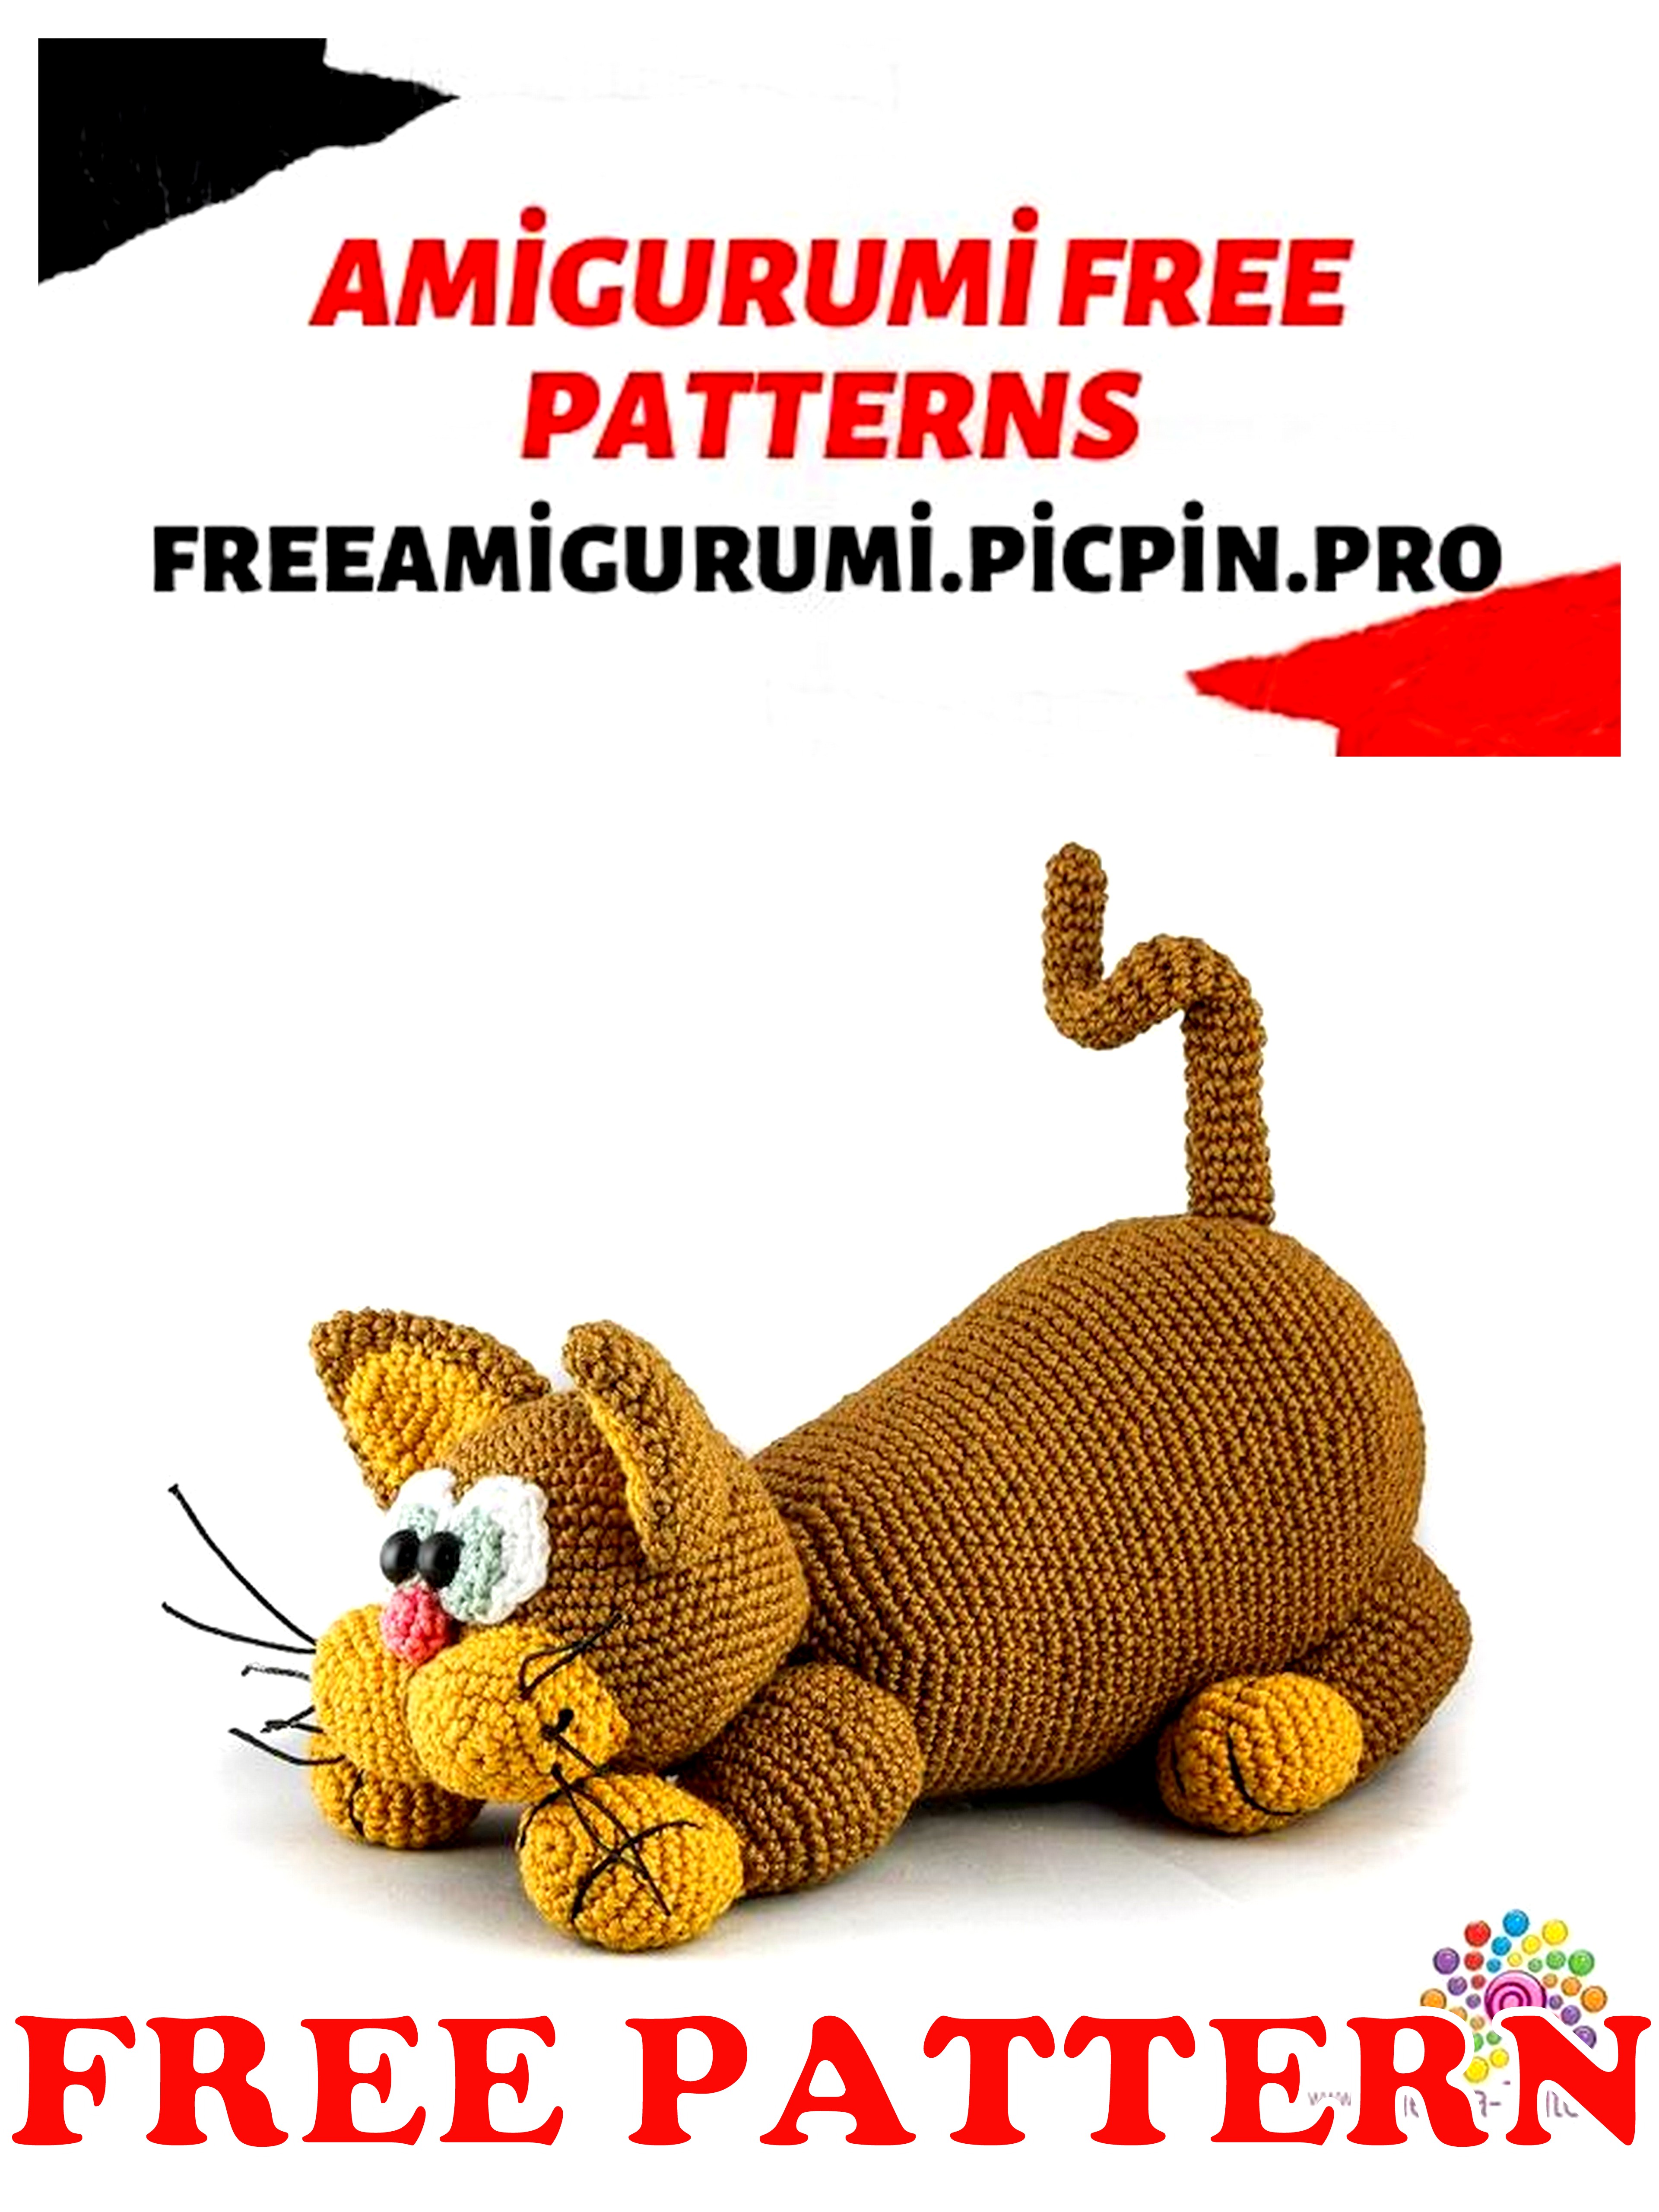
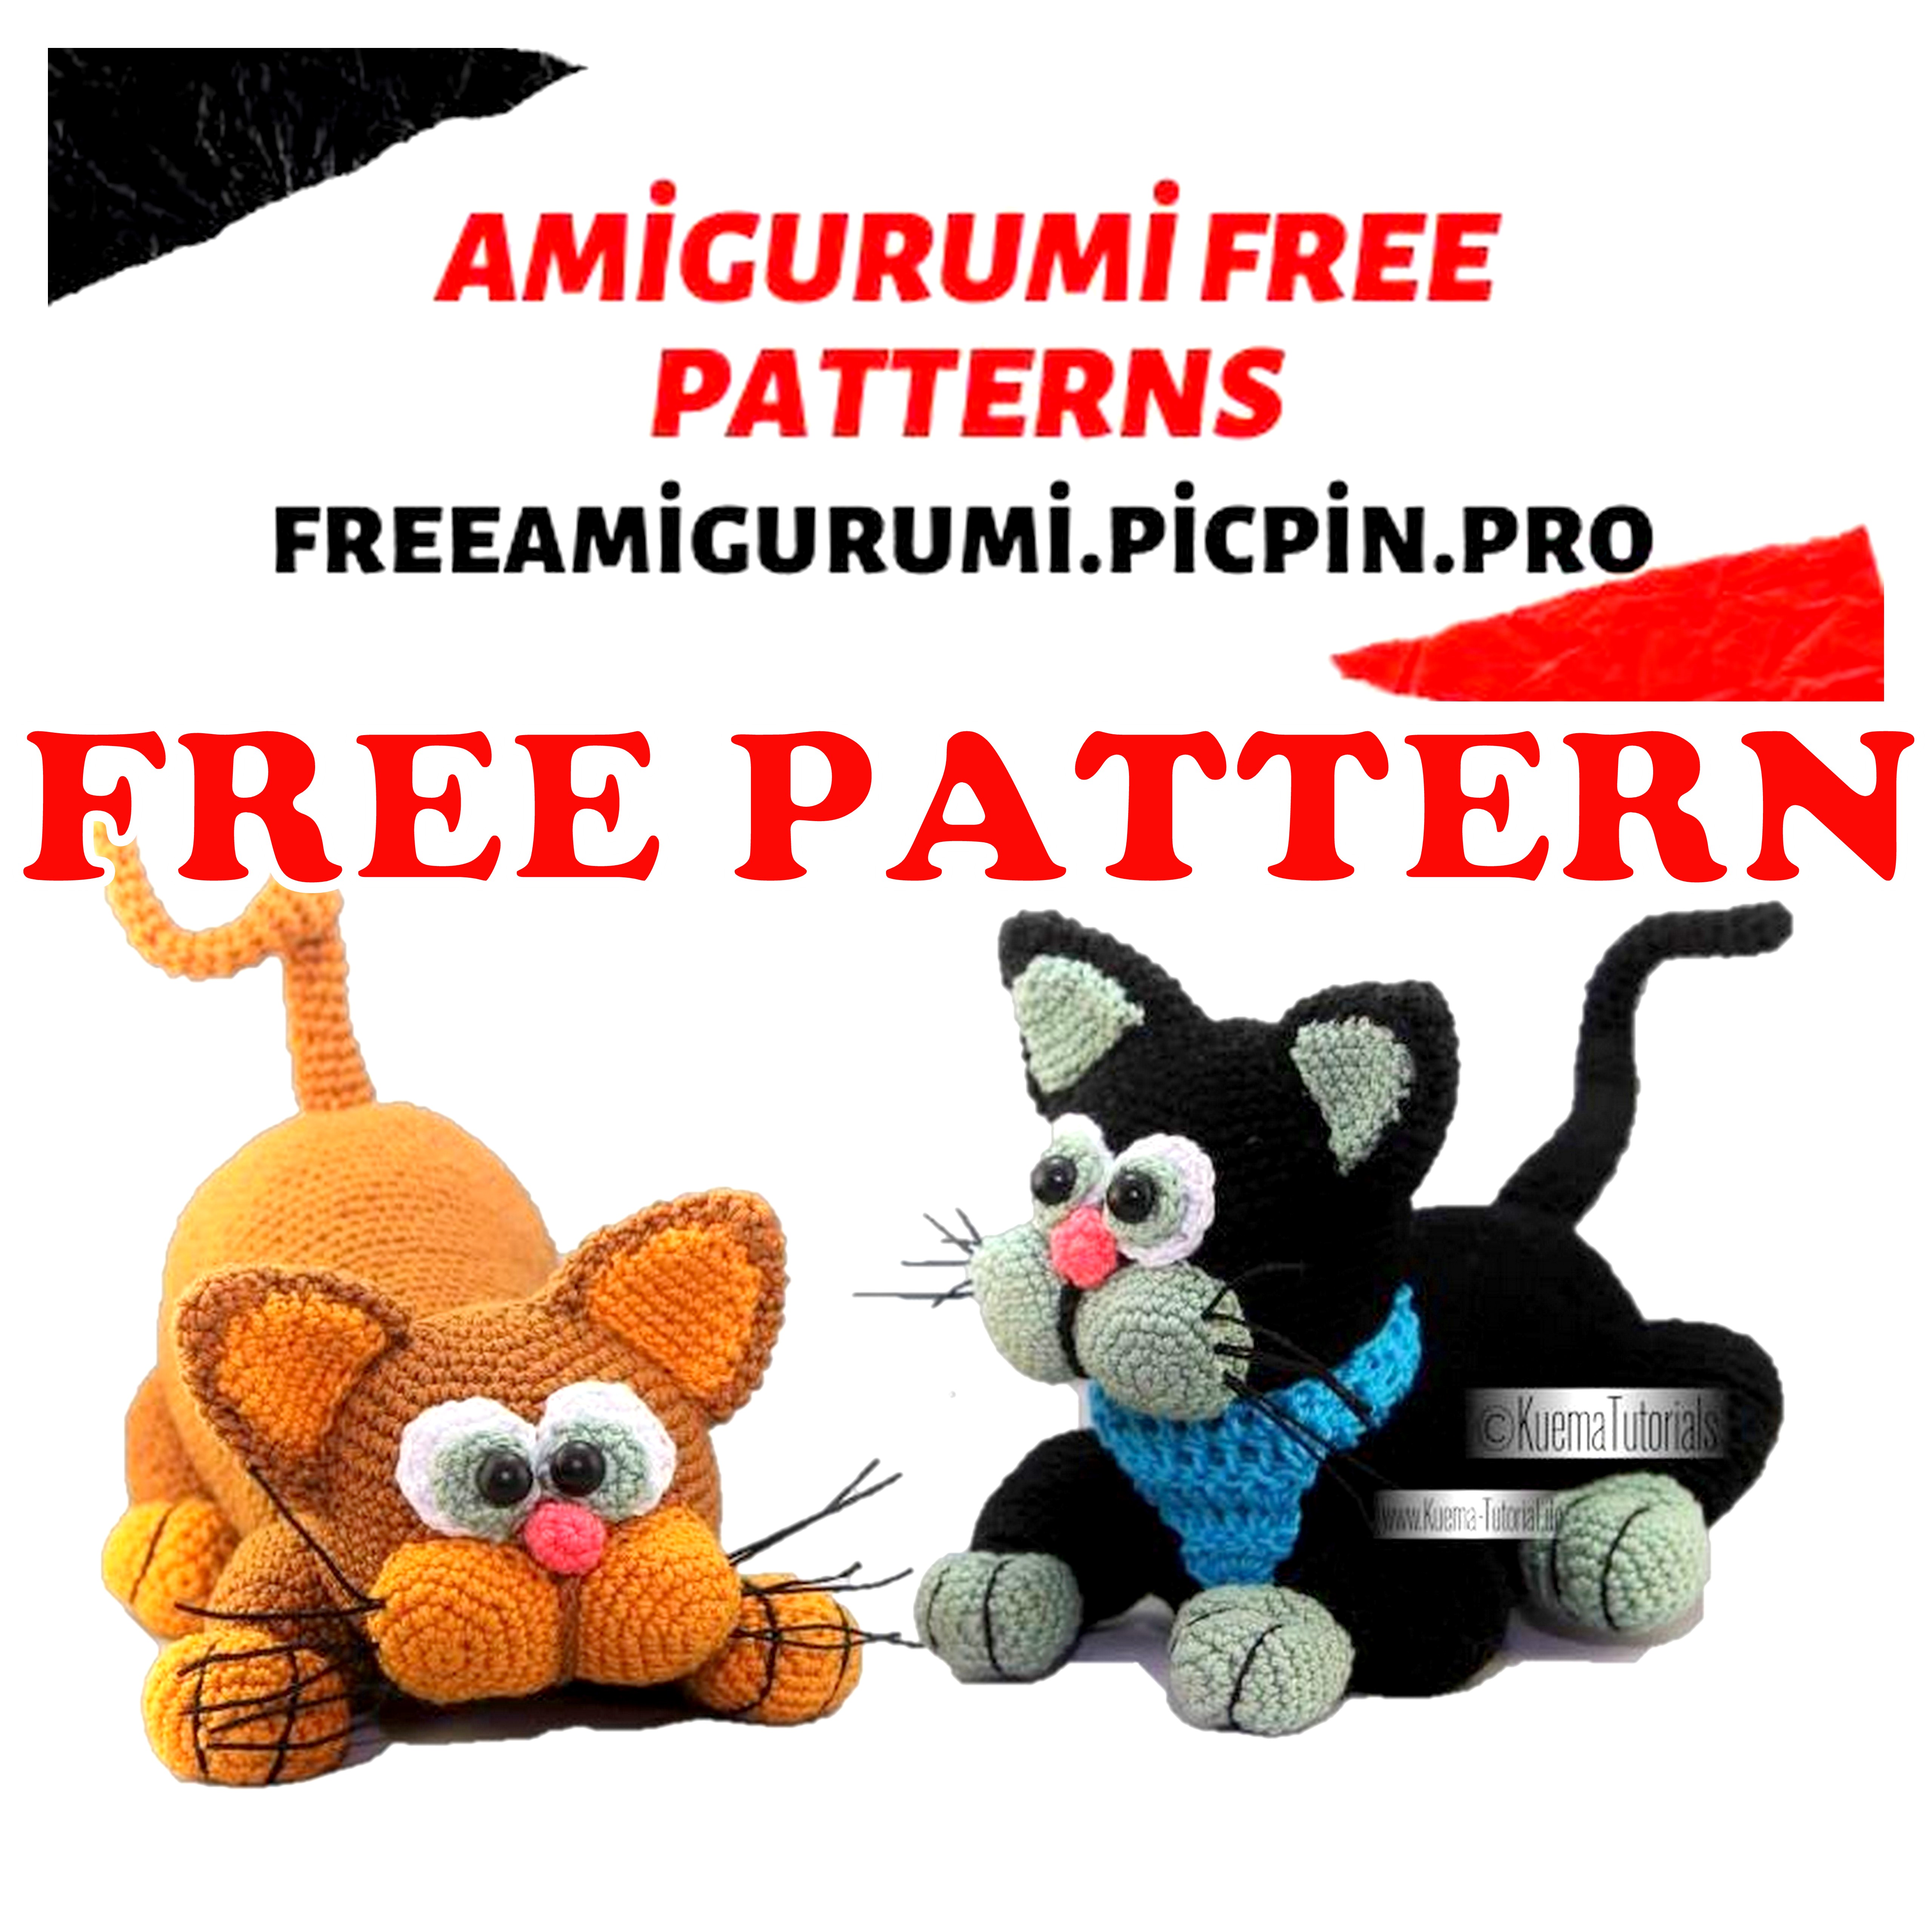
Amigurumi Fat Cats Free Crochet Pattern
Welcome to our website where you can find the most beautiful and highest quality samples of Amigurumi patterns. All the amigurumi patterns you can’t find are available on our website. Every day we continue to share new amigurumi patterns for you. Stay tuned to reach these amigurumi patterns before anyone else
Abbreviations:
Sc – single crochet,
inc – increase,
Dec – decrease
Hdc – half crochet
CH – chain
Materials:
Cotton Yarn
2 Colours for the cats e.g. light and dark brown
-2x Balls of dark brown
-1x Ball of light brown
Some odds of
-White and blue for the eyes
-Black for the contours
Safety Eyes 10 mm
Toy Stuffing
Sewing Needles
Glue or hot glue gun
Pipe Cleaner or wire
Crochet Hook 2,50 mm or 3,00 mm (US C or G // UK 11 or 8)
Stitch Marker

The Head:
RD 00 – MR 6 SC = 6 SC
RD 01 – *inc* (6) = 12 SC
RD 02 – *SC, inc* (6) = 18 SC
RD 03 – *2 SC, inc* (6) = 24 SC
RD 04 – *3 SC, inc* (6) = 30 SC
RD 05 – *4 SC, inc* (6) = 36 SC
RD 06 – *5 SC, inc* (6 = 42 SC
RD 07 – *6 SC, inc* (6) = 48 SC
RD 08 – *7 SC, inc* (6) = 56 SC
RD 09 – *8 SC, inc* (6) = 60 SC
RD 10 to 20 – 60 SC x11 = 60 SC
(now we decrease)
RD 21 – *8 SC, dec* (6) = 54 SC
RD 22 – *7 SC, dec* (6) = 48 SC
RD 23 – *6 SC, dec* (6) = 42 SC
RD 24 – *5 SC, dec* (6) = 36 SC
RD 25 – *4 SC, dec* (6) = 30 SC
RD 26 – *3 SC, dec* (6) = 24 SC
(fill with stuffing)
RD 27 – *2 SC, dec* (6) = 18 SC
RD 28 – *SC, dec* (6) = 12 SC
RD 29 – *dec* (6) = 6 SC
RD 30 – dec till closed
-Cut yarn leave longer tail to sew in place.
The Body
RD 00 – MR 6 SC = 6 SC
RD 01 – *inc* (6) = 12 SC
RD 02 – *SC, inc* (6) = 18 SC
RD 03 – *2 SC, inc* (6) = 24 SC
RD 04 – *3 SC, inc* (6) = 30 SC
RD 05 – *4 SC, inc* (6) = 36 SC
RD 06 – *5 SC, inc* (6) = 42 SC
RD 07 – *6 SC, inc* (6) = 48 SC
RD 08 – *7 SC, inc* (6) = 54 SC
RD 09 – *8 SC, inc* (6) = 60 SC
RD 10 to 15 – 60 SC x6 = 60 SC
RD 16 – *9 SC, inc* (6 = 66 SC
RD 17 to 22 – 66 SC x6 = 66 SC
RD 23 – *10 SC, inc* (6) = 72 SC
RD 24 to 30 – 72 SC x7 = 72 SC
RD 31 – *11 SC, inc* (6) = 78 SC
RD 32 – 78 SC x1 = 78 SC
RD 33 – *12 SC, inc* (6 = 84 SC
RD 34 to 37 – 84 SC x4 = 84 SC
RD 38 – *12 SC, dec* (6) = 78 SC
RD 39 – 78 SC x1 = 78 SC
RD 40 – *11 SC, dec* (6) = 72 SC
RD 41 – *10 SC, dec* (6) = 66 SC
RD 42 – *9 SC, dec* (6) = 60 SC
RD 43 – *8 SC, dec* (6 = 56 SC
RD 44 – *7 SC, dec* (6) = 48 SC
RD 45 – *6 SC, dec* (6) = 42 SC
RD 46 – *5 SC, dec* (6 = 36 SC
RD 47 – *4 SC, dec* (6) = 30 SC
RD 48 – *3 SC, dec* (6) = 24 SC
-Fill the body with stuffing
RD 49 – *2 SC, dec* (6) = 18 SC
RD 50 – *SC, dec* (6) = 12 SC
RD 51 – *dec* (6) = 6 SC
RD 52 – dec till closed
-Cut yarn and hide tail
The Nose
RD 00 – MR 6 SC = 6 SC
RD 01 and 02 – 6 SC x2 = 6 SC
-Cut yarn and leave long tail to sew in place
The Ears
Outer Ear (Big)
RD 00 – MR 6 SC = 6 SC
RD 01 – 6 SC x1 = 6 SC
RD 02 – *inc* (6) = 12 SC
RD 03- 12 SC x1 = 12 SC
RD 04 – *SC, inc* (6) = 18 SC
RD 05 – 18 SC x1 = 18 SC
RD 06 – *2 SC, inc* (6) = 24 SC
RD 07 – 24 SC x1 = 24 SC
RD 08 – *3 SC, inc* (6) = 30 SC
RD 09 to 11 – 30 SC x3 = 30 SC
-Cut yarn – leave longer tail to sew in place
-Repeat for 2nd Ear
-you can fill it slightly with stuffing
Inner Ear (Small)
RD 00 – MR 6 SC = 6 SC
RD 01 – *inc* (6) = 12 SC
RD 02 to 03 – 12 SC x2 = 12 SC
RD 04 – *SC, inc* (6) = 18 SC
RD 05 to 07 – 18 SC x3 = 18 SC
-Cut yarn and leave longer tail
-Repeat for 2nd Ear
The Eyes
Outer Eye (White)
RD 00 – MR 6 SC = 6 SC
RD 01 – *inc* (6) = 12 SC
RD 02 – *SC, inc* (6) = 18 SC
-Cut yarn and leave long tail to sew in place
-Repeat for 2nd Eye
Inner Eye – Pupil (e.g. blue)
RD 00 – MR 6 SC = 6 SC
RD 01 – *inc* (6) = 12 SC
-Cut yarn and leave tail to sew in place
-Repeat for 2nd Eye
The Muzzle
(The Muzzle is made of 2 Parts that you crochet later together)
RD 00 – MR 6 SC = 6 SC
RD 01 – *inc* (6) = 12 SC
RD 02 – *SC, inc* (6) = 18 SC
RD 03 – *2 SC, inc* (6) = 24 SC
RD 04 to 06 – 24 SC x3 = 24 SC
-Repeat for 2nd Part
The Whiskers
Now use dark yarn and glue
Pull the yarn thru the glue
(I put glue between my fingers and pull the thread thru)
Then place on kitchenfoil and leave it dry out
Now cut them into 15-20 cm long strings and done
Build the Whiskers
Crochet the 2 Parts with 5
slst together gehäkelt.
Muzzle Line: Cast on with body
colour and crochet 10-12 CH –
place it around the muzzle and
close it with a slst
Bend the whisker and pull them
with a needle thur the muzzle.
Each side gets 3 Hairs.
(Between round 3 and 4 )
Fixate the whiskers with glue or a
hot glue gun to the muzzle.
Done is the cat muzzle
The Legs
Front Legs (small)
RD 00 – MR 6 SC = 6 SC
RD 01 – *inc* (6) = 12 SC
RD 02 – *SC, inc* (6) = 18 SCS
RD 03 – *2 SC, inc* (6) = 24 SC
RD 04 – *3 SC, inc* (6) = 30 SC
RD 05 to 08 – 30 SC x4 = 30 SC
RD 09 – *3 SC, inc* (6) = 24 SC
RD 10 to 13 – 24 SC x4 = 24 SC
(fill now with stuffing)
RD 14 – *2 SC, inc* (6) = 18 SC
RD 15 and 16 – 18 SC x2 = 18 SC
RD 17 – *SC, dec* (6) = 12 SC
RD 18 – 12 SC x1 = 12 SC
RD 19 – dec every ST till closed.
-Cut yarn and leave longer tail to sew in place
-Repeat for 2 legs
Back Legs (Big)
RD 00 – MR 8 SC = 8 SC
RD 01 – *inc* (8) = 16 SC
RD 02 – *SC, inc* (8) = 24 SC
RD 03 – *2 SC, inc* (8) = 32 SC
RD 04 to 07 – 32 SC x4 = 32 SC
RD 08 – *2 SC, dec* (8) = 24 SC
RD 09 to 11 – 24 SC x3 = 24 SC
RD 12 – *SC, dec* (8) = 16 SC
RD 13 and 14 – 16 SC x2 = 16 SC
(fill with stuffing )
RD 15 – *dec* (8) = 8 SC
-decrease till closed
-repeat for 2nd leg
The Paw
RD 00 – MR 6 SC = 6 SC
RD 01 – *inc* (6) = 12 SC
RD 02 – *SC, inc* (6) = 18 SC
RD 03 – *2 SC, inc* (6) = 24 SC
RD 04 to 07 – 24 SC x4 = 24 SC
RD 08 – *2 SC, dec* (6) = 18 SC
RD 09 and 10 – 18 SC x2 = 18 SC
RD 11 – *SC, dec* (6) = 12 SC
RD 13 – 12 SC x1 = 12 SC
(fill with stuffing)
RD 14 – *dec* (6) = 6 SC
-decrease till closed
-Cut yarn and leave longer tail to sew later in place
-repeat 4 times
Shape the Paws
The Paws will be shaped with black embroidery yarn
Go between round 3 and 4 from bottom to top
Once around and with 1 cm space go in again
Now pull the ends together an make a knot. So you get the shape
The Tail
RD 00 – MR 7 SC = 7 SC
RD 01 to 05 – 7 SC x5 = 7 SC
RD 06 – inc, 6 SC = 8 SC
RD 07 to 11 – 8 SC x5 = 8 SC
RD 12 – inc, 7 SC = 9 SC
RD 13 to 16 – 9 SC x4 = 9 SC
RD 17 – inc, 8 SC = 10 SC
RD 18 to 20 – 10 SC x3 = 10 SC
RD 21 – inc, 9 SC = 11 SC
RD 22 to 24 – 11 SC x3 = 11 SC
-Fill with stuffing or pipe cleaner
-Cut yarn and leave longer tail to sew in placwe
Put everything together
1.Sew the 2 parts of the ear together
2.Sew the eyes together.
3. Pin the Ears between round 2 and 3 in place and sew them to the head.
4. Pin the eyes close tot he ears – so that they look a little odd – that is a sweeter look
5.Fill the muzzle a little with stuffing.
5.1 Pin the muzzle to the head and sew thru the outer stitches together. Place it close to the eyes
6. Sew the Paws (thinner side) to the legs.
6.1 Place the back legst o the cat (a little under) and sew in place.
6.2 The Front legs (open so the head can be placed in-between – first pin (pin needles) then sew
7. Place the head slightly to the front legs and pin them in place – then sew over a full round.
8. The Tail will be placed between the back legs and a little up – so it is visible – and sew in place
The difference between the 2 cats is one is (descriped) laying – for the standing cat – place the legs at the sides – and the head on top