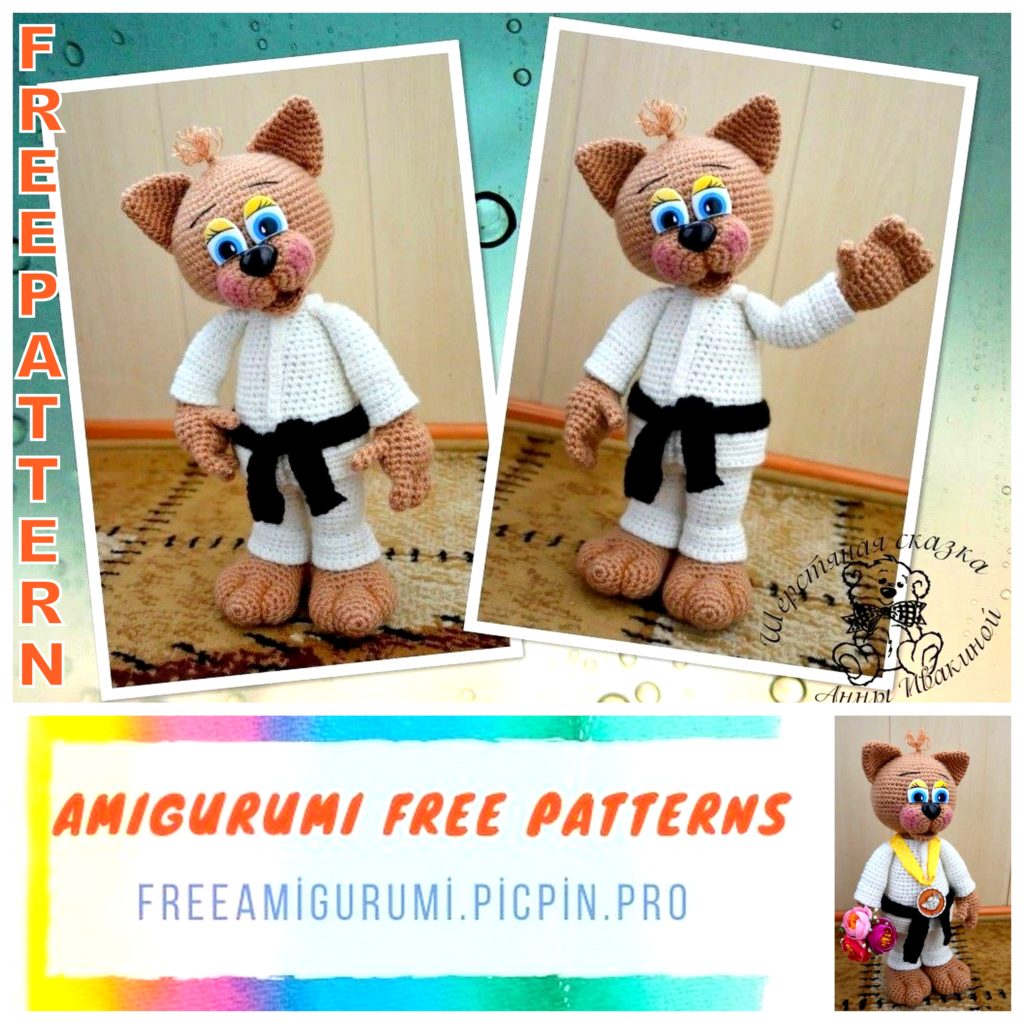
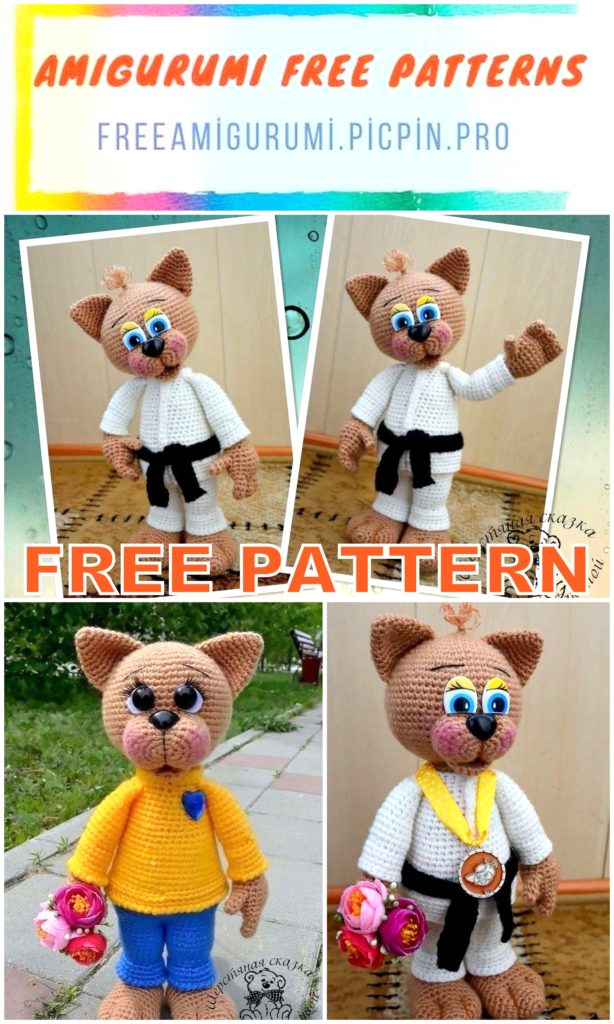
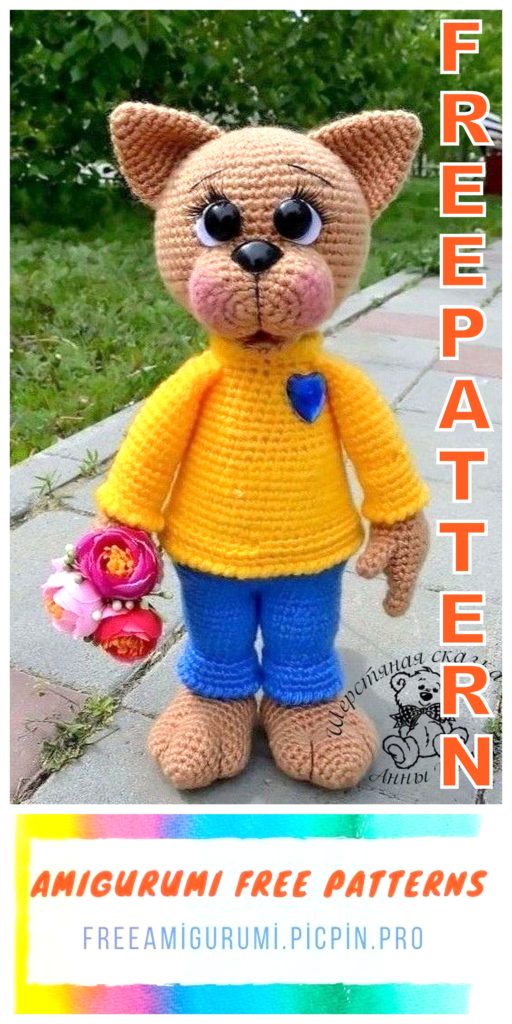
Cute Cat Fedya Amigurumi Free Pattern
We continue to share the most beautiful amongst thousands of designs for you. In this article, we shared a perfect cat pattern for you free of charge.
Abbreviations:
sc – single crochet
st – stitch
ch – chain stitch
Dec – sc next 2 stitches together
inc – sc in indicated stitch 2 times
rnd(s) – sl stround(s)
hdc – half double crochet
sl-st -slip stitch
My Fedya was born with a hook number 2.5, 30 cm tall.
Fill while knitting.
I recommend that you follow the sequence of knitting details, since we will only sew on the head.
I used three colors, we will consider them conditional (brown, blue, yellow).
Tail (brown)
1 row: 6 sc per ring = 6
2nd row: (1 sc, inc) x 3 times = 9
3-6 row: 9 sc
7 row: 7 sc, dec = 8
8-20 row: 8 sc
Fold in half, knit on both sides 4 sc.
Hands (2 children)
Fingers (4 pieces, brown)
1 row: 6 sc per ring = 6
2-4 row: 6, cut off the thread Having knitted the 4th finger, do not cut the thread, continue knitting, collect the palm
Row 5: 3 sc 1 finger each, 3 sc second finger, 6 sc third finger, 3
sc on the 2nd, 3 sc on the 1st = 18 (connected 3 fingers)
6-8 row: 18 sc
We knit the 4th finger:
9 * row: 3 sc on the loops of the 4th finger and palm, 15 sc = 18
9 ** row: 6 sc, 3 sc along the loops of the 4th finger and palm, 9 sc = 18
10 * row: 3 sc along the remaining loops of the 4th finger and palms, 15 sc = 18
10 ** row: 6 sc, 3 sc along the remaining loops of the 4th finger and palm, 9 sc = 18
11 row: (4 sc, dec) x 3 times = 15
12 row: (3 sc, dec) x 3 = 12
Fill the palm, continue in brown
Row 13-16: 12 sc
Change the thread to yellow, fill the handle quite a bit and not completely.
17th row: (1 sc, inc) x 6 = 18
Row 18: For blo 18 sc
19-23 row: 18 sc
24 row: (4 sc, dec) x 3 times = 15
Row 25-26: 15 sc
27 row: (3 sc, dec) x 3 = 12
Row 28-29: 12 sc
30 row: Fold in half, knit 5 sc behind both walls, cut off * – for the left palm ** – for the right palm On the front loops of the 17th row, knit 4-5 rows x 18 sc, then knit the last row with a crustacean step.
Feet (brown) – 2 parts
1 row: 6 sc per ring = 6
2nd row: (inc) x 6 times = 12
3rd row: 12 sc
4th row: (1 sc, inc) x 6 times = 18
5 row: (2 sc, inc) x 6 times = 24
6 row: (3 sc, inc) x 6 times = 30
7-8 row: 30 sc
9th row: (13 sc, dec) x 2 times = 28
10 row: (12 sc, dec) x 2 times = 26
11 row: (11 sc, dec) x 2 times = 24
12-16 row: 24 sc
17 row: (2 sc, dec) x 6 times = 18
18 row: (1 sc, dec) x 6 times = 12
19 row: dec x 6 times = 6, close, cut the thread
On the borders of rows 16 and 17 and 13 and 14, cast a chain of 18 sc in a circle. Next, along these loops, we knit a leg.
Legs – 2 parts
Row 1-4: 18 sc
Change the thread to blue.
5 row: 18 sc
6 row: For wp 18 sc
7 row: 18 sc
8 row: (2sc, inc) x 6 times = 24
9-14 row: 24 sc
Connect the legs together 4 sc, first find the correct position of the legs and, if necessary, knit offset loops.
The start of the row is now in the front center between the legs. We continue to knit “pants”.
Torso
15 row: 9 sc, inc, 10 sc, inc, 10 sc, inc, 9 sc = 44
16 row: 44 sc
17th row: (10 sc, inc) x 4 = 48
18 row: 48 sc
19 row: (7 sc, inc) x 6 times = 54
Row 20-21: 54 sc
Change the thread to yellow, knit a “sweater” and knit the tail
Row 22: 25 sc, 4 sc grabbing the tail and trunk loops, 25
sc (the ponytail should be in the middle of the priests)
23 row: for wp 54 sc
24 row: 9 sc, dec, 5 sc, dec, 18 sc, dec, 5 sc, dec, 9 sc = 50
25 row: 50 sc
26 row: 8 sc, dec, 5 sc, dec, 16 sc, dec, 5 sc, dec, 8 sc = 46
27-29 row: 46 sc
30 row: 3 sc, dec, 13 sc, dec, 6 sc, dec, 13 sc, dec, 3 sc = 42
Row 31-32: 42 sc
33 row: (12 sc, dec) x 3 = 39
34 row: 39 sc
35 row: (11 sc, dec) x 3 = 36
36 row: 36 sc
37 row: (7 sc, dec) x 4 = 32
38 row: 32 sc
Row 39: (6 sc, dec) x 4 = 28
We knit our hands, for this we check the location of the beginning of the row – in front of the body in the middle. If necessary, knit an offset loop.
40 row: 4 sc, 5 sc grabbing the loops of the right arm and torso, 10 sc on the back, 5 sc grabbing the loops of the left arm and trunk, 4 sc.
Change the color to brown
41 row: for blo (5 sc, dec) x 4 times = 24
42 row: (2 sc, dec) x 6 = 18
43 row: 18 sc, sl-st, cut off the thread, fasten.
☼ On the front loops of 5 rows of legs, work in blue (2 sc, inc) x 6 = 24, 3 rows x 24 sc, then the last row with a crustacean step.
☼☼ On front sts of 22 rows, work 3 rows x 54 sc in yellow, then last row with crustacean stride.
☼☼☼ On front sts of row 40, work in yellow 28 sc, then row with crustacean stride.
Head (brown)
1 row: 6 sc per ring = 6
2nd row: (inc) x 6 times = 12
3rd row: (1 sc, inc) x 6 times = 18
4th row: (2 sc, inc) x 6 times = 24
5 row: (3 sc, inc) x 6 times = 30
6 row: (4 sc, inc) x 6 times = 36
7 row: (5 sc, inc) x 6 times = 42
8 row: (6 sc, inc) x 6 times = 48
9th row: (7 sc, inc) x 6 times = 54
Row 10: (8 sc, inc) x 6 times = 60
11-20 row: 60 sc
21 row: (8 sc, dec) x 6 times = 54
22 row: (7 sc, dec) x 6 times = 48
23 row: (6 sc, dec) x 6 times = 42
24 row: (5 sc, dec) x 6 times = 36
25 row: (4 sc, dec) x 6 times = 30
26 row: (3 sc, dec) x 6 times = 24
27 row: (2 sc, dec) x 6 times = 18
Ears (brown)
1 row: 6 sc per ring = 6
2nd row: (1 sc, inc) x 3 times = 9
3rd row: (2 sc, inc) x 3 times = 12
4th row: (3 sc, inc) x 3 times = 15
5 row: (4 sc, inc) x 3 times = 18
6 row: (5 sc, inc) x 3 times = 21
7 row: (6 sc, inc) x 3 times = 24
8 row: (7 sc, inc) x 3 times = 27
Fold in half, tie on both sides 13 sc
Muzzle (brown)
1 row: 6 sc per ring = 6
2nd row: (inc) x 6 times = 12
3rd row: (1 sc, inc) x 6 times = 18
4th row: ((inchdc) x 3, 6 sc) x 2 times = 24
5 ((1 hdc, inchdc) x 3, 6 sc) x 2 times = 30
6-8 30 sc, sl-st, cut the thread, fasten.
Lip (brown)
1 row: 6 sc per ring = 6
2nd row: (inc) x 6 times = 12
3rd row: (1 sc, inc) x 6 times = 18
Fold in half, knit on both sides 8 sc
Assembly:
Sew the head to the body, grabbing the open loops of the last rows.
Sew on the ears in the area of 4 and 12 rows.
Sew on the muzzle (I have the top at the border of the 16th row, they are beyond the border of the 23rd row).
To make the muzzle tighten, for this we insert a needle with a black thread from the top into the center of the muzzle and bring it to the center of the bottom, then again enter it from the top to the center and bring it out at the bottom, pull it down, fix it from above at the insertion point. We glue the nose to this place.
Sew the lower lip at the bottom of the muzzle.
We glue the eyes, embroider the eyebrows, blush the cheeks. You can make a forelock for Fedya.
We make finger tightening on the legs.
All! Fedya is ready!
