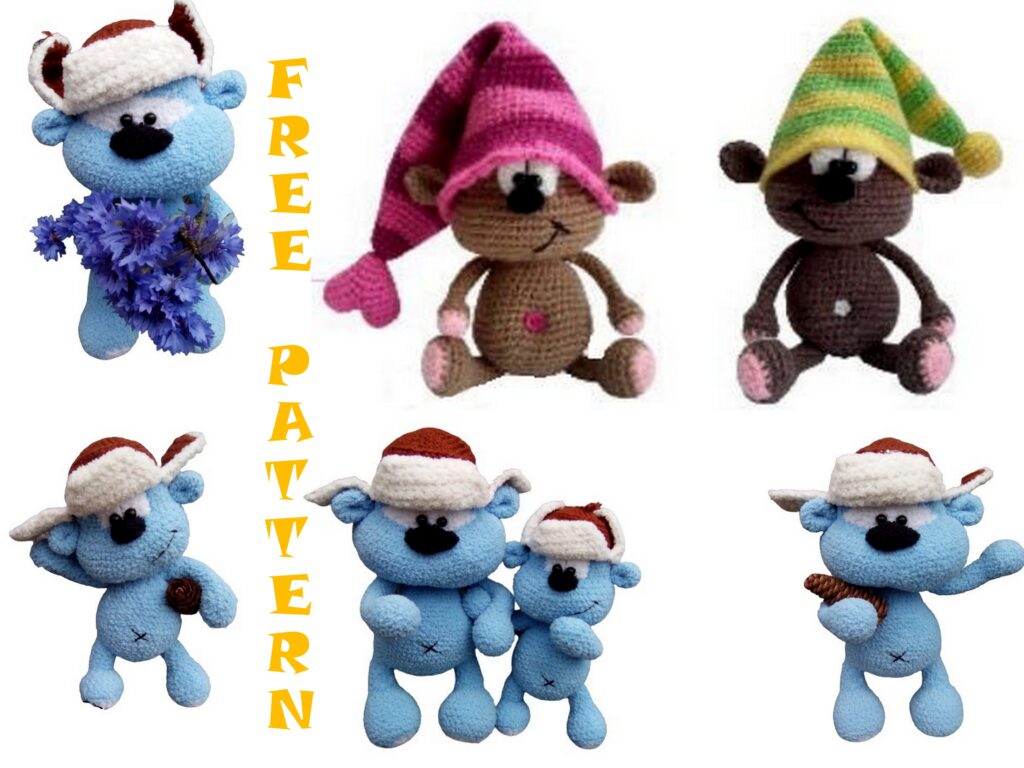
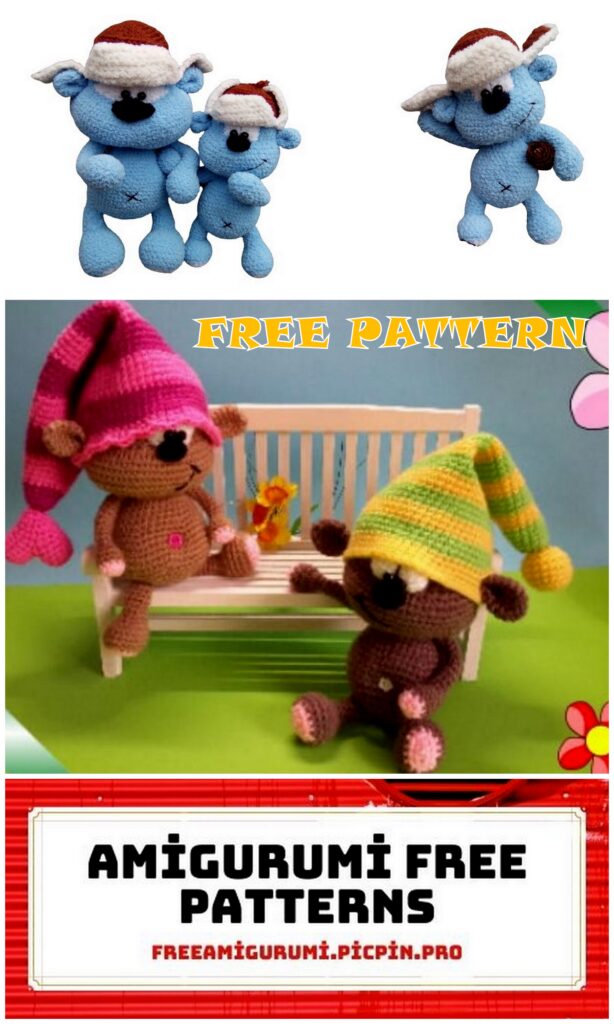
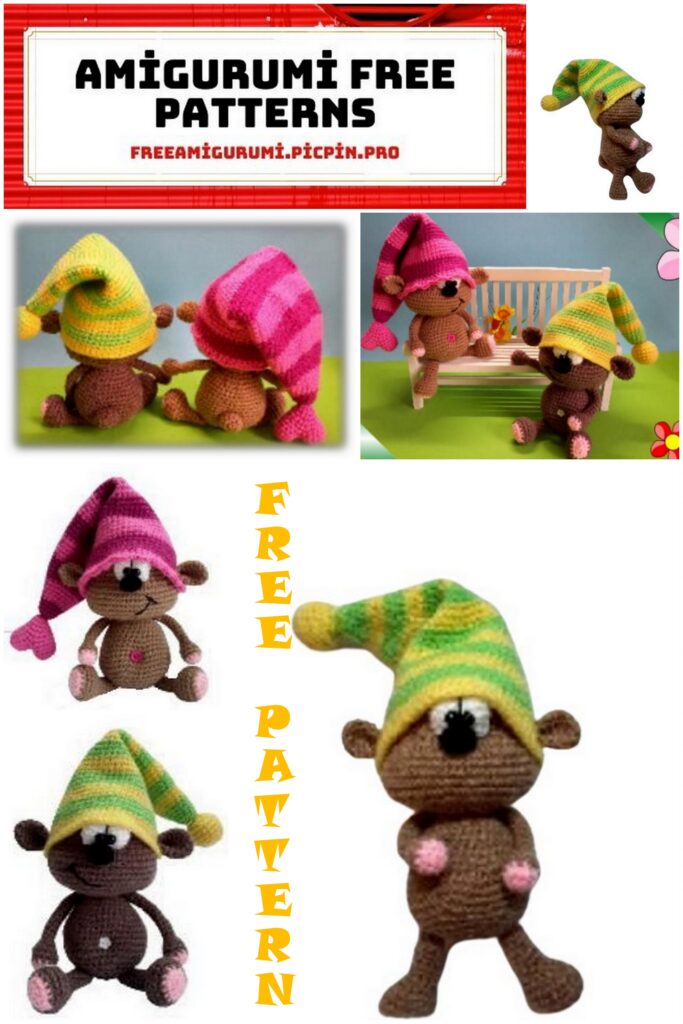
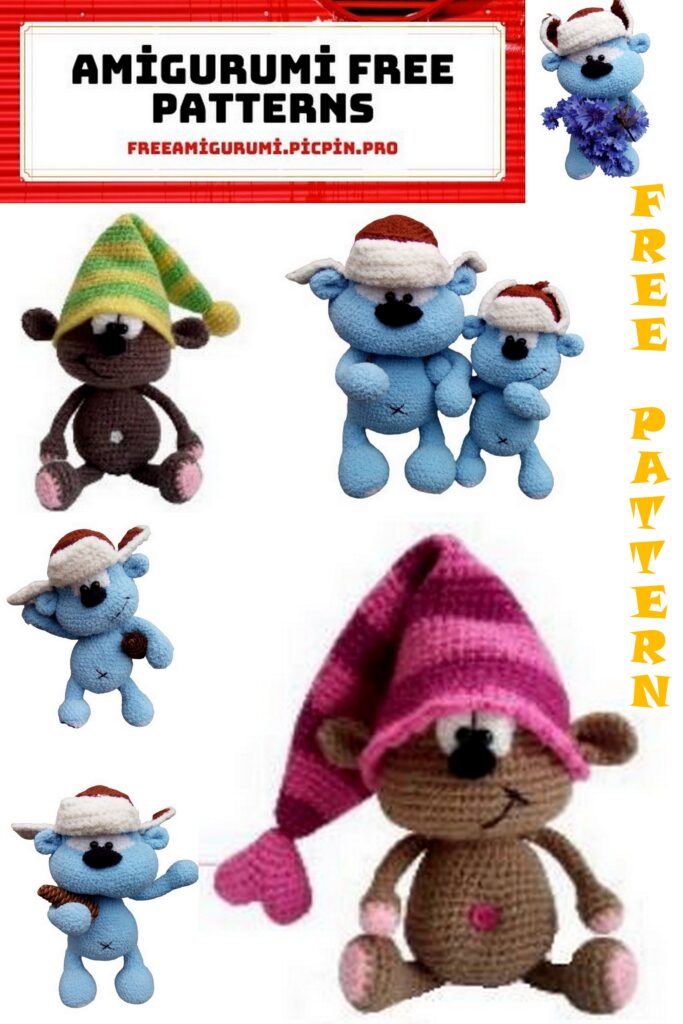
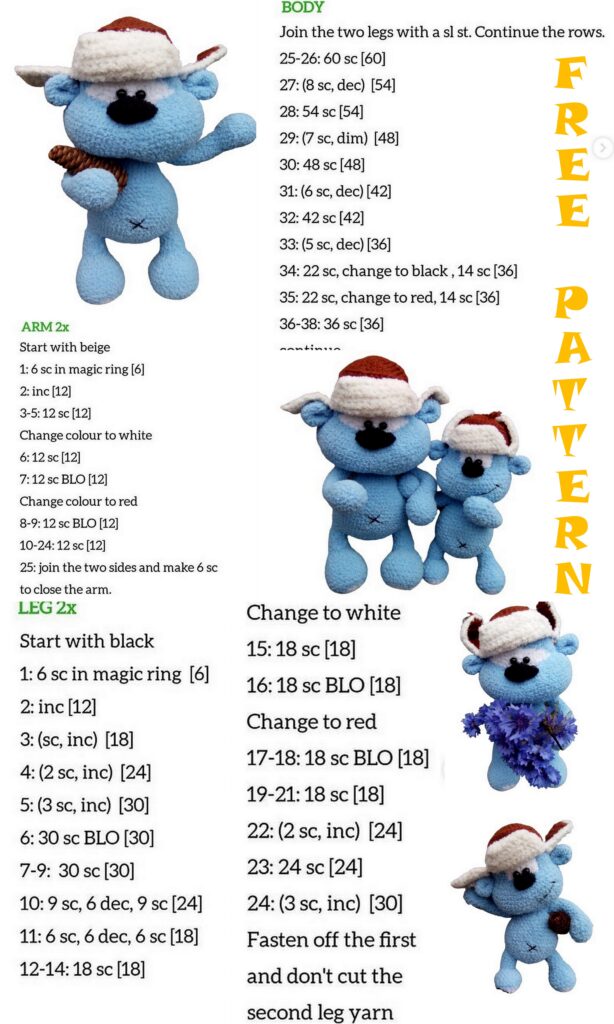
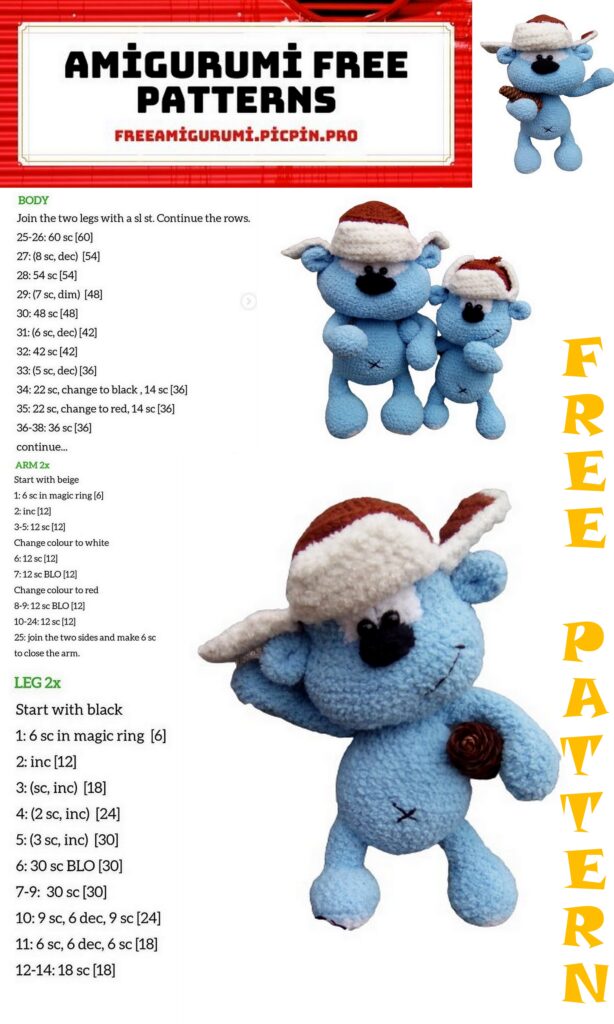
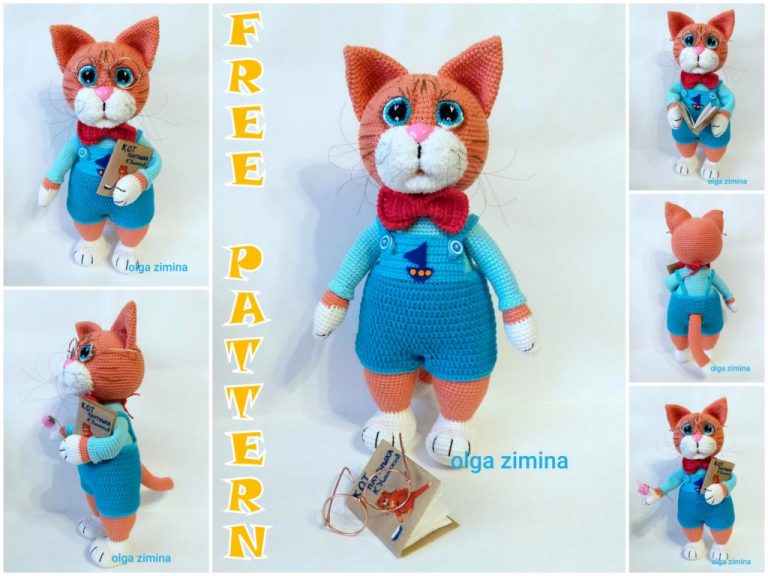
Cookie Bear Amigurumi Free Crochet Pattern
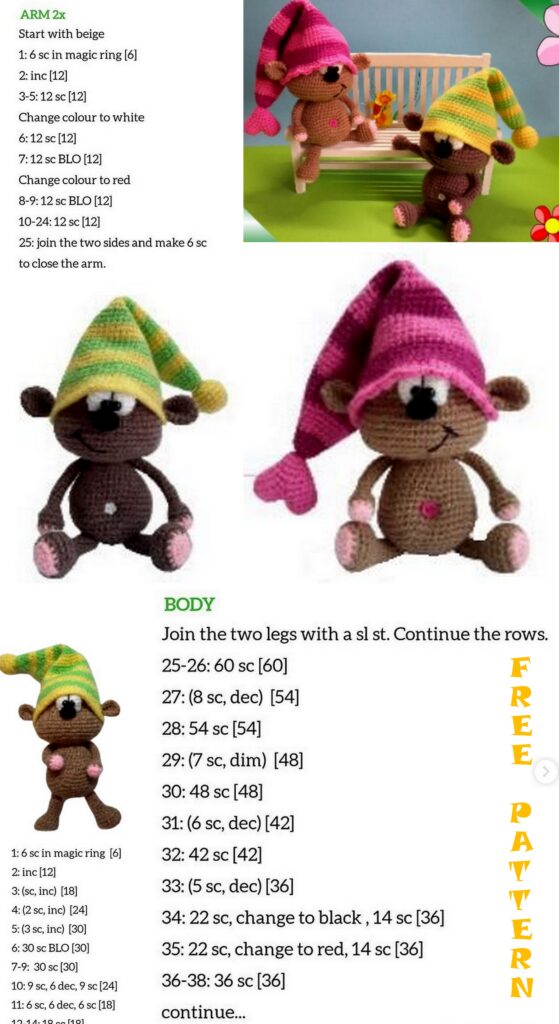
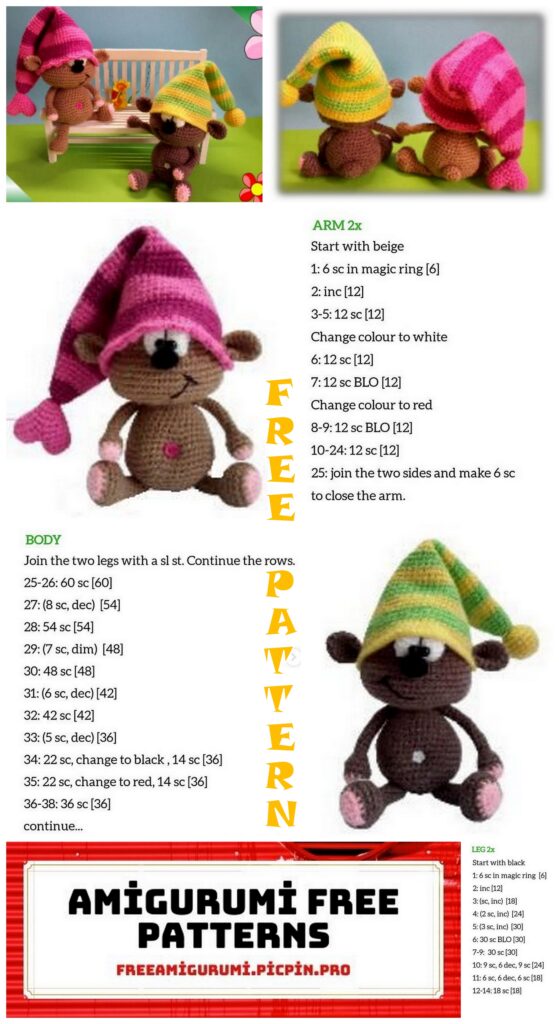
Cute amigurumi bear patterns from each other are on this site for free. In this article, I shared with you the amigurumi cookie bear pattern.
Little funny bears, love to travel and cuddle, will become best friends for you and your children.
The toy is about 23 cm high.
Necessary materials
– Bravo yarn
Schachenmayr – Bravo Schachenmayer Composition – 100% Polyacrylic (50 g / 133 m)
You can take inexpensive Karachay yarn in balls (50 g / 125 m.):
main color – beige (light brown)
white – for the eyes – 50 gr.
Black – for the nose – 50 gr.
light pink (white) – for inserts
on the paws – 50 gr.
yellow and green for one cap – 50 gr.
dark pink and light pink for the second hat – 50 g each.
Hook size – 3.5 mm
Safety eyes – 8 mm.
Decorative buttons for the navel – 8-10 mm.
Filler
Abbrevations:
Sc – single crochet
inc – incraise
dec – decraise
Head and body
(knit in one piece)
We knit with beige yarn:
1 row: 6 sc in amigurumi ring (6)
2nd row: inc x 6 (12)
3 row: (sc, inc) x 6 (18)
4th row: (2 sc, inc) x 6 (24)
5 row: (3 sc, inc) x 6 (30)
6 row: (4 sc, inc) x 6 (36)
7 row: (5 sc, inc) x 6 (42)
8 row: (6 sc, inc) x 6 (48)
Rows 9-13: 5 sc rows in each loop (48 loops)
Row 14: (6 sc, dec) x 6 (42)
15 row: (5 sc, dec) x 6 (36)
16 row: 20 inc, (30 sc, inc) x 4 (60 loops)
Rows 17-23: 7 sc rows in each st (60 sts)
24 row: 20 dec, (2 sc, dec) x4, 4 sc (36 loops)
25 row: (4 sc, dec) x 6 (30)
26 row: (3 sc, dec) x 6 (24)
27 row: (2 sc, dec) x 6 (18)
Stuff your head with filler.
Next, the body begins, we do not break the thread, we continue knitting:
28 row: (1 sc, dec) x 6 (12)
29 row: 12 inc (24 loops)
30 row: sc in each loop (24 loops)
Row 31: (1 sc, inc) x 12 (36 sts)
32 row: (5 sc, inc) x 6 (42)
33 row: (6 sc, inc) x 6 (48)
Rows 36-40: 5 sc rows in each loop (48 loops)
41 row: (6 sc, dec) x 6 (42)
42 row: (5 sc, dec) x 6 (36)
43 row: (4 sc, dec) x 6 (30)
44 row: (3 sc, dec) x 6 (24)
45 row: (2 sc, dec) x 6 (18)
Stuff the body with filler.
46 row: (1 sc, dec) x 6 (12)
47 row: (dec) x 6 (12)
Fasten and hide the thread.
Eyes (one piece)
We knit with white yarn:
1 row: 6 sc in amigurumi ring (6)
2nd row: inc x 6 (12)
3 row: (sc, inc) x 6 (18)
4 row: sc in each loop (18)
5 row: (4 sc, dec) x3 (15 loops)
6 row: (3 sc, dec) x3 (12 loops)
Fill the part a little with filler, fold in half and work on both sides 6 sc.
Sew the eyes to the head, placing them in the center, higher from the muzzle, having previously secured them with pins.
Nose (one piece)
We knit with black yarn:
1st row: Dial a chain of 4 ch
2 row: from the second loop from the hook, knit 2 sc on one side of the chain, 3 sc in the outer loop, unfold the knitting and knit on the other side of the chain 1 sc, inc (8 loops)
3-4 rows: 8 sc
Fasten the thread and leave a long end for sewing to the head and decorating the eyes
Face decoration
Sew the nose to the head in the center just under the eyes Insert a needle with a thread in the middle above the nose and bring it out in the center above the eyes so that the thread goes behind the patch.
Re-insert the needle with the suture in the middle above the nose, this time so that the suture goes over the top of the eyes right in the center. Make a small tightening and fasten the thread, hide the end.
Sew on 8 mm bead eyes.
Arms
(two parts)
We start with white or light pink yarn:
1st row: 5 sc into magic ring
2nd row: 5 inc (10 loops)
Change the thread to the main beige color:
3-5 row: 3 rows sc unchanged (10 loops)
6 row: 2 dec, 1 sc, 2 dec, 1 sc (6 loops)
Rows 7-18: 12 sc rows in each loop (6 loops)
Fasten the thread, leave a long end for sewing to the body. Fill the parts with filler.
Sew the arms to the body on both sides.
Legs (two parts)
We start with white or light pink yarn:
1st row: Dial a chain of 4 ch
2 row: from the second loop from the hook, knit 2 sc on one side of the chain, 3 sc in the outer loop, unfold the knitting and knit on the other side of the chain 1 sc, inc (8 loops)
3rd row: inc, 1 sc, 3 inc, 1 sc, 2 inc (14 sc)
Change the thread to the main beige color:
4th row: 1 sc, inc, 1 sc, (1 sc, inc) х3, 1 sc, (1sc, inc) * 2 (20 loops)
Rows 5-7: 3 rows sc in each loop (20 loops)
8 row: 4 sc, 5 dec, 6 sc (15 loops)
We fill our legs with filler.
9th row: 1 dec, 1 sc, 3 dec, 2 sc, 2 dec (9)
Rows 10-16: 7 rows sc in each loop (9 loops).
Fill the legs with filler, fasten the thread and leave the long end for sewing. Sew the legs to the body, as shown in the picture.
Tail
We knit with yarn of the main beige color:
1st row: 6 sc into magic ring
2nd row: 6 inc (12 loops)
Rows 3-4: sc in each loop (12 loops)
5 row: 6 dec (6 loops)
Fill the tail with filler, fasten the thread, leave a long end for sewing.
Mark the place for sewing the tail.
Mark the place for sewing the button on the navel.
Insert the needle into the place where the tail will be attached, bring it to the place where the navel will be attached. Sew a decorative button on the navel. Withdraw the needle from the back through the body and tighten the navel slightly. Fasten the thread.
Sew on the tail.
Ears (2 parts)
We knit with yarn of the main beige color:
1st row: 6 sc into magic ring
2nd row: 6 inc (12 loops)
Rows 3-7: 5 rows sc in each loop (12 loops)
Fold ear in half and work 6 sc on both sides. Fold the ear in half and sew.
Do not sew on the ears yet!
Yellow cap:
We start with green yarn:
1st row: 6 sc into magic ring
2nd row: 6 inc (12 loops)
Rows 3-4: 2 sc rows in each loop (12 loops)
5 row: (1 sc, inc) x6 (18 loops)
6 row: sc in each loop (18 loops)
Change the yarn to yellow:
Rows 7-8: 2 sc rows in each loop (18 loops)
9 row: (2 sc, inc) x6 (24 loops)
Change the yarn to green:
Rows 10-11: 2 sc rows in each loop (24 loops)
12 row: (3 sc, inc) x6 (30 loops)
Change the yarn to yellow:
Rows 13-15: 3 sc rows in each loop (30 loops)
Change the yarn to green:
16 row: (4 sc, inc) x6 (36 loops)
Rows 17-18: 2 sc rows in each loop (36 loops)
Change the yarn to yellow:
19 row: (5 sc, inc) х6 (42 loops)
Rows 20-21: 2 sc rows in each loop (42 loops)
Change the yarn to green:
22 row: (6 sc, inc) x6 (48 loops)
Rows 23-24: 2 sc rows in each st (48 sts)
Change the yarn to yellow:
25 row: (7 sc, inc) x6 (54 loops)
Rows 26-27: 2 sc rows in each loop (54 loops)
Change the yarn to green:
28 row: (17sc, inc) х3 (57 loops)
Rows 29-30: 2 sc rows in each loop (57 loops)
Change the yarn to yellow:
Rows 31-33: 3 sc rows in each loop (57 loops)
Change the yarn to green:
Rows 34-36: 3 sc rows in each loop (57 loops)
Change the yarn to yellow:
Rows 37-39: 3 sc rows in each loop (57 loops)
Change the yarn to green:
Rows 40-42: 3 sc rows in each loop (57 loops)
Change the yarn to yellow:
43 row: sc in each loop (57 loops)
44 row: 25 sc, 3 ch, skip 3 loops of 43 rows, 25 sc, 3 ch, skip 3 loops of 43 rows, 1 sc (57 loops) – in this row there will be holes for the ears
Rows 45-47: 3 sc rows in each loop (57 loops)
Fasten and hide the thread.
Sew a pom-pom to the end of the cap.
Pompom for a yellow cap
We knit with yellow yarn:
1st row: 6 sc into magic ring
2nd row: 6 inc (12 loops)
3rd row: (1 sc, inc) x6 (18 loops)
Rows 4-7: 4 rows sc in each loop (18 loops)
8 row: (1 sc, dec) x6 (12 loops)
Fill the pompom with filler
9 row: 6 dec (6 loops)
Fasten the thread, leave a long end to be sewn to the cap
Put the cap on the bear’s head Along the holes for the ears on the cap, mark the places where the ears are attached to the head Remove the cap and sew on the ears
