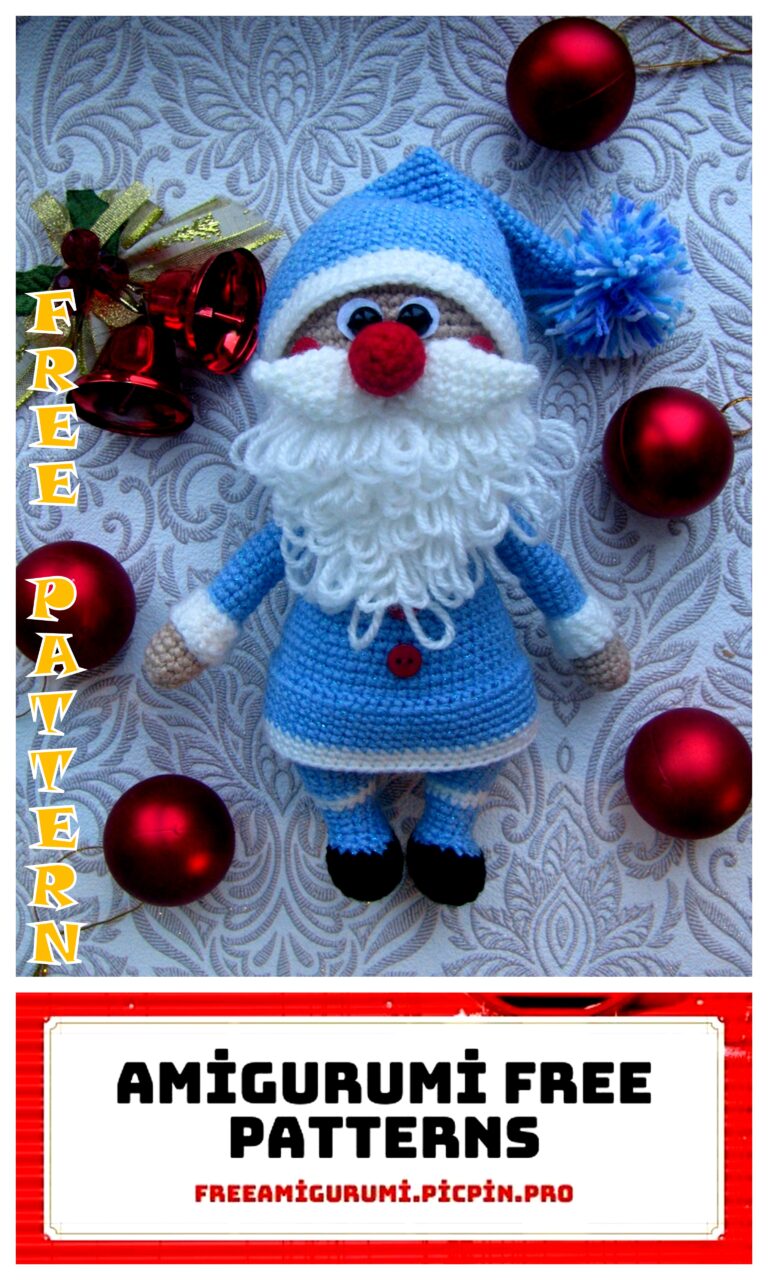
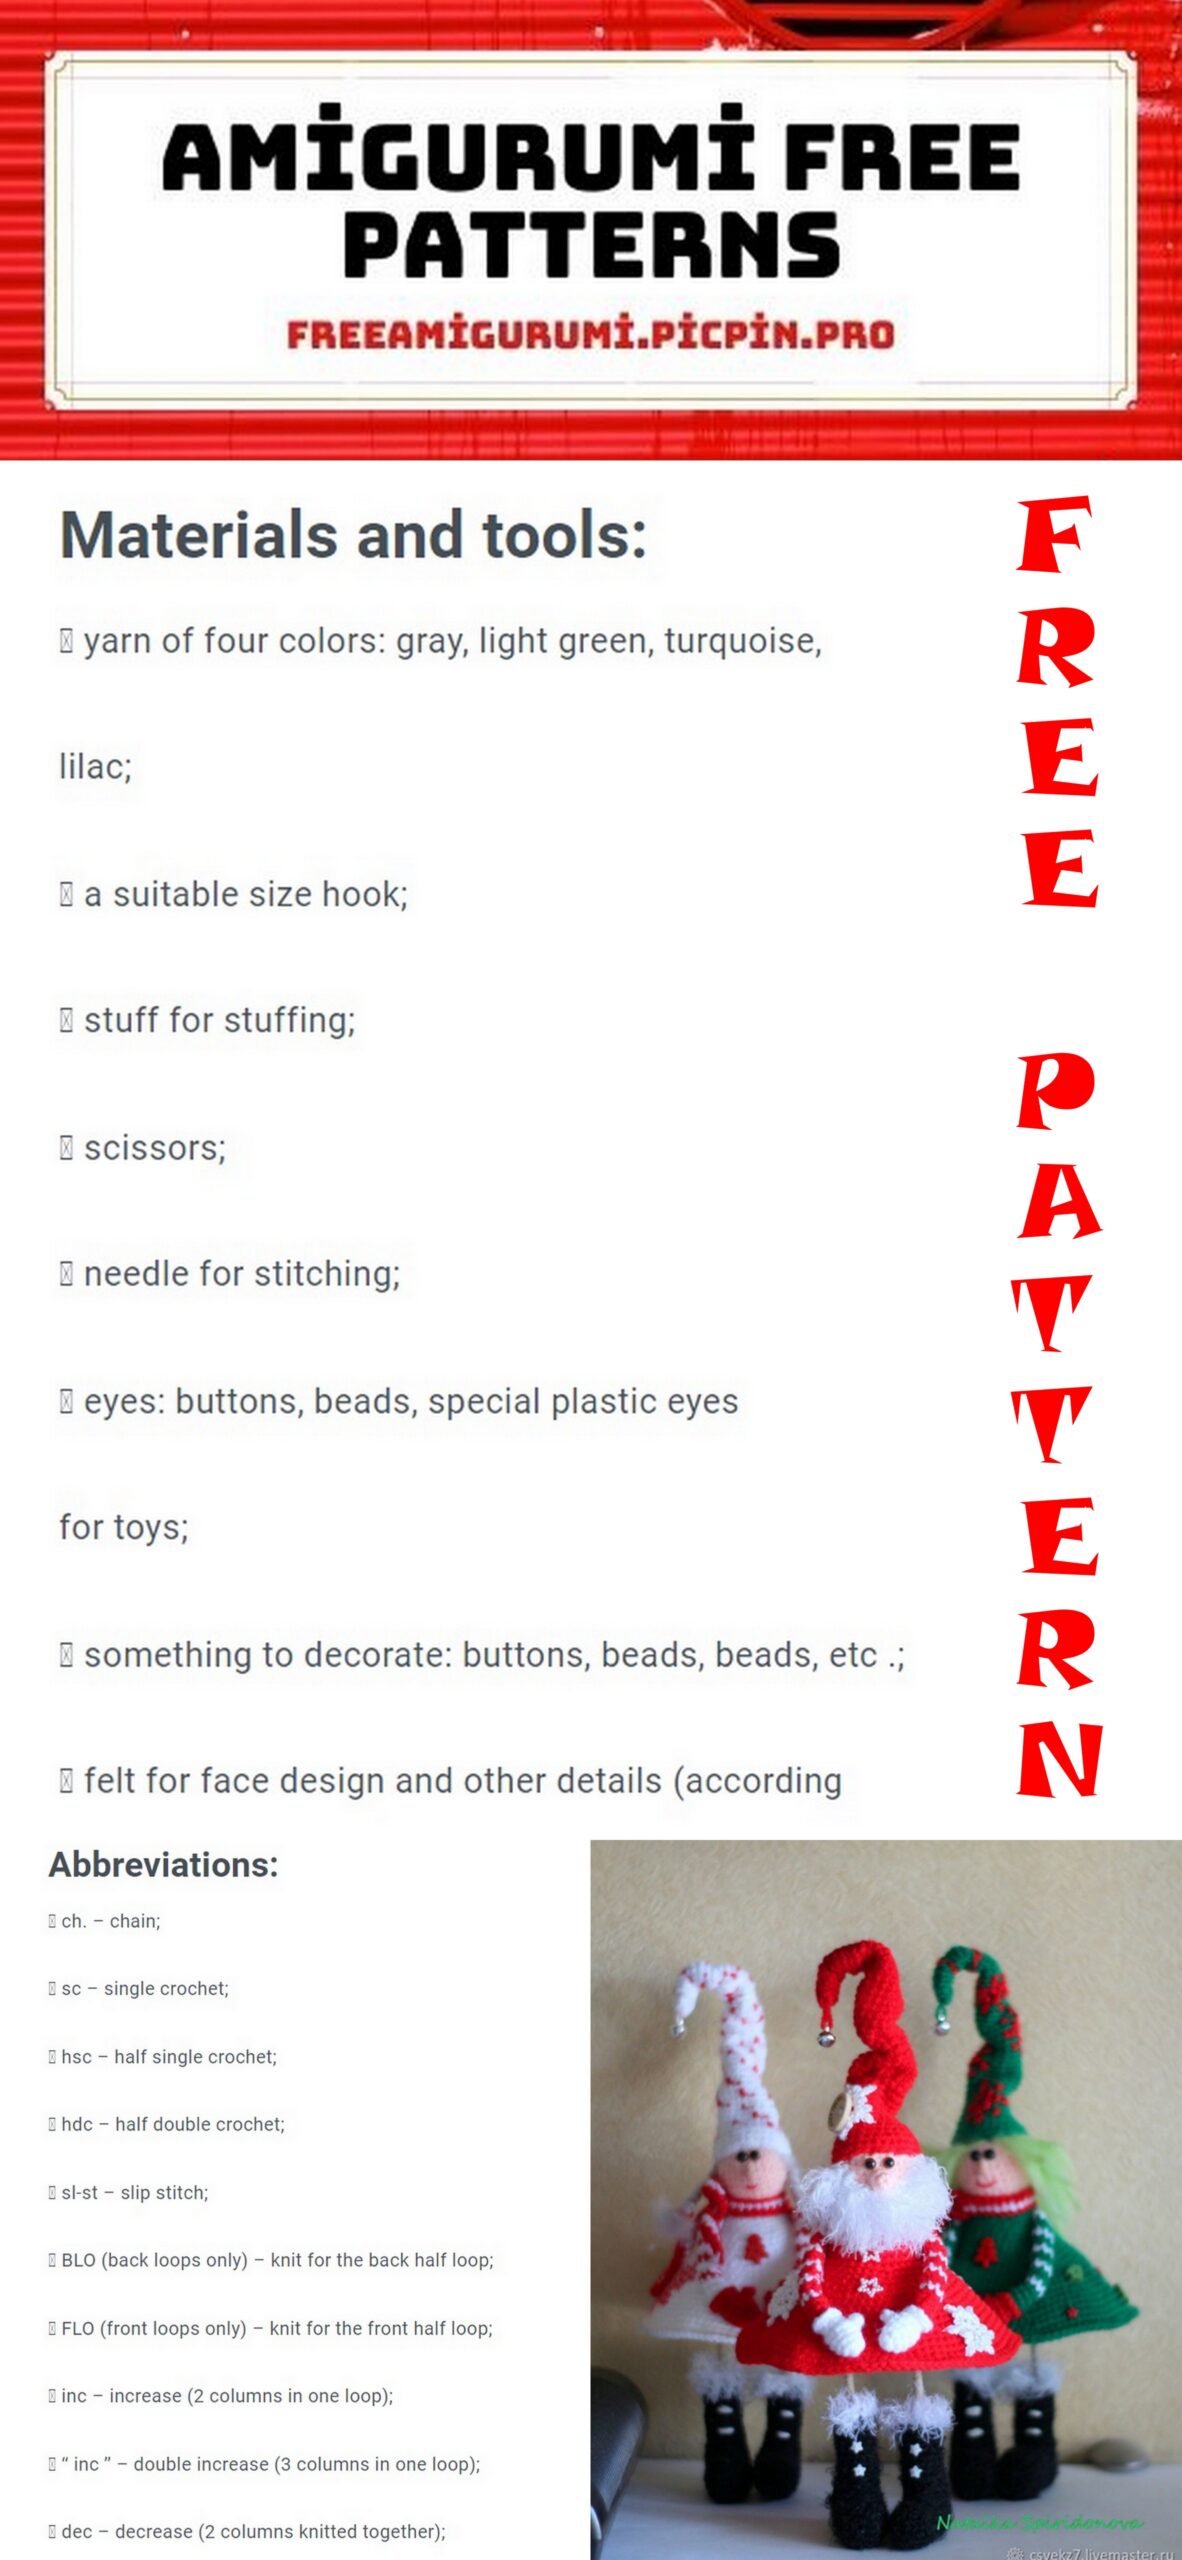
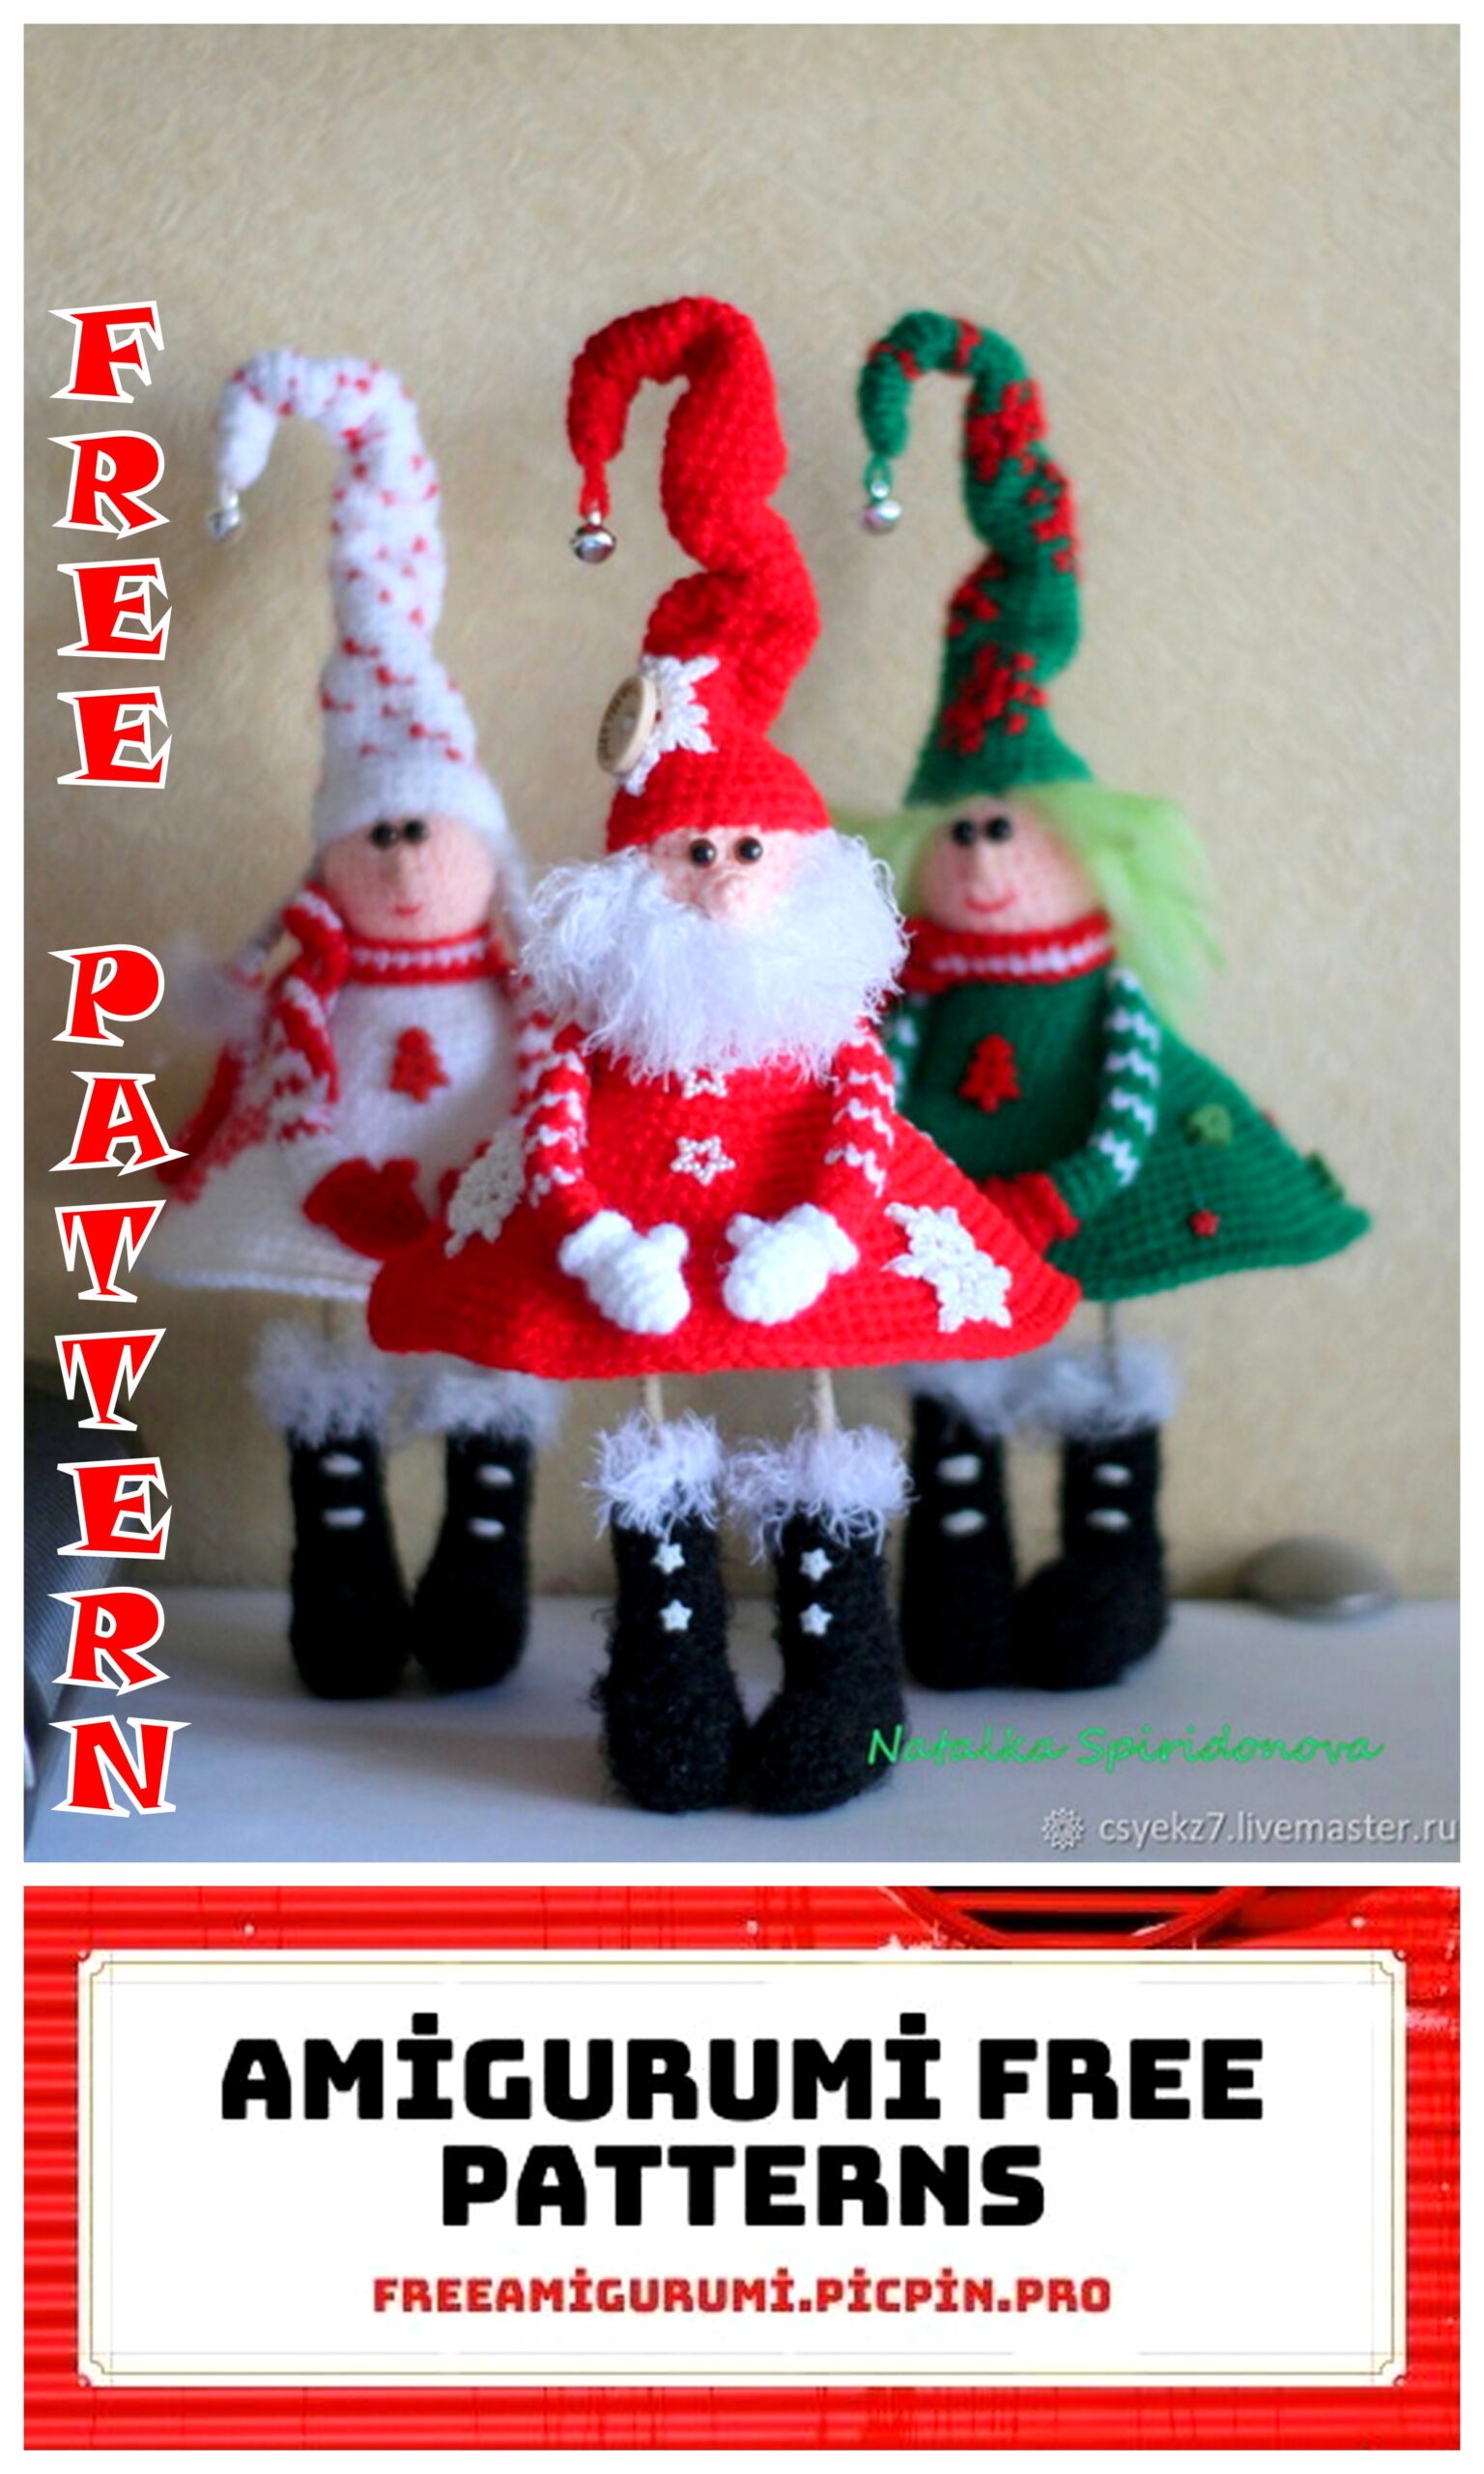
Christmas Gnomes Amigurumi Free Crochet Pattern
Quality amigurumi patterns are available for free on this site. In this article, we shared wonderful amigurumi christmas gnome patterns with you.
If there are no special instructions, the toy is knitted on both sides of the loop. In some rows, special instructions are given: “knit for the front wall” or “for the back wall”. If so, follow these instructions. The toy is knitted in a spiral.
Abbrevations:
inc – from one loop we knit two
sc – single crochet;
dec – knit two stitches together;
DC – double crochet;
hdc – half double crochet;
ch – air loop;
p – times;
sl-st – connecting post.
Materials for making toys:
– hook 1.75;
– any yarn, I have YarnArt 50g / 150m (red, white, pink and black)
– for snowflakes – VITA cotton COCO
– for a beard – Swan’s down from NAZAR
– filler;
– super glue and contact glue;
– plastic eyes
– a needle;
– wire 1mm and 1.5mm
Boots (2pcs).
1st row: 10ch, from the second loop – inc, 7sc, then 4sc to the last loop, turn and knit on the other side – 7sc, inc = 22sc
2nd row: 2inc, 7sc, 4inc, 7sc, 2inc = 30sc
3 – 6 rows: 30sc
7 row: 11sc, 2dec, dec from 3sc, 2dec, 8sc
8 row: 7sc, skip 18sc, 5sc = 12sc.
Then we will sew the formed hole.
9-17 rows: 12sc. Tie the top of the boot with textured yarn. Fasten the thread.
Cut off 21cm of 1.5mm wire, bend and wrap with any yarn (I glued to contact glue)
Insert the blank into the boot, sew up the hole and tie it with textured yarn (I have Swan’s Down from NAZAR)
Head.
Take pink yarn.
1st row: 6sc in amigurumi ring
2nd row: 6inc = 12sc
3rd row: (1sc, inc) * 6p = 18sc
4th row: (2sc, inc) * 6p = 24sc
5 row: (7sc, inc) * 3p = 27sc
6-10 rows: 27sc
11 row: (7sc, dec) * 3p = 24sc
12 row: (2sc, dec) * 6p = 18sc
13 row: behind the back wall of the loop (1sc, dec) * 6p = 12sc
Row 14: 6dec. Fasten and hide the thread.
Body.
Row 1: Attach yarn to Row 13 and dial 18sc
2nd row: behind the back wall of the loop 18sc
3rd row: (2sc, inc) * 6p = 24sc
4th row: 24sc
5 row: (3sc, inc) * 6p = 30sc
6 – 12 rows: 30sc
13 row: (3sc, dec) * 6p = 24sc
14 row: (2sc, dec) * 6p = 18sc
15 row: (1sc, dec) * 6p = 12sc
16 row: 6dec. Fasten and hide the thread.
Dress.
Row 1: Attach thread to Row 2 of the body and dial 18sc
2nd row: (5sc, inc) * 3p = 21sc
3rd row: (6sc, inc) * 3p = 24sc
4th row: (7sc, inc) * 3p = 27sc
5 row: (8sc, inc) * 3p = 30sc
6 row: (14sc, inc) * 2p = 32sc
7 row: (7sc, inc) * 4p = 36sc
8 row: (8sc, inc) * 4p = 40sc
9th row: (9sc, inc) * 4p = 44sc
10 row: (10sc, inc) * 4p = 48sc
11 row: (11sc, inc) * 4p = 52sc
12 row: (12sc, inc) * 4p = 56sc
13 row: (13sc, inc) * 4p = 60sc
14th row: (14sc, inc) * 4p = 64sc
15 row: (15sc, inc) * 4p = 68sc
16 row: (16sc, inc) * 4p = 72sc
17th row: (17sc, inc) * 4p = 76sc
18th row: (18sc, inc) * 4p = 80sc
19 row: (19sc, inc) * 4p = 84sc
20 row: (20sc, inc) * 4p = 88sc
21 row: (21sc, inc) * 4p = 92sc
22 row: (22sc, inc) * 4p = 96sc
23 row: (23sc, inc) * 4p = 100sc
Take a thinner wire, measure along the length of the dress and wrap the ends with yarn. (I have a wire length – 40cm)
Tie row 24 together with wire: (24sc, inc) * 4p = 104sc. Cut the thread and fasten.
Hands (2pcs.)
Take white yarn.
We start knitting with mittens.
1st row: 6sc in amigurumi ring
2nd row: (1sc, inc) * 3p = 9sc
3rd row: 9sc
4th row: 3ch, back along the chain 2sc, sl-st (this will be a finger), 8sc = 9sc
5 row: 9sc
6 row: 6sc. Do not break the thread, we will tie the top of the mittens.
Take a thread of red and continue to knit
7 row: behind the back wall of the loop 6sc.
Take the thread that we left behind and tie the top of the mitten – 1sc, inc = 9sc. Cut the thread and fasten. We continue to knit with red yarn.
8-10 rows: 6sc
11 row: 6sc white
12-13 rows: 6sc red
14th row: 6sc white
15-16 rows: 6sc red
17th row: 6sc white
Rows 18-19: 6sc red
20 row: 6sc white
Rows 21-22: 6sc red
23rd row: 6sc white. Cut the thread and leave for sewing.
Cap.
1st row: 6sc in amigurumi ring
2-4 rows: 6sc
5 row: inc, 5sc = 7sc
6-7 rows: 7sc
8 row: inc, 6sc = 8sc
9-10 rows: 8sc
11 row: inc, 7sc = 9sc
12-13 rows: 9sc
14th row: inc, 8sc = 10sc
15-16 rows: 10sc
17th row: inc, 9sc = 11sc
Rows 18-19: 11sc
20 row: inc, 10sc = 12sc
Rows 21-22: 12sc
23 row: inc, 11sc = 13sc
24-25 rows: 13sc
26 row: inc, 12sc = 14sc
27-28 rows: 14sc
Row 29: inc, 13sc = 15sc
30-31 rows: 15sc
32 row: inc, 14sc = 16sc
Rows 33-34: 16sc
35 row: inc, 15sc = 17sc
Rows 36-37: 17sc
38 row: inc, 16sc = 18sc
39-40 rows: 18sc
41 row: inc, 17sc = 19sc
Rows 42-43: 19sc
Row 44: inc, 18sc = 20sc
45 row: (inc, 9sc) * 2p = 22sc
46 row: (inc, 10sc) * 2p = 24sc
47 row: (inc, 11sc) * 2p = 26sc
48 row: (inc, 12sc) * 2p = 28sc
49 row: (inc, 13sc) * 2p = 30sc
50 row: 30sc. Leave the thread for sewing.
Beard.
Row 1: cast on ch 14 and work in 13sc.
Row 2 – 3: 13sc. Fasten the thread.
Hair.
Row 1: cast on 27ch and work in 26sc.
2nd row: 26sc. Fasten the thread.
Nose.
1st row: 6sc in amigurumi ring
2nd row: 6sc. Leave the thread for sewing.
Scarf.
Row 1: cast on 71ch and work in 70sc.
Row 2-3: 70sc. Fasten the thread.
Assembly.
Gather a hat on a thread to make folds, sew it to the grandfather’s head. Sew on nose, hair and beard, sew on handles. Glue the eyes, insert and glue the legs.
You can decorate the dress with snowflakes, now there are a lot of schemes on the Internet.