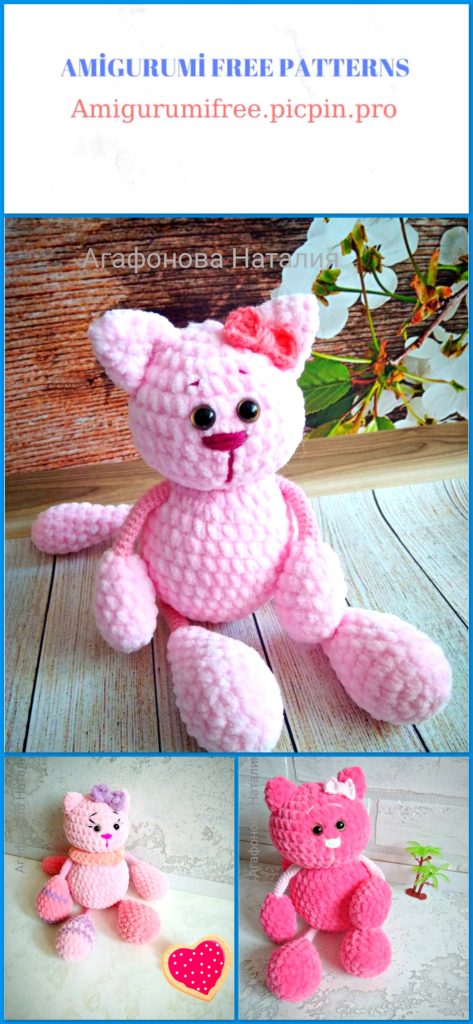
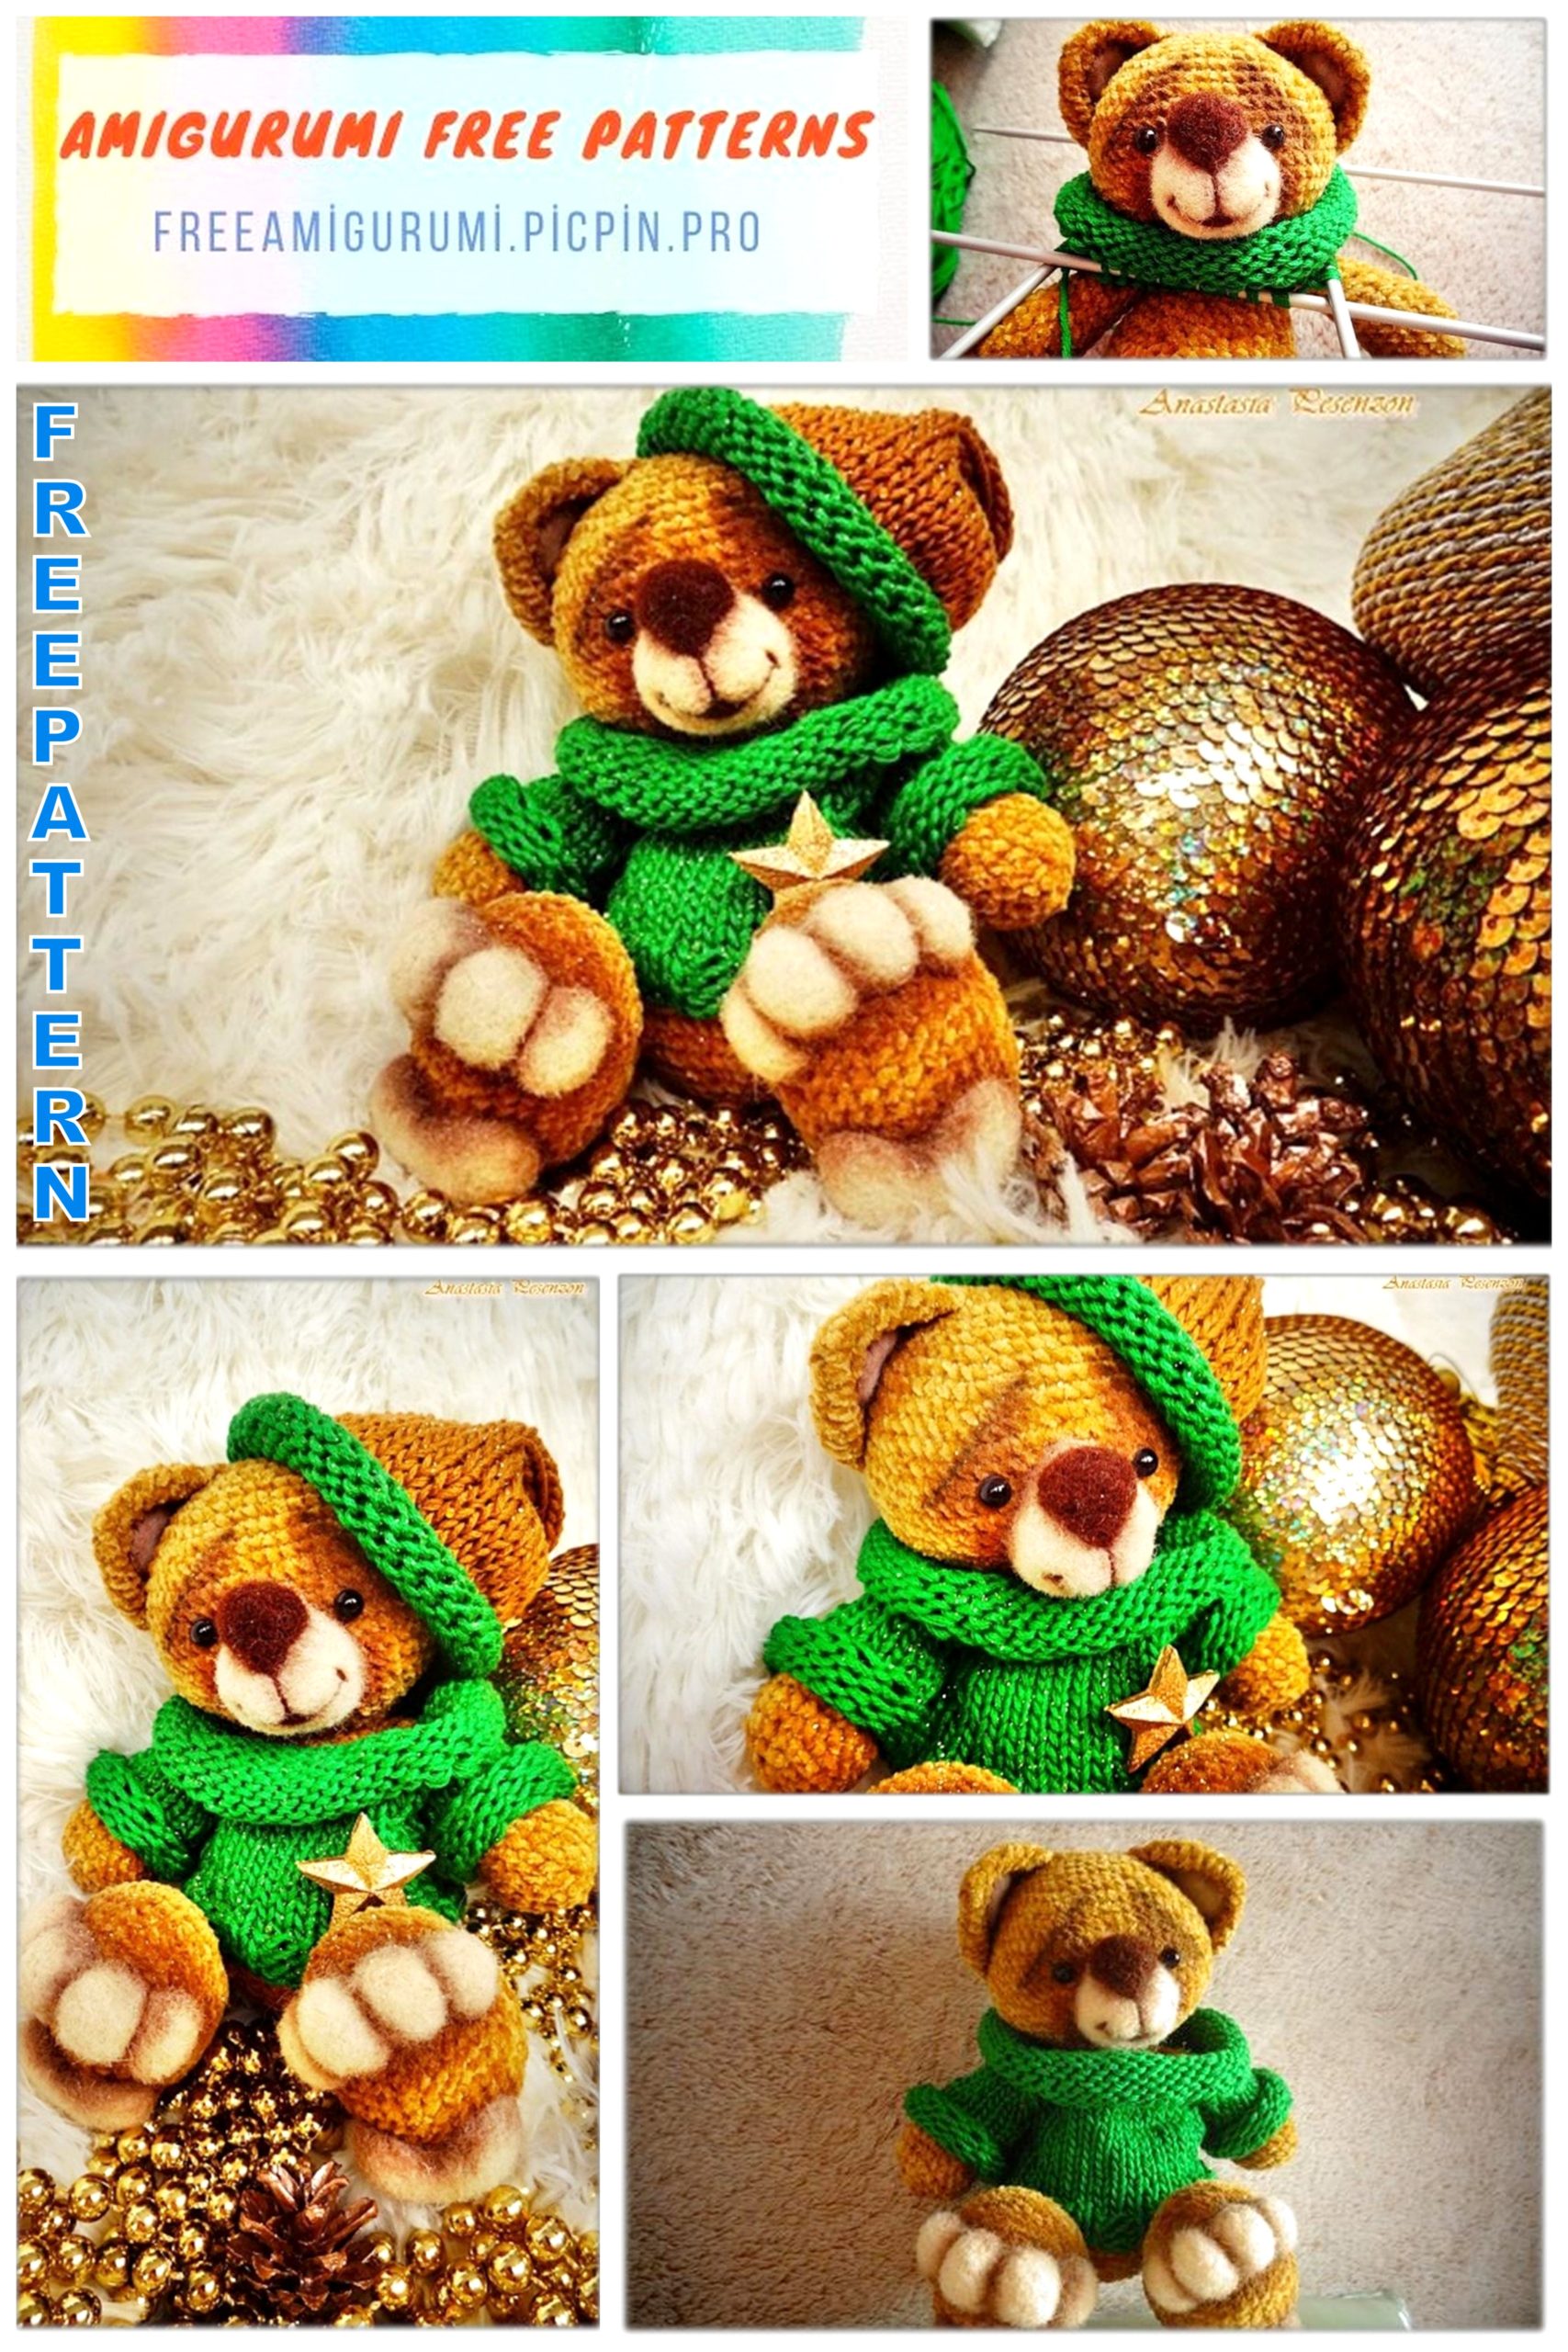
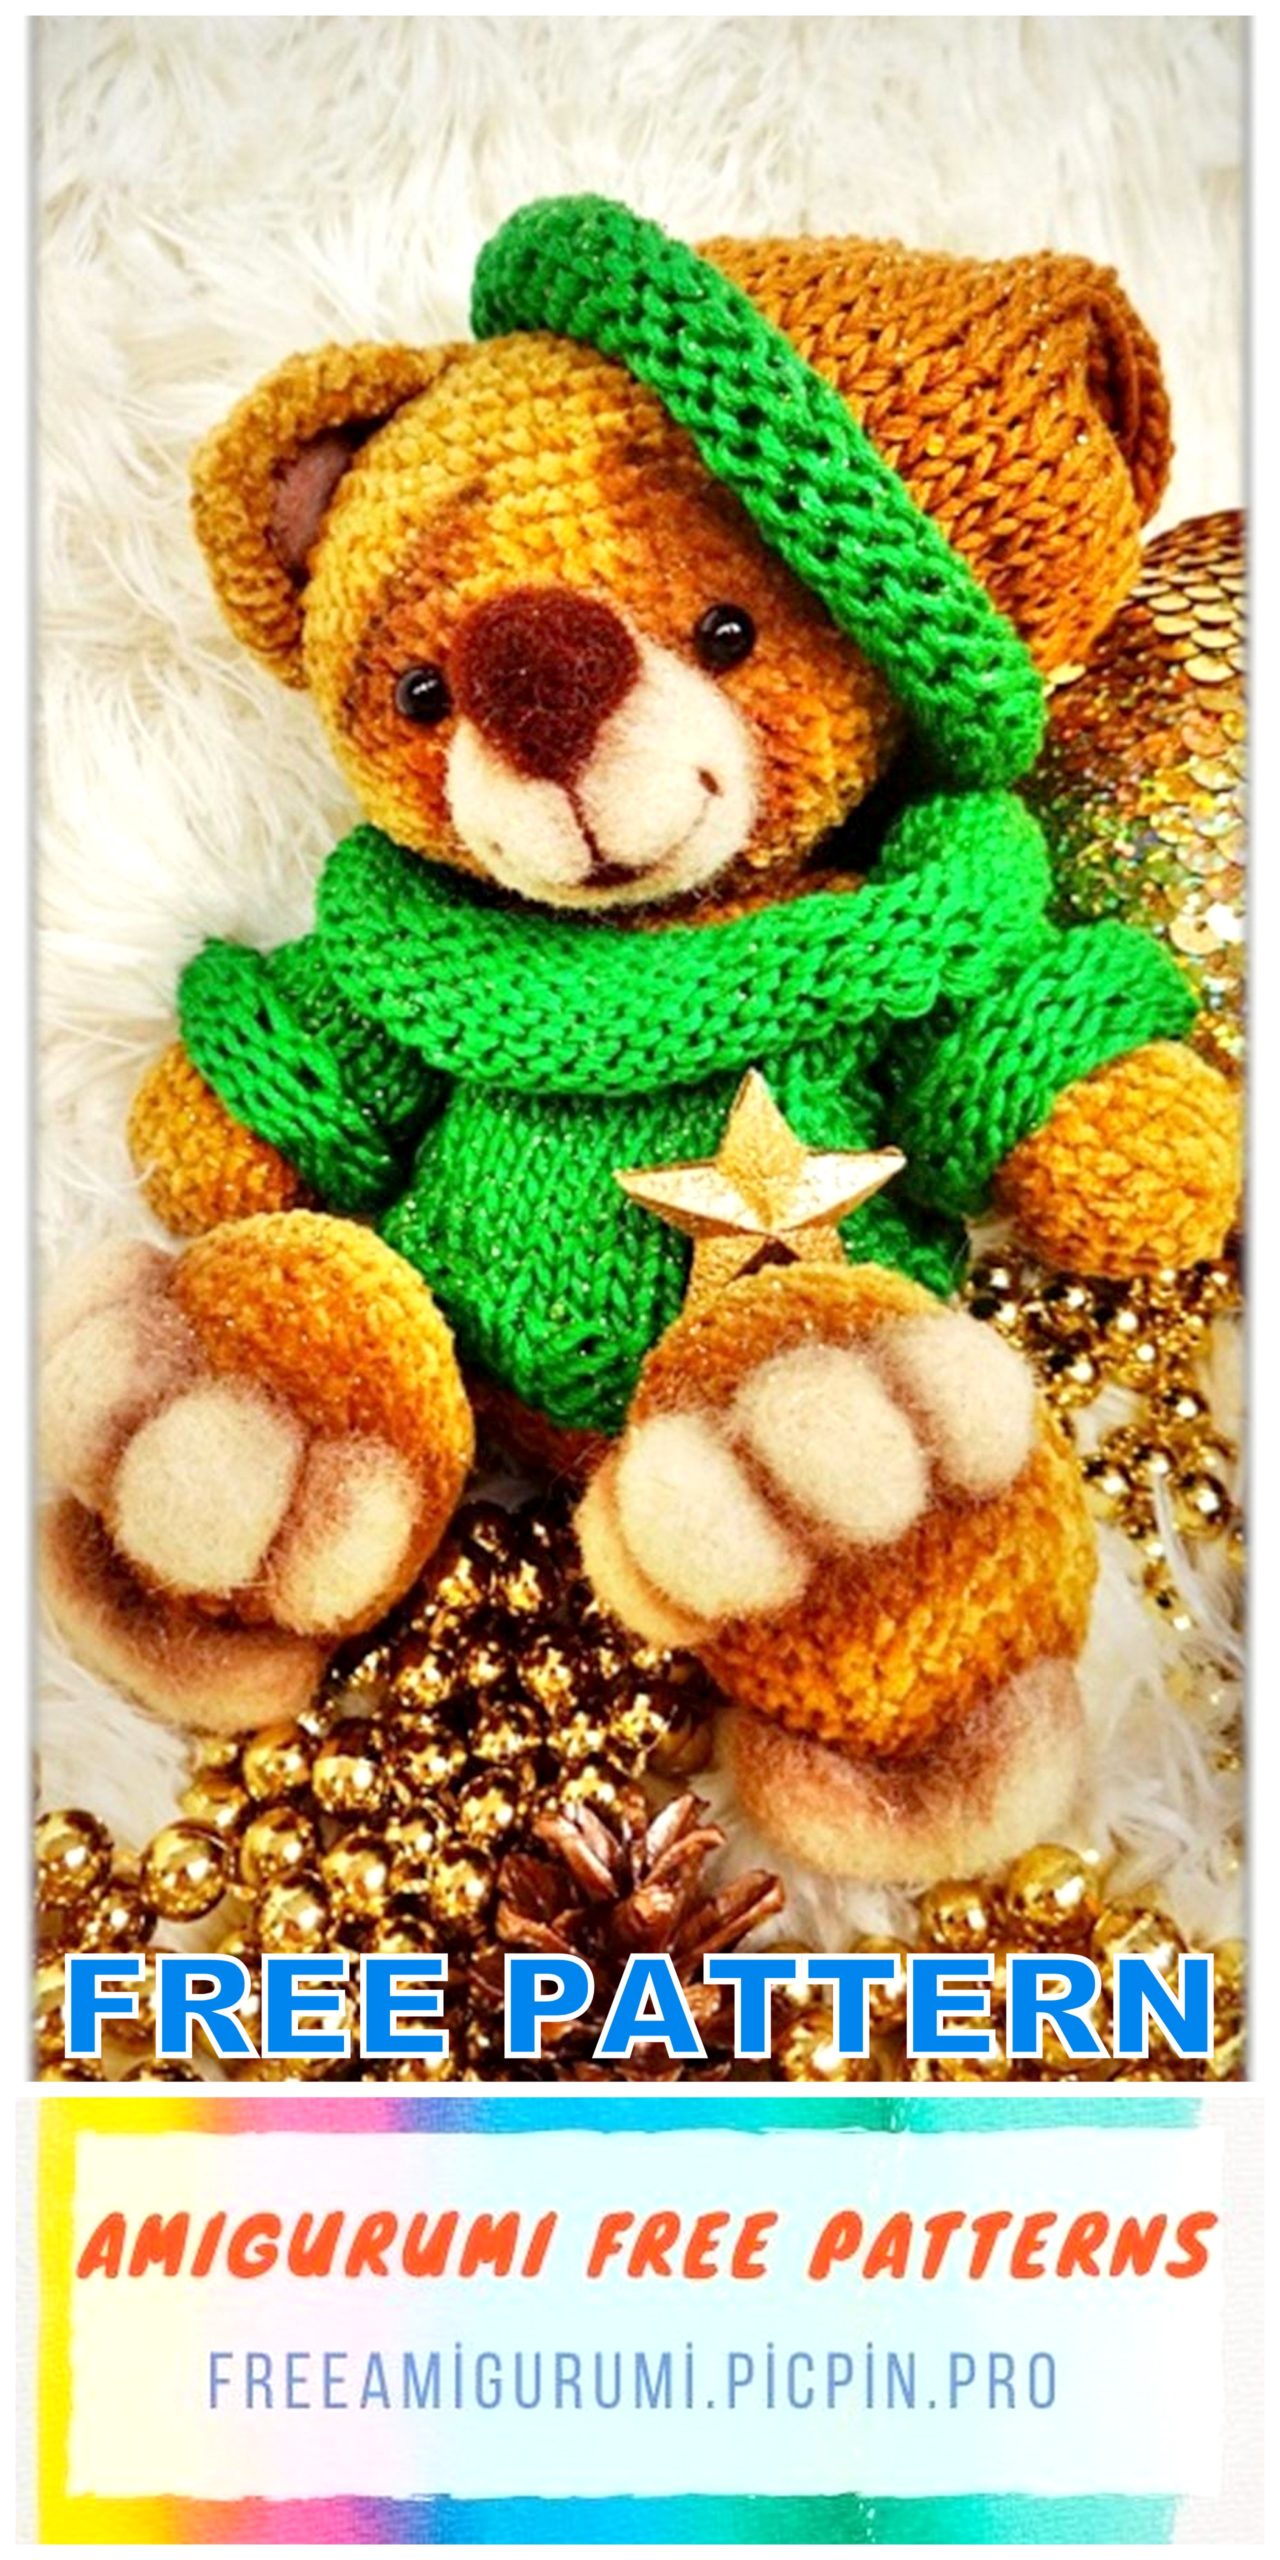
Bear Grishka Amigurumi Free Pattern
We continue to deliver the most exclusive and beautiful free amigurumi patterns to you. In this article, we shared the amigurumi bear pattern for you.
Abbreviations:
sc – single crochet
st – stitch
ch – chain stitch
Dec – sc next 2 stitches together
inc – sc in indicated stitch 2 times
rnd(s) – sl stround(s)
hdc – half double crochet
sl-st -slip stitch
presented in the form of instructions describing each step of creating Grishka
The height of the toy (sitting) 12 cm
Bear Grishka
crocheted from the nicest velor yarn
The muzzle and legs are made using dry felting technique
Sweater and hat are removed
Materials required to create Grishka:
1. Velor yarn (1 roll of 50 g / 170m)
2. Hook number 1
3. Wool for felting is milky and a little brown for the spout (better carding)
4. Cotton yarn “Spring pekhorka” green and gold
5. Stocking needles number 3.5
6. Needles for felting (several pieces # 40 for shaping and reverse needles # 40 for sanding)
7. A small piece of felt or fleece for the inside of the ears
8. Eyes – half beads (diameter no more than 5 mm)
9. Dry pastels of dark brown (main color) and black (for the eyebrow line). Can be replaced with matte eyeshadow
10. Synthetic filler
11. Decorative elements (at your discretion) – sequins, stars, etc.

Paws (lower)
Dial a chain of 9 ch.
1.7 sc, 3 sc into next st, on the other side: 6 sc, 2 sc into next st – 18 sts
2.inc, 6 sc, 3 inc, 6 sc, 2 inc – 24 p
3.1 sc, inc, 6 sc, (1 sc, inc) * 3, 6 sc, (1 sc, inc) * 2 – 30 p
4.2 sc, inc, 6 sc, (2 sc, inc) * 3, 6 sc, (2 sc, inc) * 2 – 36 p
5.3 sc, inc, 6 sc, (3 sc, inc) * 3, 6 sc, (3 sc, inc) * 2 – 42 p
6.4 sc, inc, 6 sc, (4 sc, inc) * 3, 6 sc, (4 sc, inc) * 2 – 48 p
7.for the back walls of the hinges 48 sc
Do not insert the cardboard so that you can work with felting needles
8-10 (3 rows). 48 sc
11.12 sc, 18 HDC, 18 sc – 48 p
12.12 sc, (1 sc, dec) * 6, 18 sc – 42 p
13.12 sc, 6 dec, 18 sc – 36 p
14.dec, 4 sc, 9 dec, 8 sc, 2 dec – 24 p
15.24 sc
16. (2 sc, dec) * 6 – 18 p
17-21 (3 rows). 18 sc
Fill the paws (do not fill very tightly at once – it will be difficult to roll the wool)
Torso
1.6 sc per ring
2.6 inc – 12 p
3. (1 sc, inc) * 6 – 18 p
4. (2 sc, inc) * 6 – 24 p
5. (3 sc, inc) * 6 – 30p
6. (4 sc, inc) * 6 – 36 p
7. (5 sc, inc) * 6 – 42 p
8. (6 sc, inc) * 6 – 48 p
9. (7 sc, inc) * 6 – 54 p
10-17 (8 rows). 54 sc
18.21 sc, 6 dec, 21 sc – 48 p
19.15 sc, (1 sc, dec) * 6, 15 sc – 42 p
20.12 sc, (1 sc, dec) * 6, 12 sc – 36 p
21-22. 36 sc
23. (4 sc, dec) * 6 – 30 p
24.30 sc
25. (3 sc, dec) * 6 – 24 p
Stuff the torso tightly with filler. Insert wire for upper
legs between 23 and 24 row
26. (2 sc, dec) * 6 – 18 p
27-28. 18 sc
Leave a long thread for sewing on the head
Feet (upper)
1.6 sc per ring
2.6 inc – 12 p
3. (1 sc, inc) * 6 – 18 p
4. (2 sc, inc) * 6 – 24 p
5-6. 24 sc
7. (6 sc, dec) * 3 – 21 sts
8.21 sc
9. (5 sc, dec) * 3 – 18 p
10-14 (5 rows). 18 sc
15. (4 sc, dec) * 3 – 15 p
16-21 (6 rows). 15 sc
Fill lightly, put on wire and sew to the body
Head
Dial a chain of 9 ch.
1.7 sc, 3 sc into next st, on the other side: 6 sc, 2 sc into next st – 18 sts
2.inc, 6 sc, 3 inc, 6 sc, 2 inc – 24 p
3.1 sc, inc, 6 sc, (1 sc, inc) * 3, 6 sc, (1 sc, inc) * 2 – 30 p
4.2 sc, inc, 6 sc, (2 sc, inc) * 3, 6 sc, (2 sc, inc) * 2 – 36 p
5.3 sc, inc, 6 sc, (3 sc, inc) * 3, 6 sc, (3 sc, inc) * 2 – 42 p
6.4 sc, inc, 6 sc, (4 sc, inc) * 3, 6 sc, (4 sc, inc) * 2 – 48 p
7.5 sc, inc, 6 sc, (5 sc, inc) * 3, 6 sc, (5 sc, inc) * 2 – 54 p
8.6 sc, inc, 6 sc, (6 sc, inc) * 3, 6 sc, (6 sc, inc) * 2 – 60 p
9-16. 60 sc
17.6 sc, dec, 6 sc, (6 sc, dec) * 3, 6 sc, (6 sc, dec) * 2 – 54 p
18.5 sc, dec, 6 sc, (5 sc, dec) * 3, 6 sc, (5 sc, dec) * 2 – 48 p
19.4 sc, dec, 6 sc, (4 sc, dec) * 3, 6 sc, (4 sc, dec) * 2 – 42 p
20.3 sc, dec, 6 sc, (3 sc, dec) * 3, 6 sc, (3 sc, dec) * 2 – 36 p
21.2 sc, dec, 6 sc, (2 sc, dec) * 3, 6 sc, (2 sc, dec) * 2 – 30 p
22.1 sc, dec, 6 sc, (1 sc, dec) * 3, 6 sc, (1 sc, dec) * 2 – 24 p
23.24 sc
Ears
1.6 sc per ring
2.6 inc – 12 p
3. (1 sc, inc) * 6 – 18 p
4. (2 sc, inc) * 6 – 24 p
5. (3 sc, inc) * 6 – 30 p
6-7. 30 sc
Fold in half, do not fill, tie two sides with 15 sc Cut two circles out of soft milky felt and sew to the inside of the ear. Sew through with threads to match the yarn
Making paws
First, we felled the legs so that you can already sew them to the body. To do this, we need milky or white wool, as well as needles No. 40 and reverse needles No. 40. In the case of velor, I immediately use such thin needles, since it is very difficult to work with this type of yarn with thick ones.
Therefore, be careful not to change the angle of the needle.
Remember: felting needles break very easily !!!
Place a bowl-shaped wool on the bottom of the foot, then add wool around the edges to create a heart shape. Work out the contours carefully.
Please note that the felted parts must be very tight
(NOT LOOSE). Accordingly, the wool should need significant
quantity.
After the lower part of the foot is ready, proceed to the fingers. Better to roll them separately (in the form of an oval), and then weld them to the foot.
When you roll the wool, the needle should go deep, and then, as the wool rolls back, insert the needle superficially and as close as possible to the previous puncture site.
At the final stage sl we use reverse needles. First you need to “fluff” the product, and then shortly cut the resulting pile (more on this below) After the legs are ready, add padding to them and sew to the body
Muzzle
We make a triangular piece of wool from wool (not very tight yet).
Then we roll this piece to the bottom of the head.
Remember: the needle must go deep at this stage.
Strongly tighten the muzzle
With a needle we “draw” the contours of a smile (for this, insert the needle superficially, very close to the previous puncture site and along one line)
In the upper part of the triangle, we roll a nose made of wool of a contrasting color and strongly seal it with a needle.
Fill the smile with a thin layer of wool in a contrasting color.
We glue the half-bead eyes (diameter 4-5 mm).
We create a pile with the reverse needles (insert the needle very surface and as close as possible to the previous puncture site).
It remains only to cut the pile short with small scissors
Tinting
You will need dry pastels in dark brown and black.
Rub the dark brown pastel with sandpaper.
Draw a triangle-shaped area around the eyes with a brush.
It is more convenient to use a flat brush here.
With a thin brush, tint the contours of the smile and nose (do not overdo it).
And also the contours of the muzzle itself.
Remember to tint the contours of the inner lugs and some space in front of the lug. With black pastel, CAREFULLY draw a line that imitates the eyebrows, be sure to tint on top with dark brown pastels so that there is no sharp contrast.
We draw all the fingers and paws and behind the ear
Note: I sewed the paws to the body a little obliquely (so that the bear would clubfoot). They need to be sewn not only along one line, but also in the place shown in the photo with an arrow so that they do not dangle.