Amigurumi Cute Frog Free Crochet Pattern
Welcome to our website where you can find the most beautiful and highest quality samples of Amigurumi patterns. All the amigurumi patterns you can’t find are available on our website. Every day we continue to share new amigurumi patterns for you. Stay tuned to reach these amigurumi patterns before anyone else
Abbreviations:
Sc – single crochet,
inc – increase,
Dec – decrease
Hdc – half crochet
CH – chain
Necessary materials:
– yarn “Spark” 100% acrylic 250m / 100g in three primary colors: green, yellow, red;
– a small amount of black, blue and white yarn for the eyes;
– monofilament;
– filler – synthetic winterizer for the frog body, holofiber for the legs and eyes;
– hook number 3;
– needle for stitching.
Unless otherwise specified, knit in a circle for the loops of the lower column.
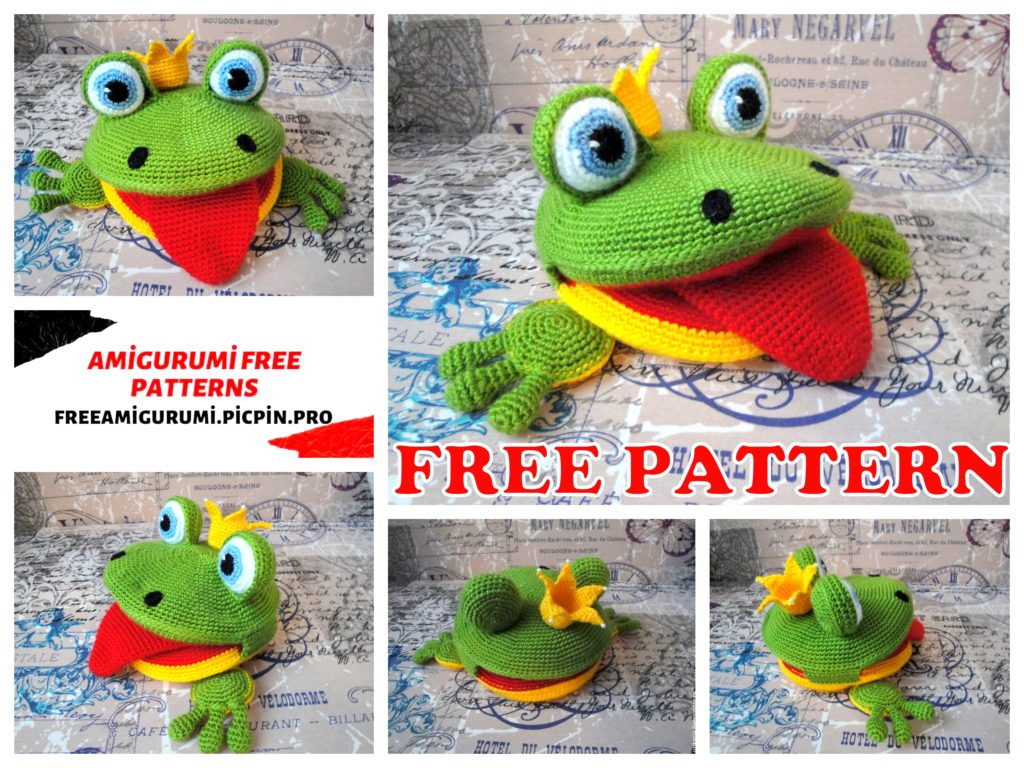
The body consists of 4 circles: green, yellow, green-red and yellow-red.
We knit green and yellow circles in one color according to the following pattern
1-6 sc into magic ring (6)
2- inc * 6 (12)
3- (sc, inc) * 6 (18)
4- (sc, inc, sc) * 6 (24)
5- (3 sc, inc) * 6 (30)
6- (2 sc, inc, 2 sc) * 6 (36)
7- (5 sc, inc) * 6 (42)
8- (3 sc, inc, 3 sc) * 6 (48)
9- (7 sc, inc) * 6 (54)
10- (4 sc, inc, 4 sc) * 6 (60)
11- (9 sc, inc) * 6 (66)
12- (5 sc, inc, 5 sc) * 6 (72)
13- (11 sc, inc) * 6 (78)
14- (6 sc, inc, 6 sc) * 6 (84)
15- (13 sc, inc) * 6 (90)
16- (7 sc, inc, 7 sc) * 6 (96)
17- (15 sc, inc) * 6 (102)
18- (8 sc, inc, 8 sc) * 6 (108)
19- (108)
20- (17 sc, inc) * 6 (114)
21- (114)
22- (114)
23- (114)
Two circles are ready
We knit a yellow-red circle with red yarn similarly to green and yellow, with only one difference: we knit 21-23 rows with yellow yarn.
For the green-red circle, we start knitting with green yarn:
1-6 sc into magic ring (6)
2- inc * 6 (12)
3- (sc, inc) * 6 (18)
4- (sc, inc, sc) * 6 (24)
5- (3 sc, inc) * 6 (30)
6- (2 sc, inc, 2 sc) * 6 (36)
7- (5 sc, inc) * 6 (42)
We continue knitting in two colors green and red:
8- K (3 sc, inc, 3 sc) * 3, Zel (3 sc, inc, 3 sc) * 3 (48)
9- K (7 sc, inc) * 3, Zel (7 sc, inc) * 3 (54)
10- K (4 sc, inc, 4 sc) * 3, Zel (4 sc, inc, 4 sc) * 3 (60)
11- K (9 sc, inc) * 3, Zel (9 sc, inc) * 3 (66)
12- K (5 sc, inc, 5 sc) * 3, Zel (5 sc, inc, 5 sc) * 3 (72)
13- K (11 sc, inc) * 6, Zel (78)
14- K (6 sc, inc, 6 sc) * 3, Zel (6 sc, inc, 6 sc) * 3 (84)
15- K (13 sc, inc) * 3, Zel (13 sc, inc) * 3 (90)
16- K (7 sc, inc, 7 sc) * 3, Zel (7 sc, inc, 7 sc) * 3 (96)
17- K (15 sc, inc) * 3, Zel (15 sc, inc) * 3 (102)
18- K (8 sc, inc, 8 sc) * 3, Zel (8 sc, inc, 8 sc) * 3 (108)
19- K 54 sc, Zel 54 sc (108)
20- K (17 sc, inc) * 3, Zel (17 sc, inc) * 3 (114)
21- -23 green (114)
Paws for them need to be connected 2 green circles and 2 yellow circles
1-6 sc into magic ring (6)
2- inc * 6 (12)
3- (sc, inc) * 6 (18)
4- (sc, inc, sc) * 6 (24)
5- (3 sc, inc) * 6 (30)
6- (2 sc, inc, 2 sc) * 6 (36)
7- (5 sc, inc) * 6 (42)
and fingers (6 parts):
1-6 sc into magic ring (6)
2- inc * 6 (12)
3- (12)
4- (12)
5-6 dec (6)
6-9 (6)
Fingers are not tightly filled with holofiber.
Nostrils (2 small ovals)
4 ch, (crochet stitches begin to knit in the second loop from the hook)
2 sc, 3 sc in one loop, sc, inc (we insert the loop into the loop in which the first single crochet was crocheted).
Fasten the thread, cut off, leaving a small tip for sewing.
Eyes (2 parts)
1- black color 6 sc into magic ring (6)
2- inc * 6 (12)
3- change to blue, we knit a row behind the back wall (sc, inc) * 6 (18)
4- (sc, inc, sc) * 6 (24)
5- change to white (3 sc, inc) * 6 (30)
6- (2 sc, inc, 2 sc) * 6 (36)
7- (36)
8- (36)
9- (dec, 4 sc) * 6 (30)
10- (dec, 3sc) * 6 (24)
11- (dec, 2sc) * 6 (18)
12- (dec, 1 sc) * 6 (12), the part is filled with holofiber, forming a ball.
13- dec * 6 (6)
Fasten the thread, cut it off, leaving a small tip for sewing to the eyelid.
Eyelids (2 parts)
1-6 sc into magic ring (6)
2- inc * 6 (12)
3- (sc, inc) * 6 (18)
4- (sc, inc, sc) * 6 (24)
5- (3 sc, inc) * 6 (30)
6- (2 sc, inc, 2 sc) * 6 (36)
7- dec, 8 sc, dec, 24 sc (34)
8-10 sc, 6 sc, 12 hdc, 6 sc (34)
9- (34)
10-10 sc, 5 sc, 14 hdc, 5 sc (34) we knit a row for the back wall
11- (34 sc)
12- (34sc)
Fasten the thread, cut it off, leaving the end for sewing.
Tongue
The tongue resembles a mittens (approximately 16-17 gloves). Tied loosely.
Circular knitting.
1-6 sc into magic ring (6)
2- inc * 6 (12)
3- (sc, inc) * 6 (18)
4- (2 sc, inc) * 6 (24)
5- (11 sc, inc) * 2 (26)
6- (26)
7- (12 sc, inc) * 2 (28)
8- (28)
9- (13 sc, inc) * 2 (30)
10- (30)
11- (14 sc, inc) * 2 (32)
12- (32)
13- (15 sc, inc) * 2 (34)
14- (34)
15- (16 sc, inc) * 2 (36)
16- (36)
17- (17 sc, inc) * 2 (38)
18- (38)
19- (18 sc, inc) * 2 (40)
20- (40)
21- (19 sc, inc) * 2 (42)
22- (42)
23- (42)
24- (20, inc) * 2 (44)
25- -41 – (44)
42- 9 sc, 4 ch, 31 sc (44) buttonhole
43-45 – (44sc)
Crown
In order to make the crown stiffer and keep its shape, I used monofilament along with the main yellow thread.
13 ch join in a circle with sl-st.
1 – 20 sc (20)
2- (3sc, inc) * 5 (25)
3- 25 sc behind the back wall (25)
4-10 (25)
The base of our crown is connected.
Starting from the 11th row, we knit in turn 5 petals of the crown:
11- 5 sc, ch, turn
12-5 sc, ch, turn
13- dec, sc, dec, ch (3)
14- 3 sc, ch (3)
15- dec, sc, ch (2)
16-2 sc, ch (2)
17- dec (1)
Fasten the thread, cut it off, leaving the tip for sewing on the bead. One petal is ready.
We attach the thread to the 6th column of the base of the crown and repeat from 11 to 17 row.
Toy assembly
To fill the frog’s body, we cut out 2 circles from the synthetic winterizer. The size of sintepon circles should be the size of our large circles. I used a synthetic winterizer 3 cm thick in one layer.
Sew large circles as follows:
green with green-red, yellow with yellow-red. In the process of stitching, insert the synthetic winterizer between the circles, align along the edges, add filler around the seam (if necessary).
We connect the resulting details: along the seam line from the middle to the back, we knit 5 rotary rows of 12 sc (the beginning of the row where the connection of green and red colors is, we knit sc from red to green). Connecting “straps” are not located in the middle, but are shifted to the rear.
We connect the two parts of the frog’s mouth with these small “straps”, stitching the strap to the second large part. The result is a green top, a yellow bottom, a red mouth at the bottom with a yellow border, at the top with a green border.
Sew eyelids. We insert the eye, carefully sew it with the left end of the white thread (literally 2-3 stitches). Embroider flare on the pupil.
Paws. We sew the green and yellow circles, having previously sewed the fingers to the green circle. Fill the parts with filler. Sew finished paws to the toy.
I simply fasten the crown to a button. You can always remove, replace with a bow or other accessory.
I also attach the tongue-mittens for the connected loop on the button so as not to get lost.
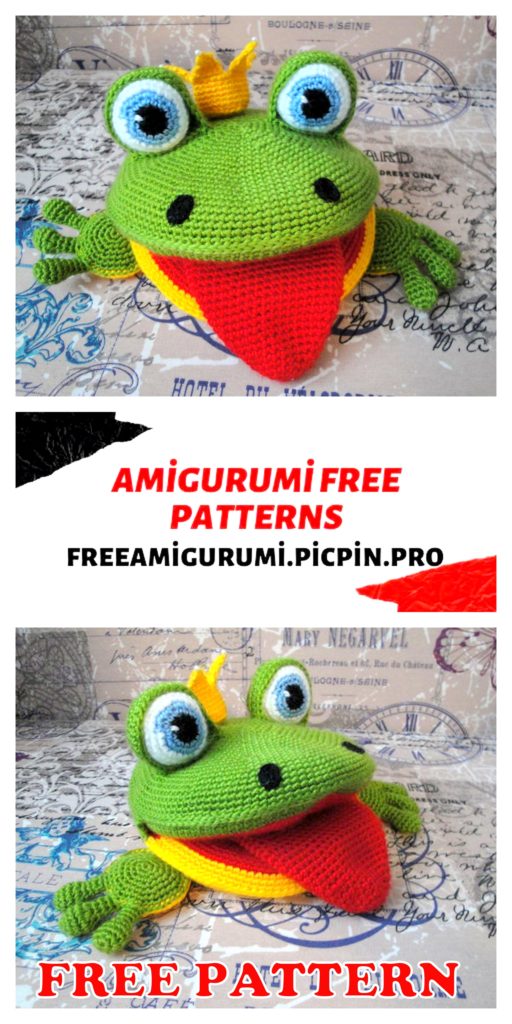
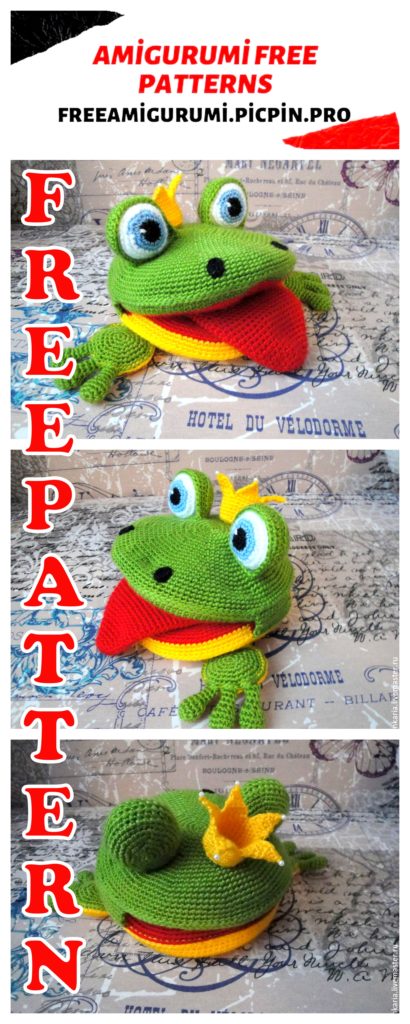
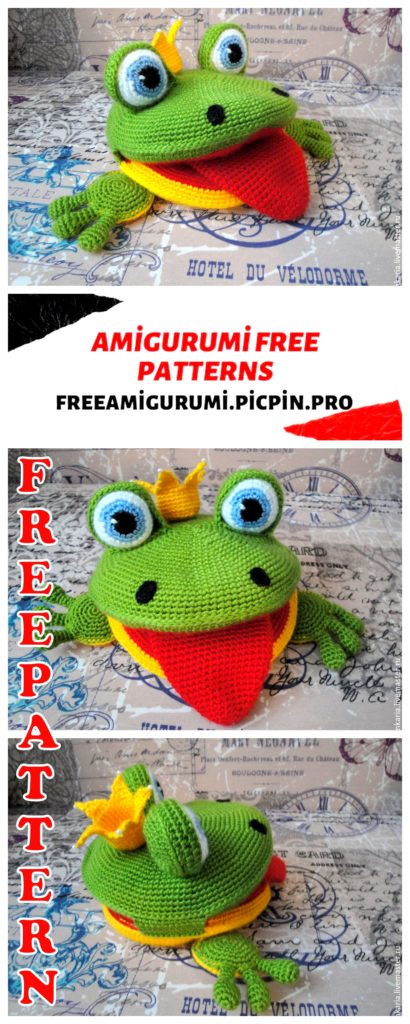
The frog is ready.
