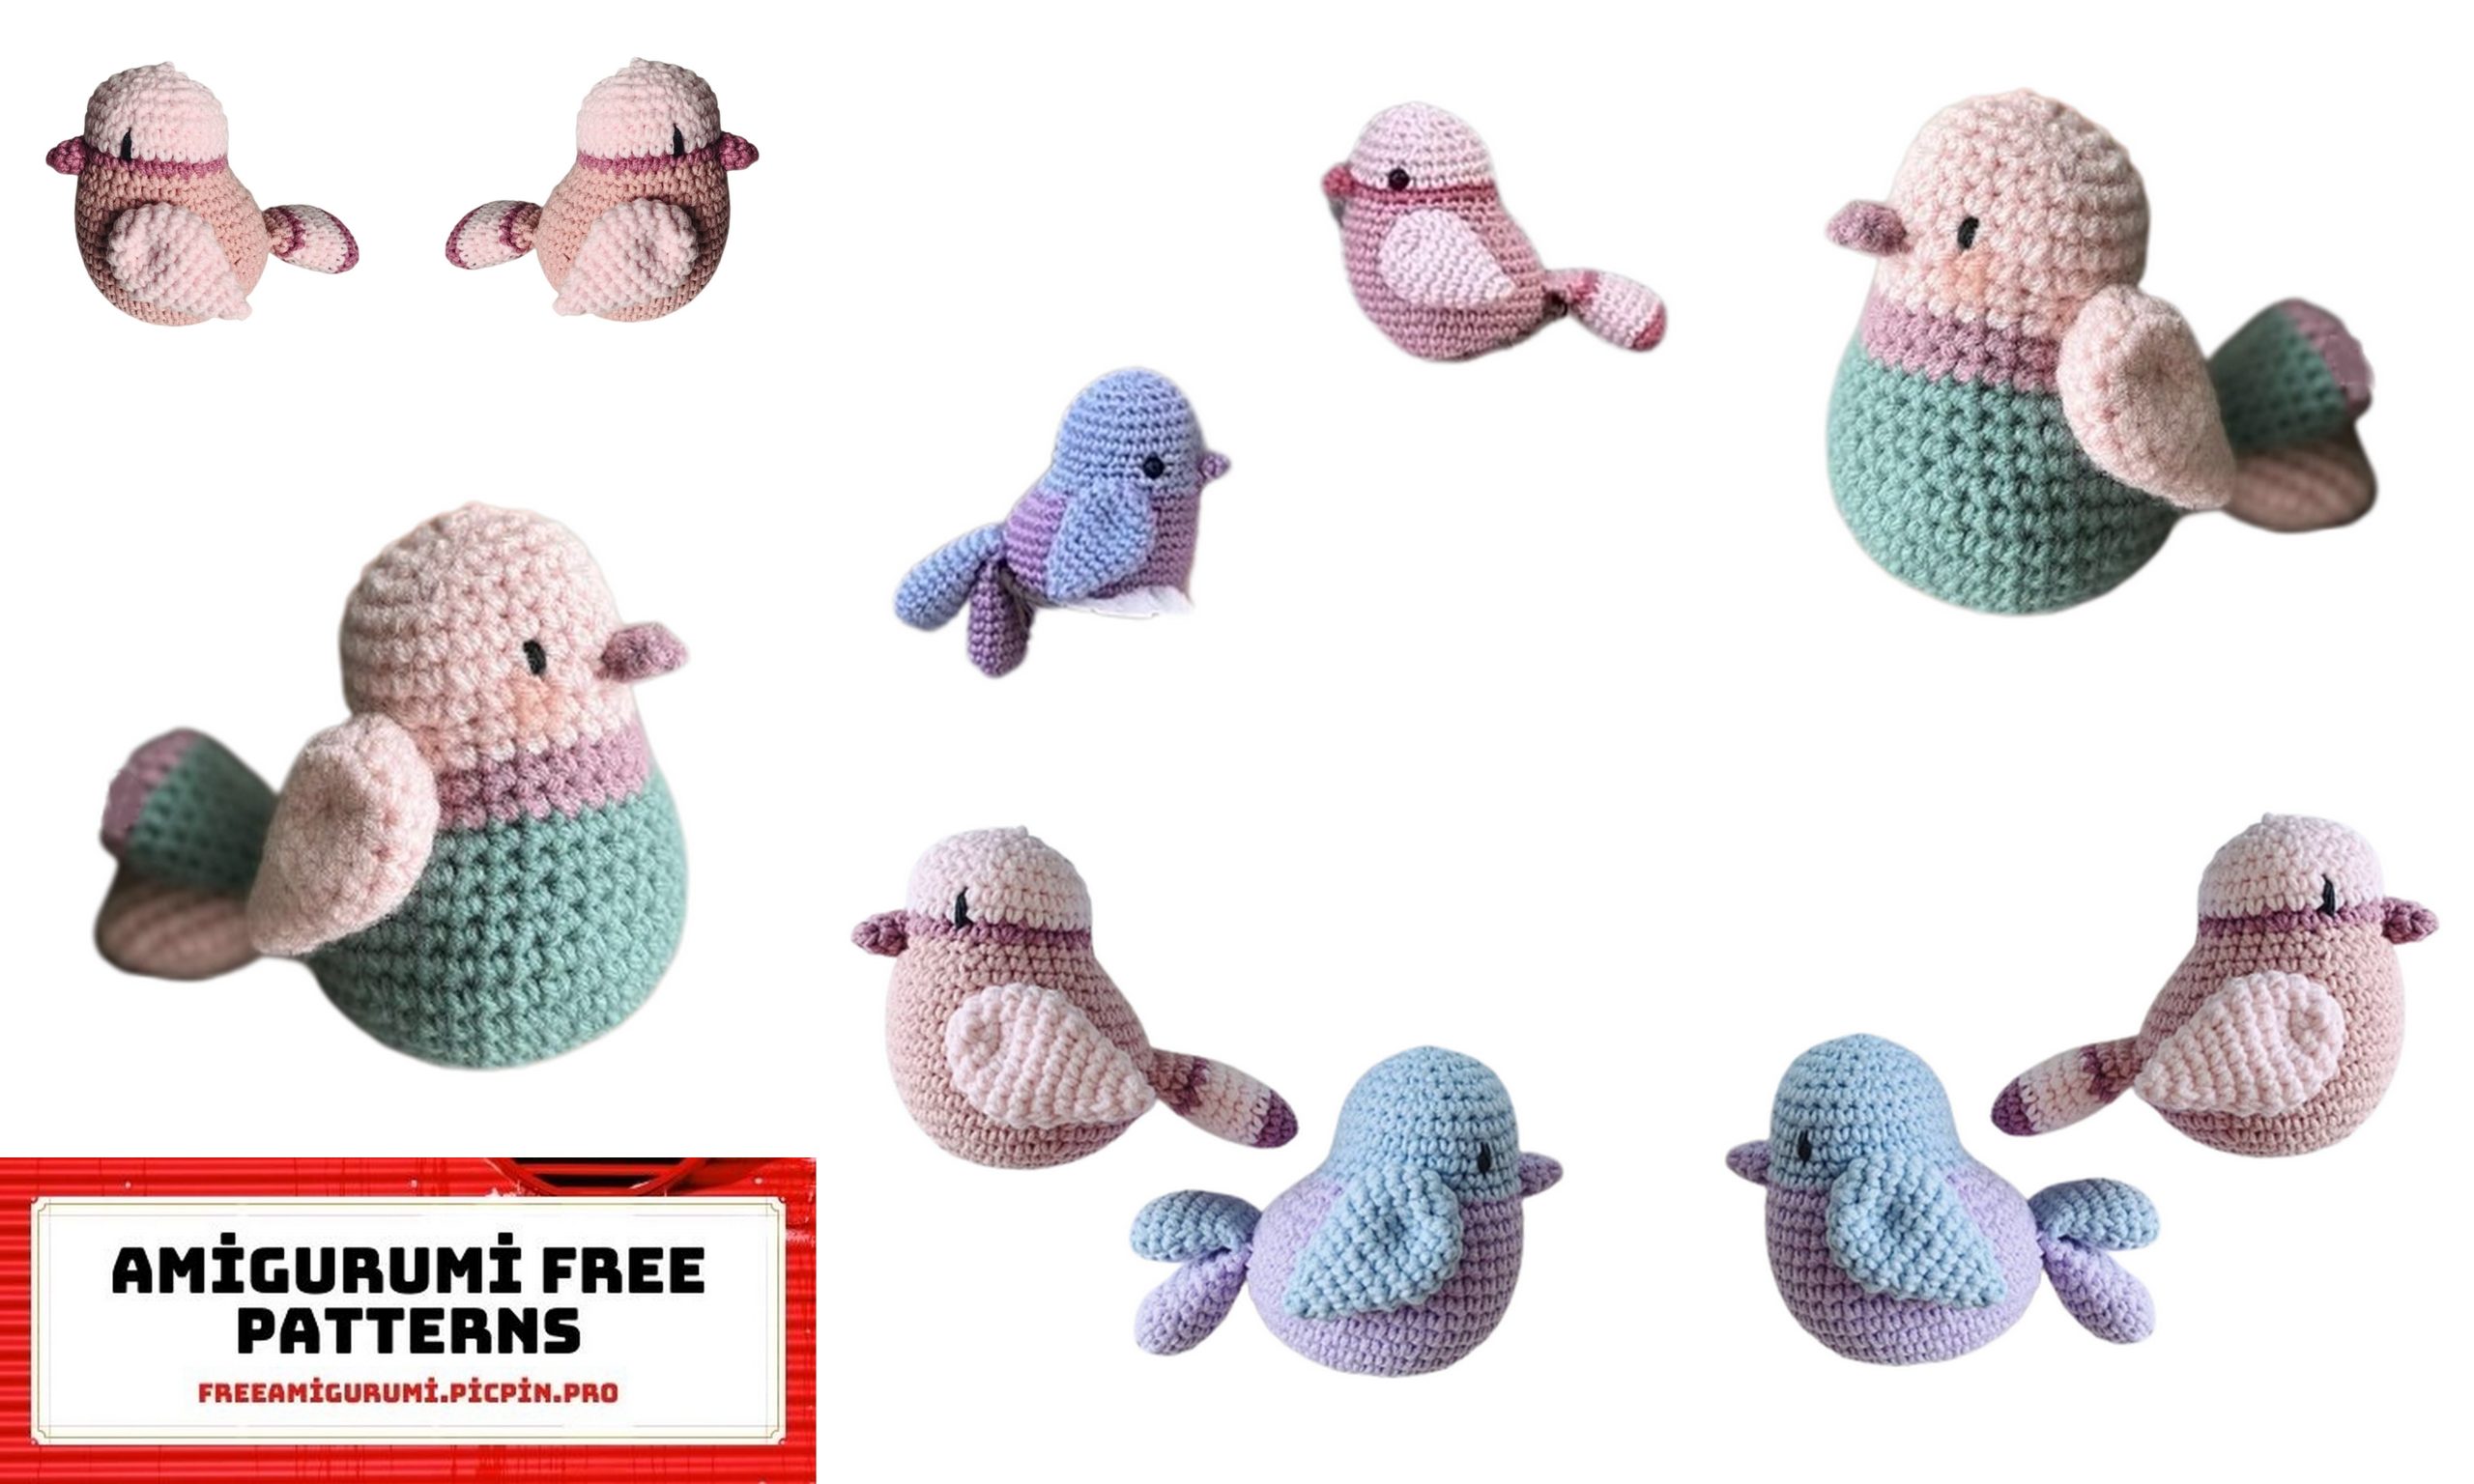
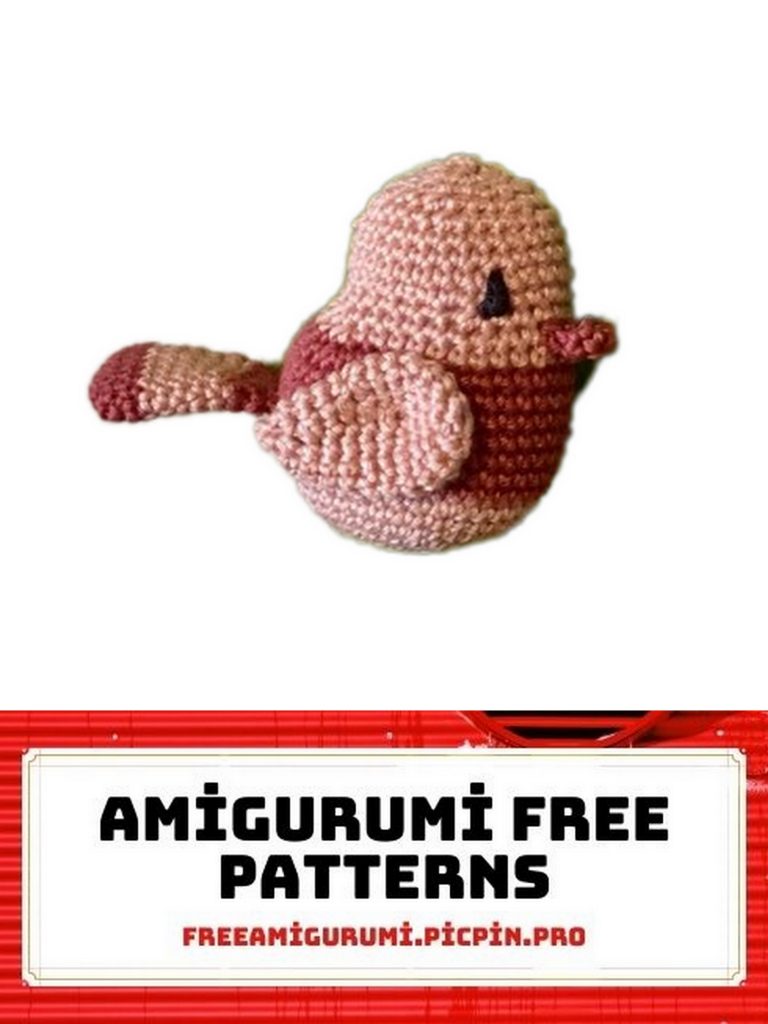
Amigurumi Little Bird Free Pattern
Calling all craft enthusiasts and bird lovers! If you’re looking for a delightful and engaging crochet project, our “Amigurumi Bird Free Pattern” is here to spread its wings of creativity. Whether you’re a seasoned crocheter or just starting your yarn journey, this project is perfect for you.
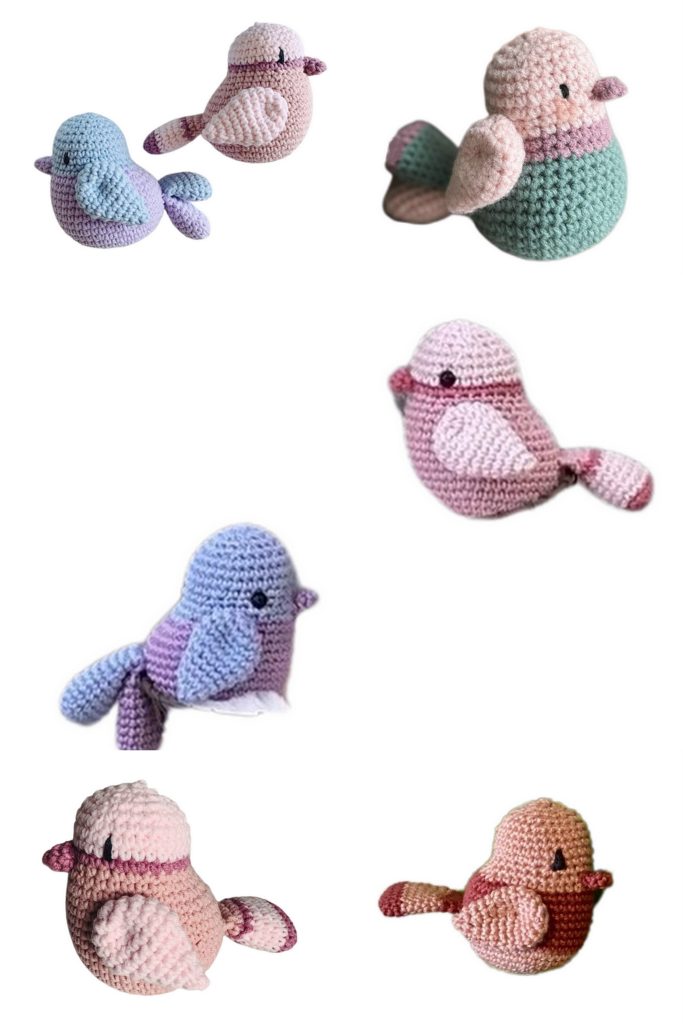
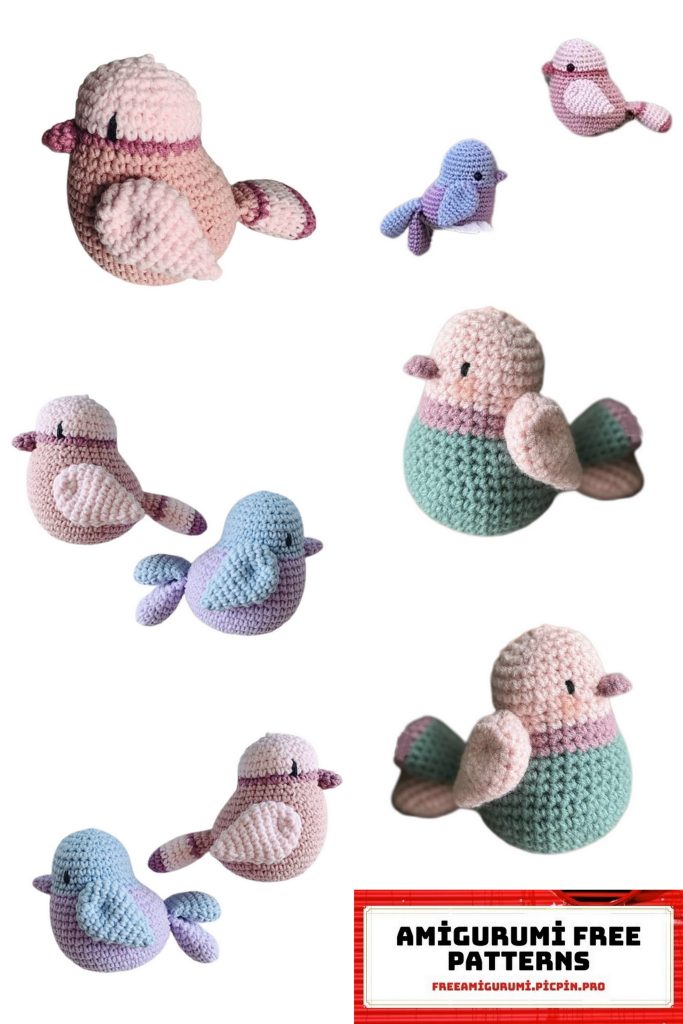
This free crochet pattern guides you through the process of creating your very own amigurumi bird plushie. These charming, handmade birds are not only fun to make but also make for wonderful gifts or decor items. You can bring a touch of nature’s beauty into your home, office, or give them as thoughtful presents to your loved ones.
Our easy-to-follow instructions will have you crocheting with confidence. As you work on your amigurumi bird, you’ll experience the joy of crafting and the satisfaction of watching your creation take shape.
So, gather your crochet hooks, select your preferred yarn colors, and get ready to embark on a creative journey. Let’s bring this amigurumi bird to life together! Whether you’re a seasoned crocheter or a beginner, you’ll enjoy the process and the charming result. Let your imagination soar and add a touch of handmade beauty to your world.
Materials:
Yarn: YarnArt Jeans (55% cotton, 45% acrylic)
Hook size: 2.5 mm
Black embroidery floss or yarn for eyes
Sewing needle and scissors
Fiberfill
Abbreviations:
ch = chain
st = stitch
sl st = slip stitch
sc = single crochet
inc = 2 sc in the next stitch
dec = single crochet 2 stitches together
F.o. = finish off
PATTERN
Wings (make 2)
Row 1: 6 sc in magic ring (6)
Row 2: (inc) *6 (12)
Row 3: (2 sc, inc) *4 (16)
Row 4-6: 16 sc (3 rows)
Row 7: 2 sc, 2 dec, 4 sc, 2 dec, 2 sc (12)
Row 8: 2 sc, dec, 4 sc, dec, 2 sc (10)
Row 9: 10 sc
Stuff gently with fiberfill.
Row 10: 1 sc, dec, 3 sc, dec, 2 sc (8)
Row 11: (dec) *4 (4)
F.o.
Tail
Make 7 ch.
Make an oval starting from the 2nd ch from hook, work on both sides of the chain.
Row 1: 5 sc, 3 sc in one st, turn and crochet on the opposite side of the chain: 4 sc, inc (14)
Row 2: 6 sc, inc, 6 sc, inc (16)
Row 3: 7 sc, inc, 7 sc, inc (18)
Row 4-5: 18 sc (2 rows)
Row 6: dec, 7 sc, dec, 7 sc (16)
Row 7: 16 sc
Row 8: 6 sc, dec, 6 sc, dec (14)
Row 9: 5 sc, dec, 5 sc, dec (12)
Row 10: 4 sc, dec, 4 sc, dec (10)
Stuff gently with fiberfill. Fold top of tail flat and 5 sc through both sides across.
F.o.
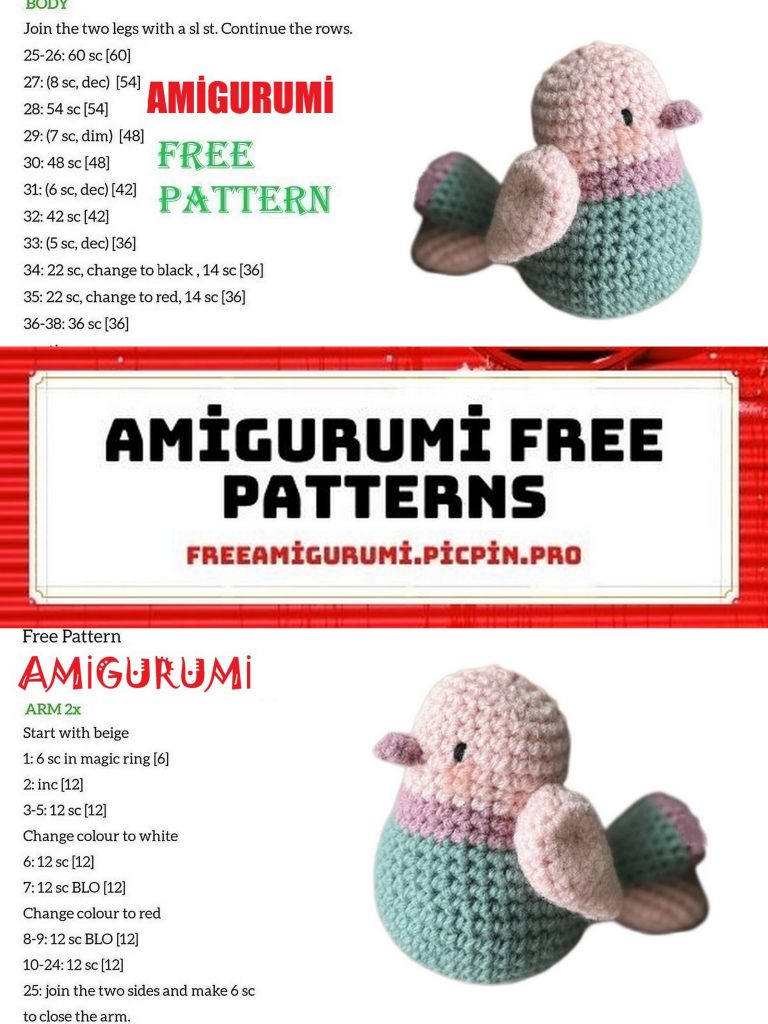
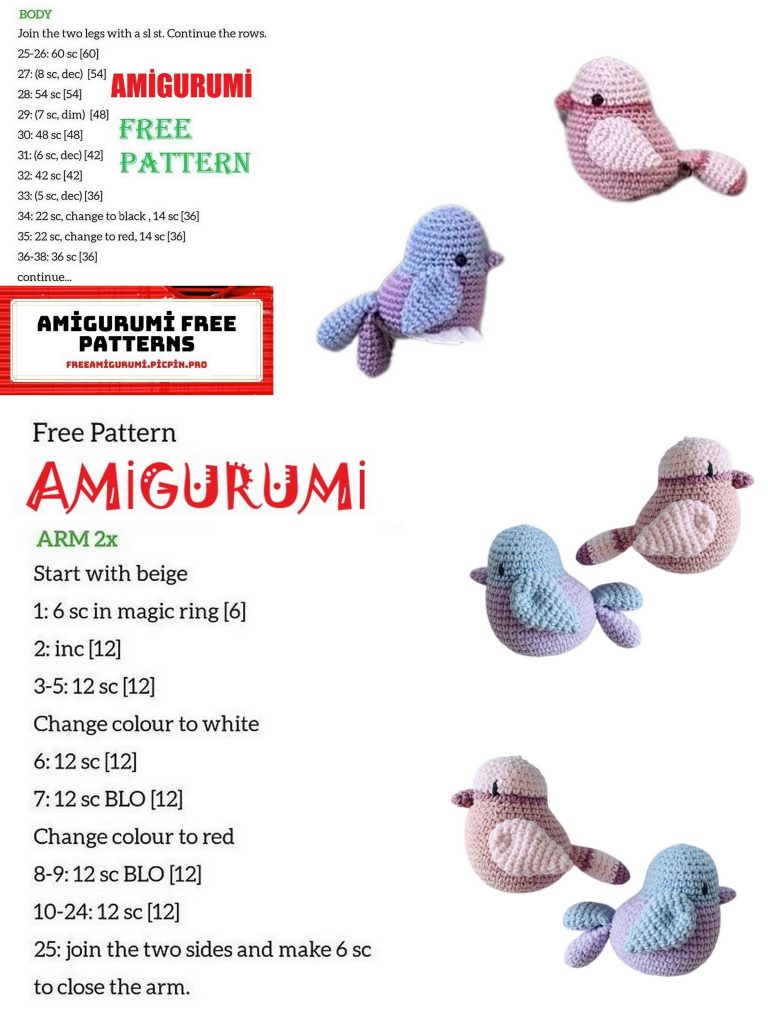
Head and body
Row 1: 6 sc in magic ring (6)
Row 2: (inc) *6 (12)
Row 3: (1 sc, inc) *6 (18)
Row 4: (2 sc, inc) *6 (24)
Row 5: (3 sc, inc) *6 (30)
Row 6: (2 sc, inc, 2 sc) *6 (36)
Row 7: 36 sc
Row 8: (5 sc, inc) *6 (42)
Row 9-10: 42 sc (2 rows)
Row 11: 5 sc, join a tail: 5 sc together with sc of the tail, 32 sc (42)
Row 12-14: 42 sc (3 rows)
Row 15: (1 sc, dec) *5, 27 sc (37)
Change color:
Row 16: (1 sc, dec) *4, 23 sc, dec (32)
Row 17: (6 sc, dec) *4 (28)
Row 18: (5 sc, dec) *4 (24)
Row 19: (3 sc, inc) *6 (30)
Row 20-22: 30 sc (3 rows)
Row 23: (3 sc, dec) *6 (24)
Row 24: (2 sc, dec) *6 (18)
Row 25: (1 sc, dec) *6 (12)
Row 26: (dec) *6 (6)
F.o.

Beak
Row 1: 3 sc in magic ring (3)
Row 2: (inc) *3 (6)
Row 3: 6 sc, sl st.
F.o. and leave a long tail for sewing.
Embroider eyes with black yarn on the level of Row 18-19.
Sew a beak and wings to the body.