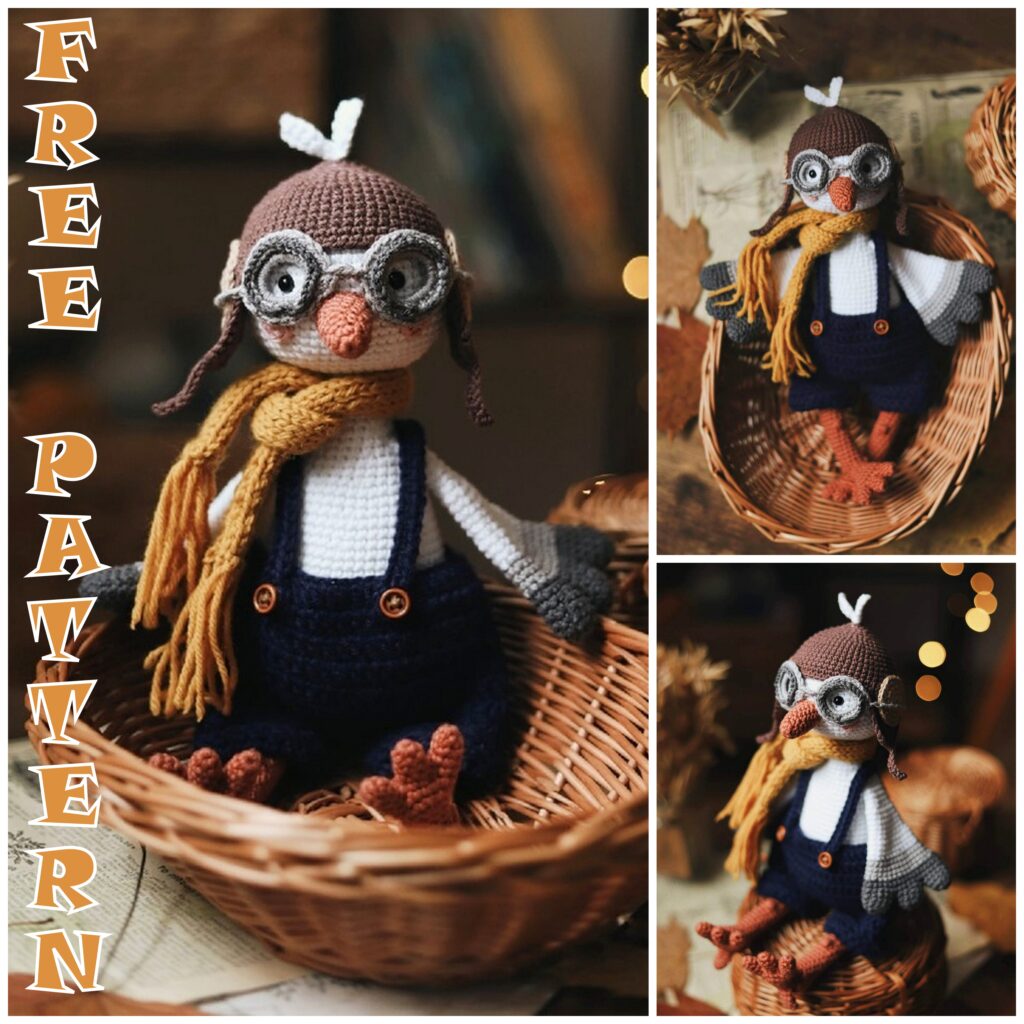
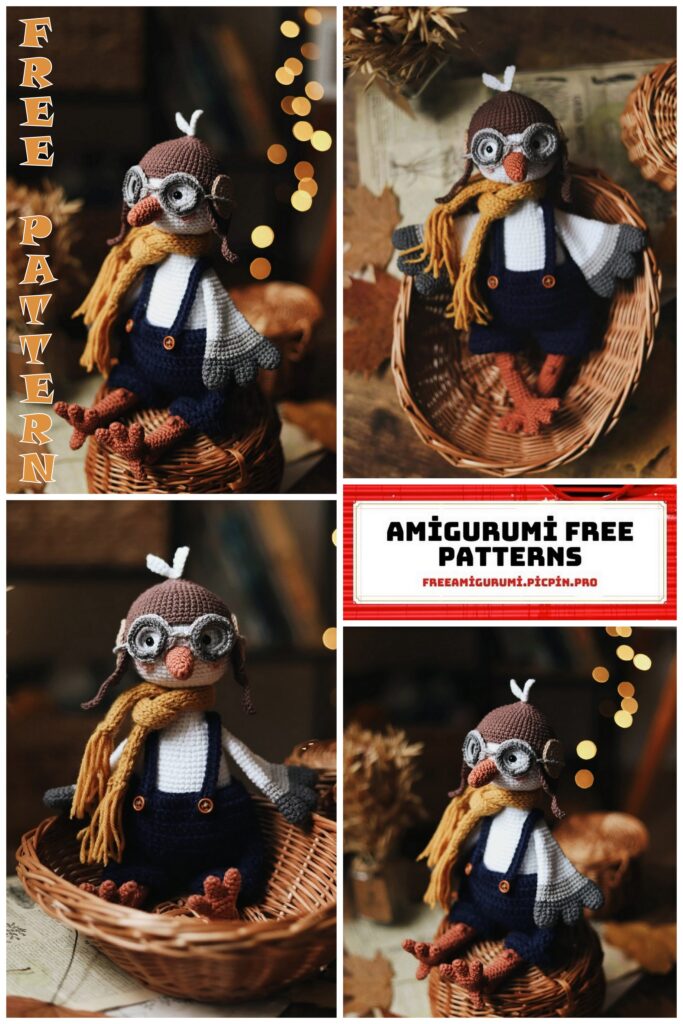
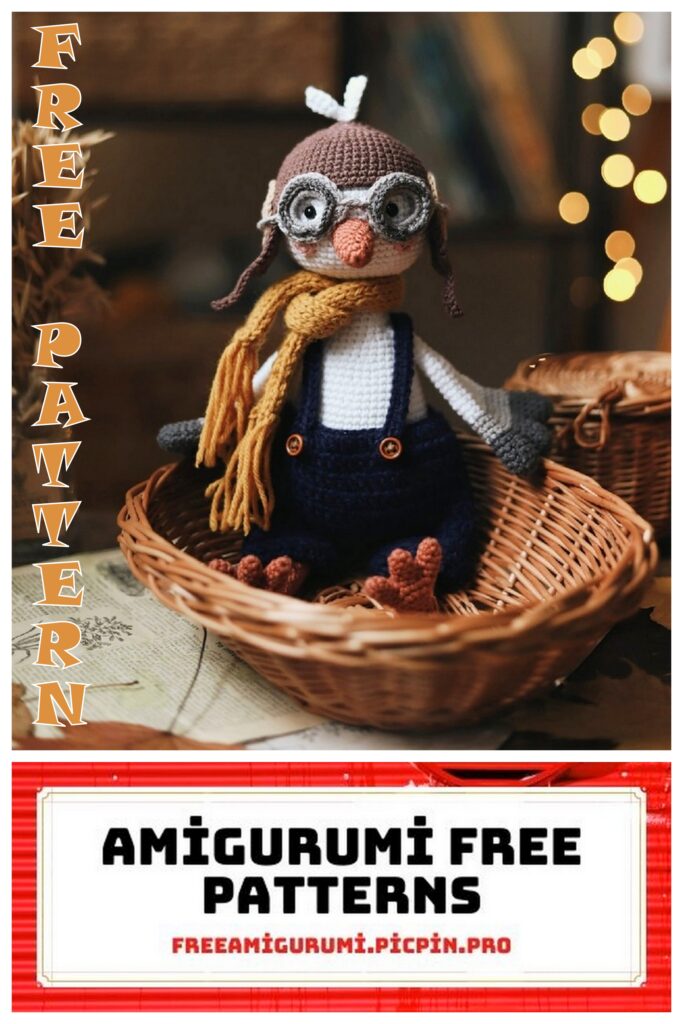
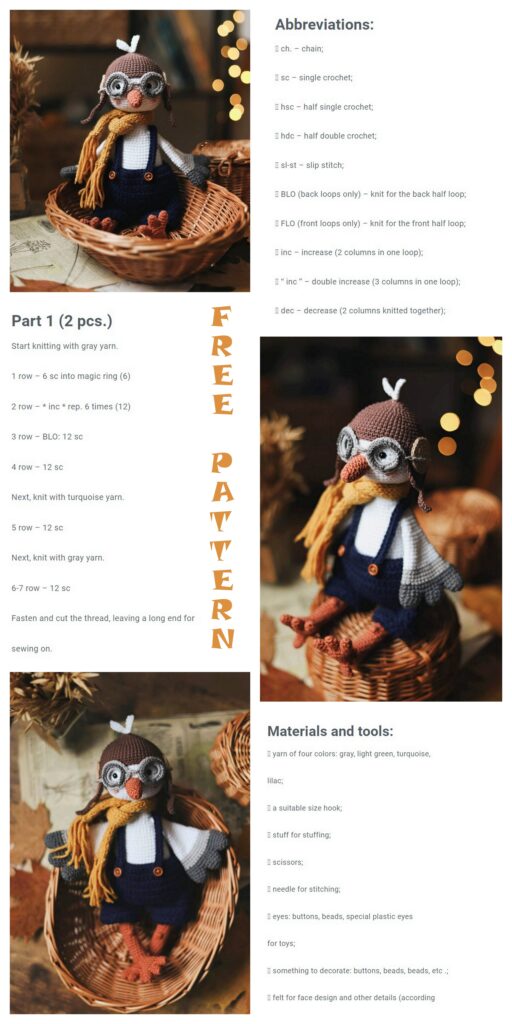
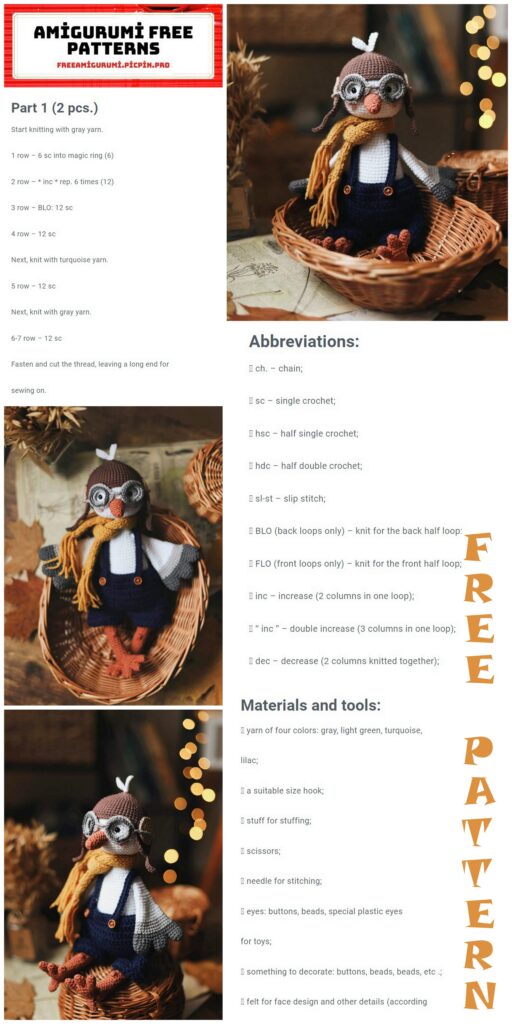
Stork Pilot Amigurumi Free Crochet Pattern
Beautiful amigurumi animal patterns on this site for free. In this article, we shared with you the amigurumi stork pilot pattern.
Tools and materials:
1. Yarn original
– Drops Safran (100% cotton 50 g / 160 m) No. 17
white 1 skein
– Drops Safran # 59
terracotta, a little for the beak and paws
– Drops Safran # 07
gray, a little for wings, ponytail and glasses;
– Drops Love You 7 # 04
dark gray, a little for the wings, tail and glasses;
– Drops Safran # 23
brown and # 21
beige for a hat;
– Drops Safran No. 01
light pink for the cheeks.
– Drops Lima (wool 50 g / 100 m) No. 4305 blue and No. 2923 yellow for pants and a scarf.
Yarn analog:
– Yarn Art Ideal (100% cotton 50 g / 170 m) №220 white, №242 orange, №244 gray, №221 black, №232 chocolate, №233 beige, №229 pink, for the main parts of the cap and glasses;
– Alize Lana Gold (wool, 100 g / 240 m) No. 58 dark blue and No. 645 mustard, for clothes;
2. Hooks # 2 and 3;
3. Eyes on a safety mount with a diameter of 6 mm;
4. Filler – holofiber;
5. Two buttons for pants.
6. Thick needle for sewing parts, scissors.
Abbrevations:
SC – single crochet
INC – an increase (two single crochets are knitted in one loop)
DEC – decrease (two bars tied together)
Sl-st – Slip stitch
DC – Double crochet
CH – Chain
(…) – numbers in brackets indicate the number of loops in a particular row.
Head:
We knit with a white thread.
1st row: 6 SC into magic ring
2nd row: 6 INC (12)
3 row: (1 SC, INC) x 6 times (18)
4th row: (2 SC, INC) x 6 times (24)
5 row: (3 SC, INC) x 6 times (30)
6 row: (4 SC, INC) x 6 times (36)
7 row: (5 SC, INC) x 6 times (42)
8 row: (6 SC, INC) x 6 times (48)
Row 9: (7 SC, INC) x 6 times (54)
10-19 row (10 p.): 54 SC
Eyes (6 mm) fasten between 12-13 rows, approx. 10 SC
20 row: (7 SC, DEC) x 6 times (48)
21 row: (6 SC, DEC) x 6 times (42)
22 row: (5 SC, DEC) x 6 times (36)
23 row: (4 SC, DEC) x 6 times (30)
24 row: (3 SC, DEC) x 6 times (24)
We fill.
25 row: (2 SC, DEC) x 6 times (18)
We fill it to the end. Cut off the thread, hide the end inside the part.
Beak:
We knit with orange thread.
1st row: 6 SC into magic ring
2nd row: (1 SC, INC) x 3 times (9)
3rd row: 9 SC
4th row: (2 SC, INC) x 3 times (12)
5-9 row (5 p.): 12 SC
Cut off the thread, leaving the long end to be sewn on. We will fill in while sewing.
Cheeks:
Knit with a pink thread 6 SC into magic ring, SL-ST in the 1st loop.
Cut off the thread, leaving the long end to be sewn on.
Paws + body:
We start knitting with orange thread.
For one foot:
We knit 1 back finger:
1st row: 6 SC INTO MAGIC RING
2-4 row (3 p.): 6 SC
Tie the edges of the part together with 3 SCs, cut off the thread.
We knit 2 front fingers:
1st row: 6 SC INTO MAGIC RING
2-4 row (3 p.): 6 SC
Cut off the thread.
You don’t need to tie the walls of your front fingers together!
We knit the 3rd front finger:
1st row: 6 SC INTO MAGIC RING
2-4 row (3 p.): 6 SC
Without cutting off the threads, we begin to connect the parts together.
5 row: knit 3 SC (on the same third finger), then attach the second front finger, knit 3 SC along it, attach the first front finger, knit the remaining 6 SC of the first, 3 SC of the second and 3 SC of the third finger in a circle.
As a result, in the 5th row you should get 6 + 6 + 6 = 18 SC
6-7 row: 18 SC
8 row: (1 SC, DEC) x 6 times (12)
9-10 row: 12 SC
Row 11: 2 SC, knit back toe (3 SC), knit remaining 7 SC (12)
The back toe should be centered on the back of the foot. If you’re having trouble centered, adjust row 11 to match your knitting.
Knit 1 SC, start knitting the heel (knit in pivoting rows: front, purl):
The heel should also be symmetrically centered on the back of the foot.
– front side: 5 SC, SL-ST in the 6th loop, 1 CH lift, turn knitting;
– wrong side: 6 SC, SL-ST in 7th loop, 1 CH lift, turn knitting;
– front: 7 SC, SL-ST in the 8th loop, 1 CH lift, turn knitting;
– wrong side: 8 SC, SL-ST in 9th loop, 1 CH lift, turn knitting;
12 row: Go to the front side. We put a marker.
We will knit all 12 SC rows in a circle. And we continue to knit the foot.
We fill the lower part of the foot with holofiber.
13-21 row (9 p): 12 SC
22 row: 4 DC bump in first loop of row (knee), 11 SC (12)
The knee should be exactly in the center of the foot.
If you’re having trouble centered, adjust row 22 to match your knitting.
23-28 row (6 p): 12 SC
Row 29: 9 SC, cut off the thread.
We fill.
Change the thread color to white.
30-31 row: 12 SC
32 row: 10 SC
Fold the edges of the piece together, tie them 6 SC.
Let’s cut off the thread.
We knit the second leg in the same way. Only we do not cut the thread, but begin to connect the legs to each other, thereby moving on to knitting the torso.
33 row: Without cutting off the threads at the end of knitting of the second leg, dial 9 CH, attach the first leg, tie 12 half loops of the first leg in a circle, then 9 SC along a chain of CH, tie 12 half loops of the second leg in a circle, then 9 SC for the remaining half loops of the chain from CH.
As a result, you should get 12 + 9 + 12 + 9 = 42 SC
34 row: 42 SC
35 row: (6 SC, INC) x 6 times (48)
36-53 row (18 p): 48 SC
54 row: (6 SC, DEC) x 6 times (42)
55-56 row: 42 SC
Row 57: (5 SC, DEC) x 6 times (36)
Row 58-59: 36 SC
60 row: (4 SC, DEC) x 6 times (30)
Row 61-62: 30 SC
Row 63: (3 SC, DEC) x 6 times (24)
64-65 row: 24 SC
We fill.
Row 66: (2 SC, DEC) x 6 times (18)
67-71 row (5 p.): 18 SC
We fill. Cut off the thread, leaving a long end for sewing.
We begin to knit with a thread of dark gray color.
We knit 3 parts.
1st row: 6 SC into magic ring
2nd row: 6 INC (12)
3-4 row: 12 SC
When we knit the third part, we do not cut the thread.
Wings:
We connect the parts together.
5 row: knit 6 SC of the third piece, attach the second piece, knit 6 SC of the second piece, then connect the first piece, knit 12 SC of the first piece, then the remaining 6 SC of the second piece and 6 SC of the third piece.
As a result, you should get 36 SC
6-7 row: 36 SC
Change the thread color to light gray.
8 row: (4 SC, DEC) x 6 times (30)
9-11 row (3 p.): 30 SC
Change the thread color to white.
12 row: (3 SC, DEC) x 6 times (24)
13-15 row (3 p.): 24 SC
16 row: (2 SC, DEC) x 6 times (18)
17-21 row (5 p.): 18 SC
22 row: (1 SC, DEC) x 6 times (12)
23-27 row (5 p.): 12 SC
Let’s tie in 4 SC offsets.
We do not fill the wings.
Fold the edges of the part together, SC link them.
We knit 2 details.
We begin to knit with a thread of dark gray color.
We knit 2 details.
1st row: 6 SC into magic ring
2nd row: 6 INC (12)
3-4 row: 12 SC
When we knit the second part, we do not cut the thread.
We connect the parts together.
5 row: knit 6 SC of the second piece, attach the first piece, knit 12 SC of the first piece, then the remaining 6 SC of the second piece (24)
6-7 row: 24 SC
Change the thread color to light gray.
8 row: (2 SC, DEC) x 6 times (18)
9-11 row (3 p.): 18 SC
Change the thread color to white.
12 row: (1 SC, DEC) x 6 times (12)
13-17 row (5 p.): 12 SC
Let’s tie 3 more offset columns.
We do not fill the tail.
Then fold the edges of the piece together and tie them in single crochet stitches.
Cut off the thread, leaving a long end for sewing.
Tail:
Aviator Hat:
We knit with brown yarn.
1st row: 6 SC into magic ring
2nd row: 6 INC (12)
3 row: (1 SC, INC) x 6 times (18)
4th row: (2 SC, INC) x 6 times (24)
5 row: (3 SC, INC) x 6 times (30)
6 row: (4 SC, INC) x 6 times (36)
7 row: (5 SC, INC) x 6 times (42)
8 row: (6 SC, INC) x 6 times (48)
Row 9: (7 SC, INC) x 6 times (54)
10-14 row (5 p.): 54 SC
Let’s cut off the thread.
We knit ears.
From the last loop to the left, count 9 loops, start knitting from the 10th loop.
We knit in rotary rows (front, purl)
1-3 row (3 p.): 8 SC, 1 CH lift, turn knitting;
4th row: DEC, 4 SC, DEC, 1 CH lift, turn knitting;
5-7 row (3 p.): 6 SC, 1 CH lift, turn knitting;
8 row: DEC, 2 SC, DEC, 1 CH lift, turn knitting;
9-11 row (3 p.): 4 SC, 1 CH lifting, turn knitting
Let’s cut off the thread.
We count from the first ear to the left 19 loops. Starting from the 20th loop, we knit the second eyelet.
We knit in the same way as the first one. Let’s cut off the thread.
Starting from the back, we will tie the entire bottom of the hat in a circle, including the SC ears.
Let’s tie another SC row. When we get to the center of the ear, we knit a chain of 8 CH and return along it with single crochets. Thus, we get strings.
We will tie 2 circles with a beige thread:
1st row: 6 SC into magic ring
2nd row: 6 INC (12)
3 row: (1 SC, INC) x 6 times (18),
4th row: (2 SC, INC) x 6 times (24), finish the row with SL-ST.
Let’s cut off the thread.
Sew circles on the sides of the cap.
We can knit a forelock if desired.
We knit with a white thread.
We cast on a chain of 8 CH, DC in the 3rd loop from the hook, 2 DC, half double crochet, SC, we cast on a chain of 8 CH, DC in the 3rd loop from the hook, 2 DC, half double crochet, SC, SL- ST.
Let’s cut off the thread.
Sew the forelock to the base of the hat.
pilot goggles:
We knit 2 parts with a thread of light gray.
1st row: 25 SC into magic ring, SL-ST, 1 CH lift
2nd row: 25 SC for back half loop, SL-ST
When we knit 2 parts, we do not cut the thread, make 2 CH, attach 1 part, 1 CH lift, 2 SC along a chain of CH. Let’s cut off the thread. We carefully hide the ends of the thread inside the knitted parts.
Row 2, where we knit for the back loop, we will tie in a circle with SL-ST thread of dark gray color.
We carefully hide the ends of the threads inside the knitted fabric.
Connect the glasses with a chain of 50 CH (you knit the required amount of CH according to the head circumference of your toy)
Assembly:
Sew on the beak.
Let’s fill the beak with holofiber.
Pin it to the center of the head.
Sew in a circle.
Then, on the sides we sew on the cheeks, also securing them with pins.
We sew the head and body, securing them previously in a circle with clubs. When a small hole remains, fill the gap between the head and body with holofiber and sew it to the end.
We sew the head and body, securing them previously in a circle with clubs. When a small hole remains, fill the gap between the head and body with holofiber and sew it to the end.
Sew the wings on the sides of the body.
Sew a tail from the back of the body.
Scarf:
I knitted the scarf from Drops Lima woolen yarn 50 g / 100 m, with needles # 3
We collect 10 loops, knit with the front stitch to a length of about 25 cm.
The ends of the scarf can be decorated with threads if desired.
Pants:
I knitted the pants from Drops Lima wool 50 g / 100 m thick, crocheted # 3.
We put on a chain of 48 CH, we close it in a ring using SL-ST.
Row 1-3: Knit 3 CH lifts, 48 DC, SL-ST at the end of each row.
Let’s cut off the thread.
Next, we make a hole for the tail.
4th row: Count 3 loops to the left (from the last loop of 3 rows), attach the thread, 3 CH lifts, knit 42 DC, then pick a chain of 6 CHs, attach with SL-ST in 3 CH lifts. Let’s cut off the thread.
5 row: Start knitting from the middle of the CH chain.
Attach a thread, 3 CH lifts, knit 3 DC in a chain of CH, then 42 DC in a circle and another 3 DC in a chain of CH, SL-ST at the end.
6-8 row: 3 CH lifts, 48 DC, SL-ST at the end. Cut off the thread, start knitting the first leg.
We count from the end of knitting three loops to the left (fasten the thread and start knitting from the 4th loop), 3 CH lifts, knit 18 DC, SL-ST in the 3rd CH lift. We knit 4 rows of 18 DC. Each row starts 3 CH lifts and ends with SL-ST.
Cut off the thread.
Next, from the first leg, count 6 loops (fasten the thread and start knitting from the 7th loop) and start knitting the second leg. We also knit 18 DC 4 rows. There should be a gap of 6 loops in the middle from the front and back.
Sew these loops.
From the back of the panties, select the attachment points for the straps.
They should be symmetrical.
For one strap: fasten the thread, pick a chain of 36 CH, return along the chain next to SC, starting from the 7th loop from the hook. A buttonhole should form in front.
Similarly, we knit the second strap. Sew on buttons.
