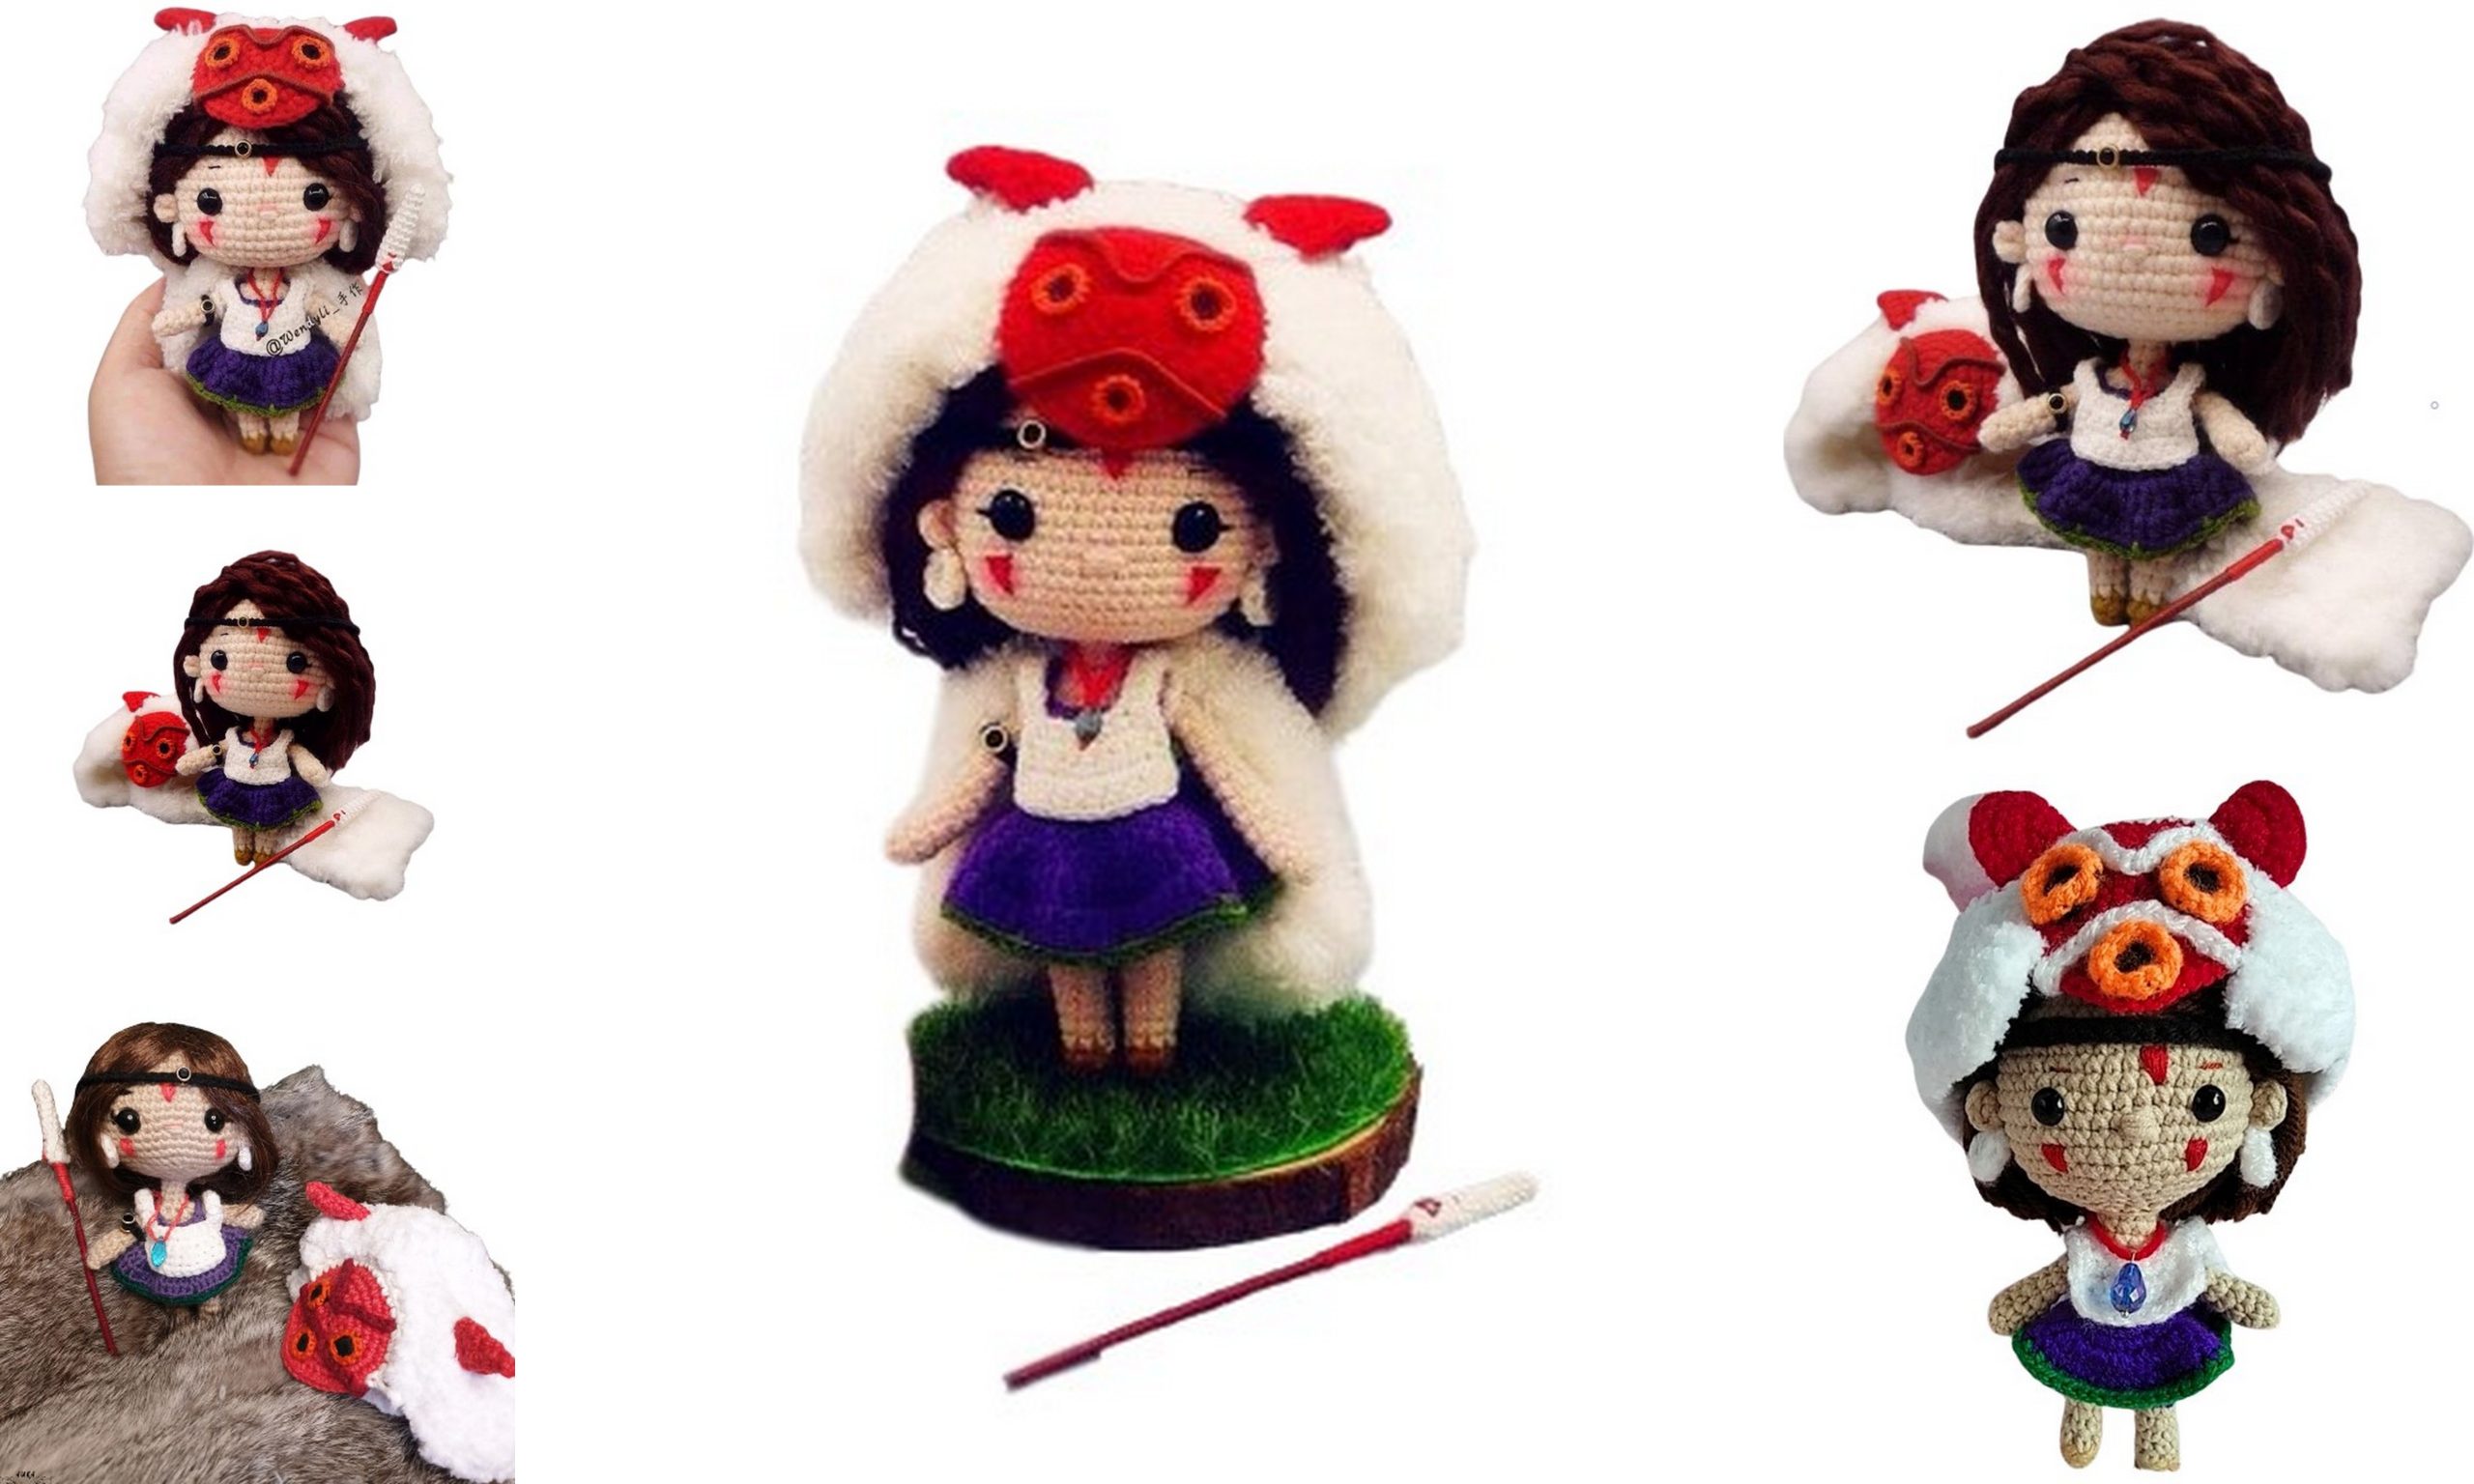
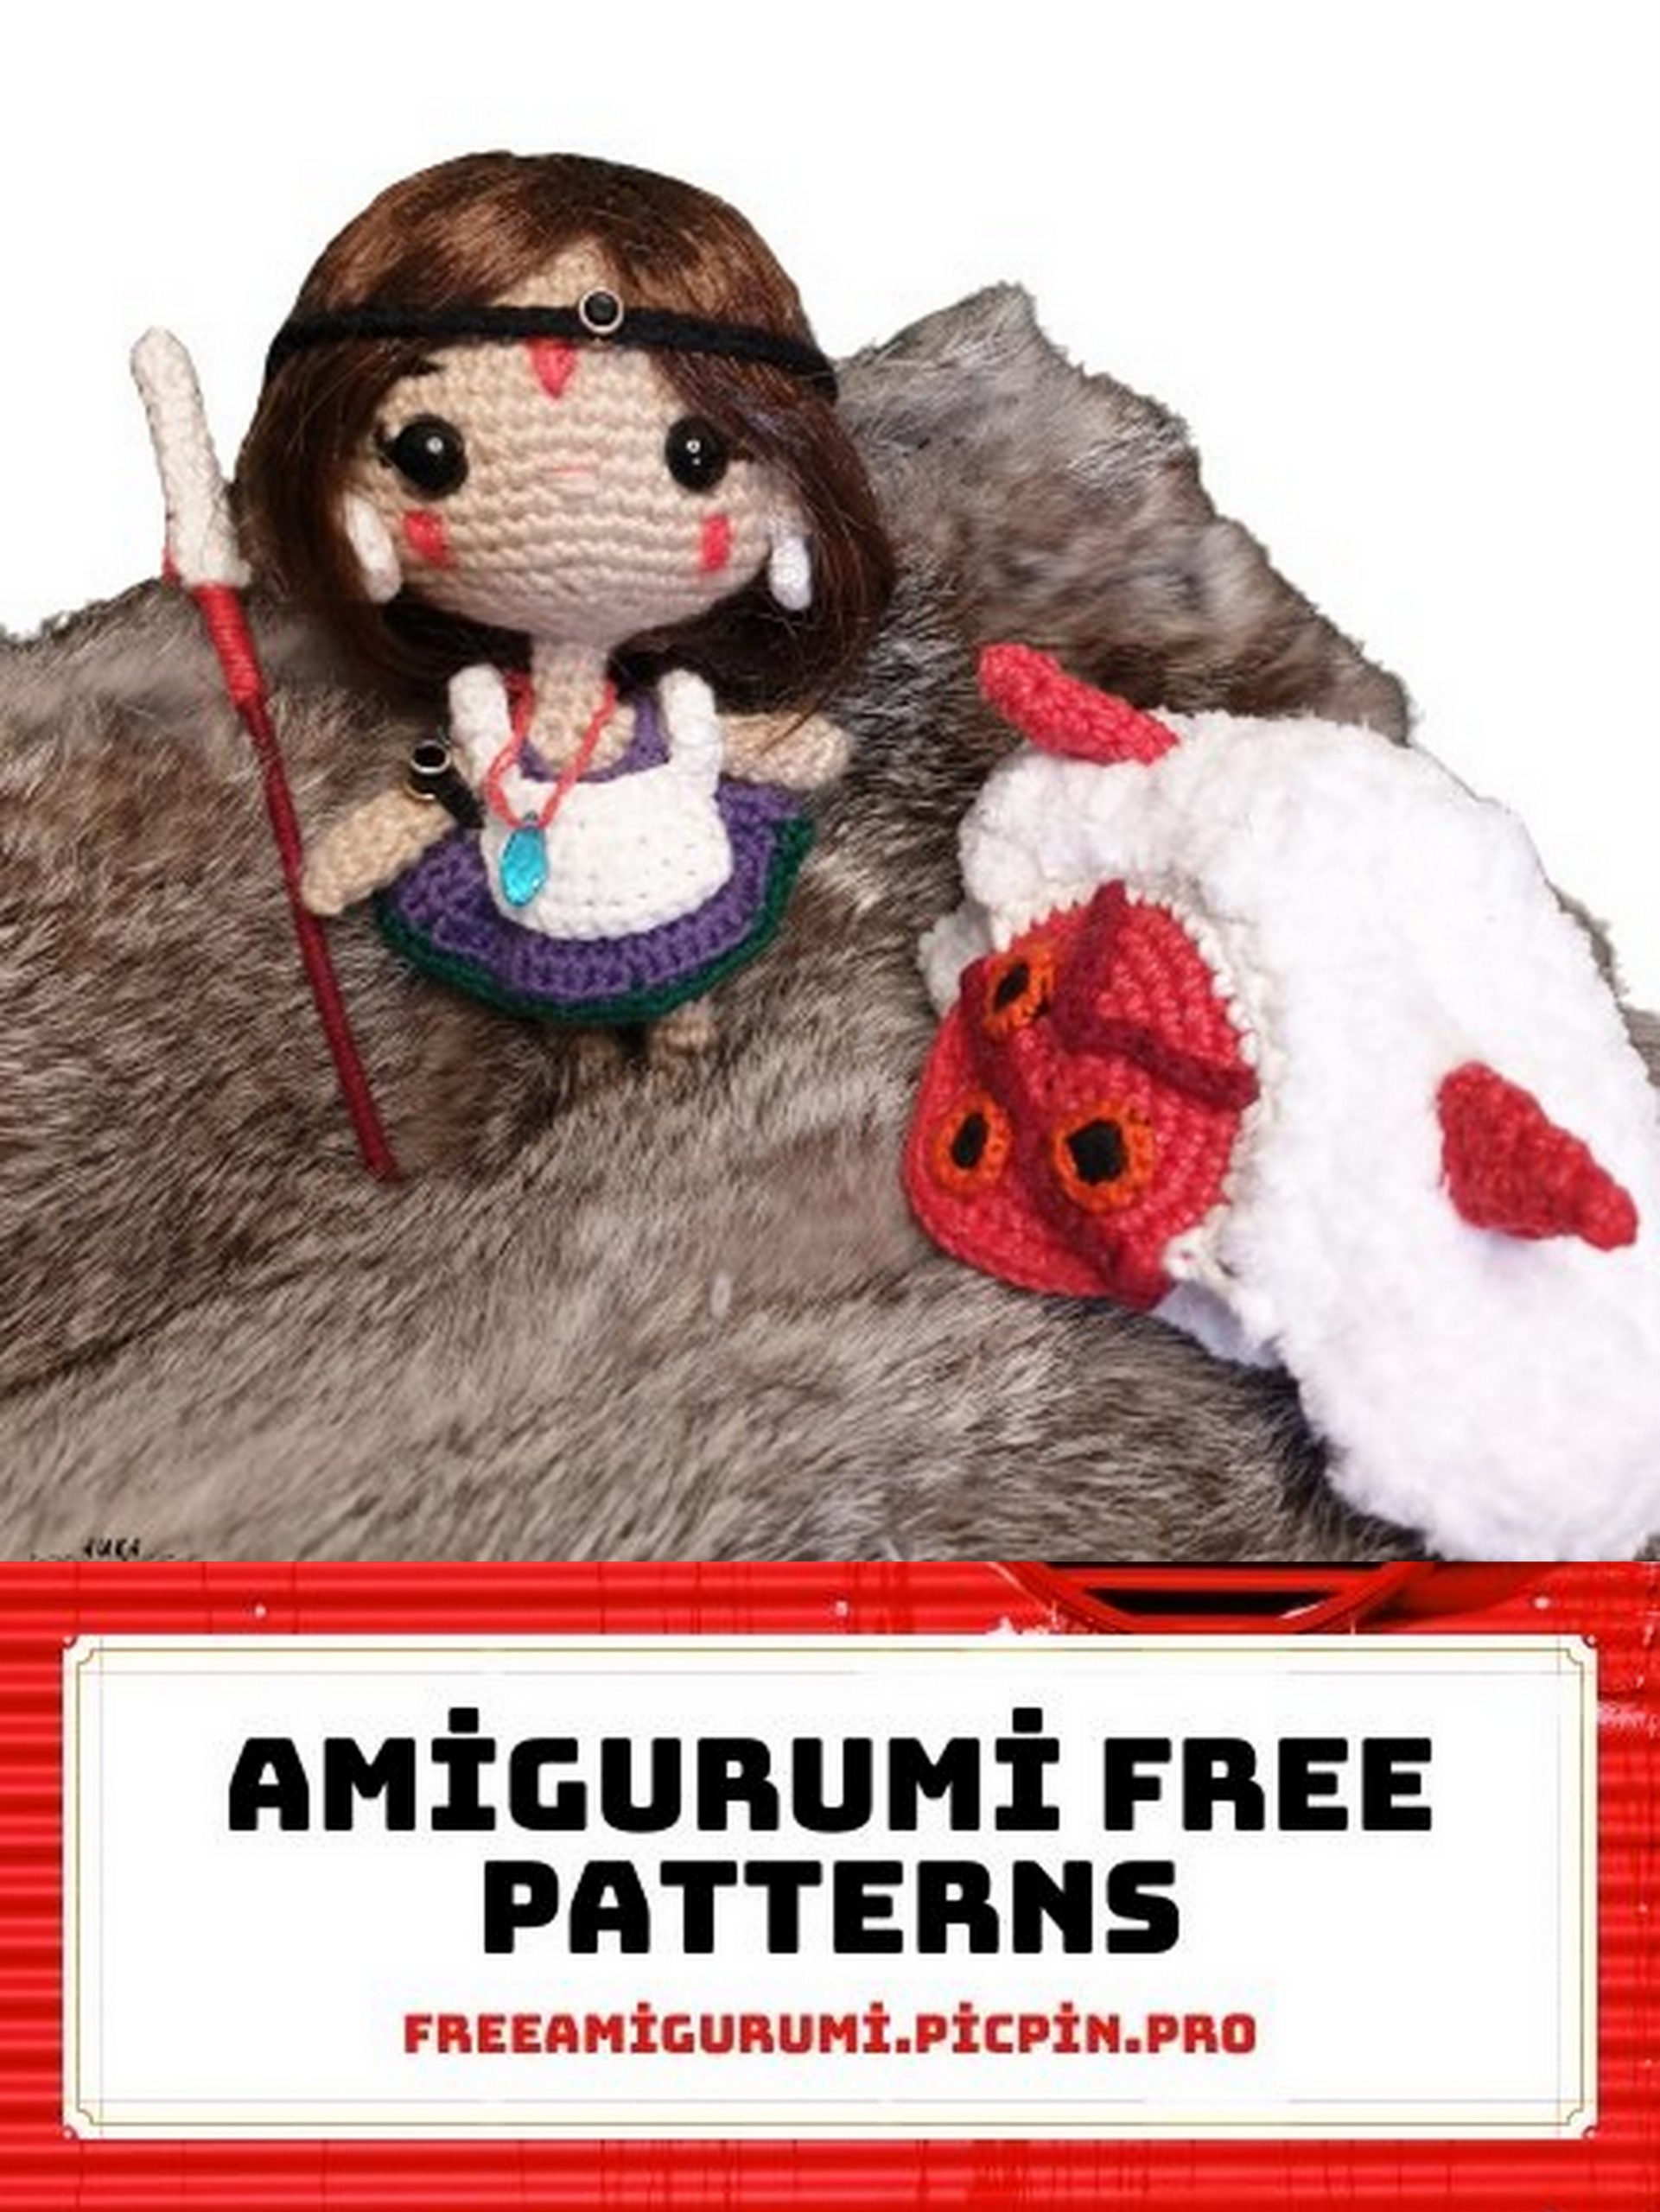
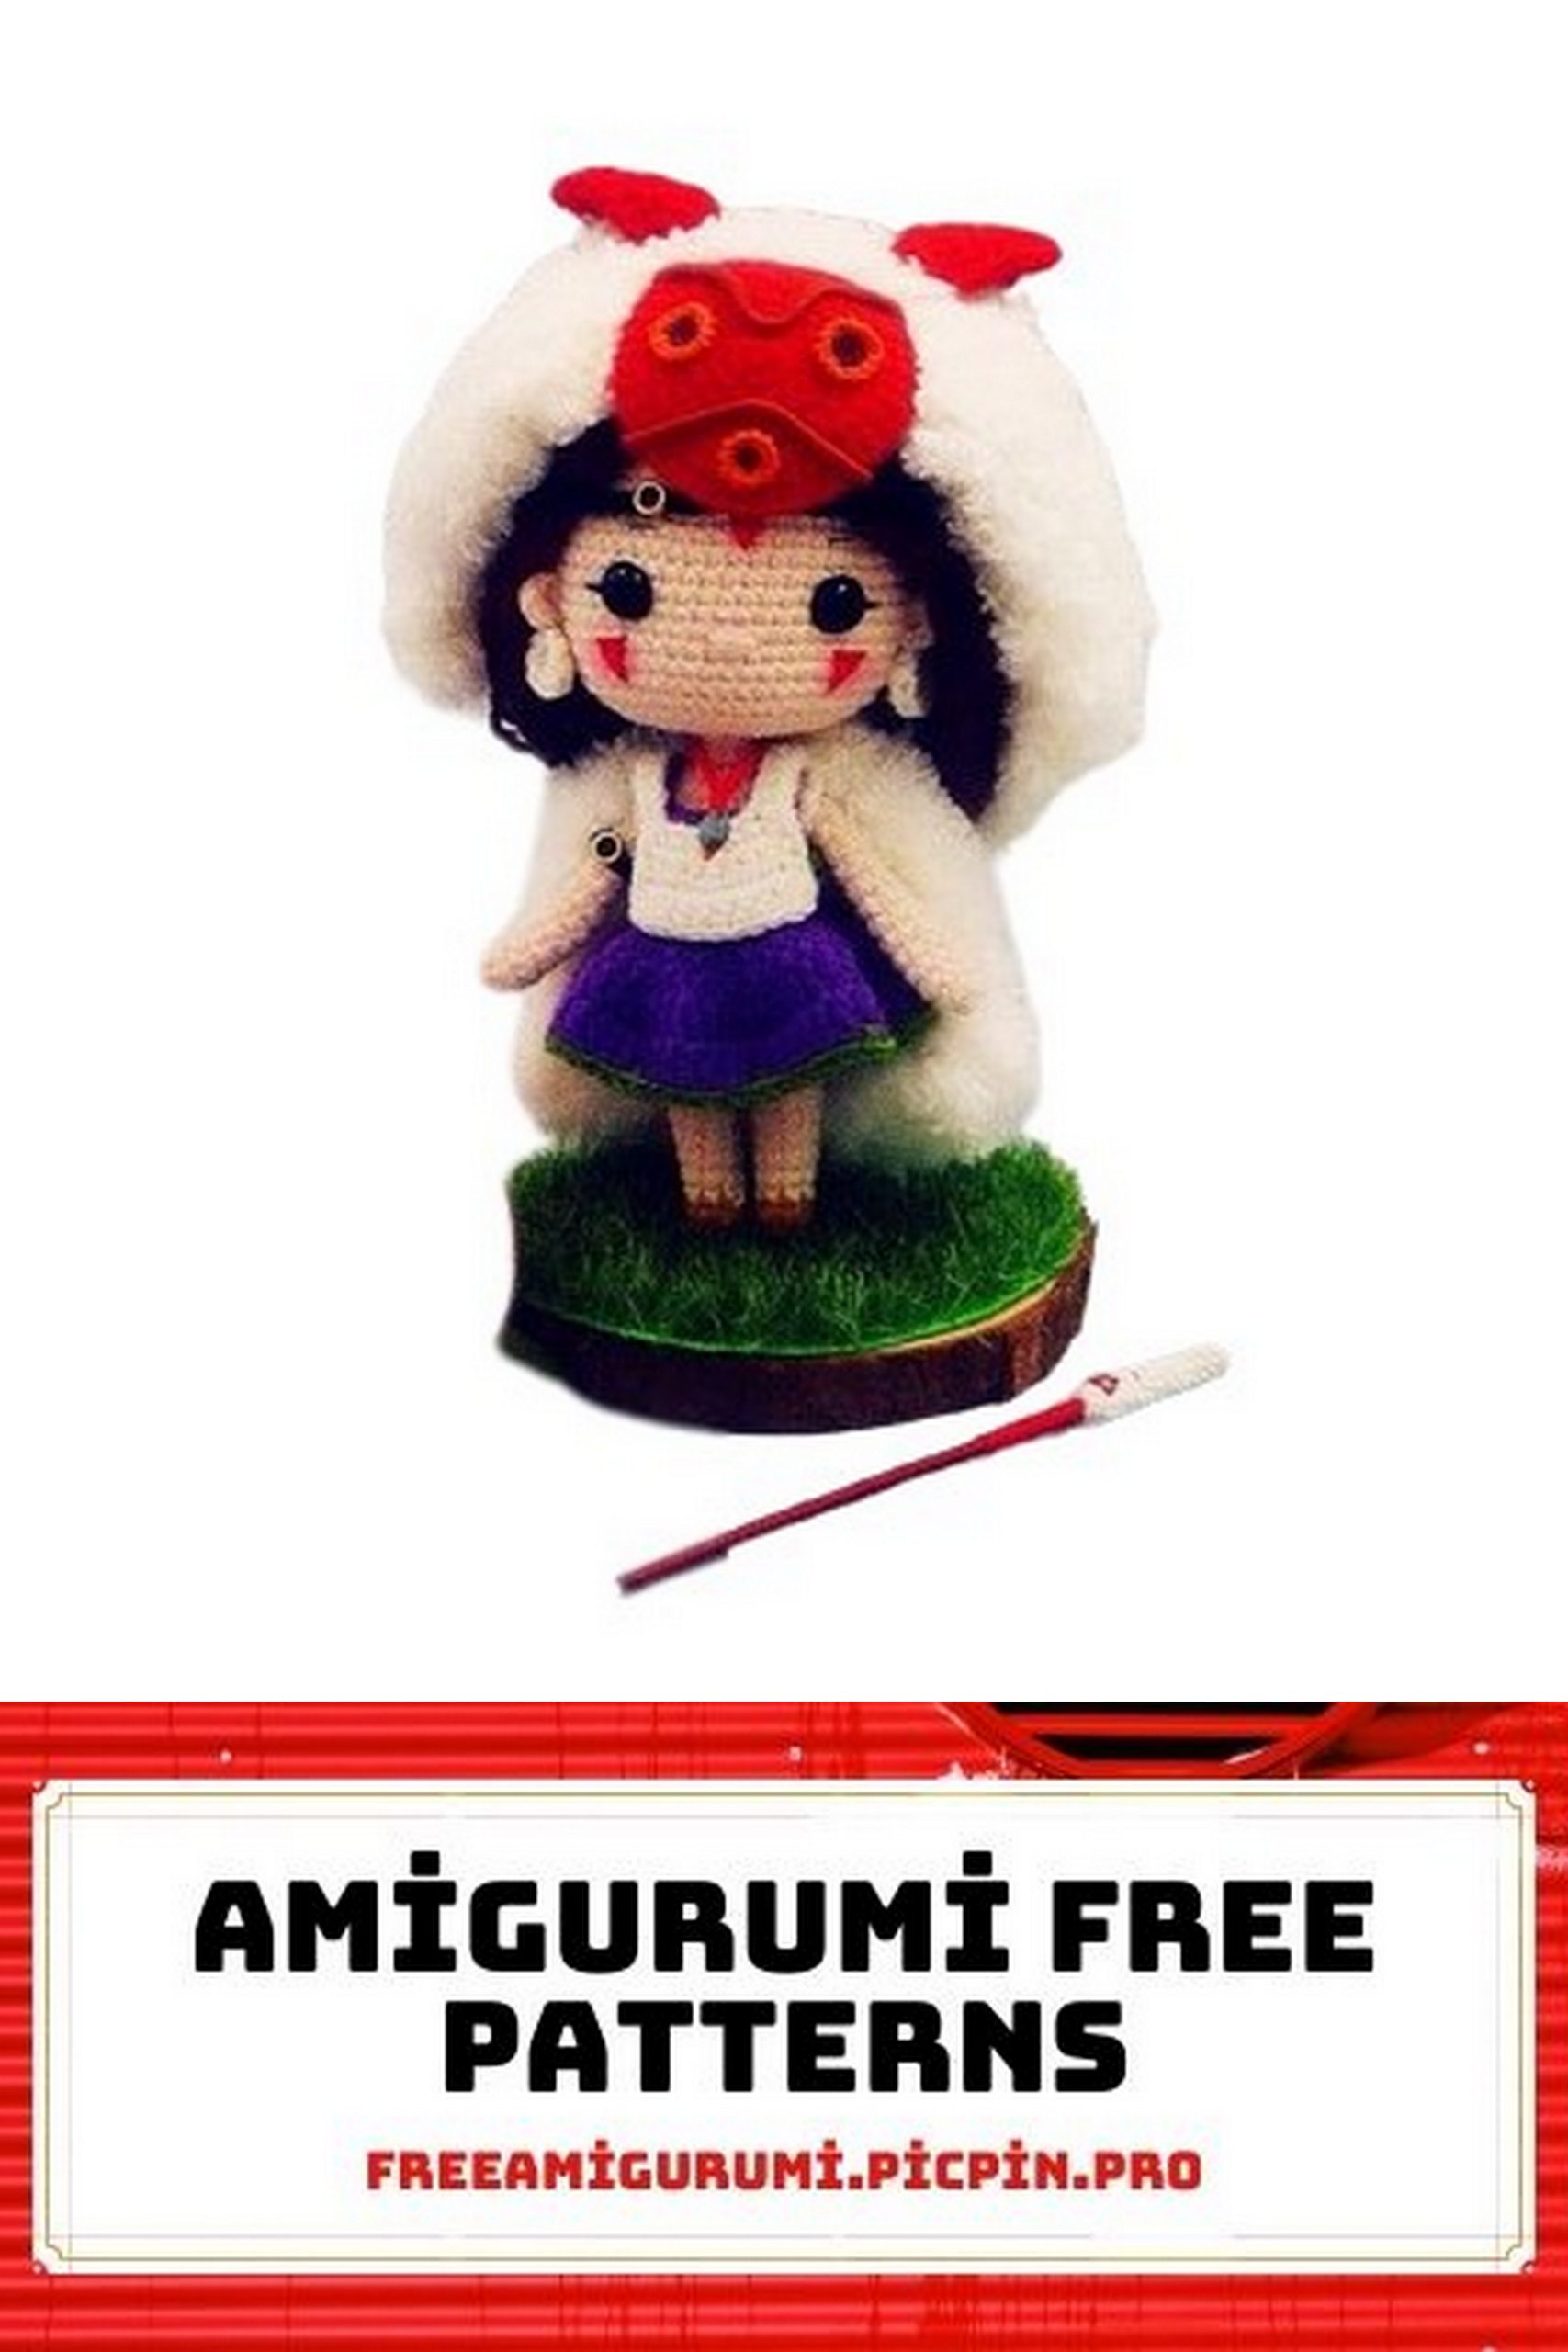
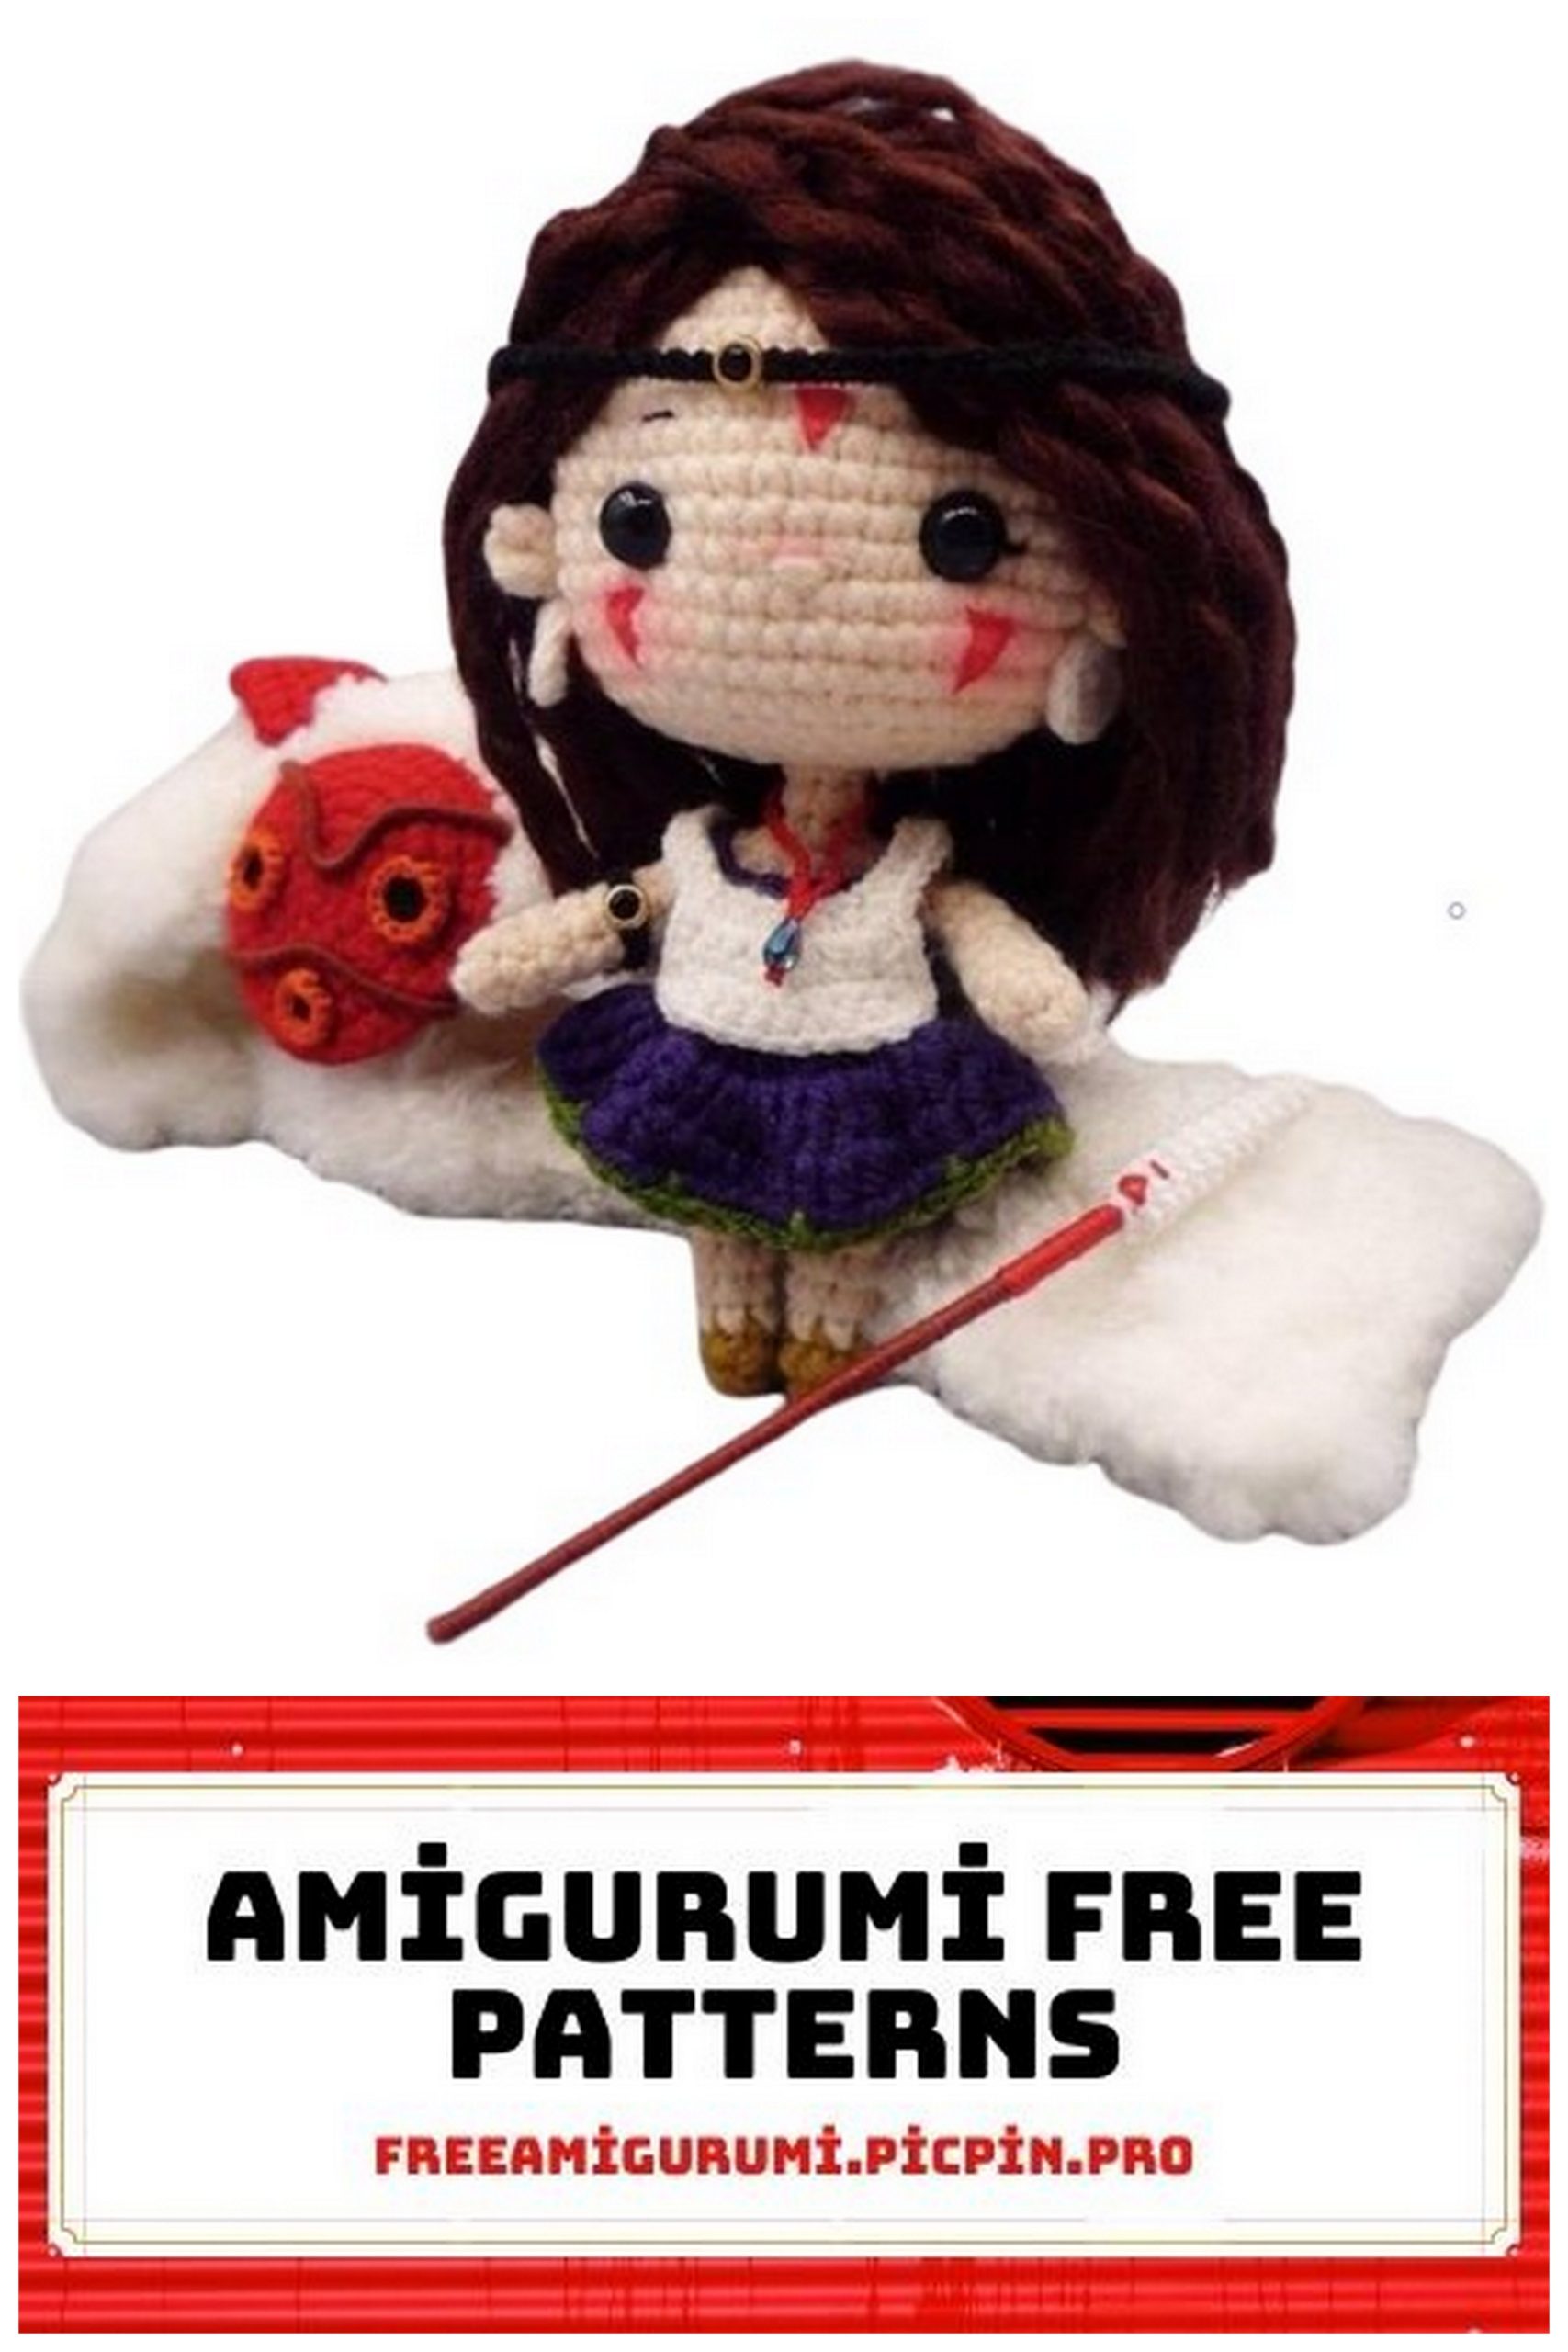
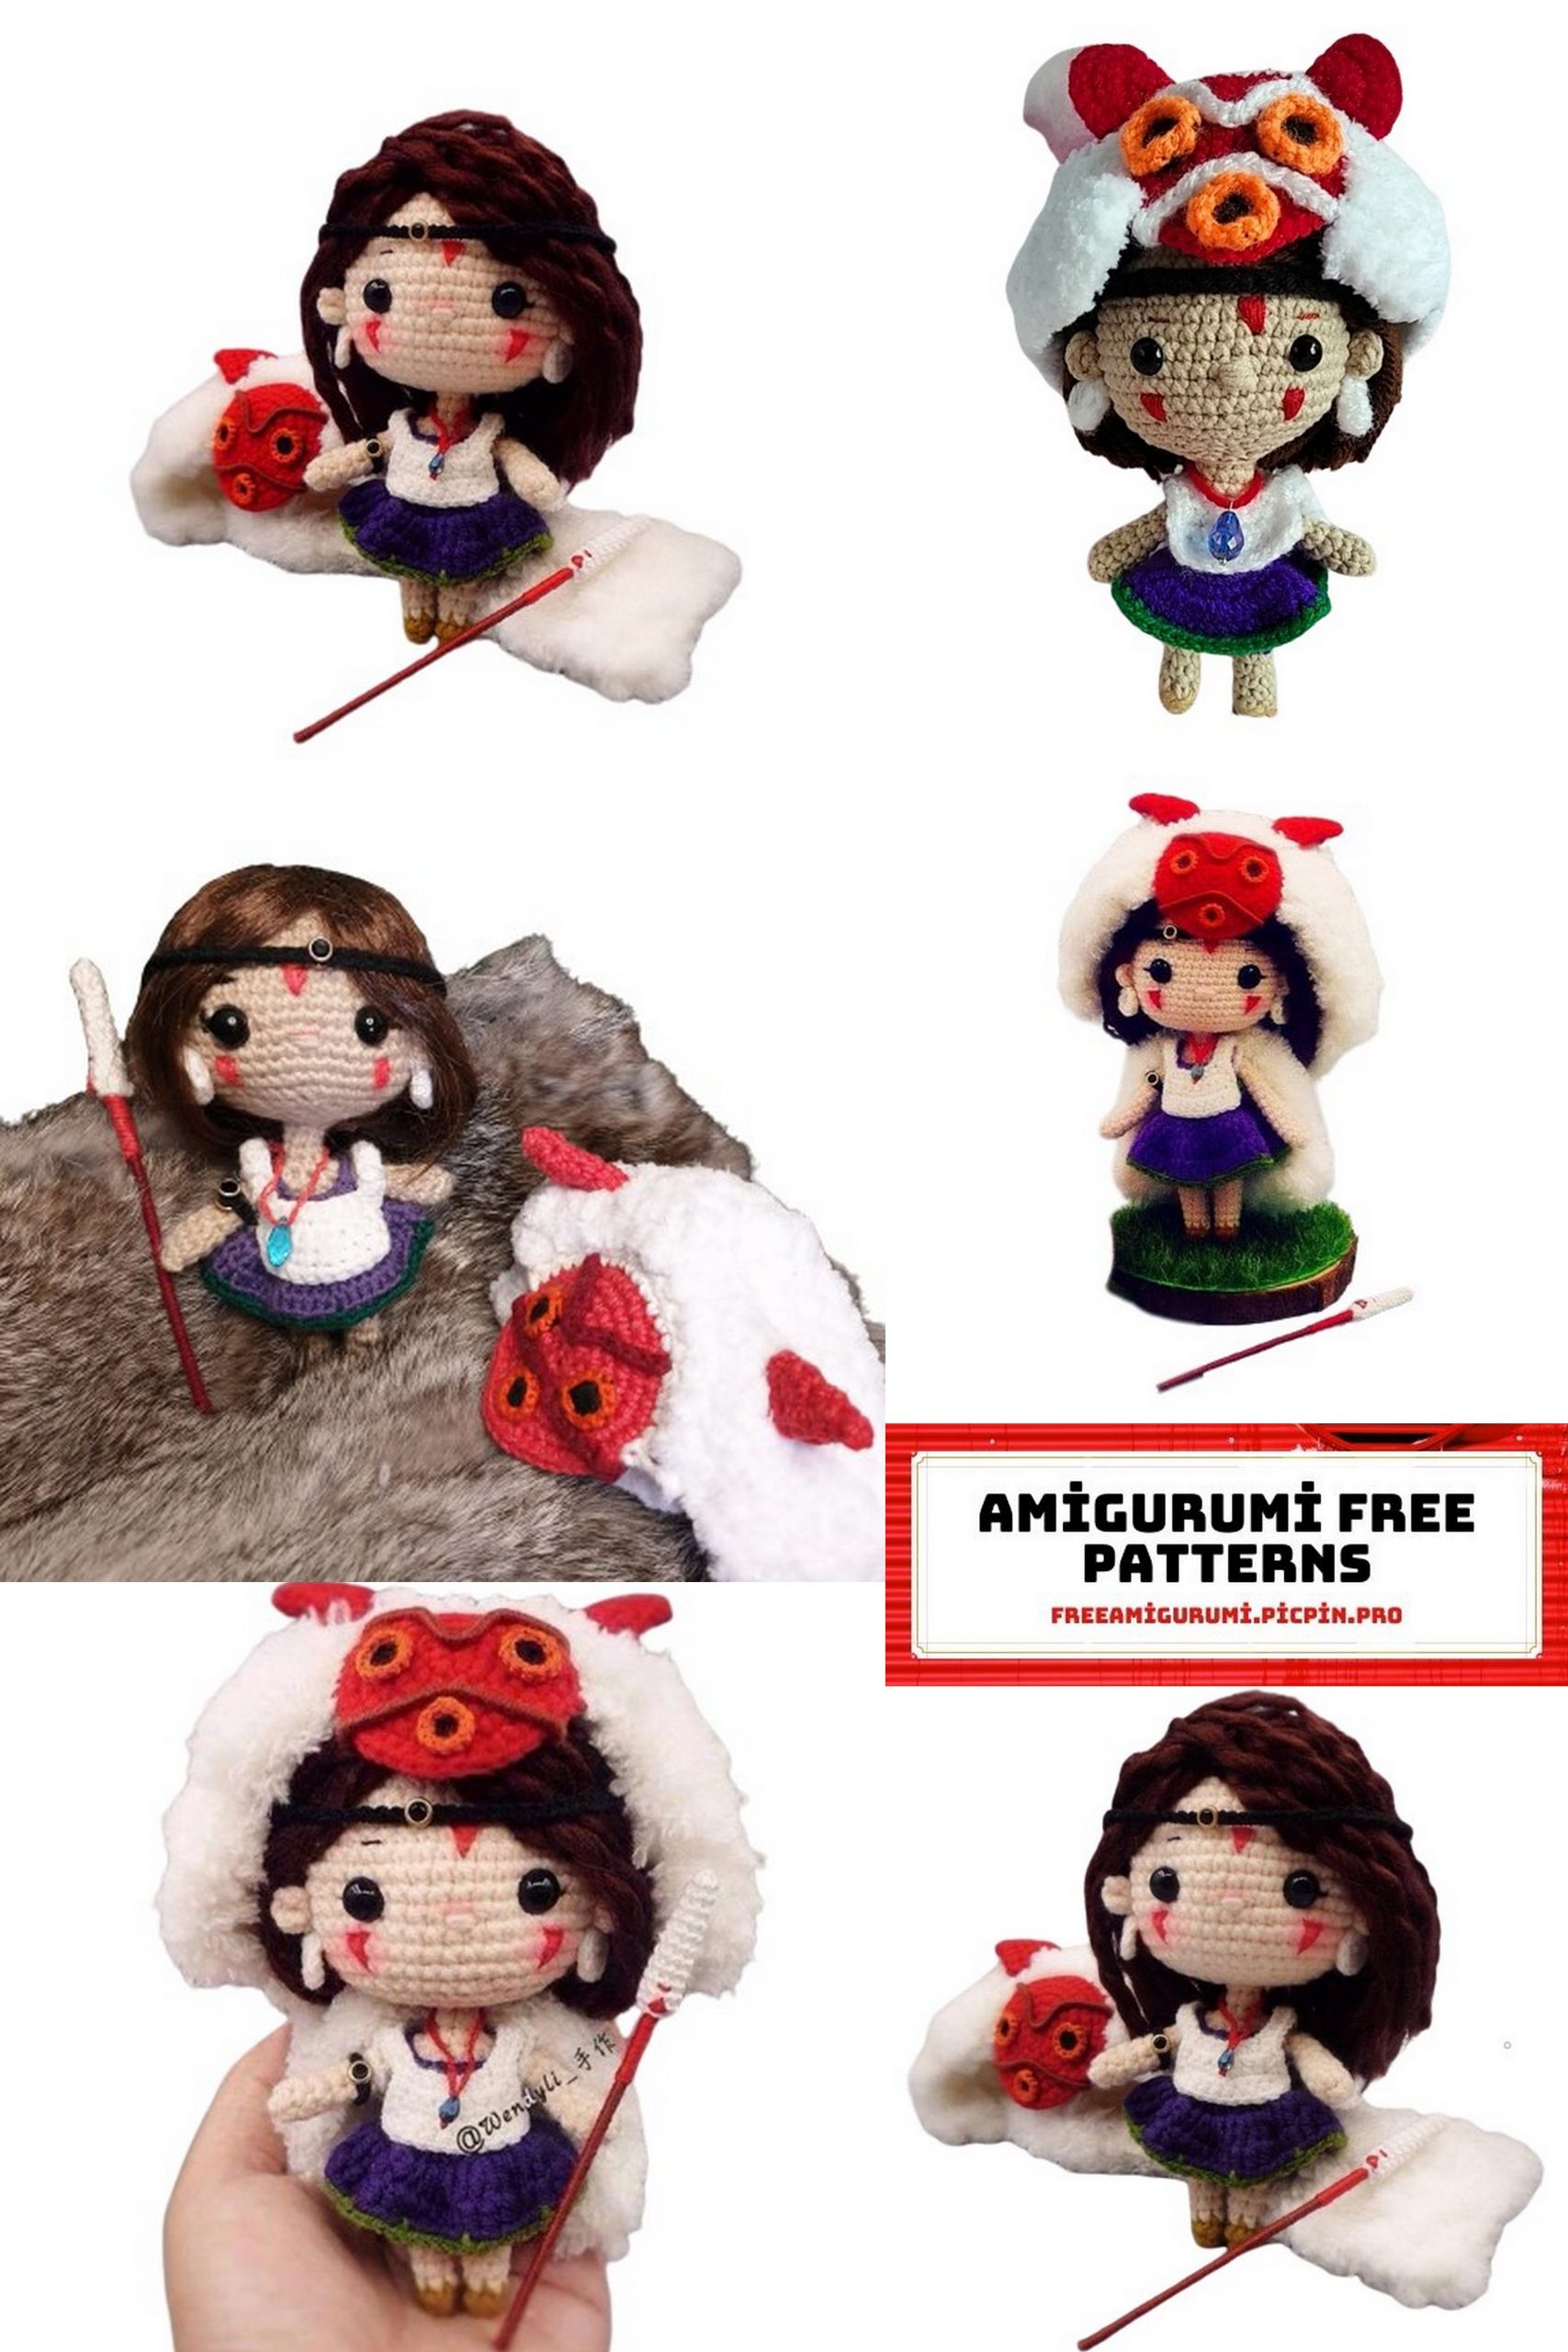
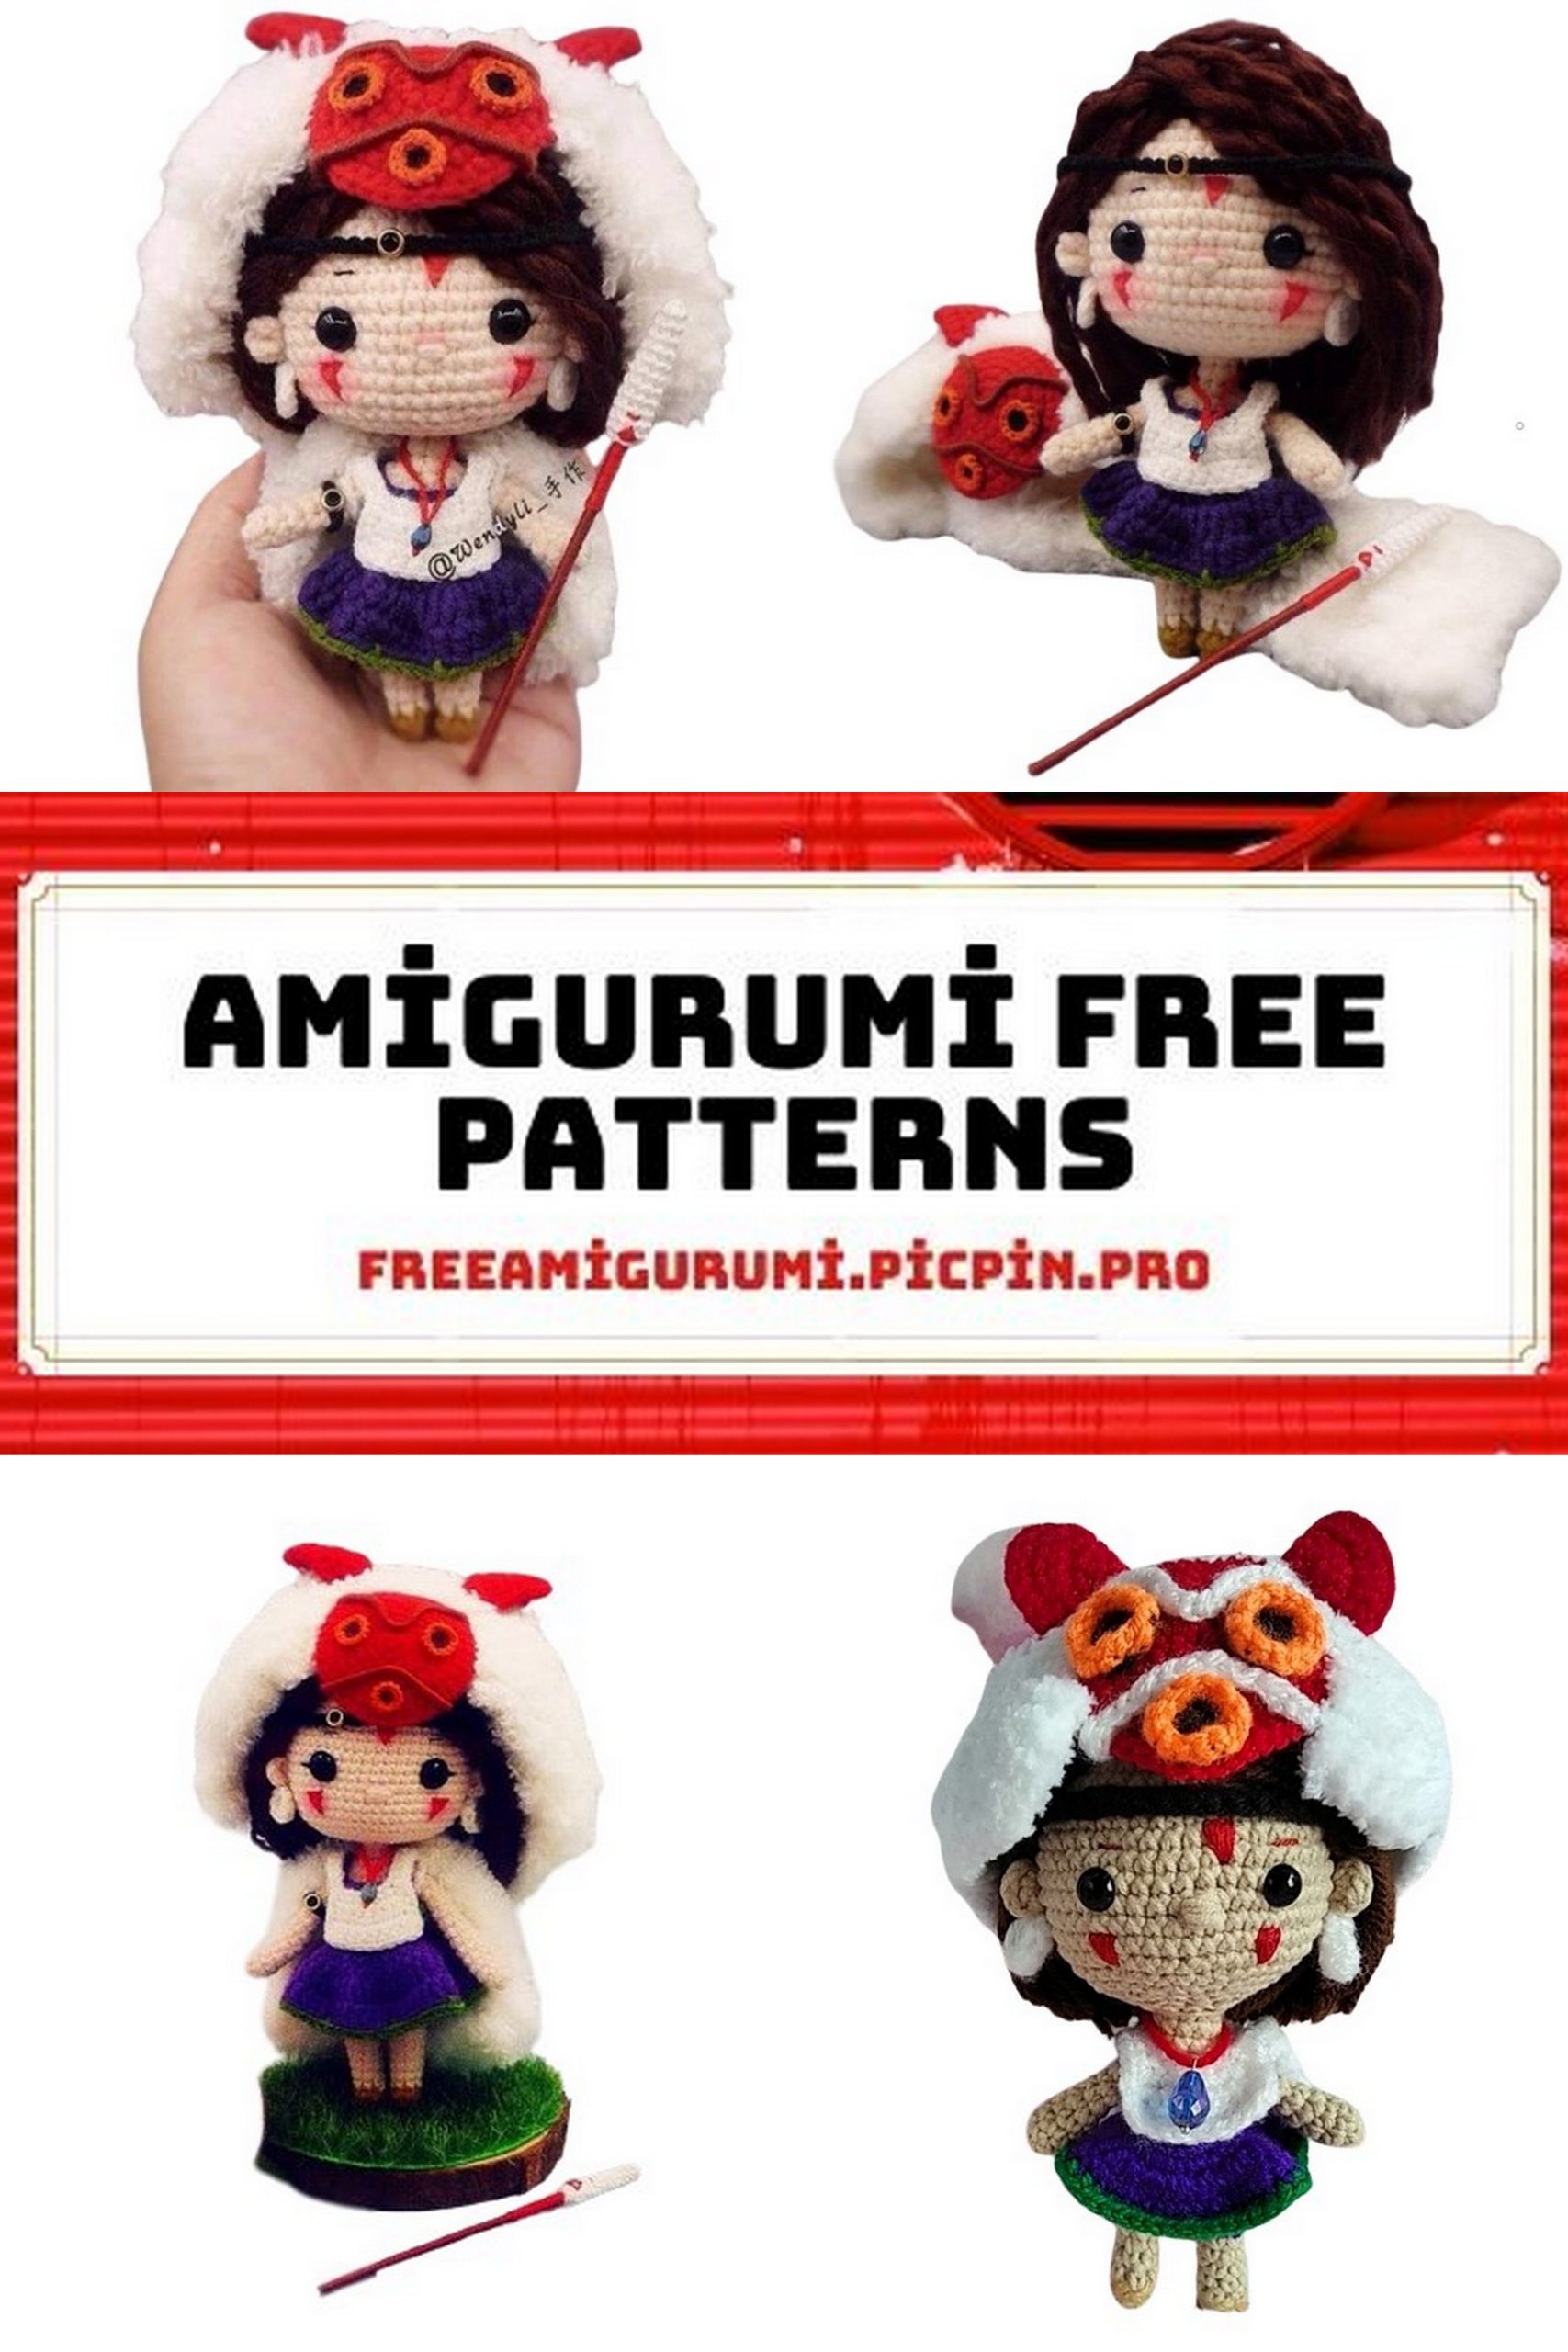
Native American Girl Amigurumi Free Pattern – Crochet Your Own Beautiful Doll
Welcome to our Native American Girl Amigurumi Free Pattern! If you’re a crochet enthusiast looking for an exciting project, you’ve come to the right place. In this tutorial, we’ll guide you through the process of creating a beautiful amigurumi doll inspired by Native American culture. This pattern is not only a delightful crafting experience but also a fantastic way to express your creativity.
With our detailed instructions and easy-to-follow steps, you’ll be able to crochet your very own Native American Girl amigurumi doll from start to finish. Whether you’re a beginner or an experienced crocheter, you’ll find this pattern both enjoyable and rewarding.
Stay tuned as we take you on a journey through the art of crochet, and soon you’ll have a charming amigurumi doll that celebrates Native American heritage. Let’s get started on this exciting crafting adventure!
Materials Needed:
Cotton yarn (colors: beige, white, red, brown, purple, green, ocher, orange, black)
Appropriate size crochet hook
8mm safety eyes
Red embroidery thread
Red pencil
Red wire (for staff and mask)
Drop-shaped blue bead (5mm)
5mm bead for the border
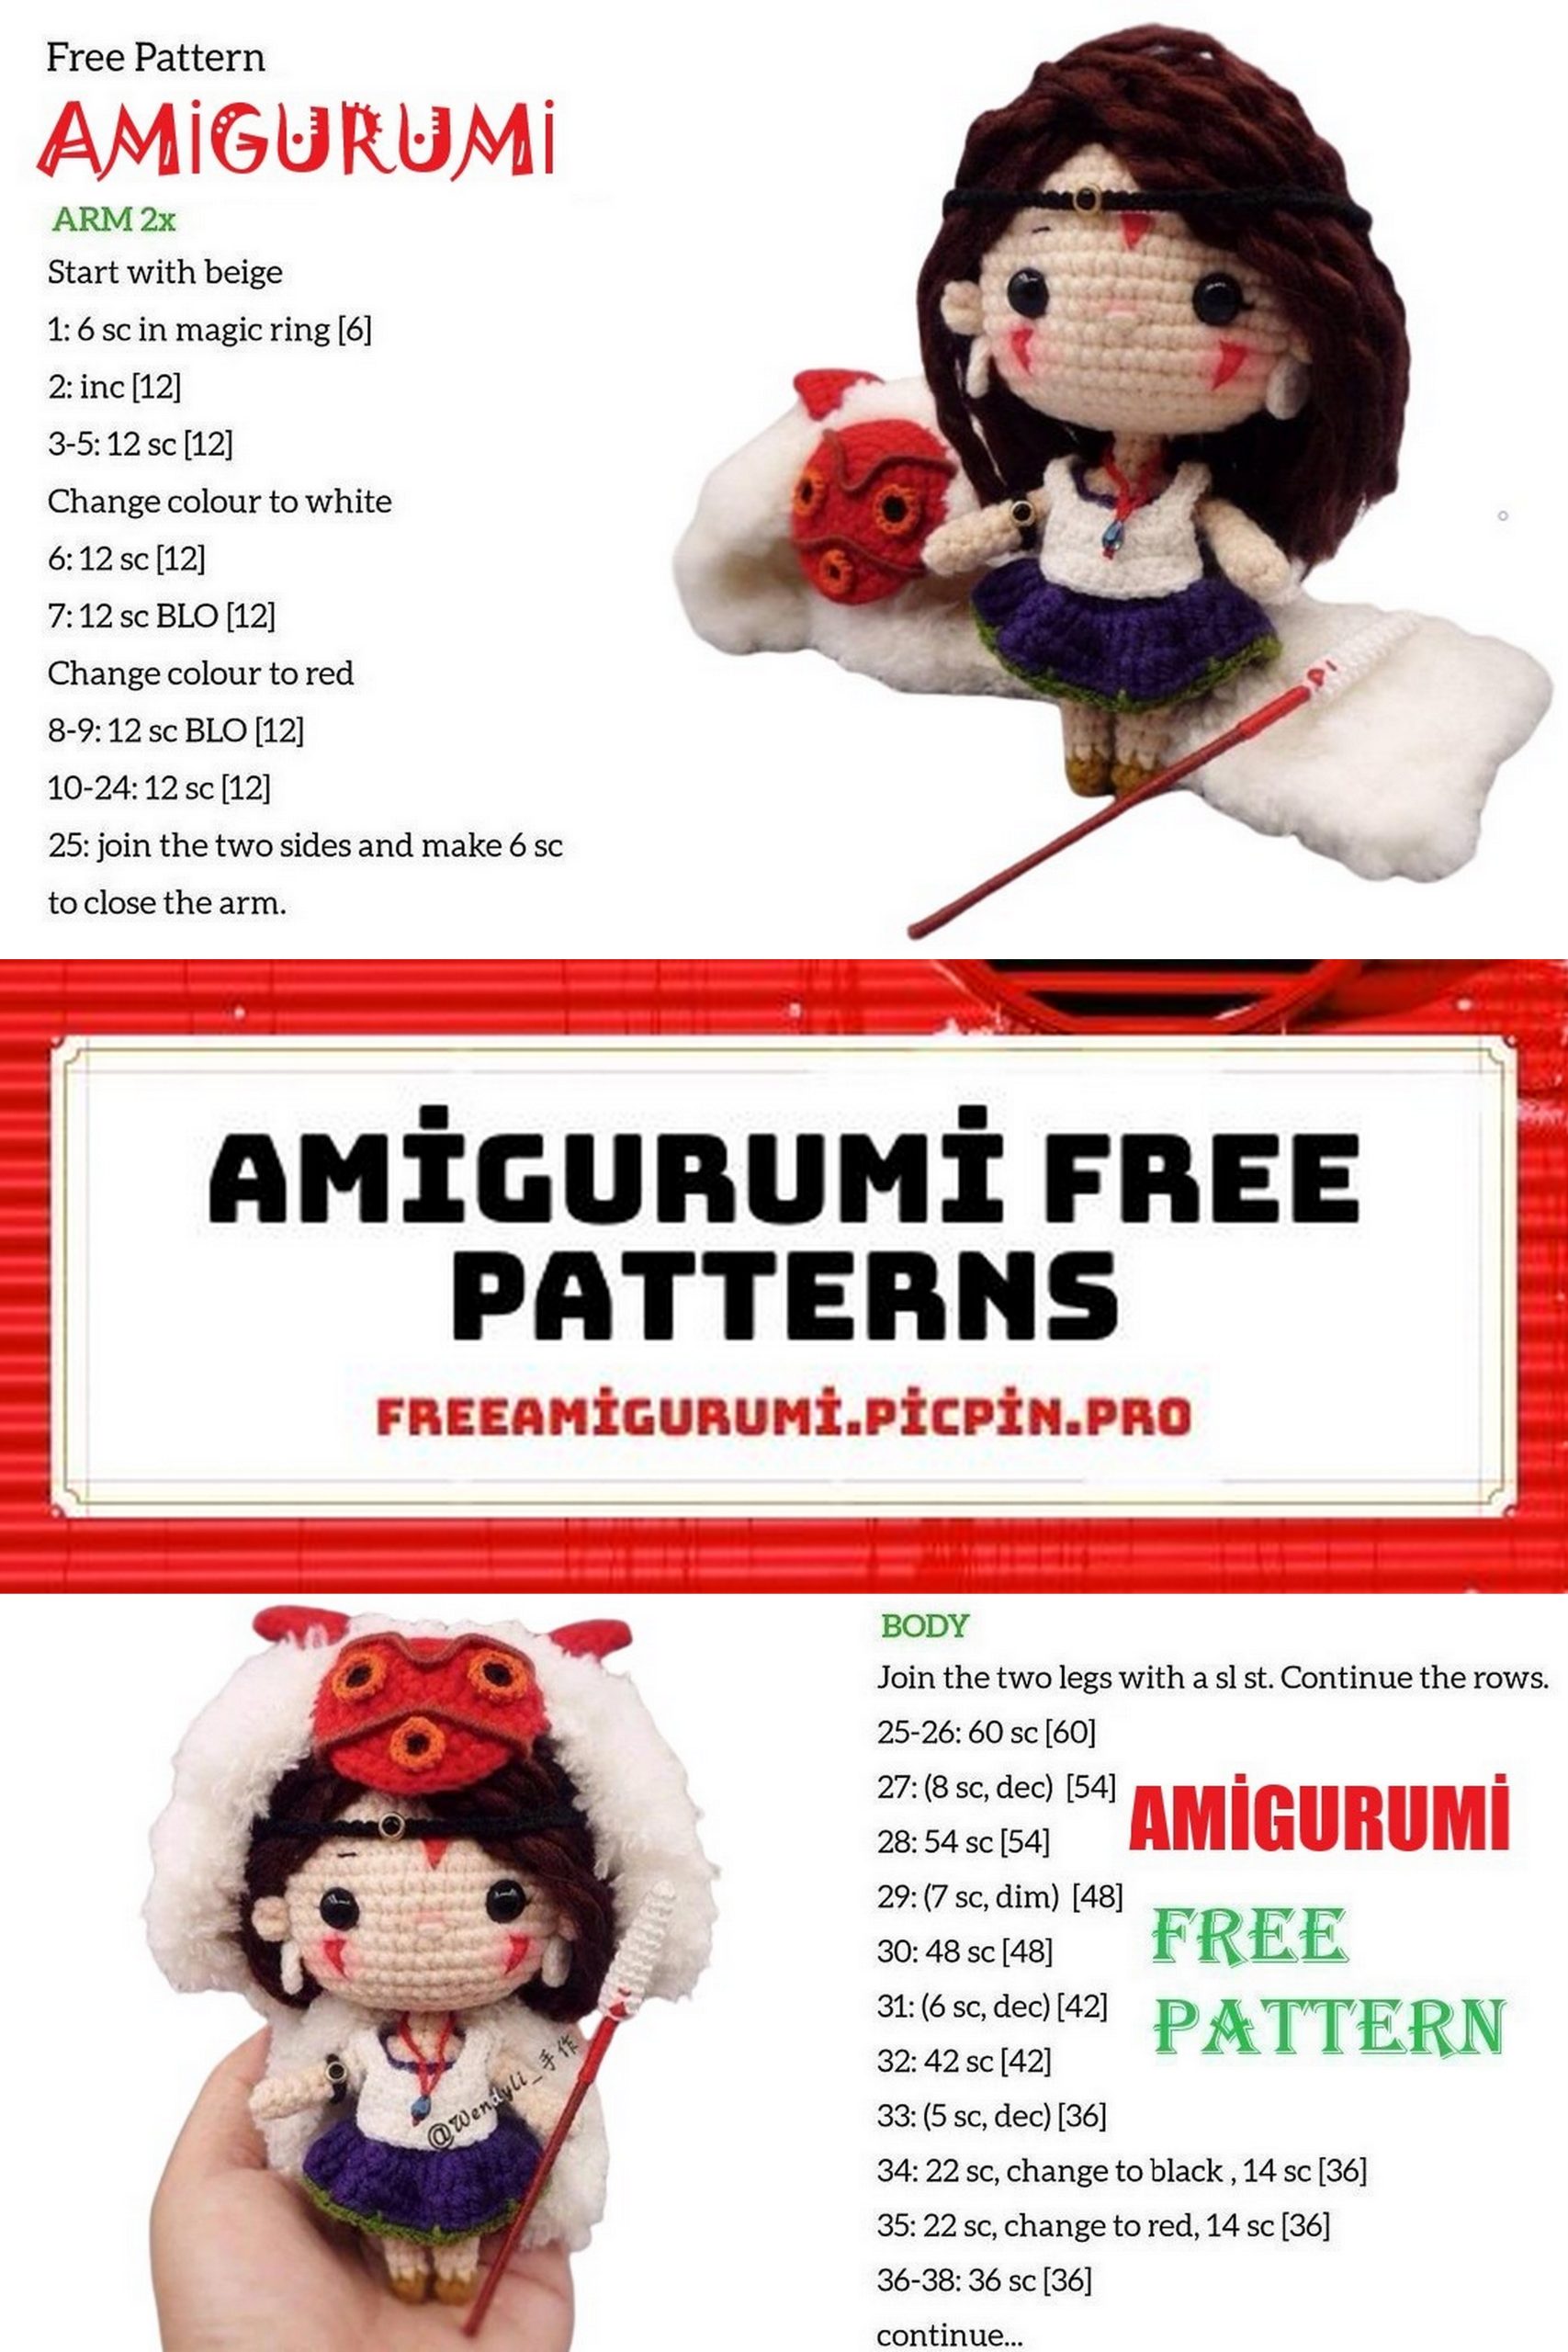
Hand (2 pieces, beige thread, 1.6mm hook)
Left Leg (1.6mm crochet hook):
Rnd 1: 5 sc in amigurumi ring (5)
Rnd 2: (sc, inc) * 2, sc (7)
Rnd 3-4: 7 sc around (7)
Rnd 5: sc, dec, 4 sc (6)
Rnd 6: 6 sc (6)
Rnd 7: sc, dec, 3 sc (5)
Rnd 8: 5 sc (5)
Close the crochet, leave a long tail for sewing. Do not stuff the leg tightly.
Right Leg (1.6mm crochet hook):
Rnd 1: Start with ocher, 5 sc in amigurumi ring (5)
Rnd 2: 5 sc (5)
Rnd 3: Change to beige, sc, inc, 3 sc (6)
Rnd 4: 6 sc (6)
Rnd 5: 3 sc, inc, 2 sc (7)
Rnd 6-7: sc around (7)
Do not close the crochet; change the thread to purple in the last round. Stuff the leg loosely. After this, start joining the legs to form the body.
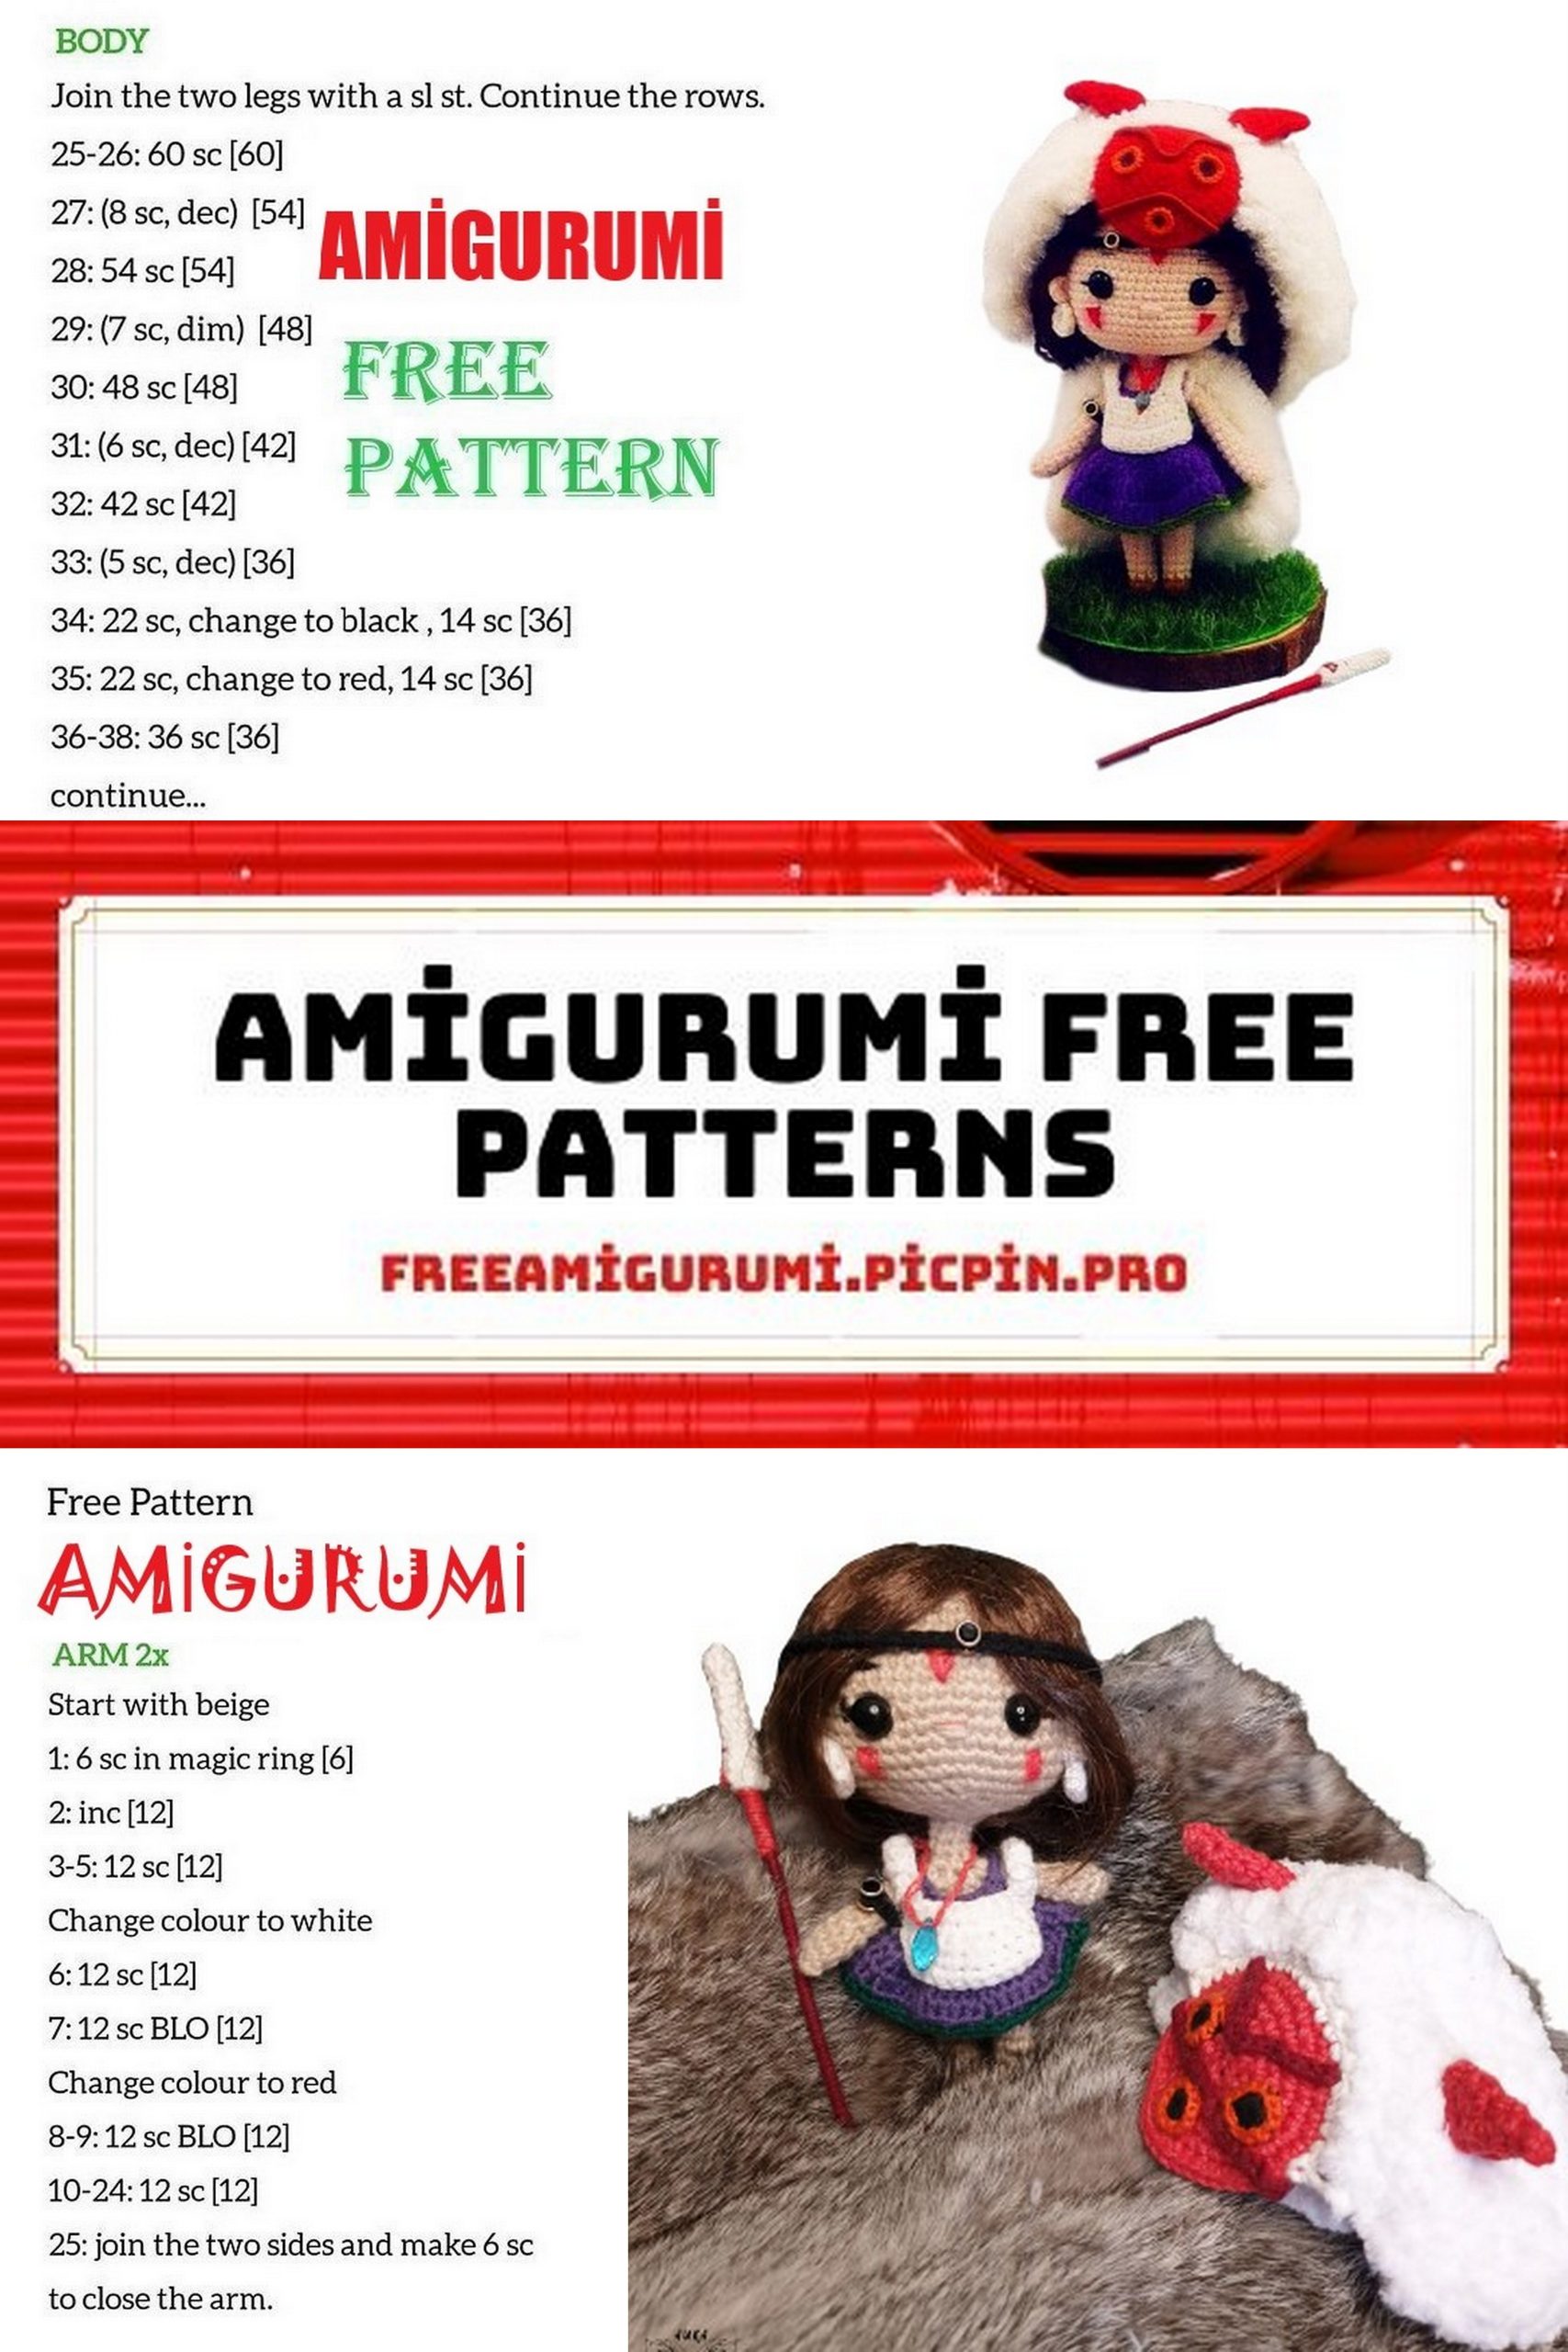
Body (purple thread, 1.6mm crochet hook):
Rnd 8: Ch 2, (attach to the 7th round of the left leg and sc) 1 ch, return to the right leg, make 7 sc, secure with sc by working 2 sc into each ch, work 2 sc into the ch on the other side as well (18)
Rnd 9: 2 inc, 12 sc, 2 inc, 2 sc (22)
Rnd 10: sc, inc, 16 sc, inc, 3 sc (24)
Rnd 11: sc around (24)
Rnd 12: 3 dec, 10 sc, 3 dec, 2 sc (18)
Rnd 13: Change to skin color (sc, dec) * 6 (12)
Rnd 14-16: 12 sc
Rnd 17: Now start attaching the arms – 3 sc in the body loop, 5 sc in the 1st arm loop, 6 sc in the body loop, 5 sc in the other arm, 3 sc in the body loop. Stuff the piece (22)
Rnd 18: (sc, dec, 2 sc, dec) * 3, sc (16)
Rnd 19: 8 dec (8)
Rnd 20: (2 sc, dec) * 2 (6)
Rnd 21-25: 6 sc, fasten off and set aside.
Dress (1.6mm crochet hook):
Rnd 1: Work from top to bottom with purple yarn, ch 22, join to form a ring, ch 1, 3 sc, 3 ch, skip 4 stitches, 8 sc, 3 ch, skip 4 stitches, 3 sc (20)
Rnd 2-3: Ch 1, 20 sc
Rnd 4: Ch 1, 4 sc, dec, 8 sc, dec, 4 sc, sl st (18)
Rnd 5: Ch 1, 18 inc, sl st (36)
Rnd 6: Ch 2, (psdc, 2 psdc in 1 stitch) * 18, sl st (54)
Rnd 7: Ch 2, 54 psdc, change yarn to green (54)
Rnd 8: (5 sc in one side of the loop, 1 sc in both sides of the loop) * 9, fasten off, hide the tail (54)
White Shawl (1.4mm crochet hook):
Rnd 1: Ch 10, work in the 2nd loop from the hook, 9 sc, 1 ch, turn (9)
Rnd 2: 4 sc, dec, 3 sc, 1 ch, turn (8)
Rnd 3: 3 sc, dec, 3 sc, 1 ch, turn (7)
Rnd 4: 7 sc (7)
Rnd 5: 9 ch + 7 ch + 1 ch, work in the 2nd loop from the hook, 7 sc, 1 ch, turn (7)
Rnd 6: 3 sc, inc, 3 sc, 1 ch, turn (8)
Rnd 7: 3 sc, inc, 4 sc, 1 ch, turn (9)
Rnd 8: 9 sc (9)
Fasten off and hide the thread. Take a new white thread and start working as follows:
I couldn’t provide a direct translation for this part, but it seems to involve some additional crochet work with white yarn and attaching it to the shawl.
Head (beige thread, 1.6mm crochet hook):
Rnd 1: 6 sc in amigurumi ring (6)
Rnd 2: inc x 6 (12)
Rnd 3: (sc, inc) x 6 (18)
Rnd 4: (sc, inc, sc) x 6 (24)
Rnd 5: (3 sc, inc) x 6 (30)
Rnd 6: (2 sc, inc, 2 sc) x 6 (36)
Rnd 7: sc around (36)
Rnd 8: (inc, 5 sc) x 6 (42)
Rnd 9-10: sc around (42)
Rnd 11: (5 sc, inc, sc) x 6 (48)
Rnd 12-18: sc around (48)
Attach the 8mm safety eyes between rows 14 and 15, with 9 sc stitches between them.
Rnd 19: (2 sc, dec, 2 sc) x 8 (40)
Rnd 20: (3 sc, dec) x 8 (32)
Rnd 21: (sc, dec, sc) x 8 (24)
Rnd 22: (dec, sc) x 8 (16)
Rnd 23: (2 sc, 3 dec) x 2 (10)
Rnd 24: Work in the back loops only, 10 sc (10)
Rnd 25-26: 10 sc around (10)
Fasten off. Sew the head to the body and add wire to the neck if desired.
Ears (2 pieces, beige yarn, 1.6mm crochet hook):
Start with a chain of 1, 3 sc, 1 ch, pull the ring tight, cut a long thread.
Sew the ears: Leave 3 loops between the eyes, between rows 15 and 16.
Face Embroidery:
Use a thread to create eye sockets, tighten the thread at the back.
Embroider the nose with beige yarn.
Create triangles in red: Embroider or draw.
Embroider eyelashes and eyebrows.
Earrings (2 pieces, white yarn, 1.4mm crochet hook):
Rnd 1: 6 sc in amigurumi ring (6)
Rnd 2: sc, 4 slip stitches, sc (6)
Close the crochet, leave a long thread. Sew the earring to the lower part of the ear.
Hair (use brown yarn):
Cut 35 segments of hair, each 11 cm long. Attach them to the head starting from the 6th row. Cover the entire head with hair, and you can use glue for better placement.
Mask Ears (2 pieces, red yarn, 1.6mm crochet hook):
Rnd 1: Ch 2, inc in the 2nd loop, 1 ch, turn (2)
Rnd 2: 2 inc, 1 ch, turn (4)
Rnd 3: sc, 2 inc, sc, 1 ch, turn (6)
Rnd 4: (sc, inc, sc) * 2, 1 ch, turn (8)
Rnd 5: 8 sc, 1 ch, turn (8)
Rnd 6: Work around the piece with 4 sc, in the corner, make 3 sc in 1 loop, 4 sc (11)
Close the crochet, leave a long thread.
Red Base for the Mask (red yarn, 1.6mm crochet hook):
Rnd 1: Ch 4, start from the 2nd loop from the hook, work on both sides, 2 sc, 3 sc in 1 loop, sc, 2 inc (10)
Rnd 2: 2 inc, sc, 3 inc, sc, 3 inc (18)
Rnd 3: sc, inc, sc, (sc, inc) * 3, sc, (sc, inc) * 3 (23)
Rnd 4: 3 sc, inc, sc, inc, 3 sc, inc, 3 sc, inc, sc, inc, 3 sc, inc, 3 sc, inc (31)
Rnd 5: 3 sc, inc, sc, (3 sc, inc) * 3, sc, (3 sc, inc) * 2, 4 sc, inc (38)
Rnd 6: 4 sc, inc, 7 sc, inc, 6 sc, inc, sc, inc, 6 sc, inc, 8 sc, sl st (43)
Close the crochet, hide the thread. The mask takes an elliptical shape slightly curved outward.
Mask Eyes (2 pieces, 3 strands of embroidery floss, 1.1mm crochet hook):
Rnd 1: With black thread, 8 sc in amigurumi ring, sl st (8)
Rnd 2: Switch to red, work only in the front loops of the stitches, 1 ch, (sc, inc) * 4 (12)
Close the crochet, hide the thread.
Mask Mouth (3 strands of embroidery floss, 1.1mm crochet hook):
Rnd 1: Black thread, 6 sc in amigurumi ring, sl st (6)
Rnd 2: Switch to red, work only in the front loops of the stitches, 1 ch, 6 inc (12)
Close the crochet, hide the thread.
Assemble the mask:
Bend the wire as needed and attach the mask. Sew it to the eye and mouth base. You can use glue to secure the wire in place. (Note: The translator used crochet chains instead of wire.)
White Part of the Mask (1.6mm crochet hook, 3mm crochet hook):
Start crocheting in the upper part of the mask.
Rnd 1: 5 sc, 1 ch, skip the wire (or use a chain of ch as done by the translator), 5 sc, inc, 4 sc, 1 ch, skip the wire (or use a chain of ch), 5 sc, 1 ch, turn (23)
Rnd 2: (sc, 2 ch, skip 2 stitches) * 11, sc (34), close the crochet.
Take a thicker thread and start crocheting into the hole created by the 2 ch (crochet loosely; otherwise, the piece will be very dense).
Rnd 3: 1 ch, inc, 4 sc, inc, 1 ch, turn (7)
Rnd 4: 3 sc, inc, 3 sc, 1 ch, turn (8)
Rnd 5: inc, 6 sc, inc, 1 ch, turn (10)
Rnd 6-7: 10 sc, 1 ch, turn (10)
Rnd 8: 10 sc (10)
Close the crochet.
Spear Tip (1.1mm crochet hook):
Rnd 1: 5 sc in amigurumi ring (5)
Rnd 2: inc, 4 sc (6)
Rnd 3: 6 sc (6)
Rnd 4: inc, 5 sc (7)
Rnd 5: 7 sc (7)
Rnd 6: inc, 6 sc (8)
Rnd 7-12: 8 sc (8)
Close the crochet, hide the thread. Add red embroidery on the tip.
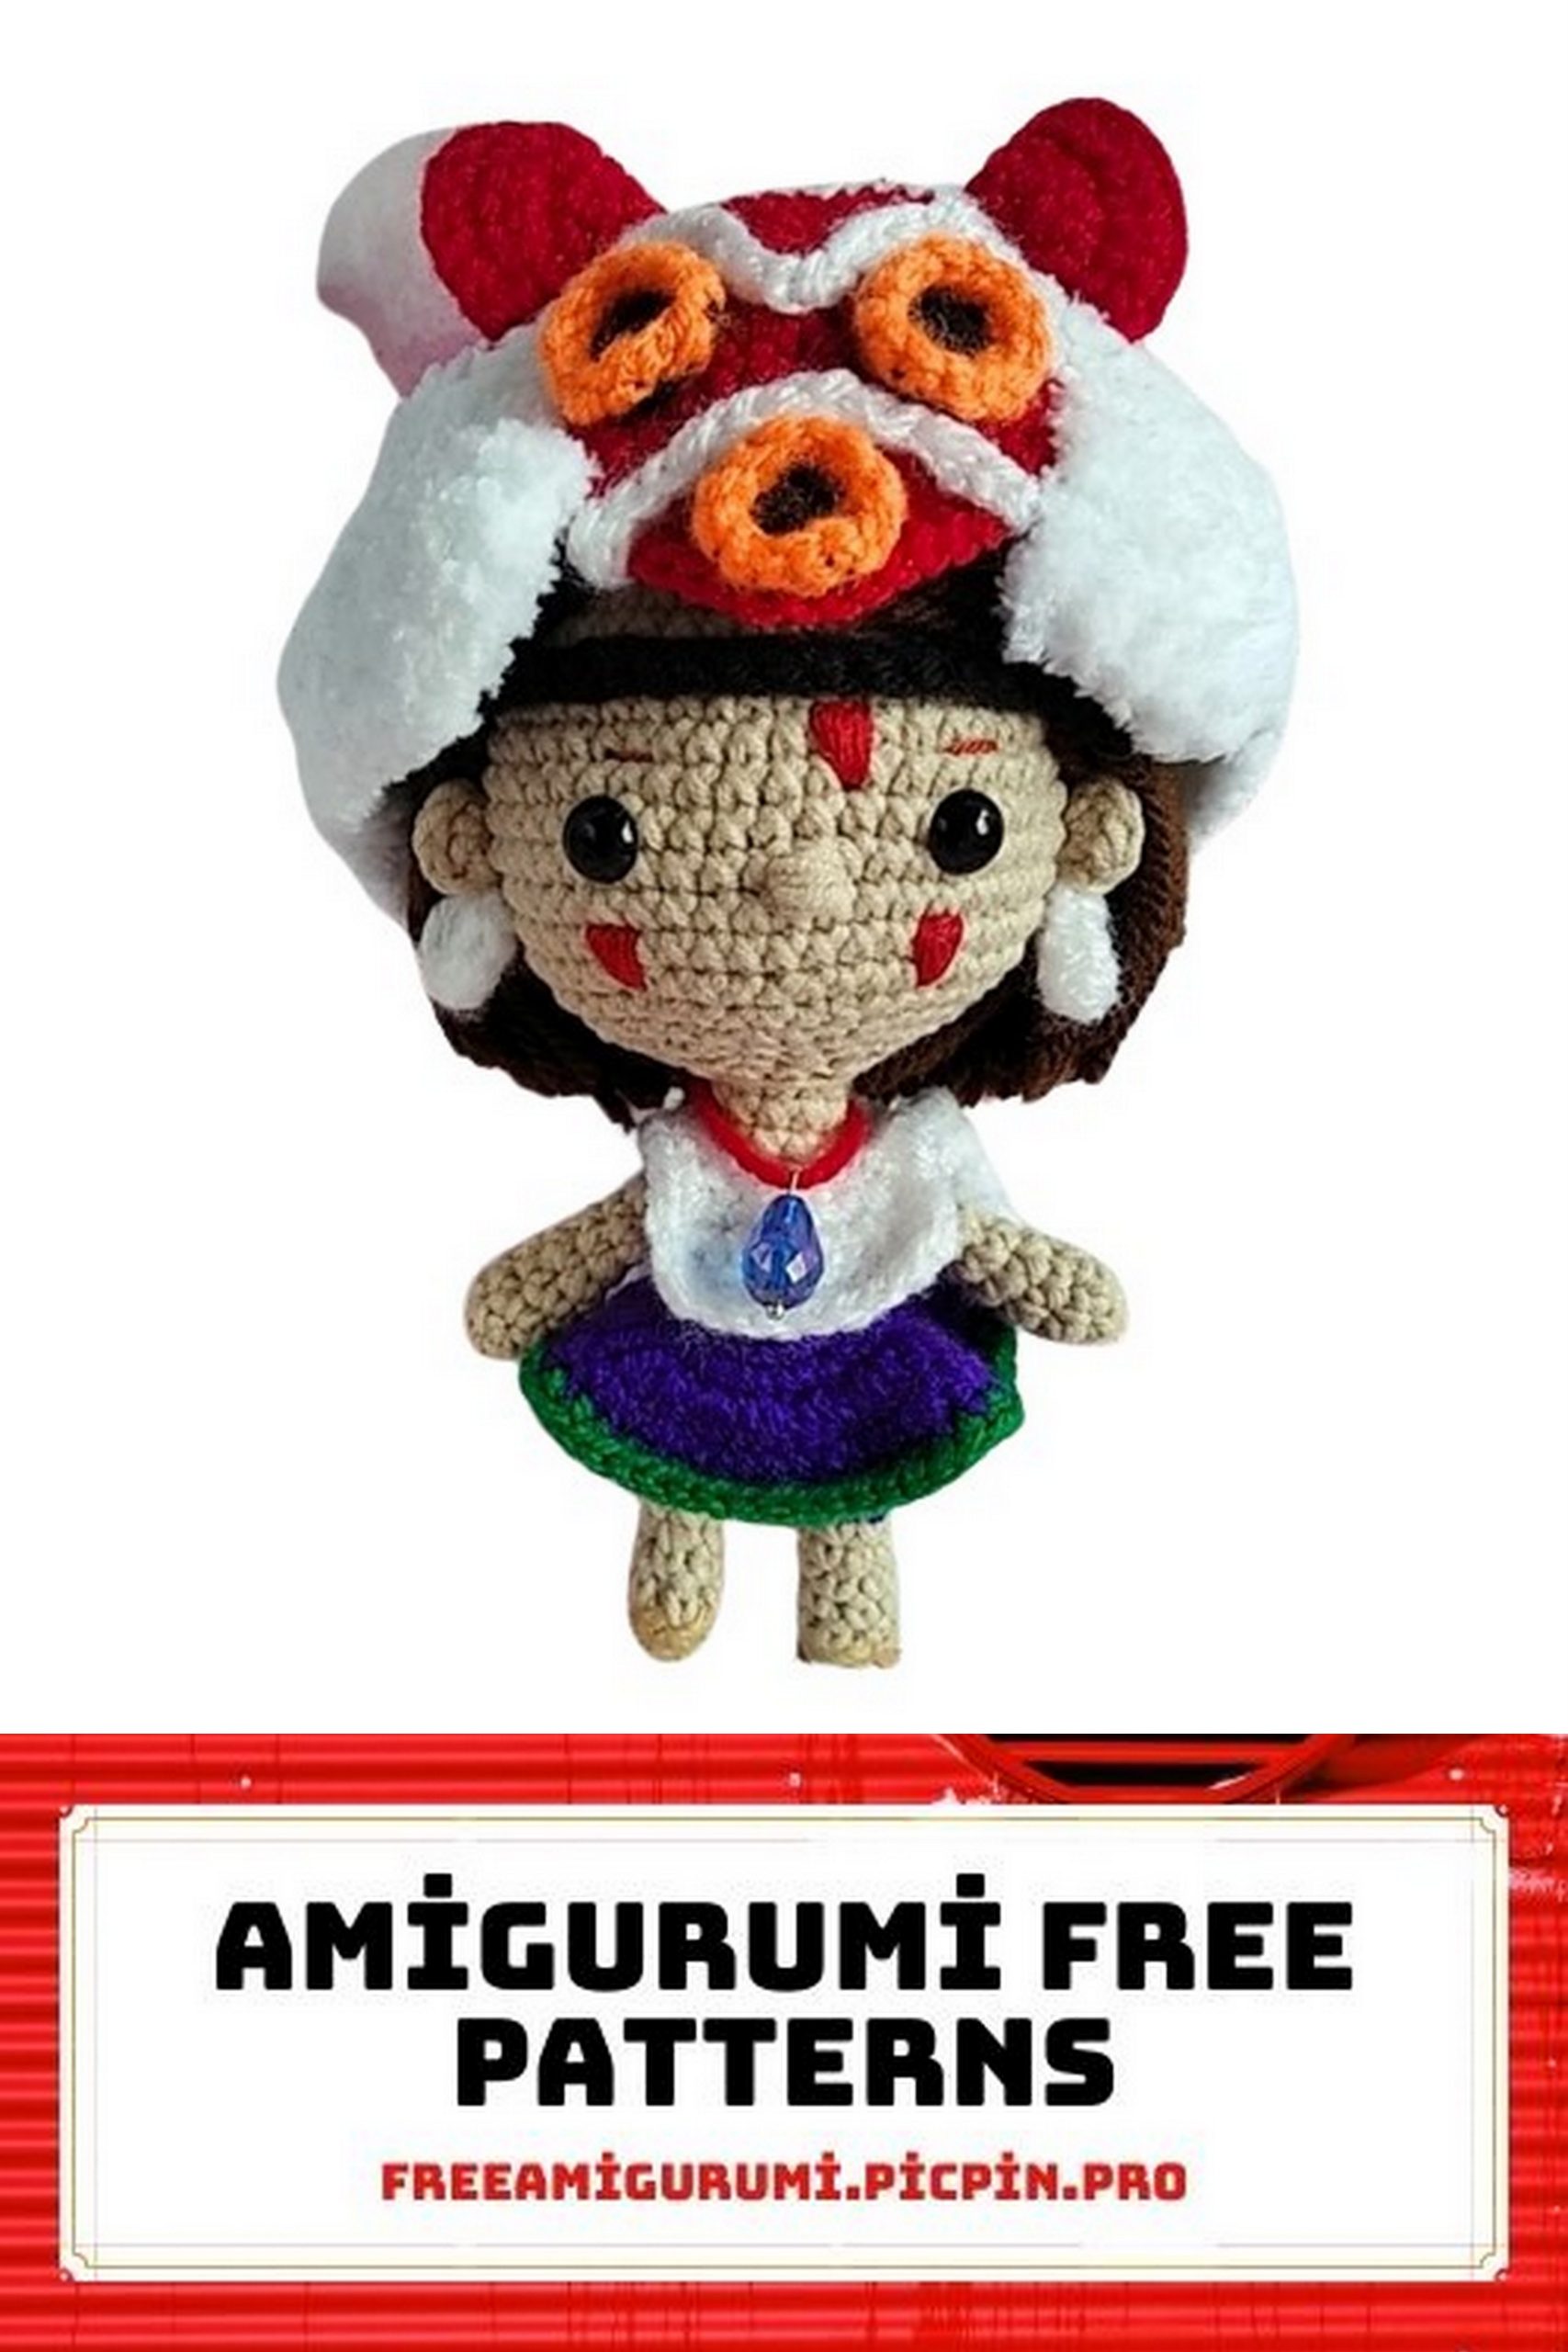
Make accessories (necklace, headband, arm band) and attach them to the doll. And your Princess Mononoke is ready!
I hope this translation helps you create the Princess Mononoke doll. Enjoy your crafting!