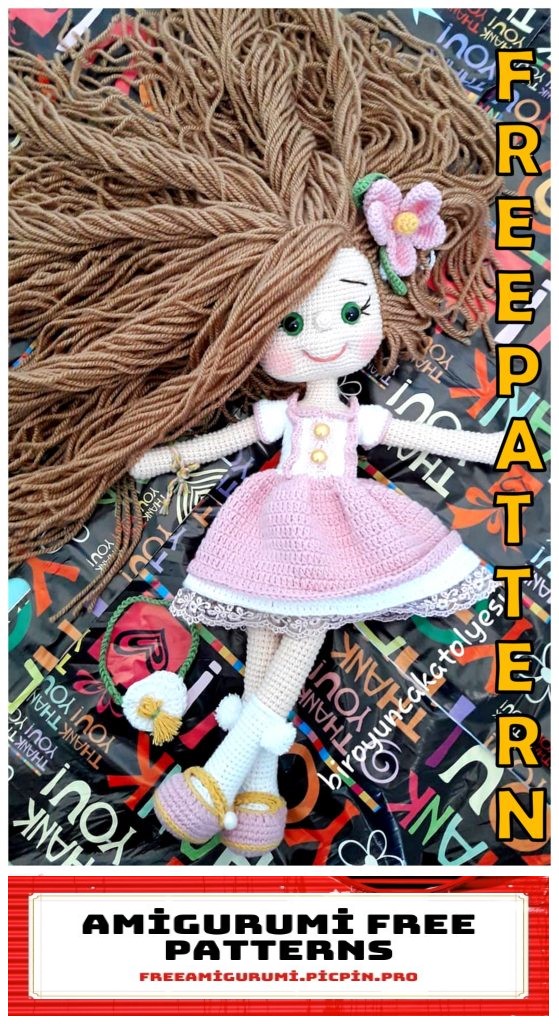
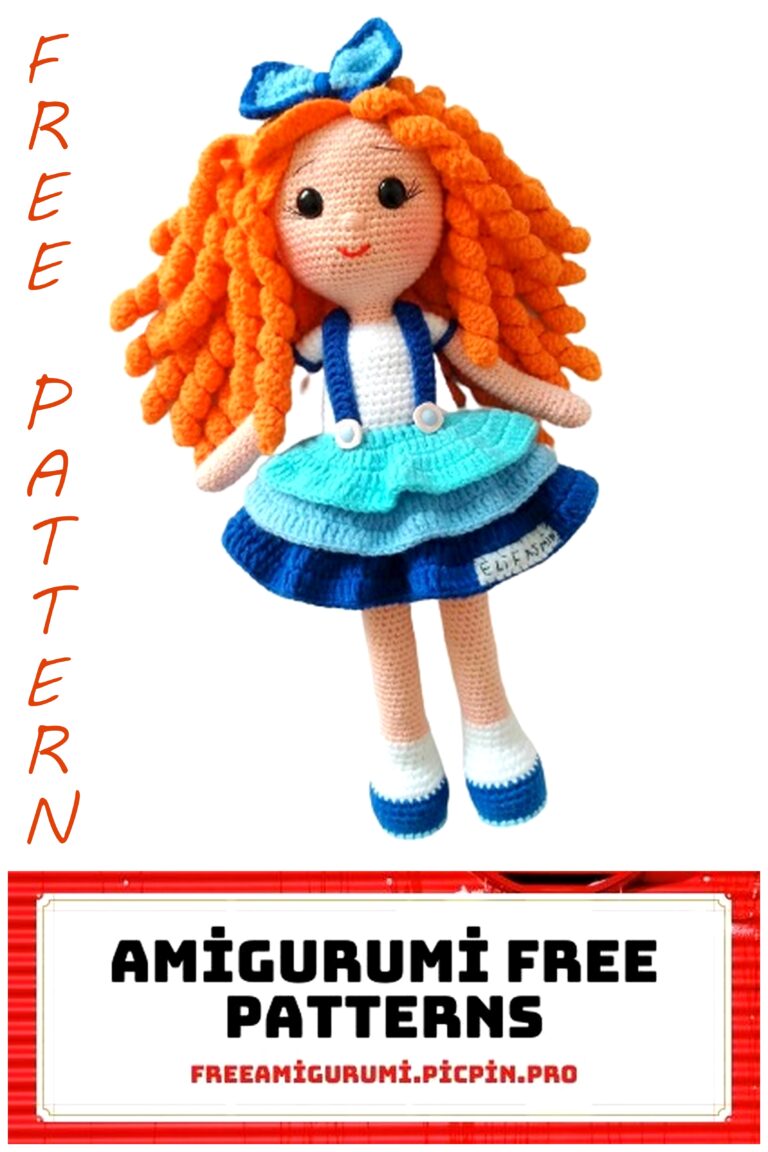
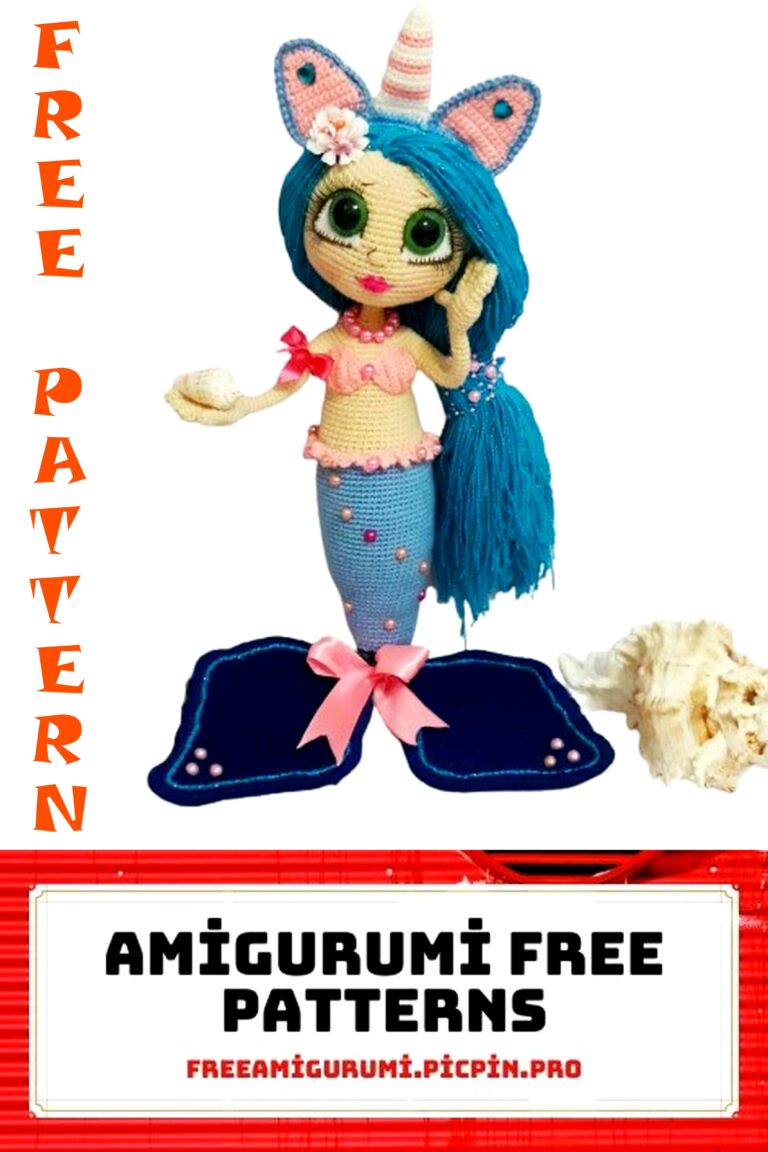
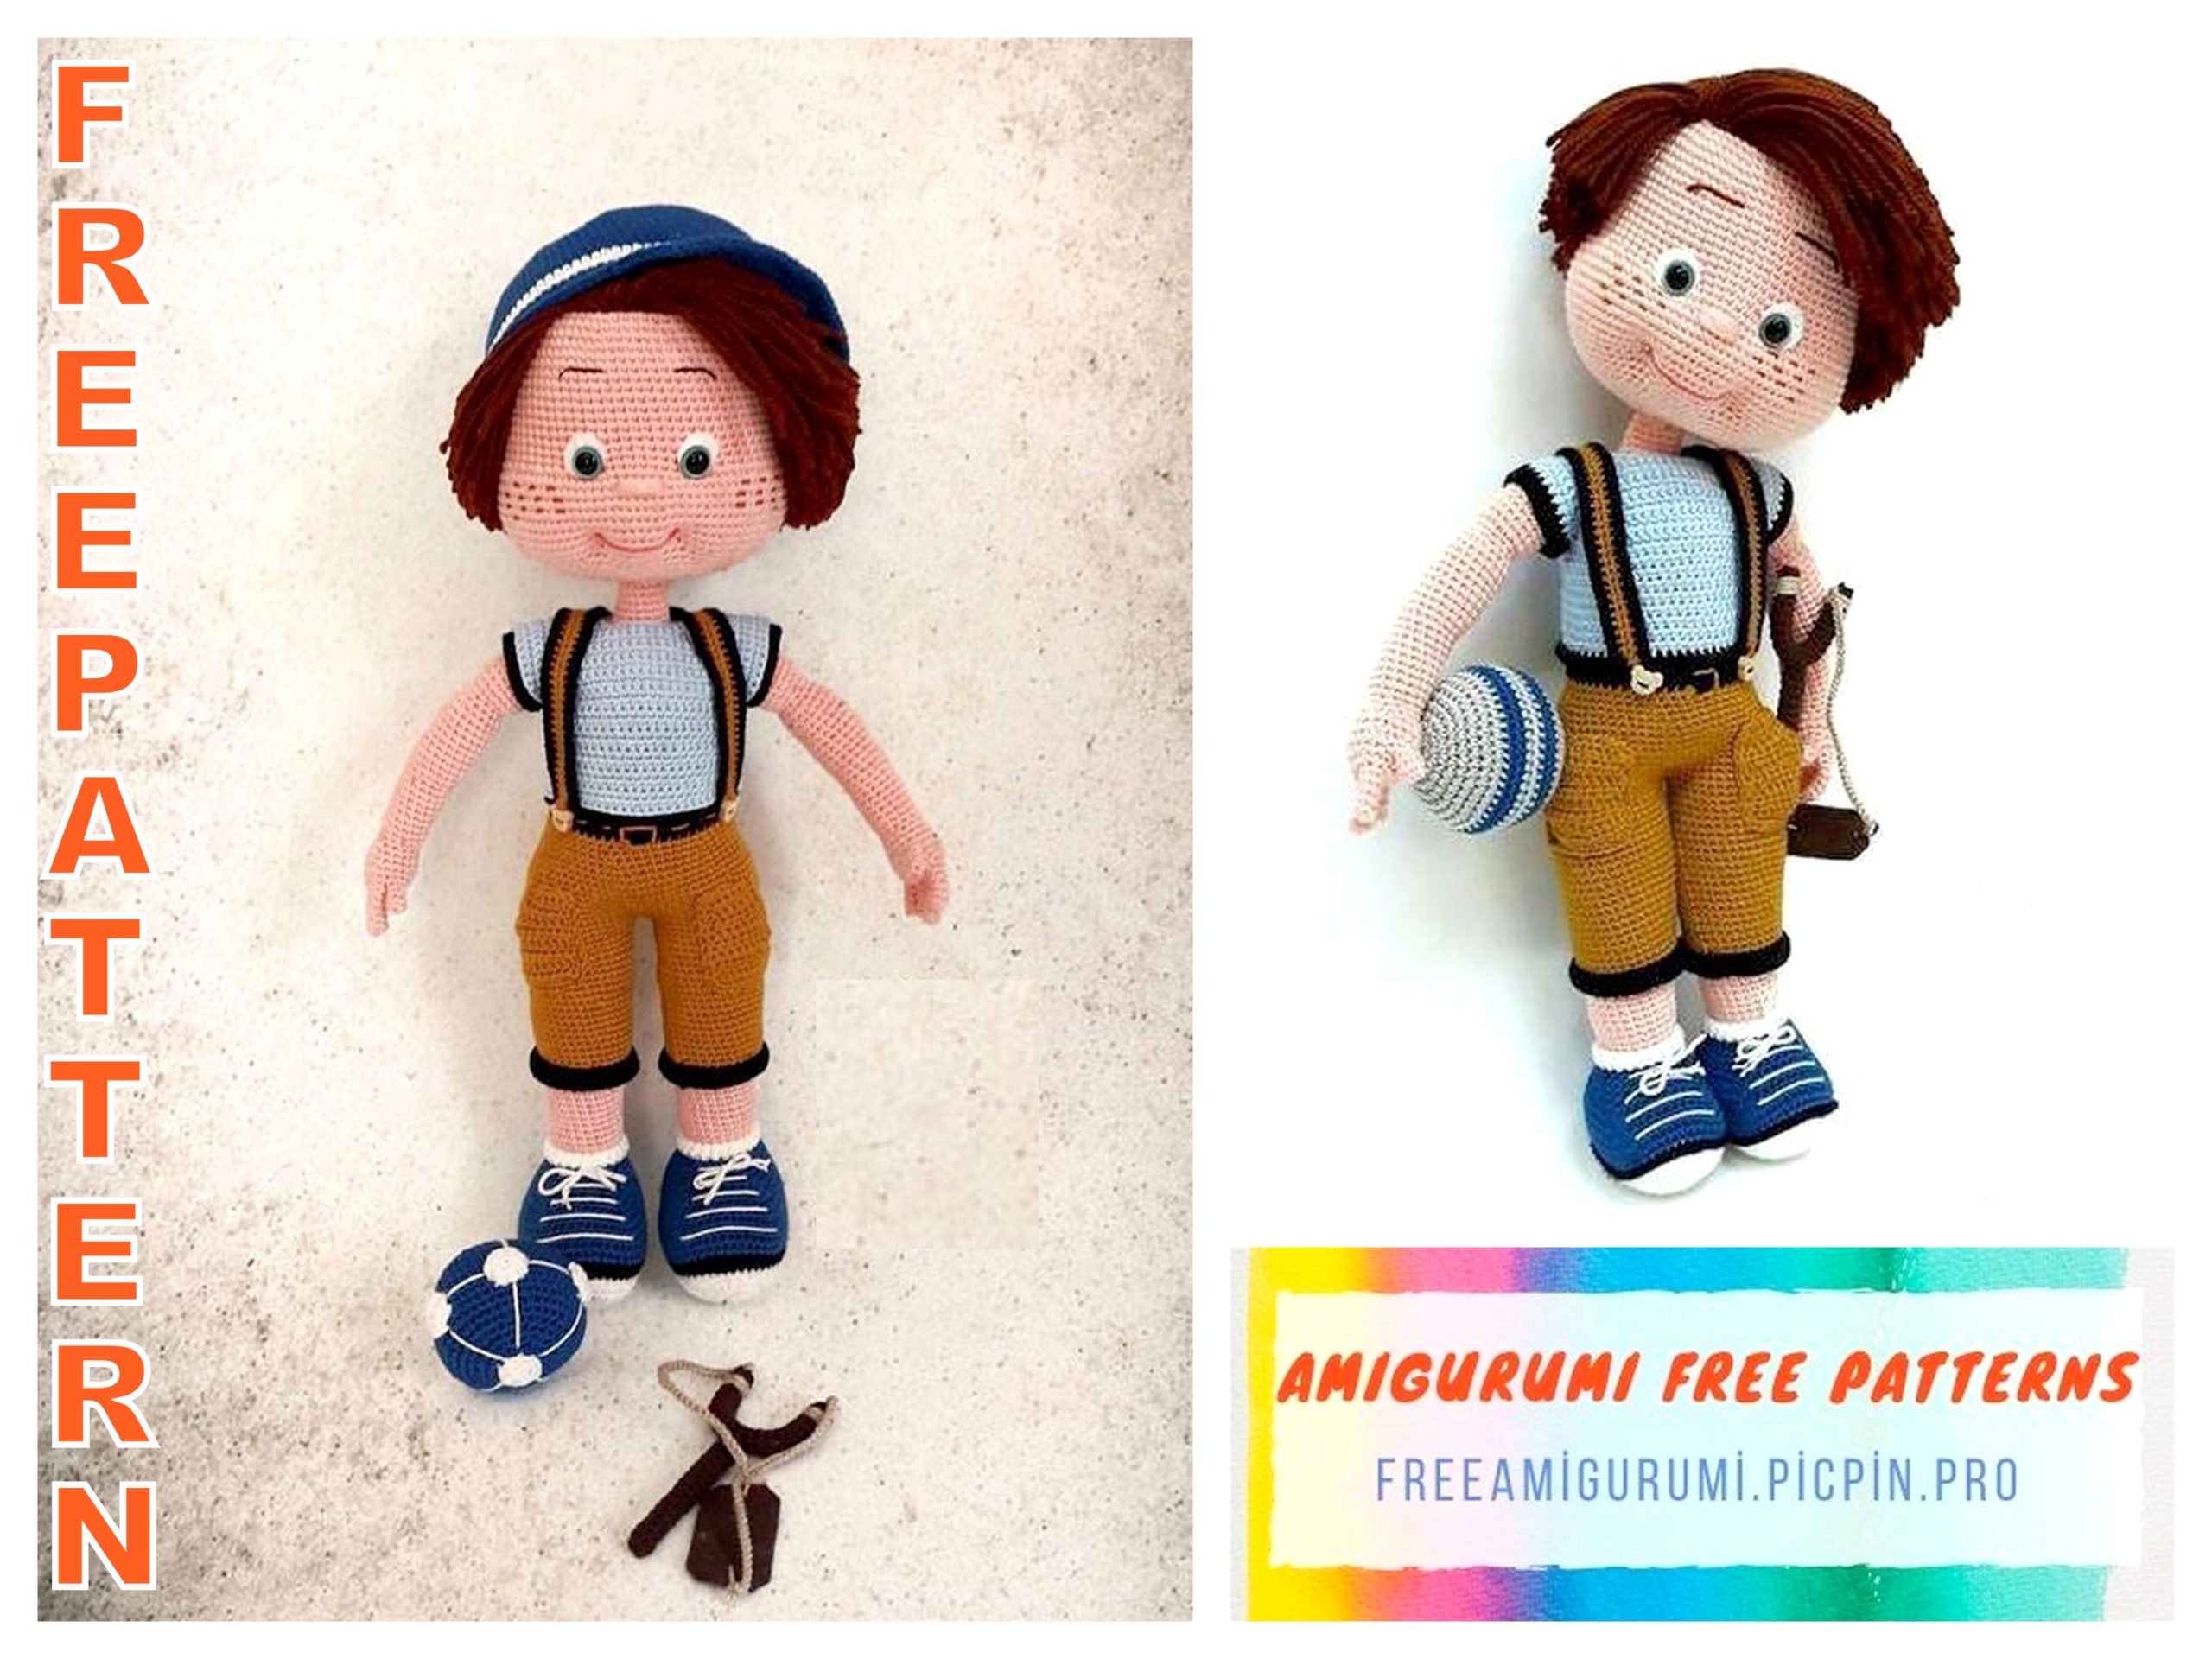
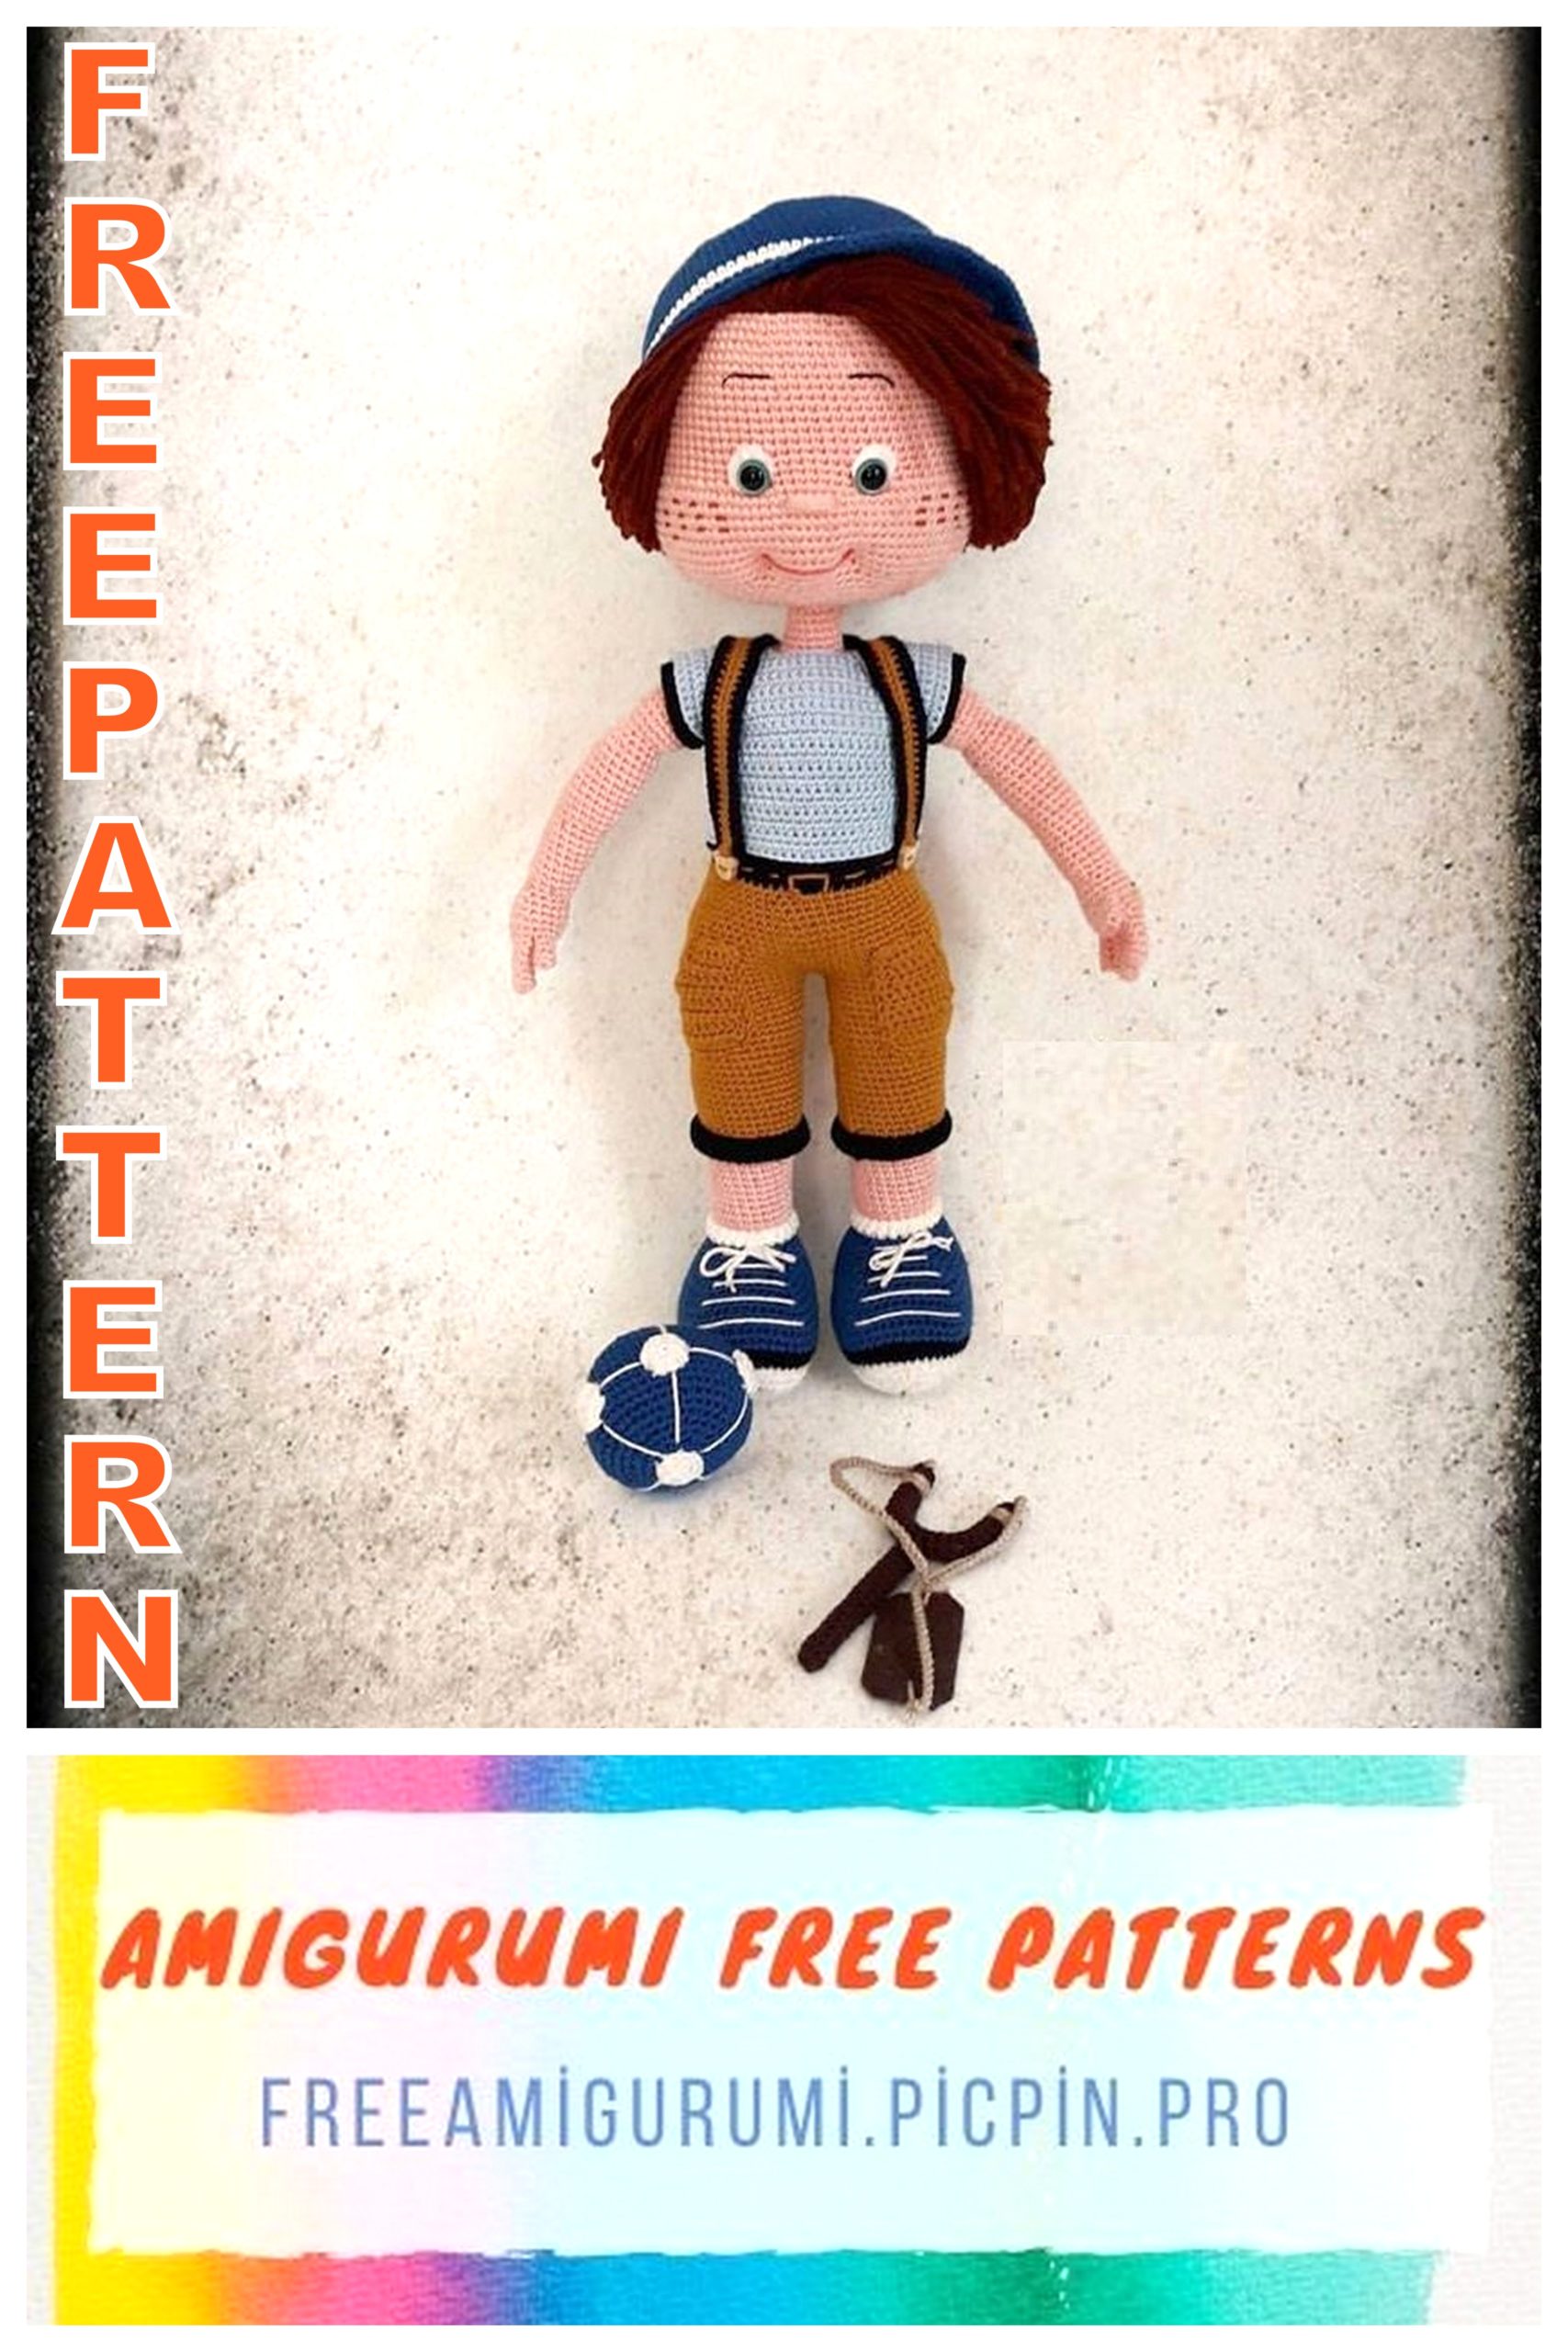
Mischievous Child Amigurumi Free Pattern
We share the thousands of amigurumi free patterns by choosing the best ones. In this article, we shared the amigurumi mischievous child pattern.
Abbreviations:
sc – single crochet
st – stitch
ch – chain stitch
Dec – sc next 2 stitches together
inc – sc in indicated stitch 2 times
rnd(s) – sl stround(s)
hdc – half double crochet
sl-st -slip stitch
Hands:
flesh-colored
Fingers
Little finger and thumb:
1 5 sc into magic ring
2-4 5 sc (3 rows) 5
Middle finger:
1 5 sc into magic ring
2-6 5 sc (5 rows) 5
Index and ring finger: keep connecting
fingers without cutting the thread on the index finger
1 5 sc into magic ring
2-5 5 sc (4 rows) 5
Right hand:
1 3 sc for the index finger, 3 sc for the middle finger, 3 sc for the ring finger, 5 sc for the little finger, 2sc for the ring finger, 2 sc for the middle finger, 2 sc for the index finger 20
2 20 sc 20
3 18sc, 2 sc on thumb and hand at the same time 20
4 11sc, dec, 5sc, 3 sc at thumb 20
5 dec, 12 sc, dec, 4 sc 18
6 18 sc 18
7 (4 sc, dec) * 3 15
8 (3 sc, dec) * 3 12
9 (3 sc, inc) * 3 15
10-16 15 sc (7 rows) 15
17 3 sc, inc, 11 sc 16
18 16 sc 16
19 12sc, inc, 3 sc 17
20 17 sc 17
21 8 sc, inc, 8 sc 18
22-29 18 sc 18
30 (4 sc, dec) * 3 15
31 (3 sc, dec) * 3 12
32 (1 sc, inc) * 6 18
33-40 18 sc (8 rows) 18
Left hand:
Row Description Total Photo
1 2 sc on the index finger, 2 sc on the middle finger, 2 sc on the ring finger, 5 sc on the little finger, 3sc on the ring finger, 3 sc on the middle finger, 3 sc on the index finger 20
2 20 sc 20
3 2 sc on thumb and hand at the same time, 18sc 20
4 3 sc on thumb, 5sc, dec, 11sc 20
5 4 sc, dec, 12 sc, dec 18
6 18 sc 18
7 (4 sc, dec) * 3 15
8 (3 sc, dec) * 3 12
9 (3 sc, inc) * 3 15
10-16 15 sc (7 rows) 15
17 11 sc, inc, 3 sc 16
18 16 sc 16
19 3 sc, inc, 12sc, 17
20 17 sc 17
21 8 sc, inc, 8 sc 18
22-29 18 sc 18
30 (4 sc, dec) * 3 15
31 (3 sc, dec) * 3 12
32 (1 sc, inc) * 6 18
33-40 18 sc (8 rows) 18
Hands ready
Legs:
Row Description Total Photo
We start with white
We knit two pieces of the sole !!
1 12 ch 12
2 with 2nd ch from the hook – 10sc, in the last ch – 3sc, 9sc, inc 24
3 inc, 9sc, 3 inc, 9 sc, 2 inc 30
4 sc, inc, 9 sc, (sc, inc) * 3, 9 sc, (sc, inc) * 2 36
5 2 sc, inc, 9 sc, (2 sc, inc) * 3, 9 sc, (2 sc, inc) * 2 42
6 3 sc, inc, 9 sc, (3 sc, inc) * 3, 9 sc, (3 sc, inc) * 2 48
7 4 sc, inc, 9 sc, (4 sc, inc) * 3, 9 sc, (4 sc, inc) * 2 54
The soles are ready !! Once you have knitted a total of 4 soles, we will connect them! We begin to connect the sole from the middle of the heel.
For the first leg, put 2 soles (face inward).
We take a black thread
8 54 sc (tie both soles together) 54
9 behind the back walls – 54 sc Change the thread to blue 54
10-12 54 sc 54
13 19 sc, 2dec, 8 sc, 2dec, 19sc 50
14 17sc, 2dec, 8sc, 2dec, 17sc 46
15 15sc, 2dec, 8sc, 2dec, 15sc 42
16 13sc, 2dec, 8sc, 2dec, 13sc 38
17 5sc, dec, 6sc, dec 3sc, 6sc, dec 3sc, 6sc, dec, 5sc 32
18 dec, 28sc, dec 30
19 (3sc, dec) * 6 24
20 24 sc. Change the thread to white 24
21-22 24 sc 24
23 for the front walls -24 sc 24
24 24 sc 24
25 Tie a row with crustacean step 24
Shoes and socks are finished !!!
Let’s make the laces with white yarn
Change the thread to flesh color
26 for the front walls-24 sc 24
27-56 24 sc (30 rows) 24
Change the thread to white
57-58 24 sc. Do not cut the thread from the 2nd leg. 24
We knit trousers and put them on until we put our legs together.
Pants:
start in black
1 35 ch, we close the ring ss 35
2-4 35 sc 35
5 for the front walls – 35 sc 35
6 35 sc 35
Cut off the black thread, which will be used to knit the pants. 7th row we begin
knit behind the back wall of the 5th row of the cuff.
7-10 35 sc 35
11 9 sc, inc, 17 sc, inc, 7 sc 37
12-15 37 sc 37
16 10 sc, inc, 18 sc, inc, 7 sc 39
17-26 39 sc (10 rows) 39
We do not cut the thread after we knit the second leg.
Attention:
we put on trousers on our feet
Connection of the legs. Start on the outside of the right leg. Then there will be increases in the pope.
1 12 sc (you need to be on the inside of the leg in the middle, you may need to knit more or less sc), 3 ch, connect with the second leg, 24 sc, 3 sc along a chain, 12 sc, put a marker 54
2 12 sc, 3 sc chain, 39 sc 54
3 3 sc, (sc, inc) * 4, 5sc, (inc, sc) * 4, 30sc 62
4-9 62 sc (6 rows) 62
10 3 sc, (sc, dec) * 4, 5sc, (dec, sc) * 4, 30sc 54
11 11sc, Зdec, 37sc 51
12 dec, 22sc, dec, 12sc, dec, 11sc 48
13-14 48 sc 48
Change the thread to flesh color
15-34 48 sc (20 rows) 48
We connect the pants legs
1 we connect the parts together 1 ch
2 39 sc, 1 sc chained, 39 sc, 1 sc chained 80
3-9 80 sc (7 rows) 80
10 15sc, (sc, dec) * 4, 30 sc, (sc, dec) * 4, 11sc 72
11 72 sc 72
12 (10 sc, dec) * 6 66
13 66 sc 66
14 (9 sc, dec) * 6 60
15 60 sc 60
16 (8 sc, dec) * 6 54
17 54 sc 54
Moving on to black
18-20 54 sc (3 rows) 54
Pockets:
pants color (2 pcs.)
1 11 ch
2-5 ch, 10 hdc
6 ch, 6 hdc, 2 dec hdc 8
7 ch, 8 hdc 8
8 ch, 4 hdc, 2 dec hdc 6
Tie sc around the edge
Joining hands
1 2 sc, 4 sc for first hand, 20 sc, 4 sc for second hand, 18 sc 48
2 2 sc, 14 sc first hand, 20 sc, 14 sc second hand, 18 sc 68
3 68 sc 68
4 2 sc, 7 dec in the first hand, 20 sc, 7 dec in the second hand, 18 Sc 54
5 54 sc 54
6 2 sc, 4 dec, 19 sc, 4 dec, 17 sc 46
7 2 sc, 2 dec, 19 sc, 2 dec, 17 sc 42
8 (2 sc, dec) * 10, 2 sc 32
9 (3 sc, dec) * 6, 2 sc 26
10 2 sc, dec, 10 sc, dec, 10 sc 24
11 (2 sc, dec) * 6 18
12-16 18 sc (5 rows) Leave thread to sew on !! 18
We will tie the suspenders with the color of the trousers:
Row Description Photo
Back of Suspenders:
1 15 ch
2 with 2nd ch from the hook – inc, 12 sc, in the last ch – 3 sc, on the other side of the chain – 13 sc, sl-st
Front Suspender Straps: (2 pcs.)
1 45 ch
2 with 2nd ch from the hook – inc, 42 sc, in the last ch – 3 sc, on the other side of the chain – 43 sc, sl-st
Now we will connect the back and front parts with black yarn:
We start at the back small section and knit sc (see picture), when we get to the butt section we move to the front strap and attach it.
When we knit to the edge of the front strap, knit 6 ch (this will be the buttonhole), and continue tying sc around the edge (see bottom picture)
We also tie this sc piece and then move on to the other front strap as in the photo on the right and repeat the strapping, remember to make a 6ch loop at the end of the strap. It turns out 3 loops, 1 in the back, 2 in the front.
Sew on 1 button on the back and 2 on the front.
We put on suspenders, fasten them with buttons.
T-shirt:
light blue Row Description Total Photo
1 29 ch
2 with 2nd ch from hook -4sc, 3sc in 1, 4sc, 3sc in 1, 8sc, 3sc in 1, 4sc, 3sc in 1, 4sc 36
3 6 ch (buttonhole), 5sc, 3sc in 1, 6sc, 3sc in 1, 10sc, 3sc in 1, 6sc, 3sc in 1, 5sc 44
4 ch, 6sc, 3sc in 1, 8 sc, 3sc in 1, 12sc, 3sc in 1, 8sc, 3sc in 1, 6sc 52
5 ch, 7sc, 3sc in 1, 10 sc, 3sc in 1, 14sc, 3sc in 1, 10 sc, 3sc in 1, 7sc 60
6 ch, 8sc, 3sc in 1, 12 sc, 3sc in 1, 16sc, 3sc in 1, 12sc, 3sc in 1, 8 sc 68
7 ch, 9sc, 3sc in 1, 14 sc, 3sc in 1, 18sc, 3sc in 1, 14sc, 3sc in 1, 9sc 76
8 ch, 10sc, 3sc in 1, 16 sc, 3sc in 1, 20sc, 3sc in 1, 16sc, 3sc in 1, 10sc 84
9 ch, 11sc, 3sc in 1, 18 sc, 3sc in 1, 22sc, 3sc in 1, 18sc, 3sc in 1, 11sc 92
10 ch, 12sc, 3sc in 1, 20 sc, 3sc in 1, 24sc, 3sc in 1, 20sc, 3sc in 1, 12sc 100
11 ch, 13sc, 3sc in 1, 22 sc, 3sc in 1, 26sc, 3sc in 1, 22sc, 3sc in 1, 13sc 108
12 Slot sleeves: 15sc, 24sc skip, 30sc, 24 sc skip, 15sc. Close ss. Then we knit in a circle. 60
13 60 hdc 60
14 60 sc 60
15 60 hdc 60
16 60 sc 60
17 60 hdc 60
18 60 sc 60
19 60 hdc 60
20 60 sc 60
21 60 hdc 60
22 60 sc 60
23 60 hdc 60
24 60 sc 60
25 Take black yarn and knit 60 sc at the front walls. We will also tie the sleeves.
Sew on little teddy bear buttons like the picture !! Sew one button on the back of the trousers. 60
We will tie the suspenders with the color of the trousers:
Row Description Photo
Back of Suspenders:
1 15 ch
2 with 2nd ch from the hook – inc, 12 sc, in the last ch – 3 sc, on the other side of the chain – 13 sc, sl-st Front suspender straps: (2 pcs.)
1 45 ch
2 with 2nd ch from the hook – inc, 42 sc, in the last ch – 3 sc, on the other side of the chain – 43 sc, sl-st
Now we will connect the back and front parts with black yarn:
We start at the back small part and knit sc (see picture), when we get to the end part, we move to the front strap and attach it.
When we knit to the edge of the front strap, knit 6 ch (this will be the buttonhole), and continue tying sc around the edge (see bottom picture)
We also tie this sc piece and then move on to the other front strap as in the photo on the right and repeat the strapping, remember to make a 6ch loop at the end of the strap.
It turns out 3 loops, 1 in the back, 2 in the front.
Sew on 1 button on the back and 2 on the front.
We put on suspenders, fasten them with buttons.
Cap:
start dark blue
Row Description Total Photo
1 6sc into magic ring
2 (inc) * 6 12
3 (sc, inc) * 6 18
4 sc, inc, (2 sc, inc) * 5, sc 24
5 (3 sc, inc) * 6 30
6 2 sc, inc, (4 sc, inc) * 5, 2 sc 36
7 (5 sc, inc) * 6 42
8 3 sc, inc, (6 sc, inc) * 5, 3 sc 48
9 (7 sc, inc) * 6 54
10 4 sc, inc, (8 sc, inc) * 5, 4 sc 60
11 (9 sc, inc) * 6 66
12 5 sc, inc, (10 sc, inc) * 5, 5 sc 72
13 (11 sc, inc) * 6 78
14 6 sc, inc, (12 sc, inc) * 5, 6 sc 84
15 (13 sc, inc) * 6 90
16 7 sc, inc, (14 sc, inc) * 5, 7 sc 96
17 (15 sc, inc) * 6 102
18-25 102 sc (8 rows) Change the thread to white Color 102
26-27 102 sc Dark blue again 102
28 36sc, 30 sc for the anterior walls, 36sc. Cut off the thread. 102
29 Attach the thread to the place where we knit for the front walls and knit 30 sc for the remaining walls 30
30-32 1ch, 30 hdc 30
33 1 dec hdc, 26 hdc, 1 dec hdc 28
34 1 dec hdc, 24 hdc, 1 dec hdc 26
35 1 dec hdc, 22 hdc, 1 dec hdc. You can tie the entire cap around sc. Cut off the thread. 24
Head:
flesh colored
Row Description Total Photo
1 6sc into magic ring 6
2 (inc) * 6 12
3 (sc, inc) * 6 18
4 sc, inc, (2 sc, inc) * 5, sc 24
5 (3 sc, inc) * 6 30
6 2 sc, inc, (4 sc, inc) * 5, 2 sc 36
7 (5 sc, inc) * 6 42
8 3 sc, inc, (6 sc, inc) * 5, 3 sc 48
9 (7 sc, inc) * 6 54
10 4 sc, inc, (8 sc, inc) * 5, 4 sc 60
11 (9 sc, inc) * 6 66
12 5 sc, inc, (10 sc, inc) * 5, 5 sc 72
13 (11 sc, inc) * 6 78
14 6 sc, inc, (12 sc, inc) * 5, 6 sc 84
Insert the eyes between rows 26-27. Between the eyes
10 sc. Eyes 12 mm.
15-27 84 sc (13 rows) 84
28 (1 sc, inc) * 8, 6 sc, (inc, sc) * 8, 46 sc 100
29-36 100 sc (8 rows) 100
37 2 sc, (sc, dec) * 8, 6 sc, (dec, sc) * 8, 44 sc 84
38 6 sc, dec, (12 sc, dec) * 5, 6 sc 78
39 (11 sc, dec) * 6 72
40 5 sc, dec, (10 sc, dec) * 5, 5 sc 66
41 (9 sc, dec) * 6 60
42 4 sc, dec, (8 sc, dec) * 5, 4 sc 54
43 (7 sc, dec) * 6 48
44 3 sc, dec, (6 sc, dec) * 5, 3 sc 42
45 (5 sc, dec) * 6 36
46 2 sc, dec, (4 sc, dec) * 5.2 sc 30
47 (3 sc, dec) * 6 24
48 sc, dec, (2 sc, dec) * 5, sc 18
We make tightening on the face and attach the hair:
We will make tightening, as in the picture, we will make a spout with several stitches.
Embroider eyebrows and freckles with hair color. For this you can look at the pictures.
Cut strands 15 cm long and attach them all over the head, as in the picture. Insert the wire into the head.