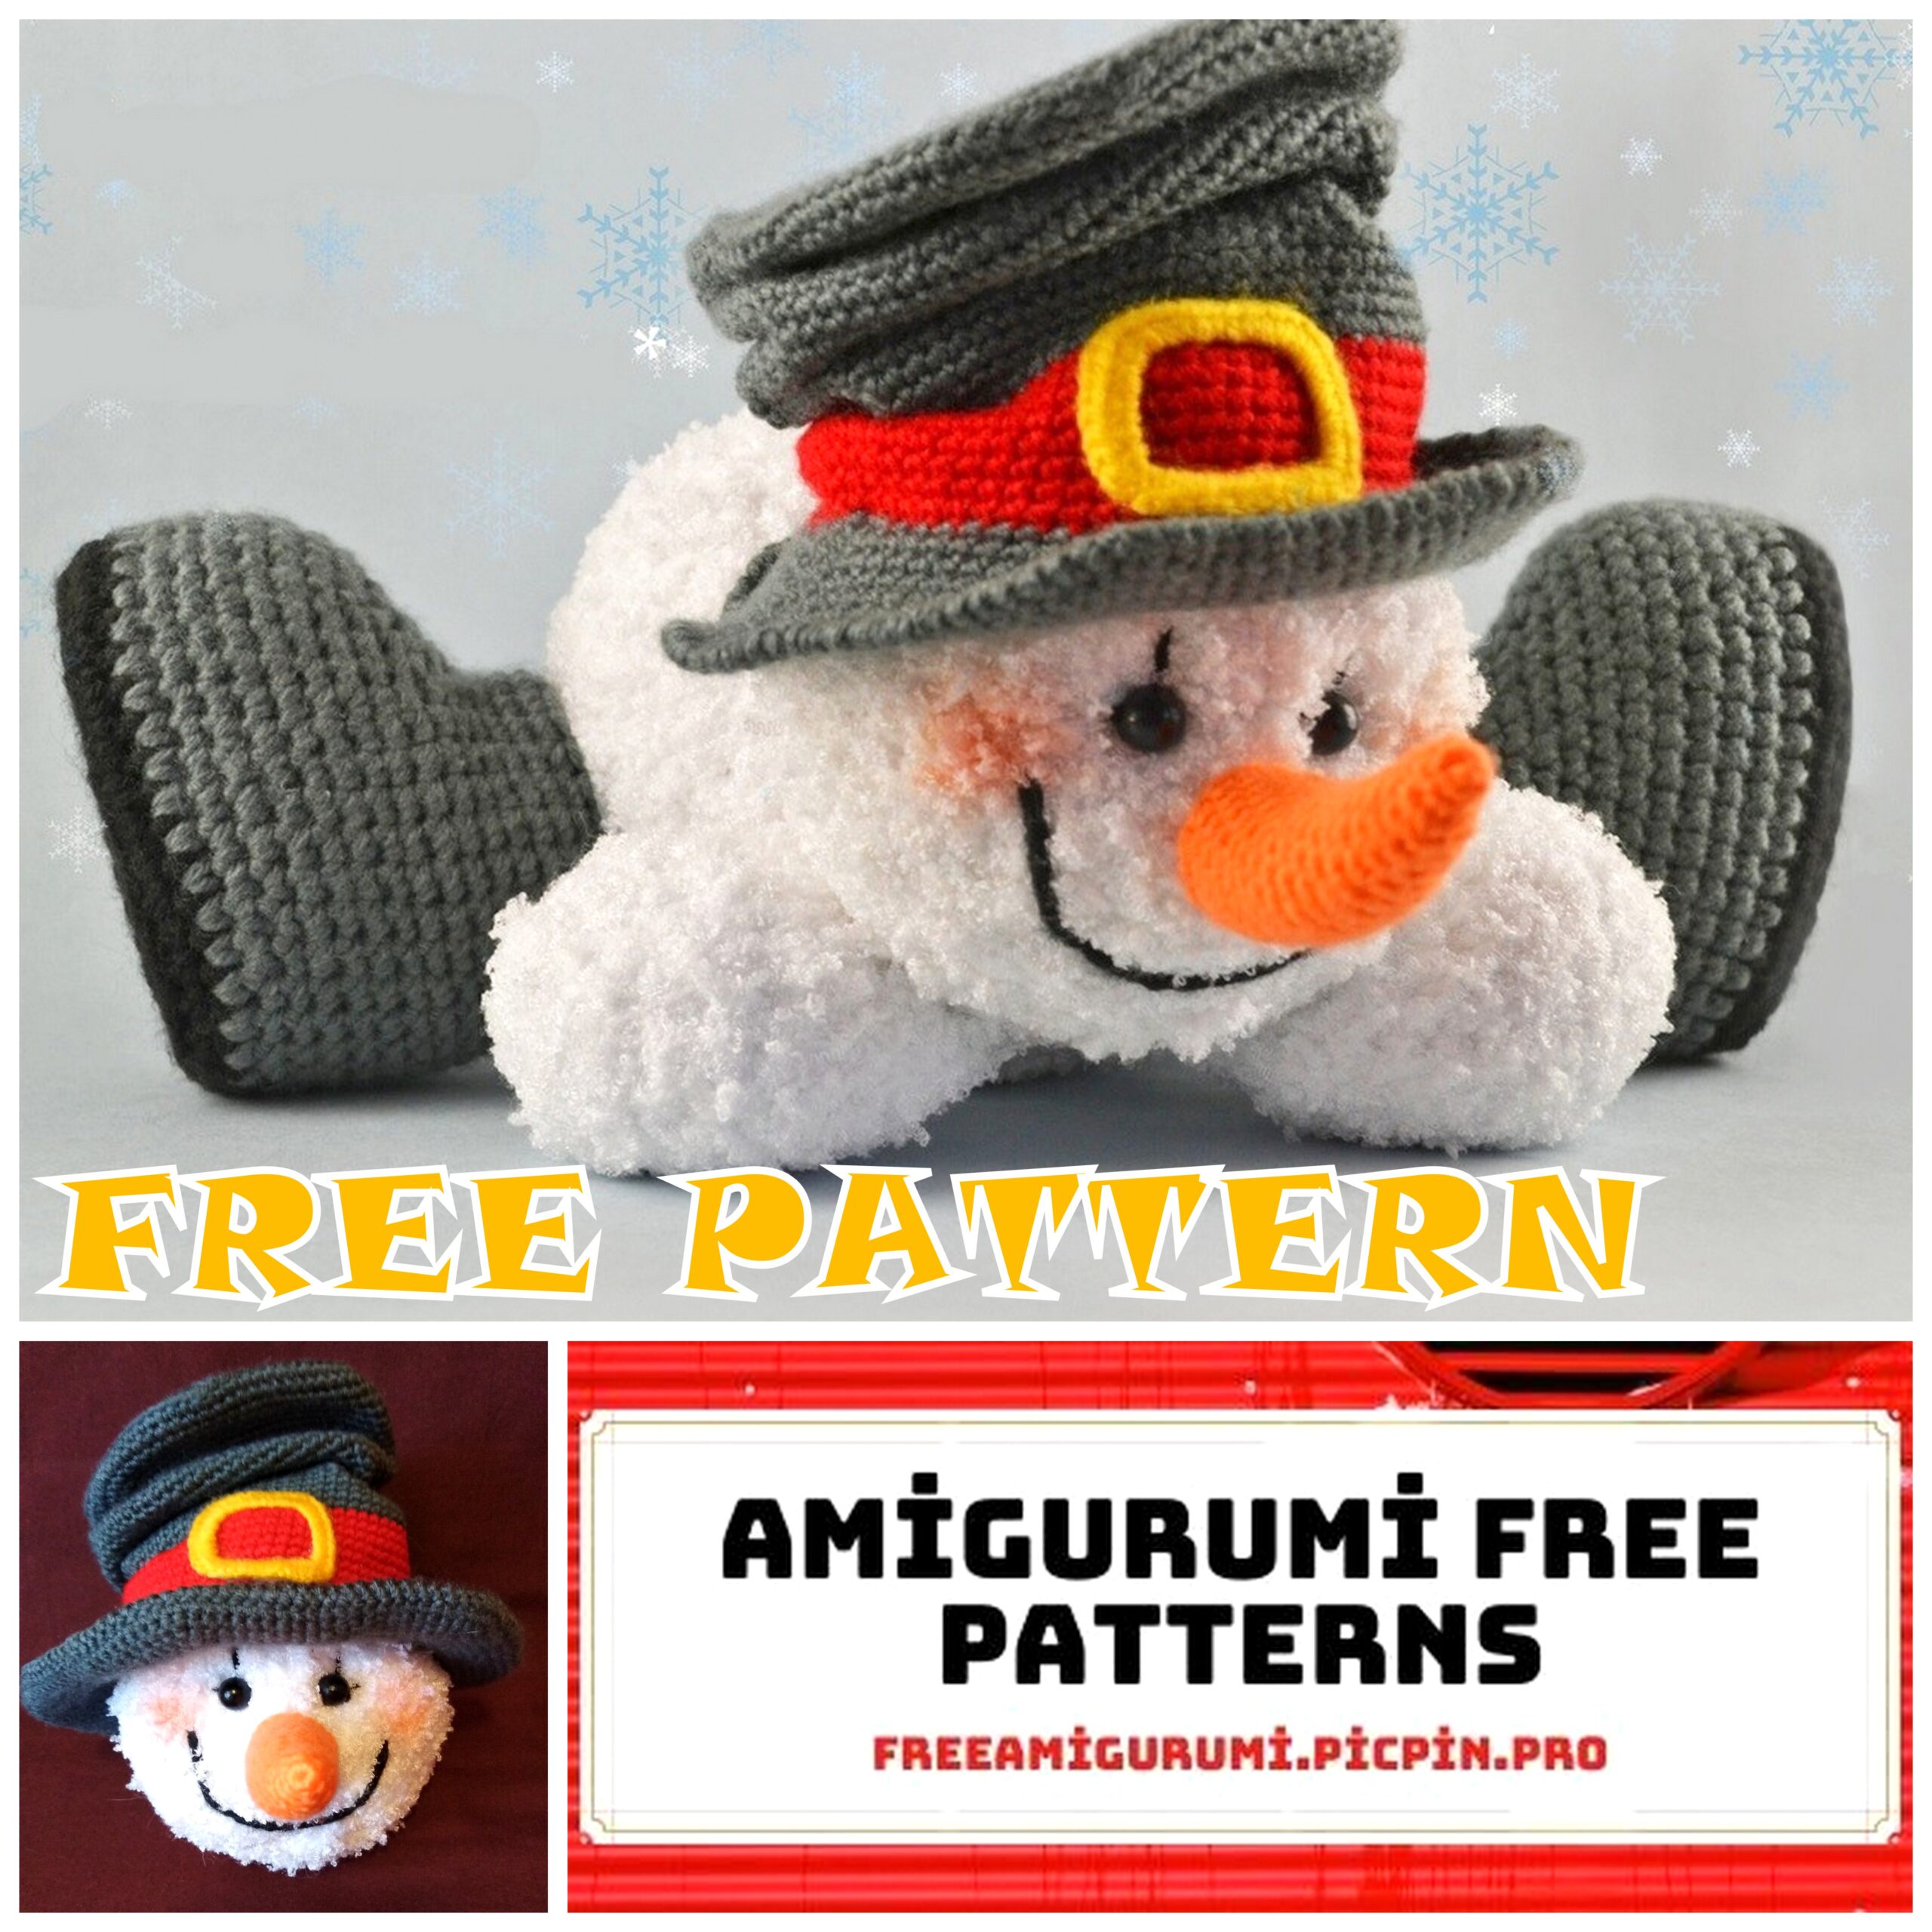
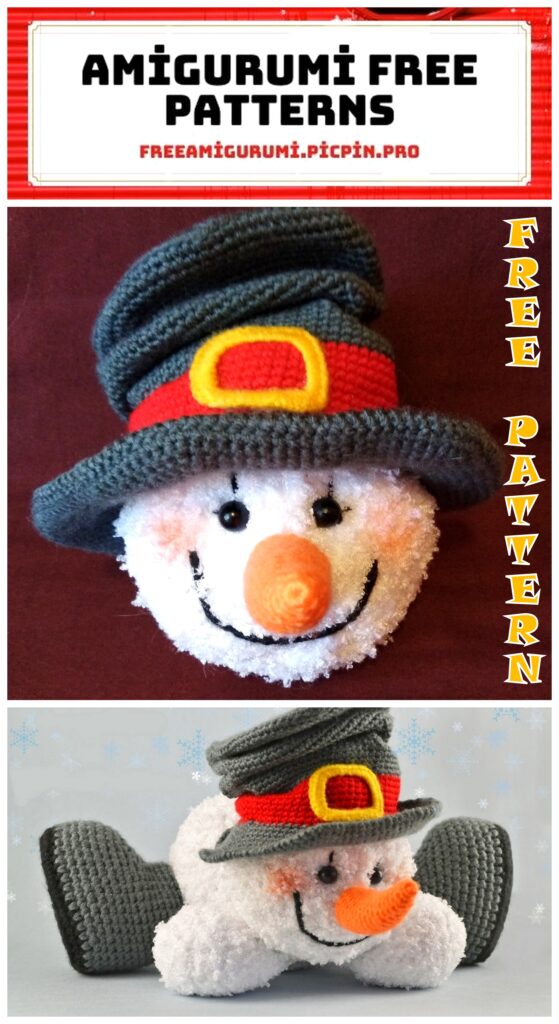
Little Snowman Amigurumi Free Crochet Pattern
Different amigurumi patterns are available for free on this site. I shared amigurumi snowman pattern with you in this article.
Snowman
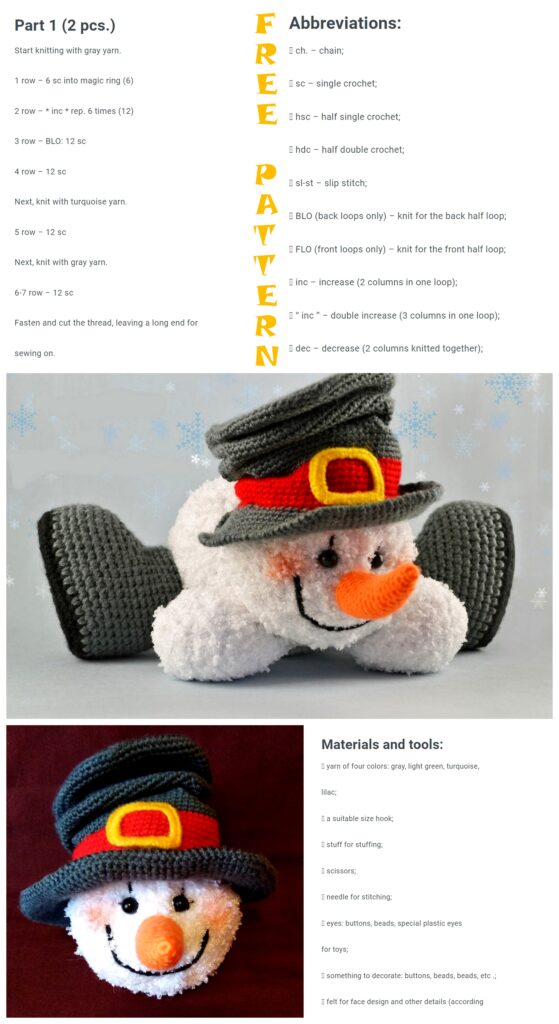
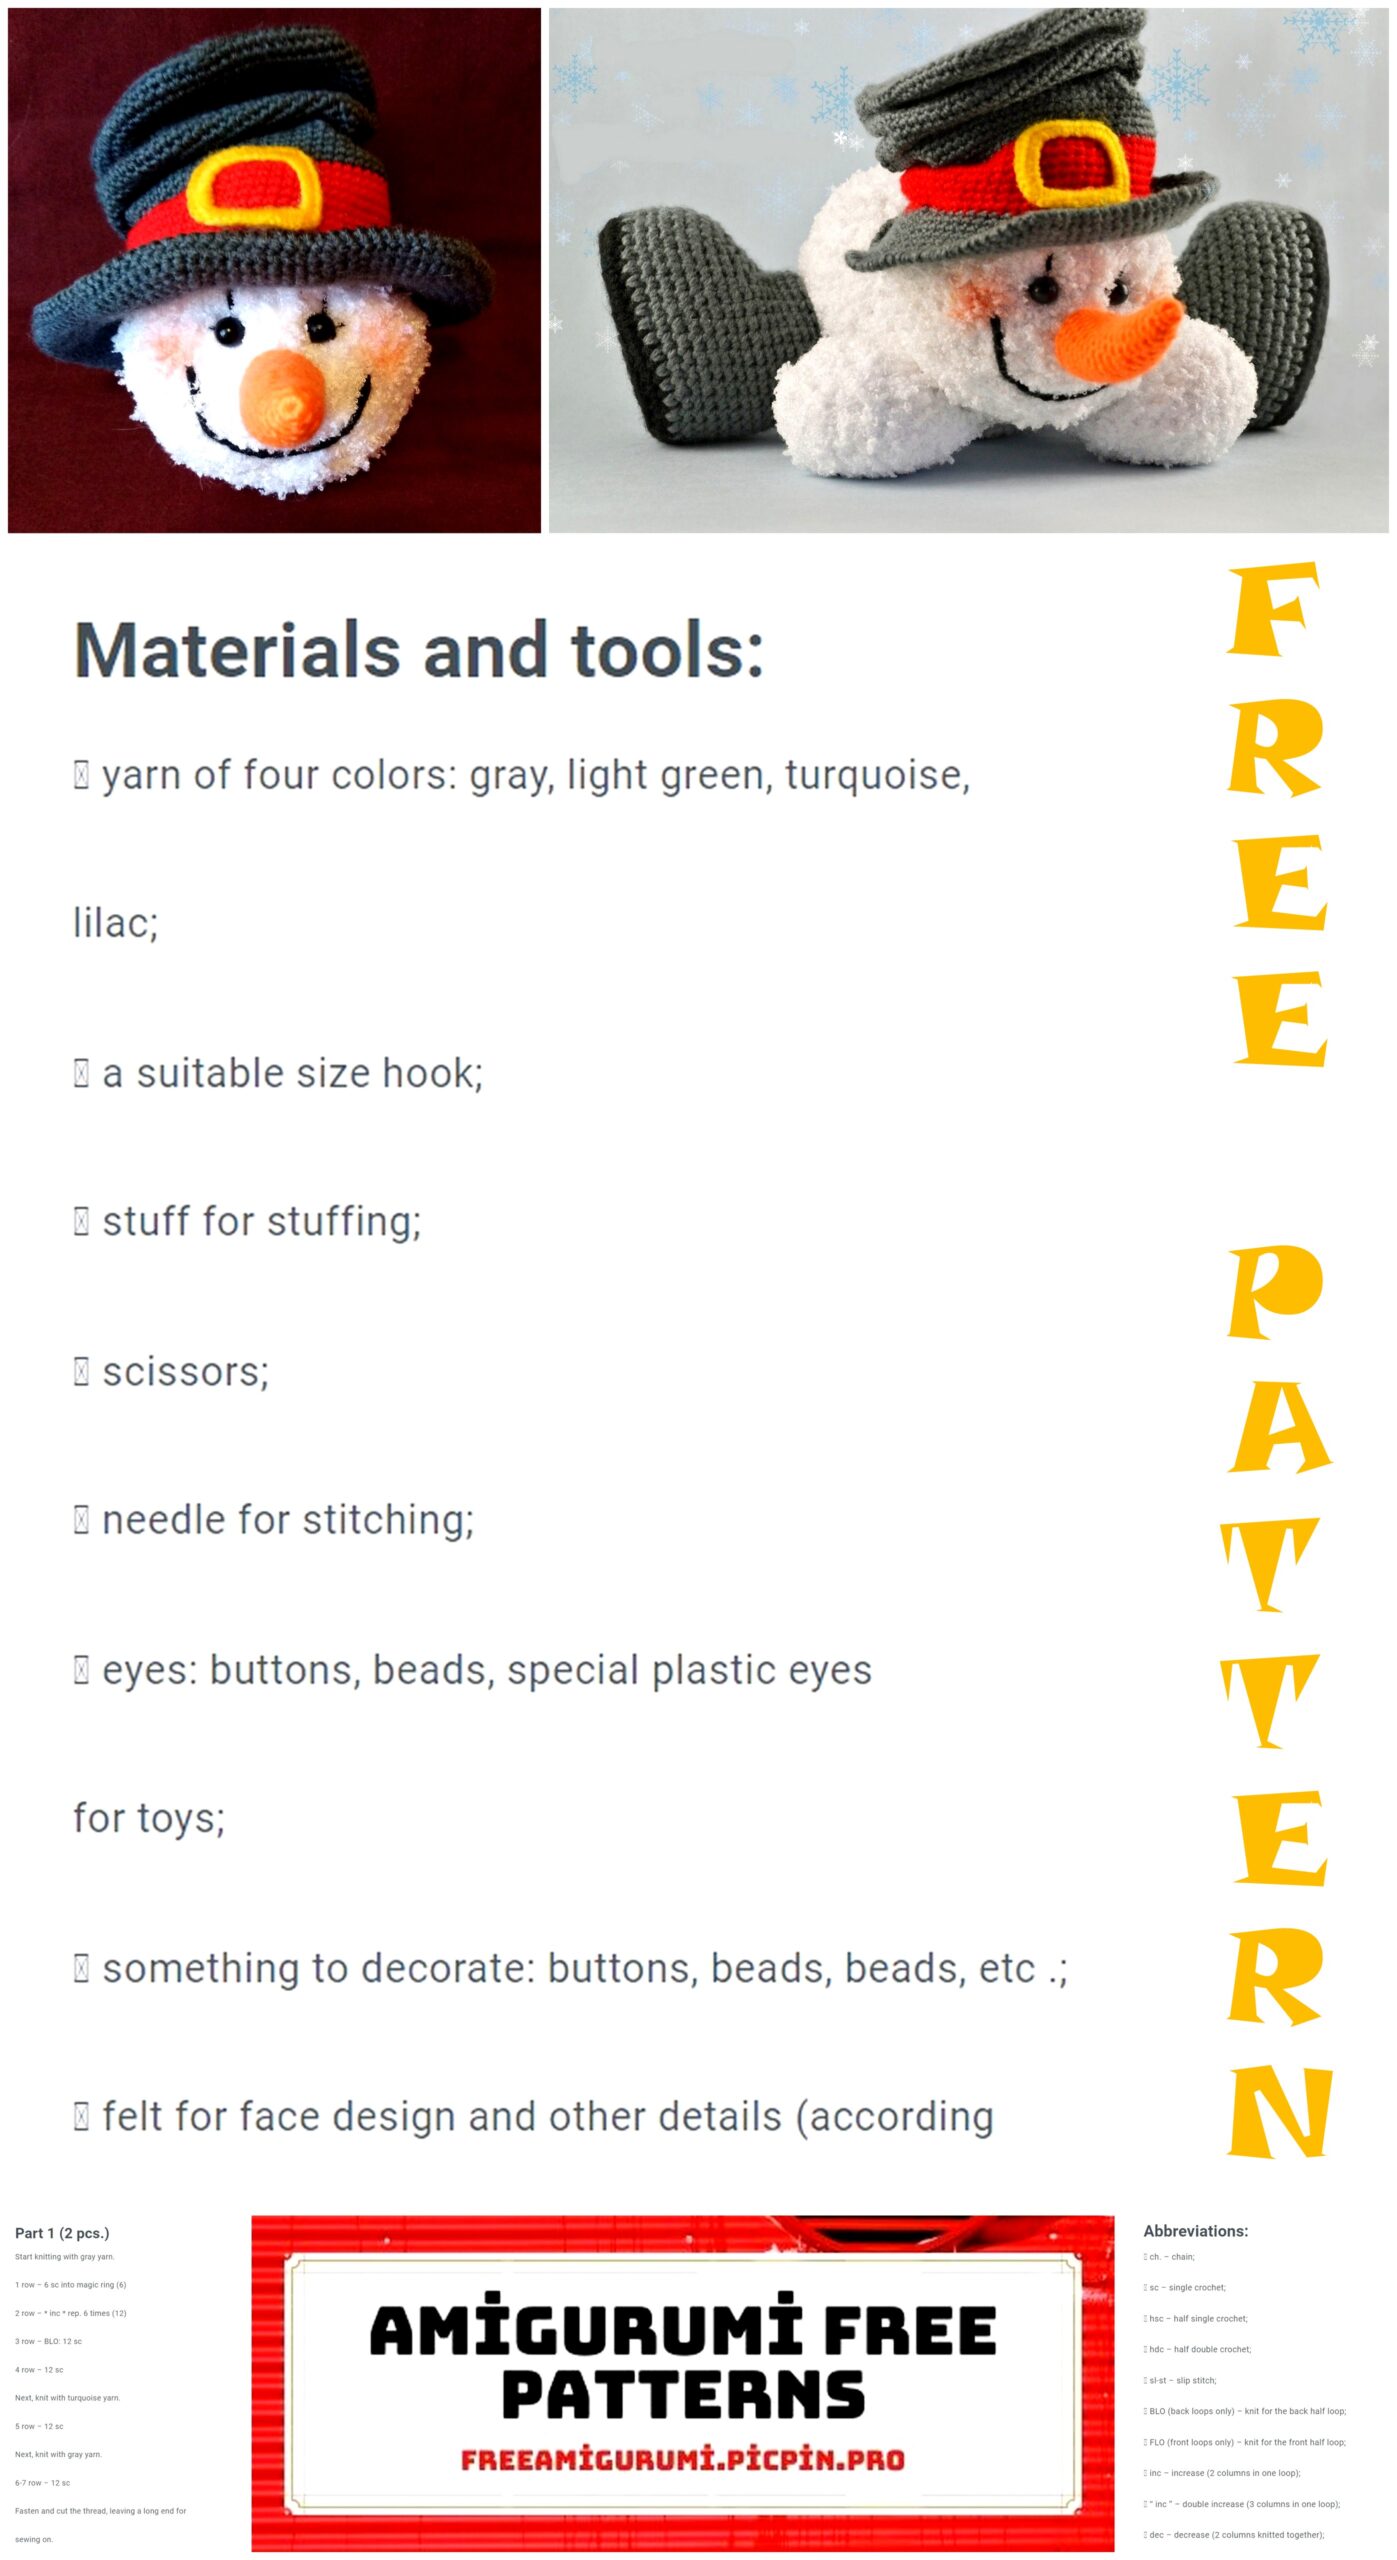
Materials:
Hook No. 1.25 and No. 3
Yarn “Pekhorka” “Children’s novelty”, 100% high-volume acrylic, 200m / 50gr, color: 01 – white, 02 – black, 12 – yolk, 88 – red poppy, 284 – orange, 490 – boxwood.
Yarn “ZIKZAK” “VisantiA” 100% polyester, 100m / 100gr, color 0001 – white.
Black beads: 2 pcs diameter 10 mm
Filler: synthetic winterizer, holofiber, etc.
A gun with hot melt glue for gluing toy parts (you can sew on, but it was more convenient for me).
Glue Moment Crystal
Darning needle.
Thick cardboard
The size of the finished toy: 15 cm high, 24 cm wide from the sole to the boot sole
Abbrevations:
sc – single crochet
inc – 2 single crochet in one loop
dec – 2 single crochets, knitted together
ch – chain
Note: we knit the head, body and arms of a snowman in two threads consisting of Pekhorka yarn “Children’s novelty” color: 01- white and “ZIKZAK” yarn “VisantiA”, color 0001 – white, hook number 3.
Head
1st row: 6 sc in amigurumi ring
2nd row: (inc) – 6 times = 12 sc
3rd row: (sc, inc) – 6 times = 18 sc
4th row: (2 sc, inc) – 6 times = 24 sc
5 row: (3 sc, inc) – 6 times = 30 sc
6 row: (4 sc, inc) – 6 times = 36 sc
7-11 rows: 36 sc
12 row: (4 sc, dec) – 6 times = 30 sc
Row 13: (3 sc, dec) – 6 times = 24 sc
Row 14: (2 sc, dec) – 6 times = 18 sc
15 row: (sc, dec) – 6 times = 12 sc
Fill the part with padding polyester
16 row: (dec) – 6 times = 6 sc
Sew the remaining loops, fasten the knitting, cut the working thread.
Yellow color in photo 2 shows how I embroidered the eyes and mouth of a snowman with simple stitches
Photo 4 shows how I tied my mouth. For clarity of the process, I took a gray thread.
Torso
1st row: 6 sc in amigurumi ring
2nd row: (inc) – 6 times = 12 sc
3rd row: (sc, inc) – 6 times = 18 sc
4th row: (2 sc, inc) – 6 times = 24 sc
5 row: (3 sc, inc) – 6 times = 30 sc
6 row: (4 sc, inc) – 6 times = 36 sc
7 row: (inc, sc) – 12 times; 12 sc = 48 sc
8 row: 48 sc
9th row: (inc) – 2 times; 4 sc; (inc) – 4 times; 38 sc = 54 sc
10-15 rows: 54 sc
16 row: (dec) – 2 times; 4 sc; (dec) – 4 times; 38 sc = 48 sc
17 row: (6 sc, dec) – 6 times = 42 sc
Row 18: (5 sc, dec) – 6 times = 36 sc
19 row: (4 sc, dec) – 6 times = 30 sc
Row 20: (3 sc, dec) – 6 times = 24 sc
Row 21: (2 sc, dec) – 6 times = 18 sc
22 row: (sc, dec) – 6 times = 12 sc
23 row: (dec) – 6 times = 6 sc
Fasten knitting, cut off the working thread.
This detail should not be even, we should get an imitation of a melting ball of a snowman.
The beginning of knitting the torso is the butt of the snowman. (an even edge is shown on the right, on the left we knit irregularities with the help of increments)
(torso and head of a snowman)
Hands (we knit two parts the same)
1st row: 6 sc in amigurumi ring
2nd row: (inc) – 6 times = 12 sc
3rd row: (sc, inc) – 6 times = 18 sc
4th row: (2 sc, inc) – 6 times = 24 sc
Rows 5-7: 24 sc
8 row: (2 sc, dec) – 6 times = 18 sc
9 row: 18 sc
10 row: (sc, dec) – 6 times = 12 sc
11 row: 12 sc
12 row: (dec) – 6 times = 6 sc
Sew loops, fasten knitting, cut off the working thread.
Cylinder buckle
Yarn “Pekhorka” “Children’s novelty” color 12 – yolk, hook number 1.25.
We knit a chain of 19 ch and connect it in a circle. Tie ring 38 sc around. Fasten, cut and hide the thread.
Cylinder
Yarn “Pekhorka” “Children’s novelty” color 490 – boxwood, hook number 1.25.
Knit a circle of sc according to pattern # 2 until there are 12 sc between the increments.
Scheme No. 2, namely:
1st row: 6 sc in amigurumi ring
2nd row: inc – 6 times = 12 sc
3rd row: (sc, inc) – 6 times = 18 sc
4th row: (2 sc, inc) – 6 times = 24 sc
5 row: (3 sc, inc) – 6 times = 30 sc
6 row: (4 sc, inc) – 6 times = 36 sc
7 row: (5 sc, inc) – 6 times = 42 sc
8 row: (6 sc, inc) – 6 times = 48 sc
9th row: (7 sc, inc) – 6 times = 54 sc
10 row: (8 sc, inc) – 6 times = 60 sc
11 row: (9 sc, inc) – 6 times = 66 sc
12th row: (10 sc, inc) – 6 times = 72 sc
13th row: (11 sc, inc) – 6 times = 78 sc
Row 14: (12 sc, inc) – 6 times = 84 sc
Cut a circle out of cardboard by the diameter of the connected circle
15 row: 84 sc behind the back walls of the loops
Rows 16-21: 84 sc
22 row: (12 sc, dec) – 6 times = 78 sc
23-29 rows: 78 sc
30 row: (11 sc, dec) – 6 times = 72 sc
31 – 37 rows: 72 sc
38 row: (10 sc, dec) – 6 times = 66 sc
39-43 rows: 66 sc
Attach yarn “Pekhorka” “Children’s novelty” color 88 – red poppy
Rows 44-51: 66 sc
Attach yarn “Pekhorka” “Children’s novelty” color 490 – boxwood
52 row: (10 sc, inc) – 6 times behind the front walls of the loops = 72 sc
Row 53: (11 sc, inc) – 6 times = 78 sc
54 row: (12 sc, inc) – 6 times = 84 sc
55 row: (13 sc, inc) – 6 times = 90 sc
56 row: (14 sc, inc) – 6 times = 96 sc
Row 57: (15 sc, inc) – 6 times = 102 sc
58 row: (16 sc, inc) – 6 times = 108 sc
Row 59: (17 sc, inc) – 6 times = 114 sc
Tie the edge with a crustacean step.
Fasten knitting, cut and hide the working thread.
Apply a small layer of Moment Crystal glue to one side of the cardboard circle, distribute it over the entire surface surface and glue to the bottom of the cylinder.
Sew (I glued) a buckle on the red strip of the cylinder in the form of a square (photo 11).
Divide the cylinder into three parts visually (these will be the places where the stitches will pass). * From the bottom of the cylinder to the beginning of the knitting of the fields, randomly make a few stitches with a needle with boxwood-colored yarn and pull off * (photo 12). This will give the appearance of a crumpled cylinder (Photo 13). Repeat from * to * 2 more times. Fill slightly with padding polyester.
Carrot
Yarn “Pekhorka” “Children’s novelty” color 284 – orange, hook number 1.25.
1st row: 5 sc in amigurumi ring
2nd row: 5 sc
3rd row: sc; inc; 3sc = 6 sc
4th row: (inc, 2sc) – 2 times = 8 sc
5 row: 8 sc
6 row: (inc, 3sc) – 2 times = 10 sc
7 row: 10 sc
8 row: (inc, 4sc) – 2 times = 12 sc
9 row: 12 sc
10 row: (inc, 5sc) – 2 times = 14 sc
11 row: 14 sc
12th row: (inc, 6sc) – 2 times = 16 sc
Rows 13-19: 16 sc
Fasten knitting, cut off the thread taking into account the length for sewing to the head. Fill the product with padding polyester.
Valenki (we knit two parts the same)
Note: we knit boots in two threads crochet number 3.
Sole:
yarn “Pekhorka” “Children’s novelty” color 02 – black We knit the sole according to the scheme No. 3
Scheme No. 3
Cut out a piece of cardboard equal to the knitted sole.
Continue to knit one row with 42 sc black yarn in a circle behind the back walls of the loops.
We attach the yarn “Pekhorka” “Children’s novelty” color 490-boxwood and knit 7 rows 42 sc in a circle.
Note: to form a felt boot, in this case, SLIMMING means: sc, skip 1 loop.
We knit a felt boot as follows: 15 sc; (dec) -5 times; 31 sc; (dec) – 4 times; 27 sc; (dec) – 4 times; 25 sc; (dec) – 2 times; 26 sc; dec. Next, knit 4 rows of 26 sc in a circle.
Fasten knitting, cut and hide the thread.
Apply a small layer of Moment Crystal glue to one side of the cardboard part, spread it over the entire surface and glue it to the bottom of the felt boot.
Fill the product tightly with padding polyester.
Assembling a snowman
Sew (glue) beady eyes, a carrot nose, a cylinder to the head. Sew boots and head (glue) to the body.
THIS IS ALL, OUR SNOWMAN IS READY!


