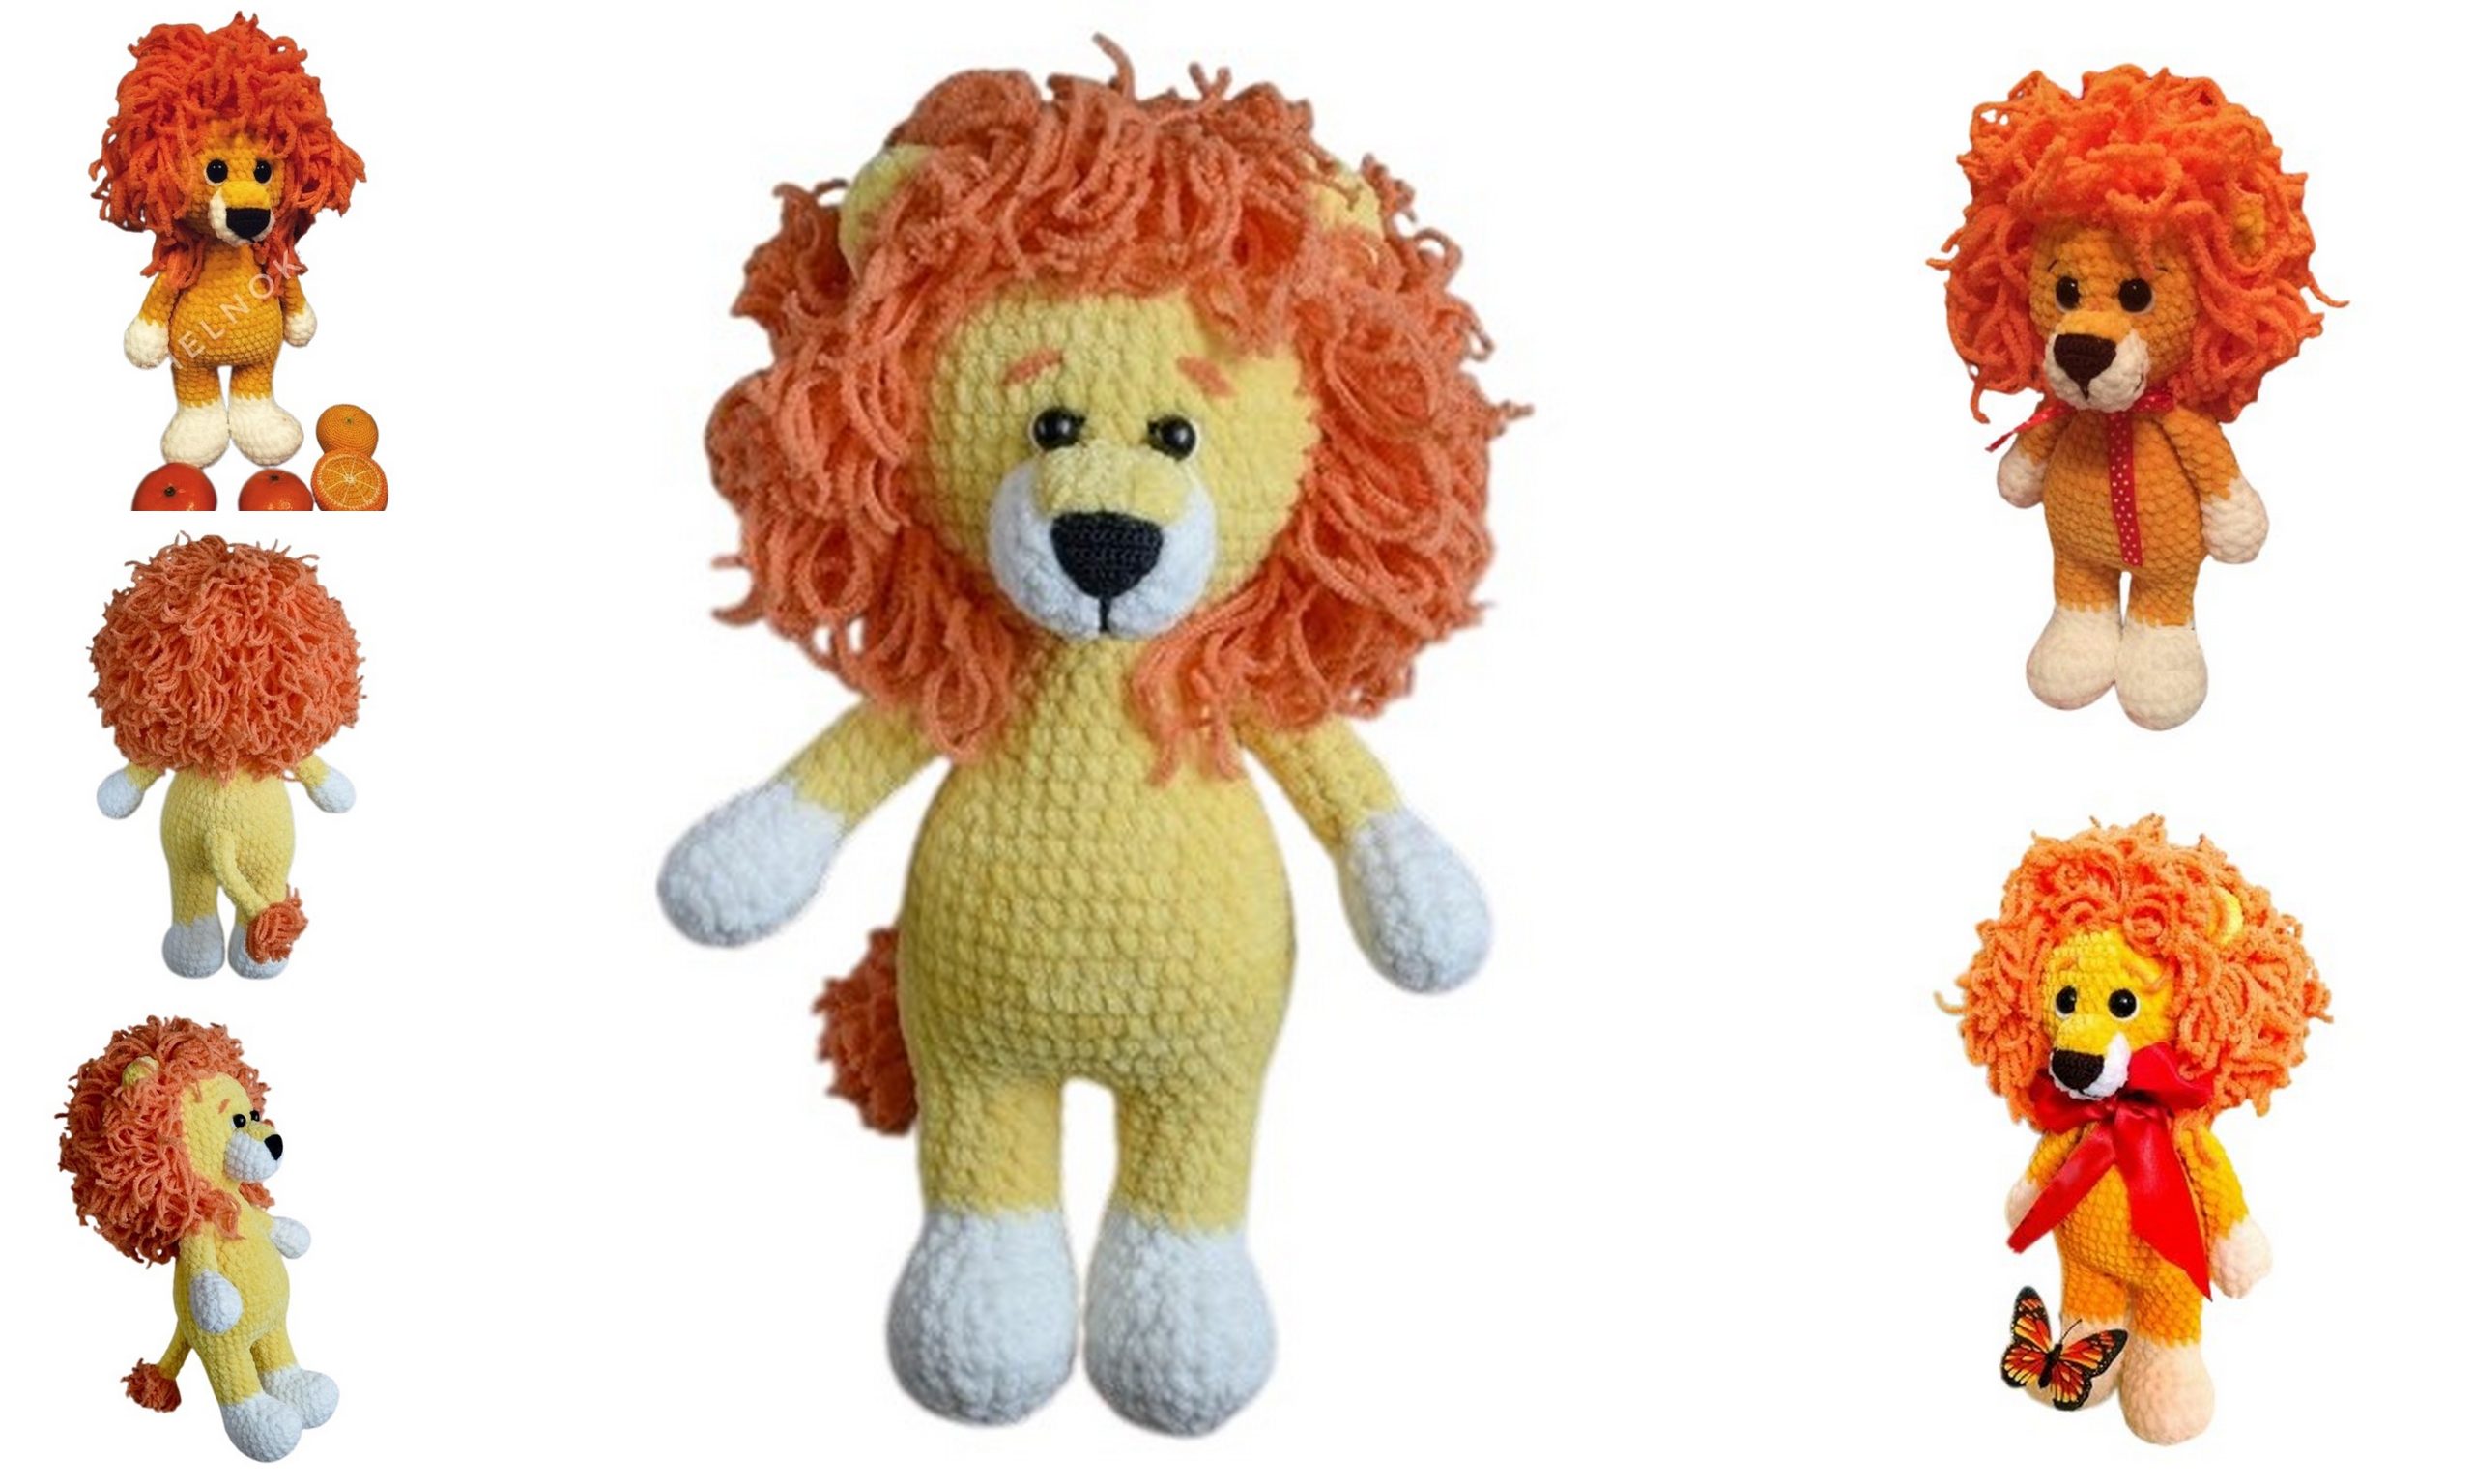
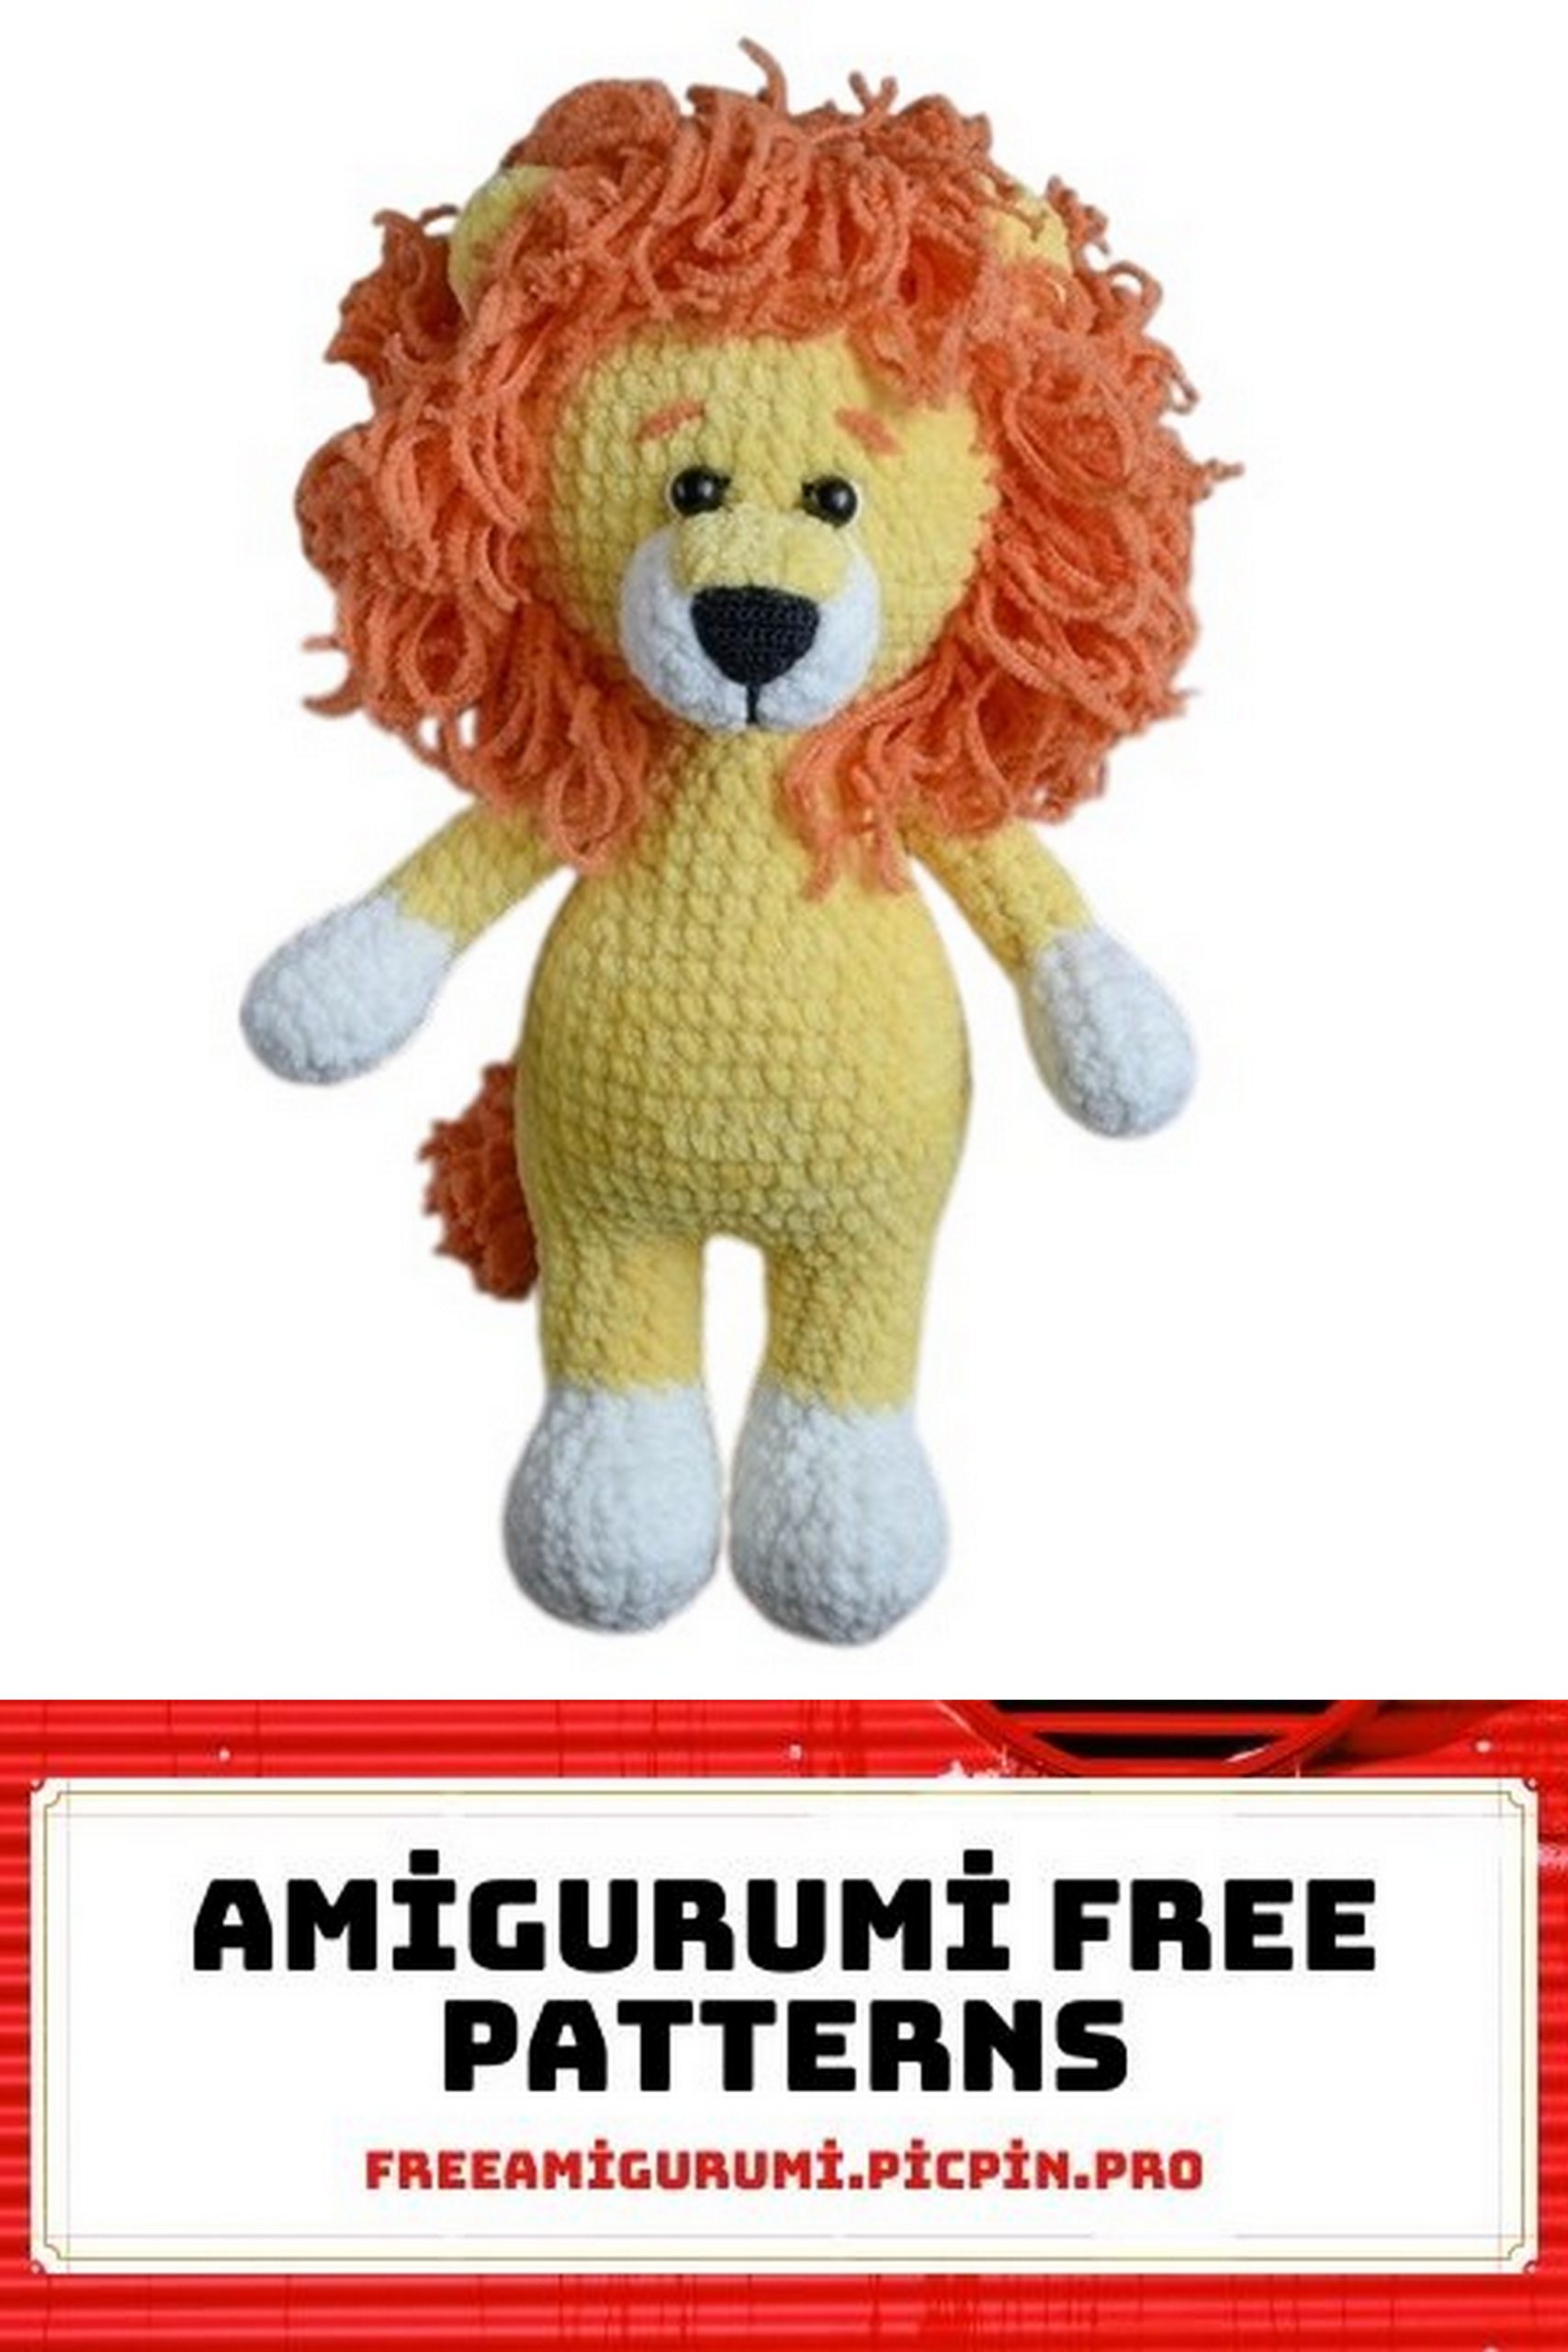
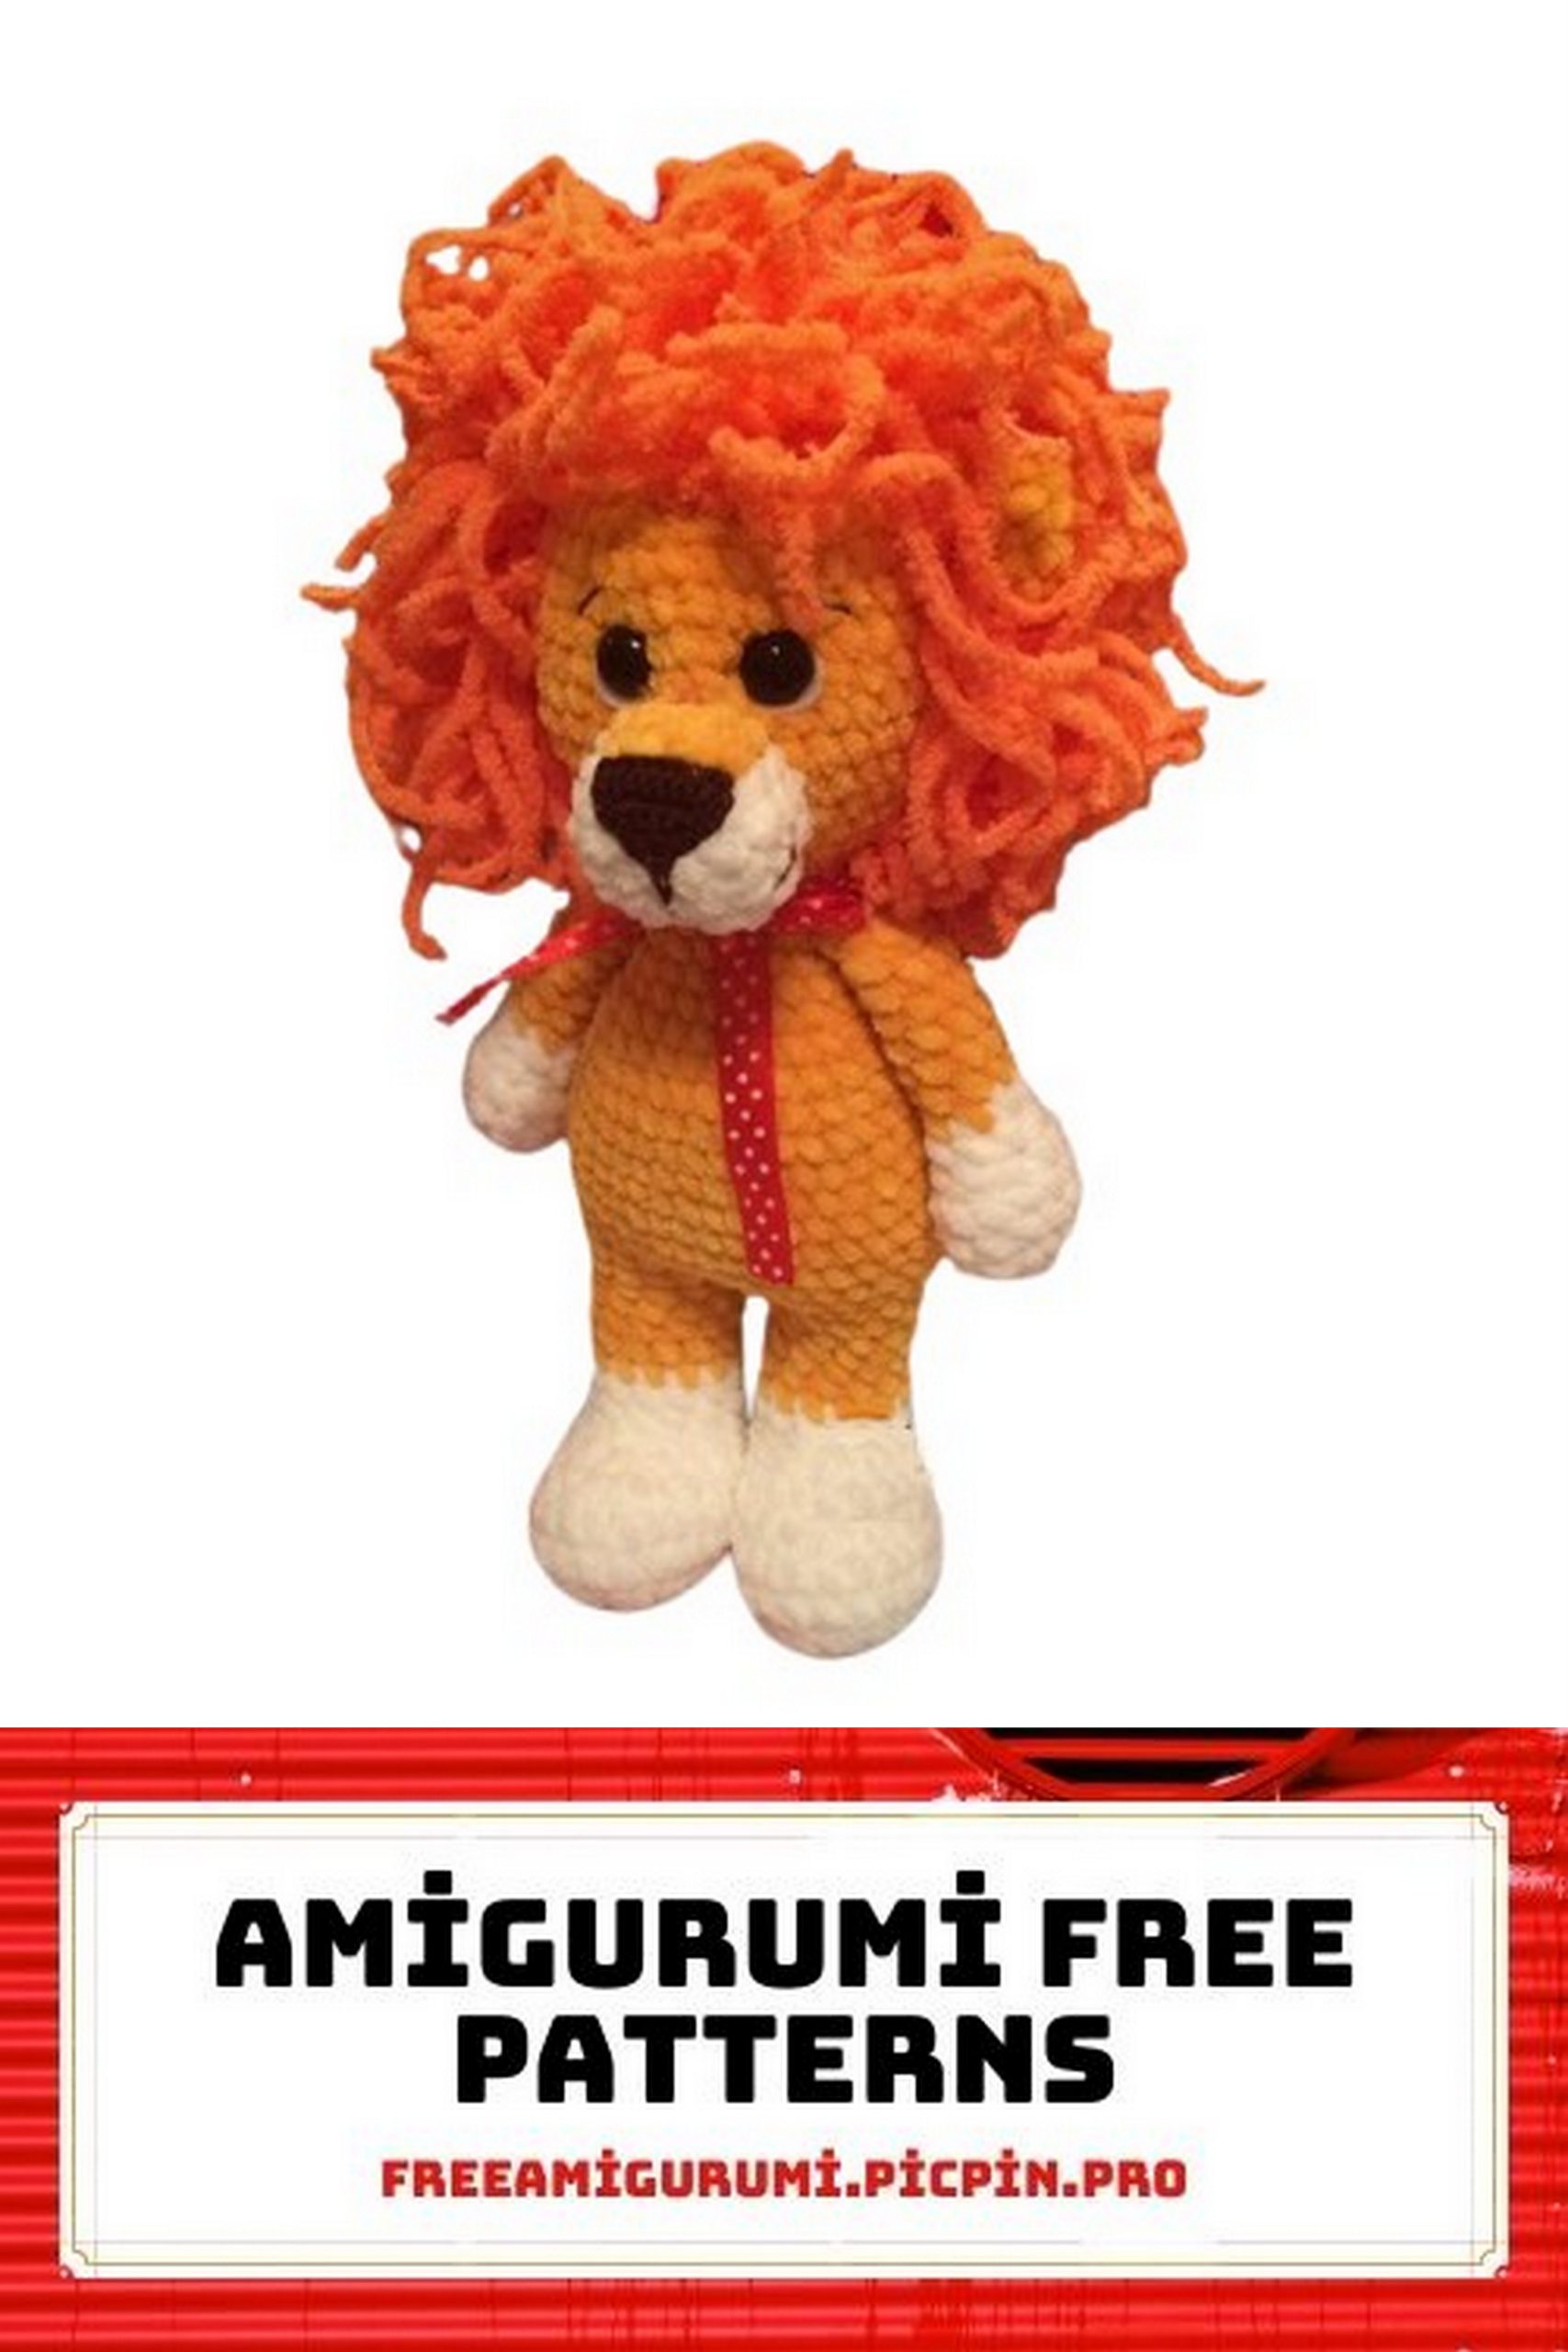
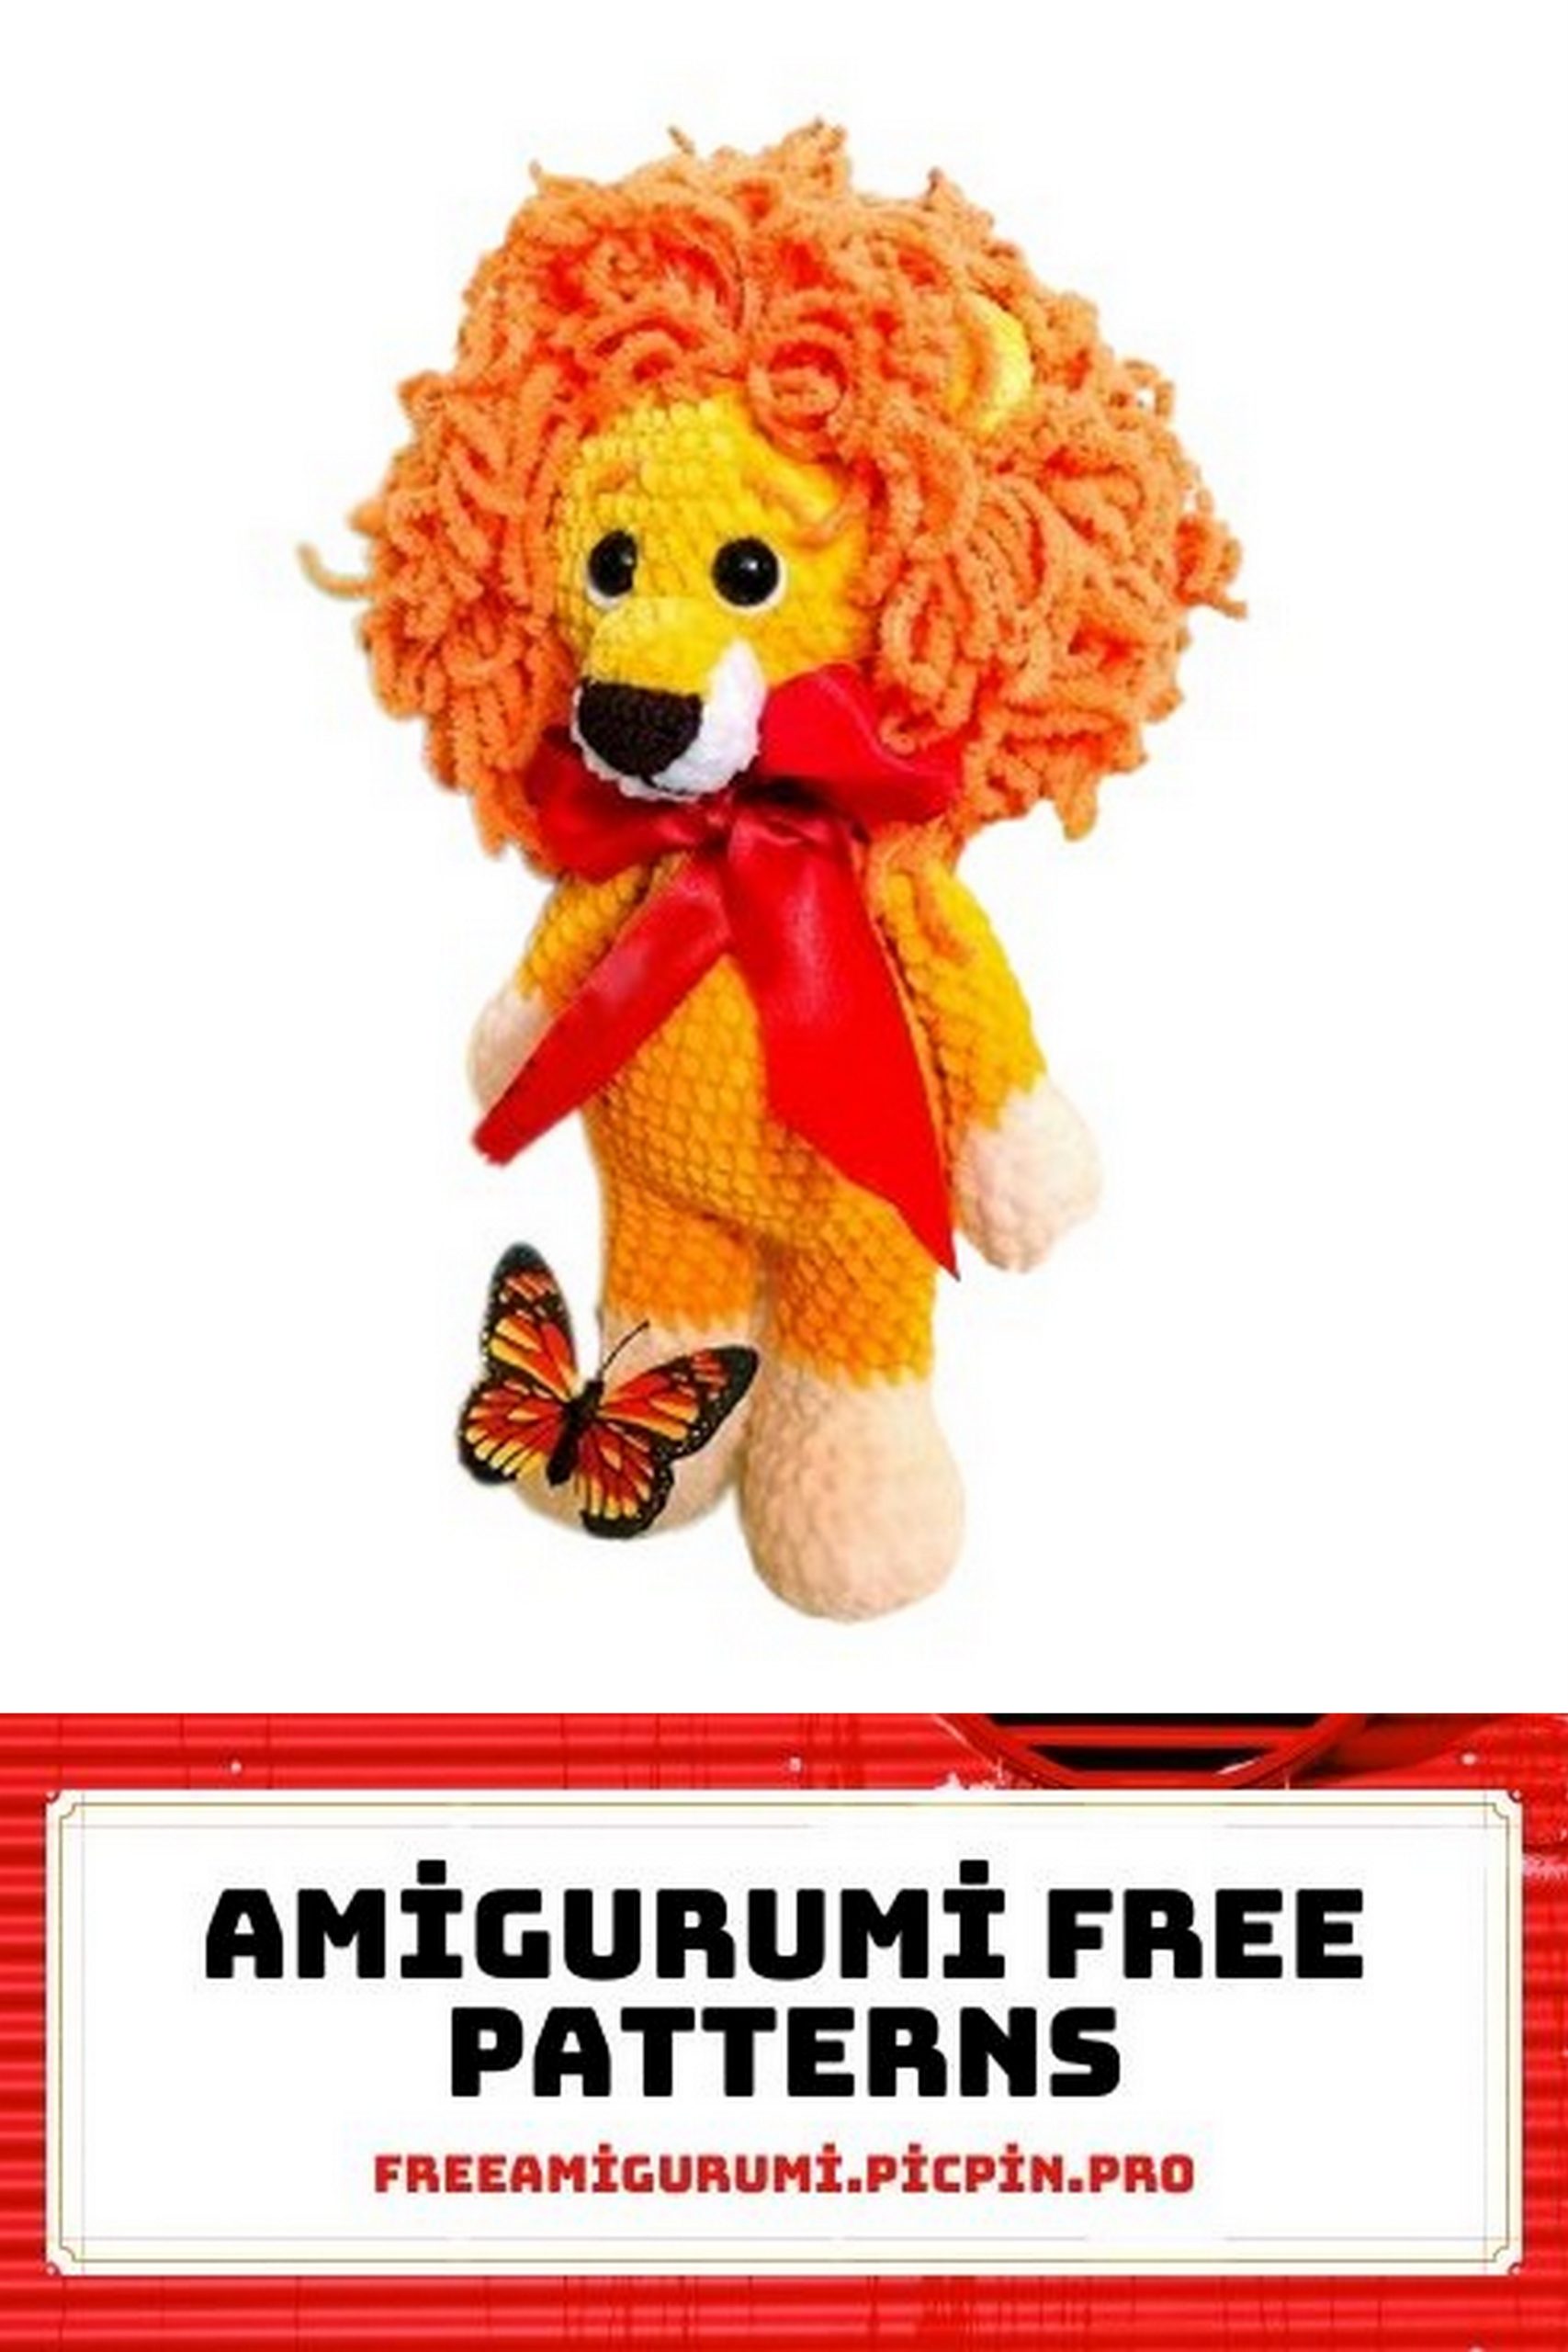
Free Amigurumi Lion Pattern: Craft Your Own Adorable Lion Toy!
Welcome to our delightful world of amigurumi crafting! If you’re looking for a fun and creative project, our free Amigurumi Lion pattern is perfect for you. Amigurumi, the Japanese art of crocheting or knitting cute stuffed animals, has taken the crafting world by storm, and now you can make your very own lovable lion with our step-by-step pattern.
In this post, we’ll provide you with all the details you need to create your amigurumi lion, from the materials required to the stitches used. Whether you’re a seasoned amigurumi enthusiast or a beginner eager to learn, this pattern is designed to be accessible and enjoyable for crafters of all skill levels.
So, grab your yarn, crochet hook, and get ready to embark on a charming amigurumi free pattern adventure as we guide you through the process of making your very own lion toy. Let’s get started!
For this work, you will need:
Skills in crocheting basic elements;
Plush yarn in two colors. I have GalaMix in white and yellow. You’ll need about 30 grams of white and 60 grams of yellow, but I recommend taking a full skein to be sure.
Orange Alize Softy, 30 grams for the mane.
Brown or black cotton yarn for crocheting the nose and embroidering the face. I use Narcissus PNC named after S.M. Kirov.
A 4-5mm hook for plush yarn. Adjust based on your crochet tension. Choose a hook size that results in a tight fabric without holes. I use a 4mm hook for this yarn and a 5mm hook for YarnArt Dolce and similar yarns.
A hook suitable for crocheting with cotton yarn. For Narcissus, I use a 1.5-2mm hook.
Polyester stuffing or other filling.
Safety eyes with a secure fastening, 12-14mm. I’ll use 12mm black eyes. Typically, you can use what you have on hand for this.
White felt for the eyes. If you plan to use 14mm eyes, there’s no need for felt.
A large-eye needle for attaching parts.
Using these materials, the height of the lion will be approximately 30 cm.
Important Note: Yarn consumption mentioned in section I, point 1 is subjective and depends on individual crochet tension.
Abbreviations:
MC – Magic Circle (amigurumi ring);
Sc – Single Crochet;
Inc – Increase (crochet 2 sc in one stitch);
Dec – Decrease (crochet 2 sc together).
Numbers in parentheses indicate the number of stitches in the row.
All parts are crocheted in a spiral. All stitches are worked through both loops of the previous row, except when using the invisible decrease method. I recommend using the invisible decrease method.
Preparing the eyes:
Take felt and the eye washer. The washer is usually slightly larger than the eye.
Trace around the washer on the felt (I traced around a small coin). Cut the felt slightly smaller than the washer.
Insert the washer into the felt.
Trim any excess felt on one side of the eye. Make sure any marks from a pen or pencil are hidden on the inside.
PATTERN
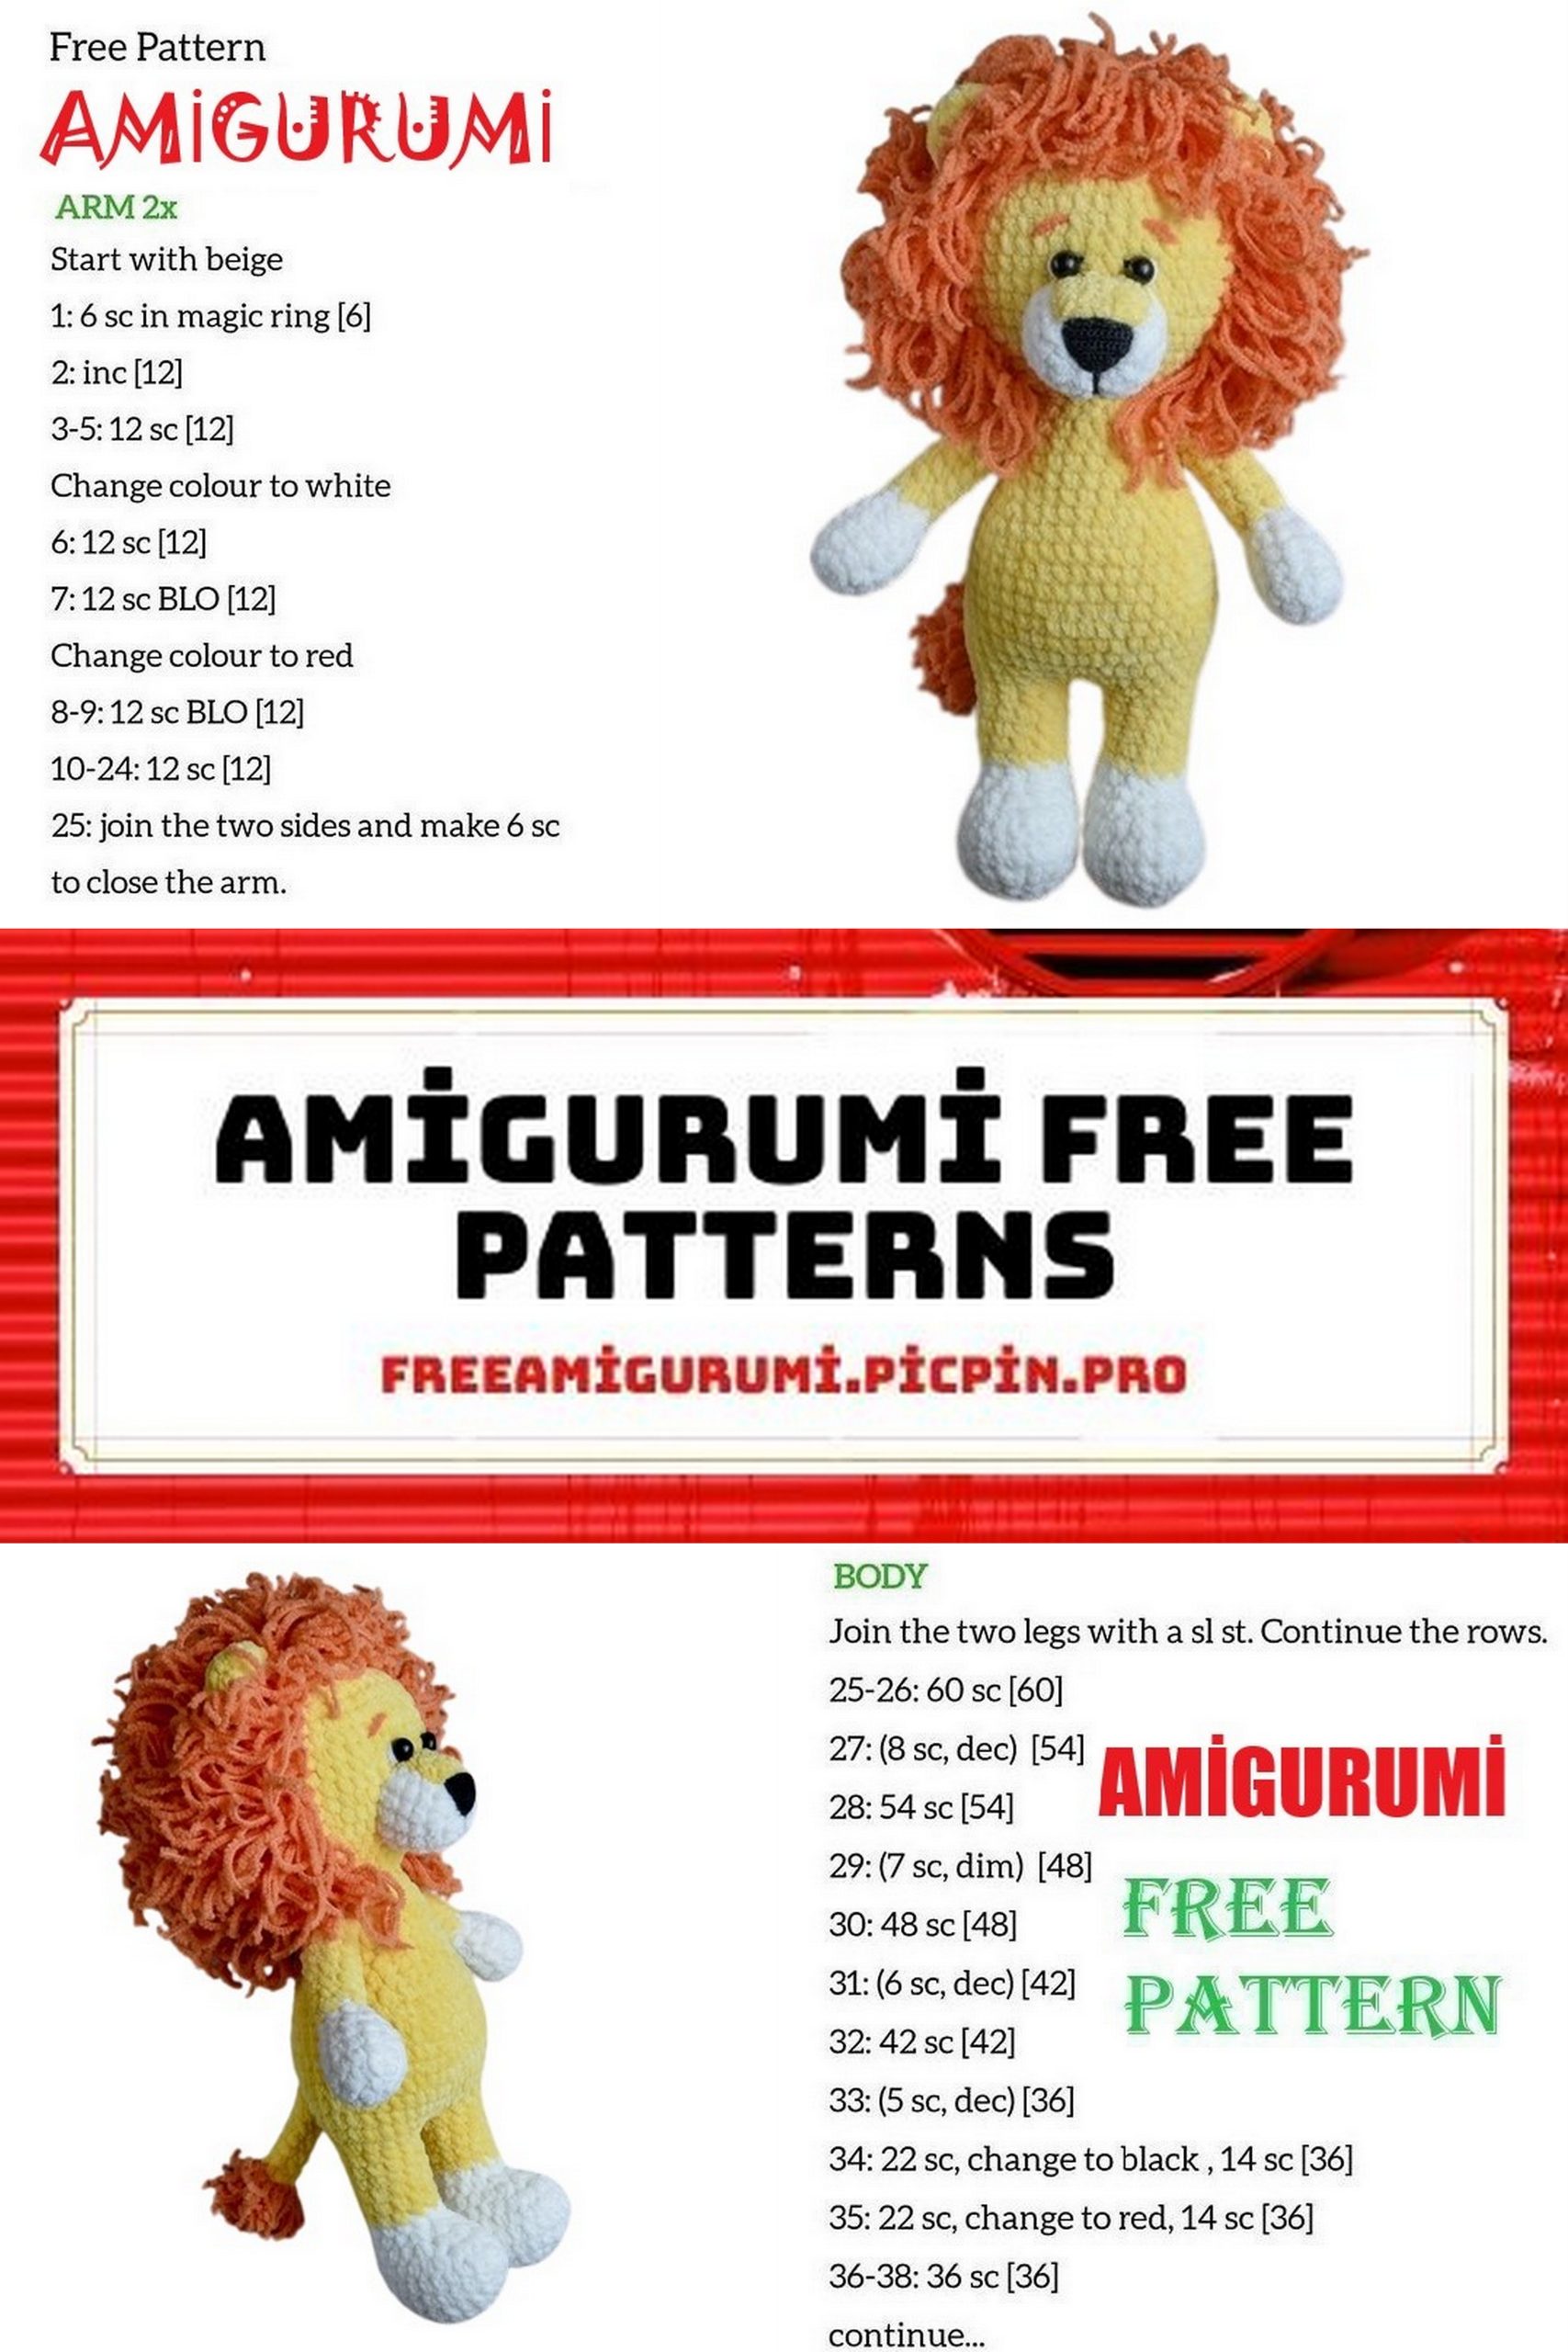
Arms, also known as front legs (2 parts):
White yarn:
Row 1: 6 sc in MC (6).
Row 2: Inc in each stitch around (12).
Rows 3-5: 12 sc (12).
Row 6: (Dec, sc) 4 times (8).
Row 7: 8 sc (8).
Yellow yarn:
Rows 8-15: 8 sc (8).
Do not stuff the arms. Fold them in half and join with 4 sc. Fasten off and hide the end inside the arm. You will attach the arms to the body later.
Legs (rear legs), body, and head are crocheted as one piece:
Start by crocheting the right leg.
Begin with white yarn:
Row 1: 6 sc in MC (6).
Row 2: Inc in each stitch around (12).
Row 3: (Sc, Inc) 6 times (18).
Row 4: (2 Sc, Inc) 3 times, 6 sc (24).
Rows 5-6: 24 sc (24).
Row 7: Dec 4 times, 14 sc, Dec (19).
Row 8: Dec 3 times, 11 sc, Dec (15).
Row 9: Dec 2 times, 11 sc (13).
Row 10: 13 sc (13).
Row 11: 8 sc in white yarn, change to blue yarn, crochet the last 5 sc (13). The color change will be at the back.
Rows 12-15: 13 sc (13).
Important! In Row 15 of the right leg, replace the 13th sc with a slip stitch. We will use this slip stitch to join the legs.
Cut the yarn and hide the end inside the leg. Similarly, crochet the left leg, but do not cut the yarn.
Begin crocheting the body. There may be errors while crocheting the body, as the yarn is quite temperamental and should not be unraveled. Pay attention to the notes at the end of each row; they will help you navigate any situation.
Row 1: Place a marker at the beginning of the row. Crochet 7 sc on the left leg, 2 chains, then crochet 13 sc on the right leg, 2 sc on the chain, and finally, 6 sc on the left leg. You should have a total of 30 sc. Make sure to count the stitches.
Important! To avoid gaps when attaching the legs to the chain, crochet 13 sc on the right leg. It may seem like one sc is not fully crocheted. Insert the hook through that sc, then through the first chain (like making a regular decrease) and crochet. Then insert the hook through the second chain and the 7th sc on the left leg, which is where you began the chain. Crochet. Continue with the 6 sc on the left leg following the pattern.
Row 2: Inc, 5 sc, Inc, 2 sc, Inc, 5 sc, Inc, 5 sc (36). In this row, increases 2 and 3, 5 and 6 are located on either side of the chain.
Row 3: (Inc, 5 sc) x 6 times (42).
Rows 4-10: 42 sc (42).
Row 11: 30 sc, Dec 4 times, 4 sc (38). These decreases shape the buttocks. Ensure they are positioned symmetrically on the back. If the decreases are positioned to the left or right for some reason, try different placement options. For example: 29 sc, Dec 4 times, 5 sc, or 31 sc, Dec 4 times, 3 sc. In the end, there should still be 38 sc in the row.
Stuff the legs.
Row 12: 6 sc, Dec, 10 sc, Dec, 10 sc, 2 Dec, 4 sc (34).
Row 13: 6 sc, Dec, 9 sc, Dec, 10 sc, Dec, 3 sc (31).
Row 14: 6 sc, Dec, 9 sc, Dec, 8 sc, Dec, 2 sc (28).
Row 15: 6 sc, Dec, 7 sc, Dec, 7 sc, Dec, 2 sc (25).
Row 16: 22 sc, Dec (24).
Row 17: 5 sc, Dec, 6 sc, Dec, 6 sc, Dec, sc (21).
Row 18: (5 sc, Dec) x 3 times (18). In this row, we attach the legs in the following way: 3 sc, attach the leg, crochet 2 sc in the place where the leg is attached, Dec, then continue crocheting 5 sc, Dec, attach the other leg, crochet 4 sc in the place where the leg is attached, and continue with sc, Dec. Make sure the arms (front legs) are in their place and symmetrical with respect to the other parts of the body.
Row 19: 18 sc (18).
Row 20: (Dec, sc) x 6 times (12).
If you’ve made any mistakes, improvise! All decreases should be along the spine line and symmetrically on each side of the belly.”
“Stuff the body about 2/3 full, no more. If there’s too much stuffing, it will be uncomfortable to crochet the head. If there’s too little, it will be challenging to distribute it evenly.

Now, let’s start crocheting the head.
Row 1: Into the front loops of the 20th row of the body, (Inc, sc) 6 times (18).
Row 2: (Inc, 2 sc) 6 times (24).
Row 3: (Inc, 3 sc) 6 times (30).
Row 4: (Inc, 4 sc) 6 times (36).
Row 5: (Inc, 5 sc) 6 times (42).
Row 6: (Inc, 6 sc) 6 times (48).
Rows 7-13: (7 rows) 48 sc (48).
Insert the safety eyes between rows 10 and 11, with a distance of 3-4 sc between the edges of the eyes.
Row 14: (6 sc, Dec) 6 times (42).
Row 15: (5 sc, Dec) 6 times (36).
Row 16: (4 sc, Dec) 6 times (30).
Stuff the body up to the halfway point of the head.
Row 17: (3 sc, Dec) 6 times (24).
Row 18: (2 sc, Dec) 6 times (18).
Now, stuff the head.
Row 19: (Sc, Dec) 6 times (12).
Row 20: Dec 6 times (6).
Pull the hole closed, secure the thread, and hide it inside the head.
Muzzle (1 piece):
Using white yarn:
Row 1: 6 sc in MC (6).
Row 2: (Inc in sc, Inc in next sc, Inc) 2 times (12).
Rows 3-5: (3 rows) 12 sc (12).
Using yellow yarn, create a chain of 4 and work 3 rows of 4 sc in turning rows, with the first sc being the turning chain. At the end of crocheting, leave a tail of about 20 cm for sewing the square to the muzzle.
Nose (1 piece):
Using brown cotton yarn, create a chain of 3 in MC and work several rows of 1 increase in each row until you reach the desired nose size. The nose should be crocheted in the round.

Ears (2 pieces):
Row 1: 6 sc in MC (6).
Row 2: Inc in each sc around (12).
Rows 3-4: (2 rows) 12 sc (12).
Row 5: (2 sc, Dec) 3 times (9).
Secure the thread, leaving a 20 cm end for sewing the ears.
Attach the ears to the head between rows 5 and 8 when counted from the top.
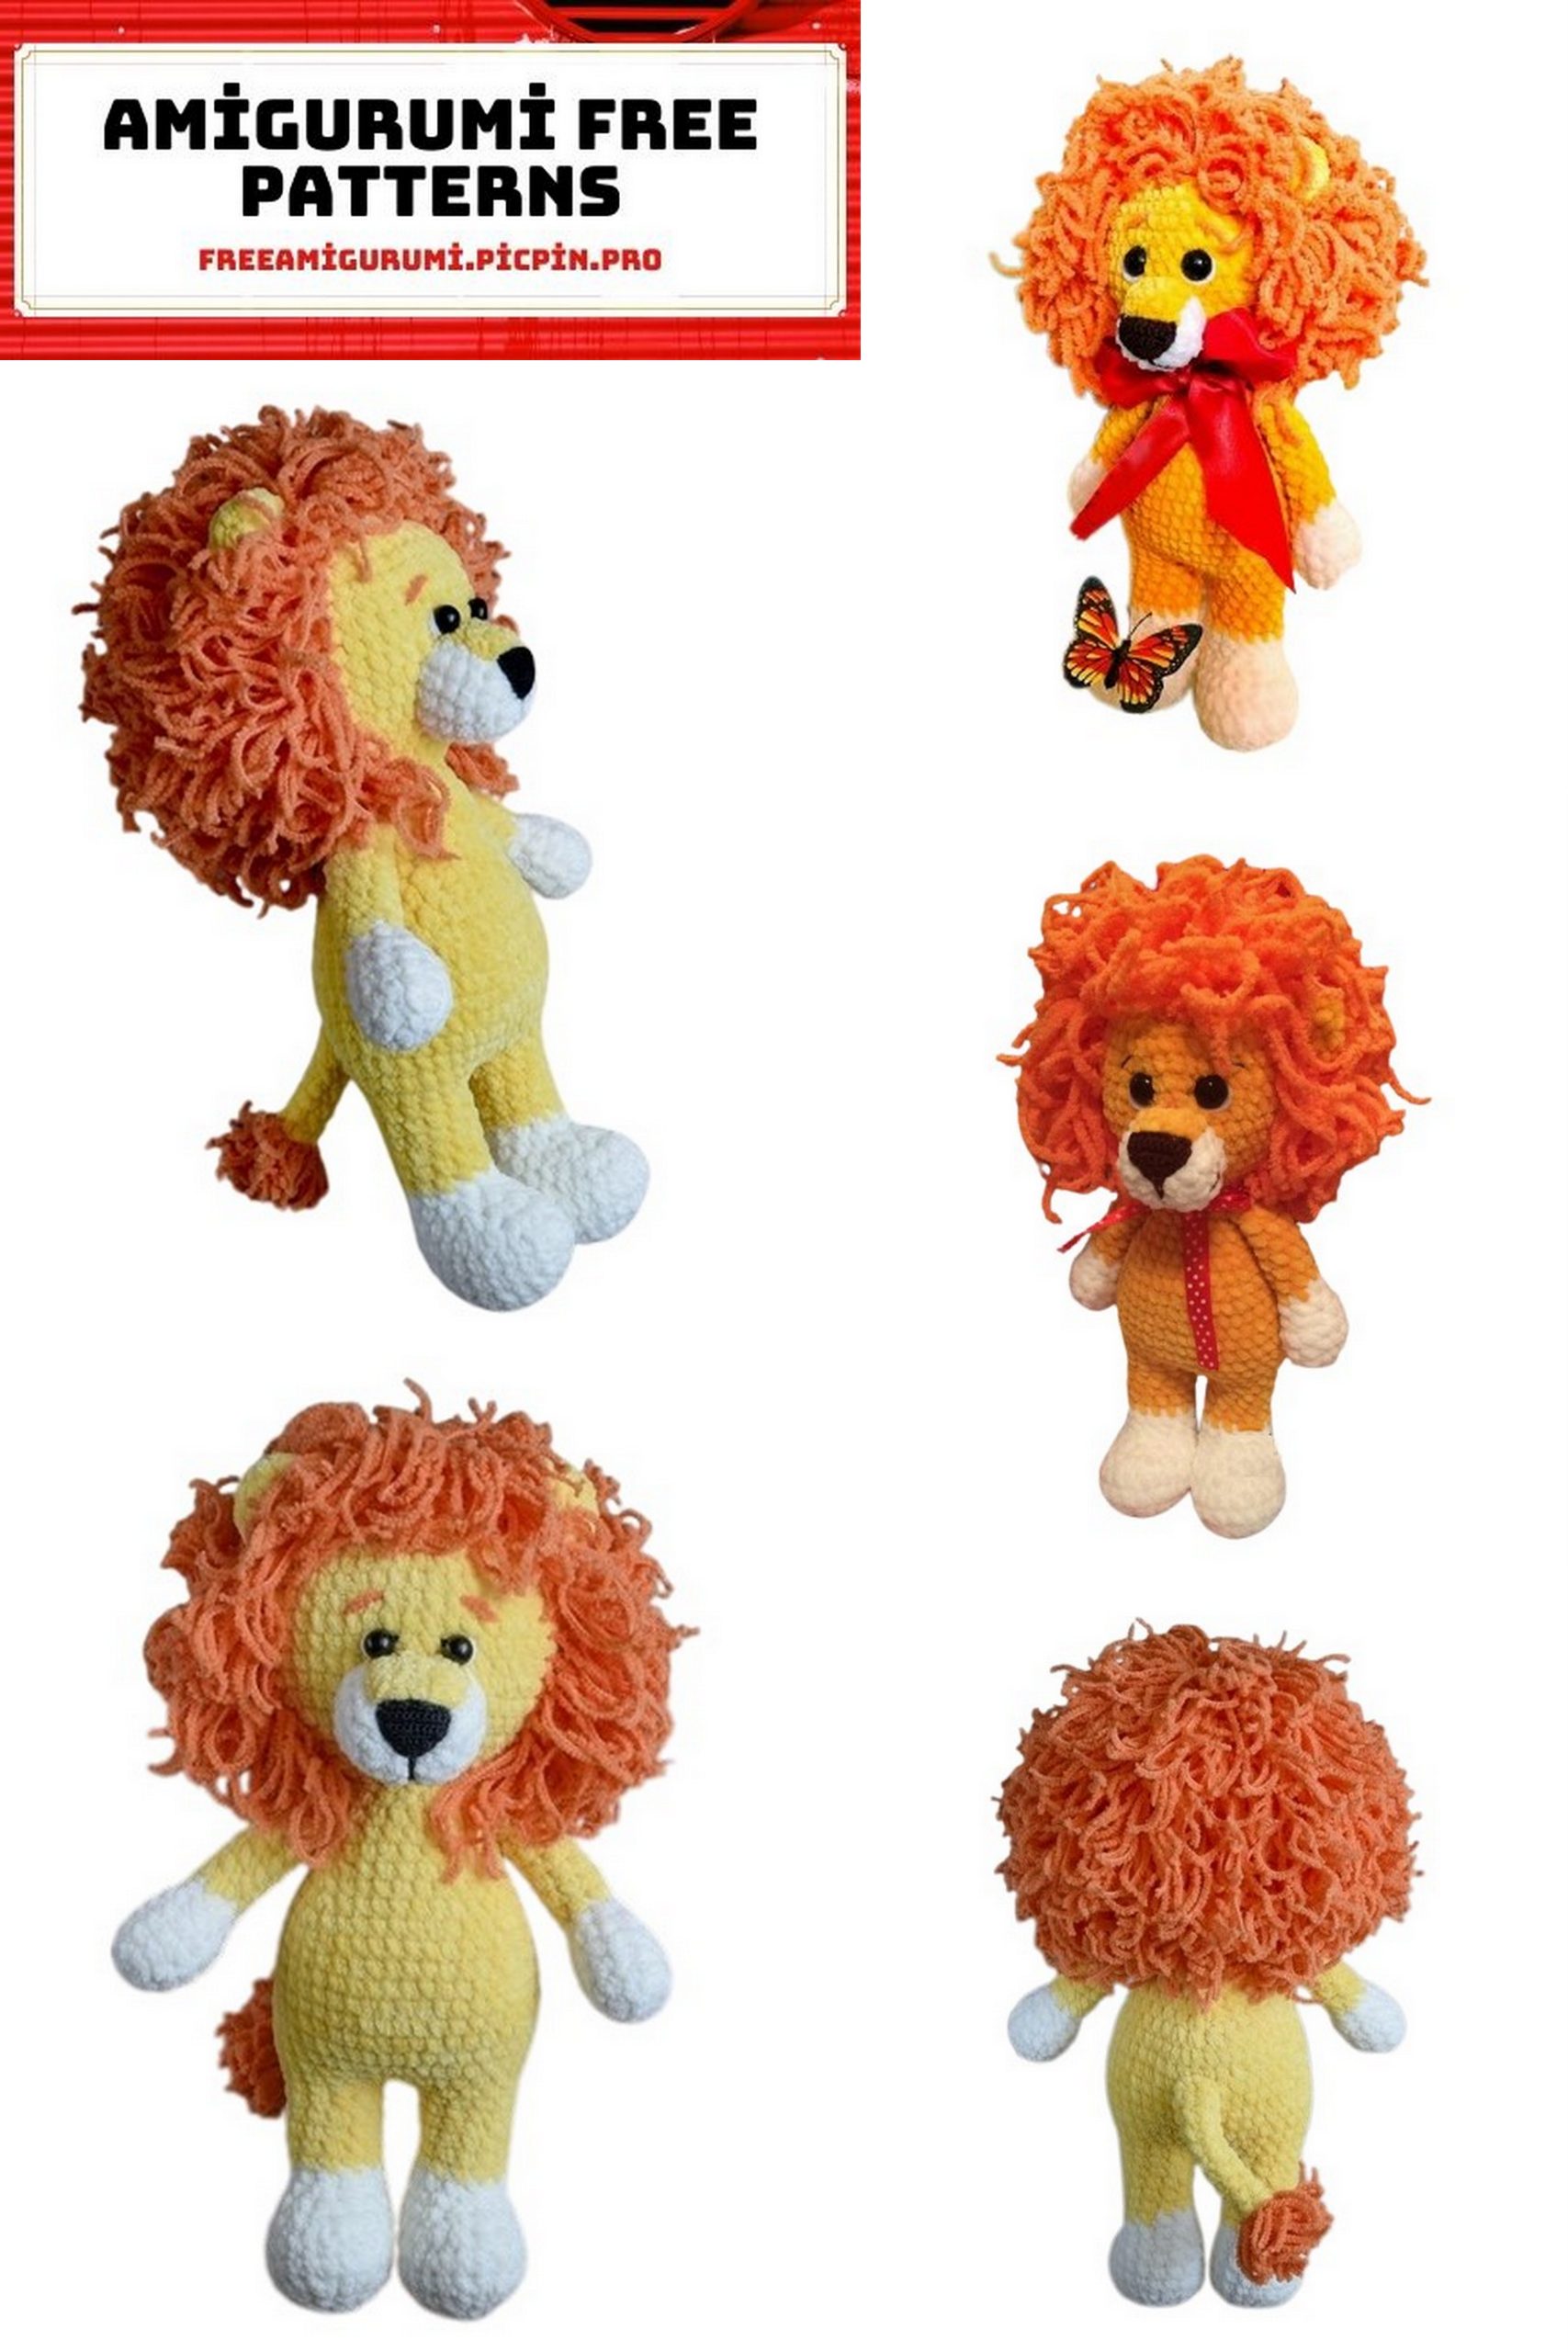
Assemble the muzzle as shown in the picture and sew it as close as possible to the eyes.
Tail (1 piece):
Using yellow yarn, create a chain of 8 and work 7 sc back along the chain.
Mane:
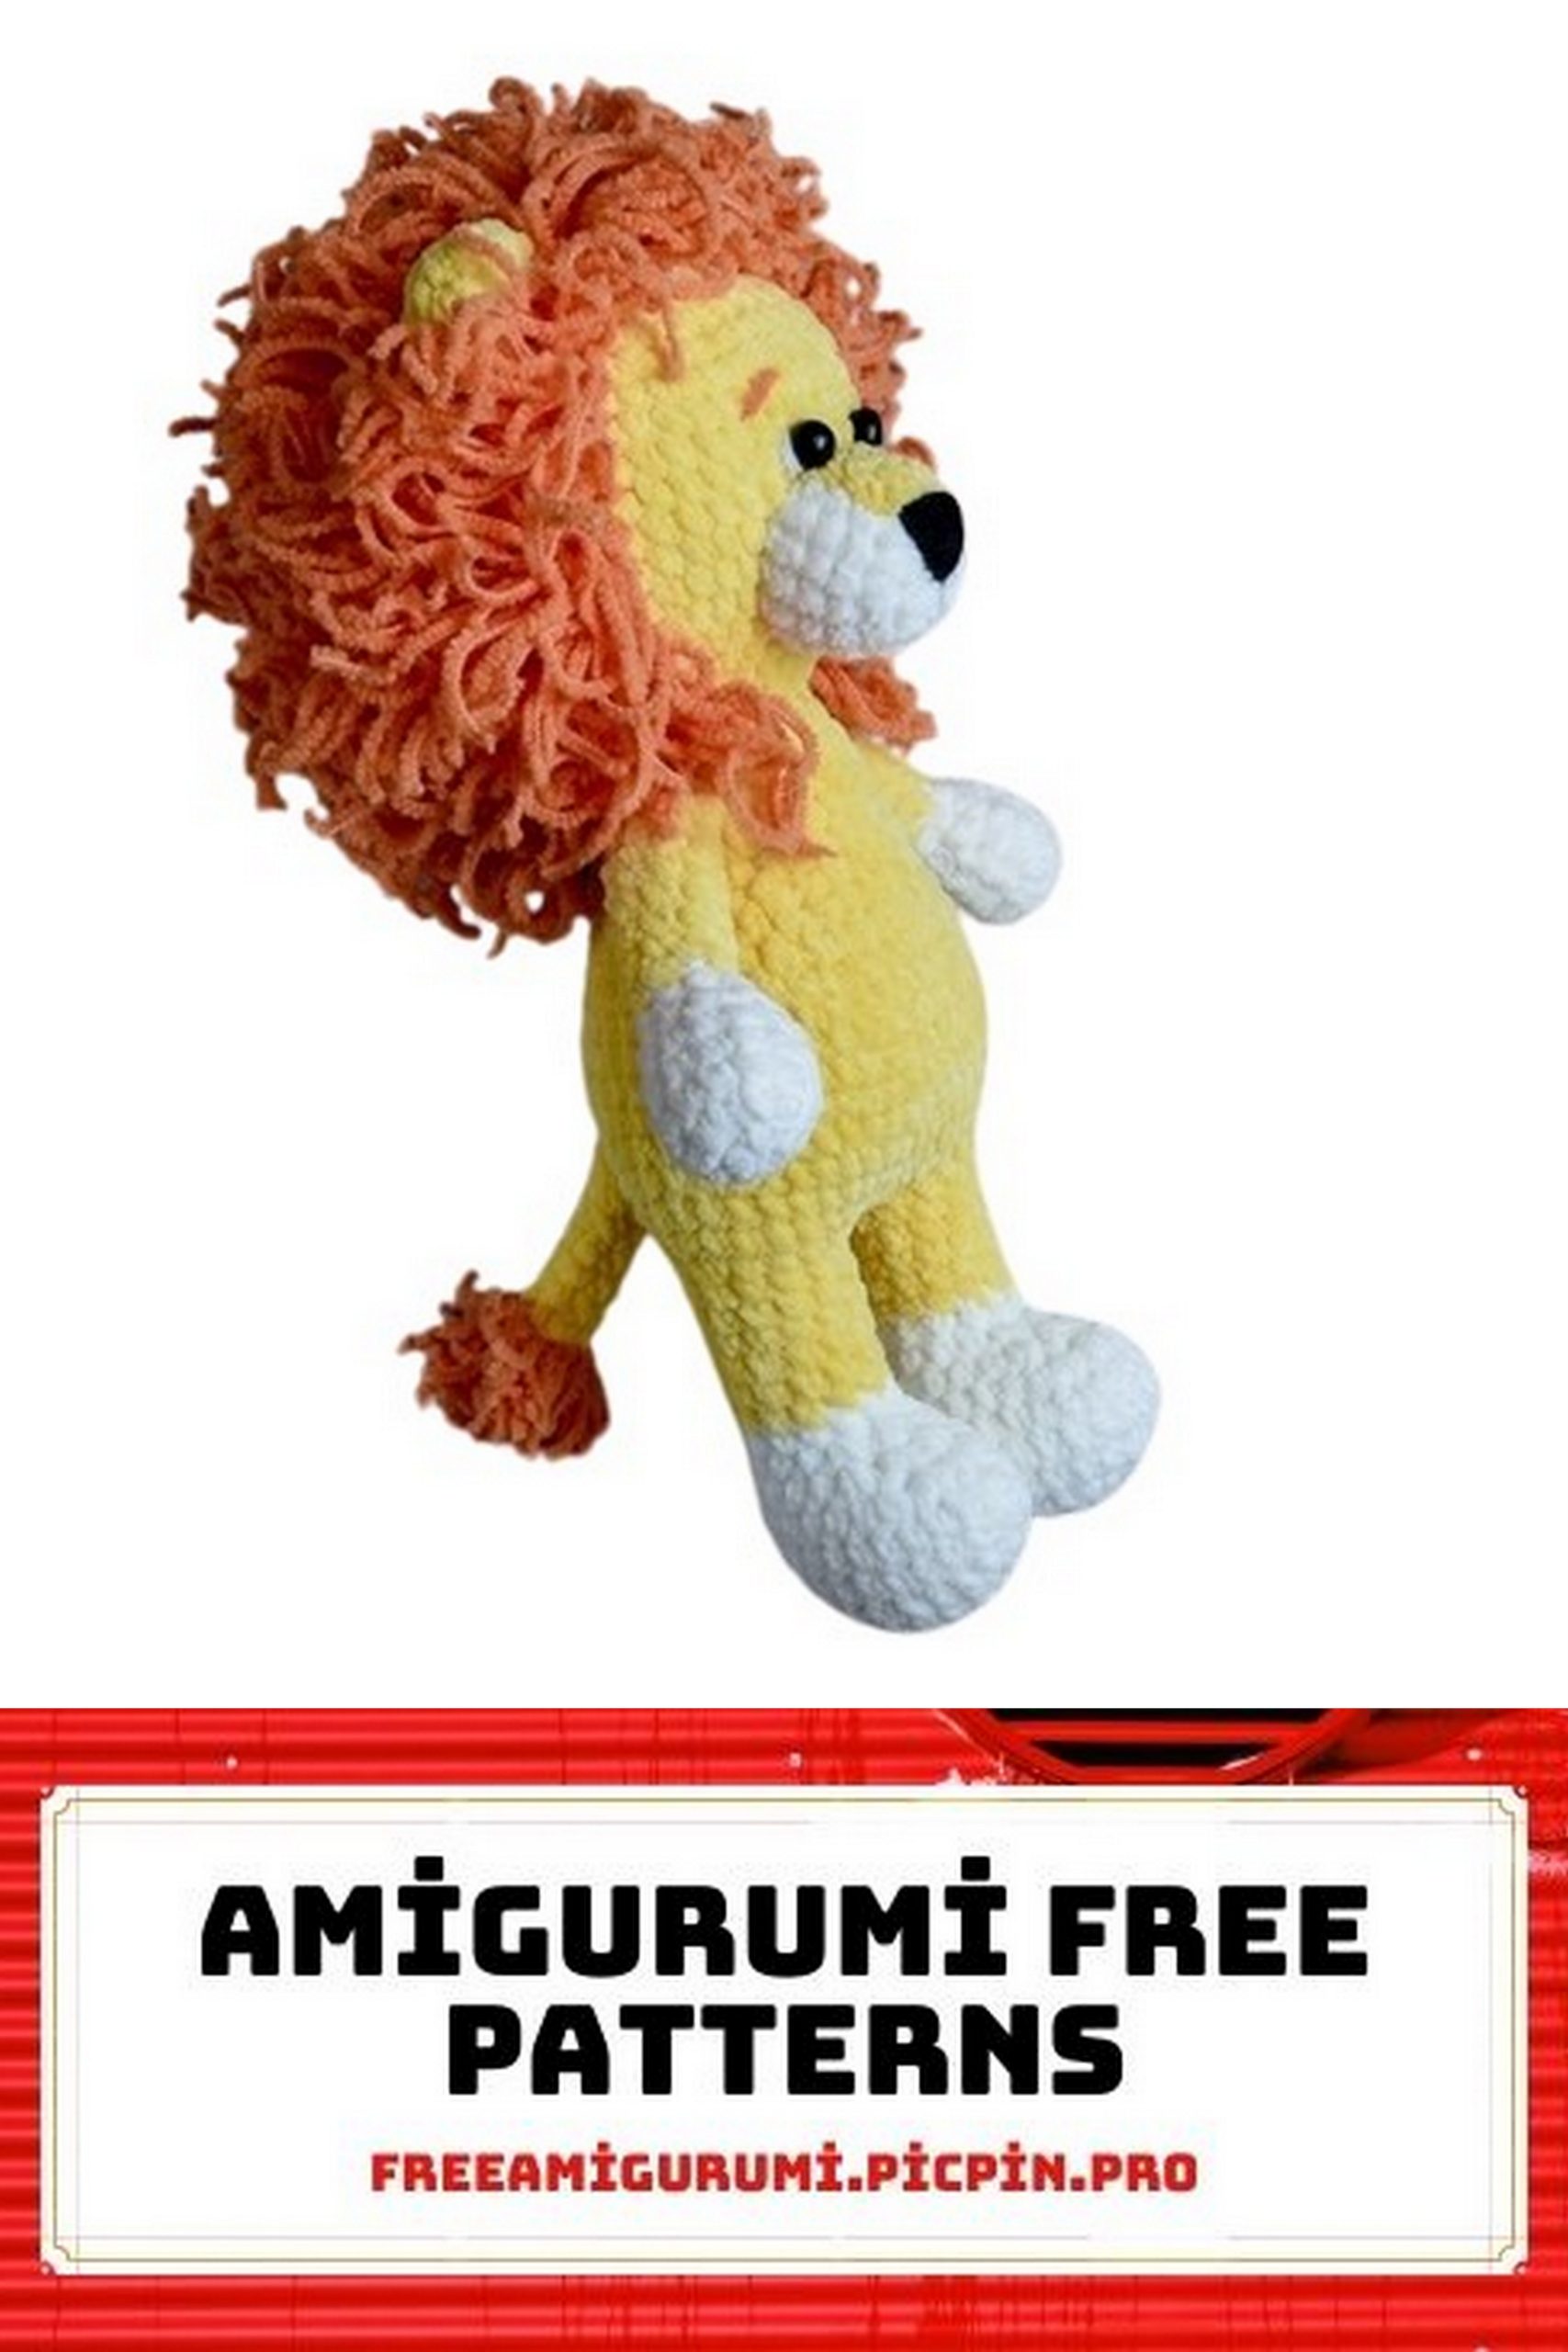
The mane is the final and perhaps the most labor-intensive step. For the mane, you need to cut the orange Alize Softy yarn into pieces of 10-12 cm. Fold these pieces in half and secure them to each stitch of the head, avoiding the area of the muzzle. Don’t forget to make a tuft at the tip of the tail.
After assembling the entire mane, you can trim the lion’s fur a bit.
Your lion is ready! Wasn’t that too difficult, right?”
