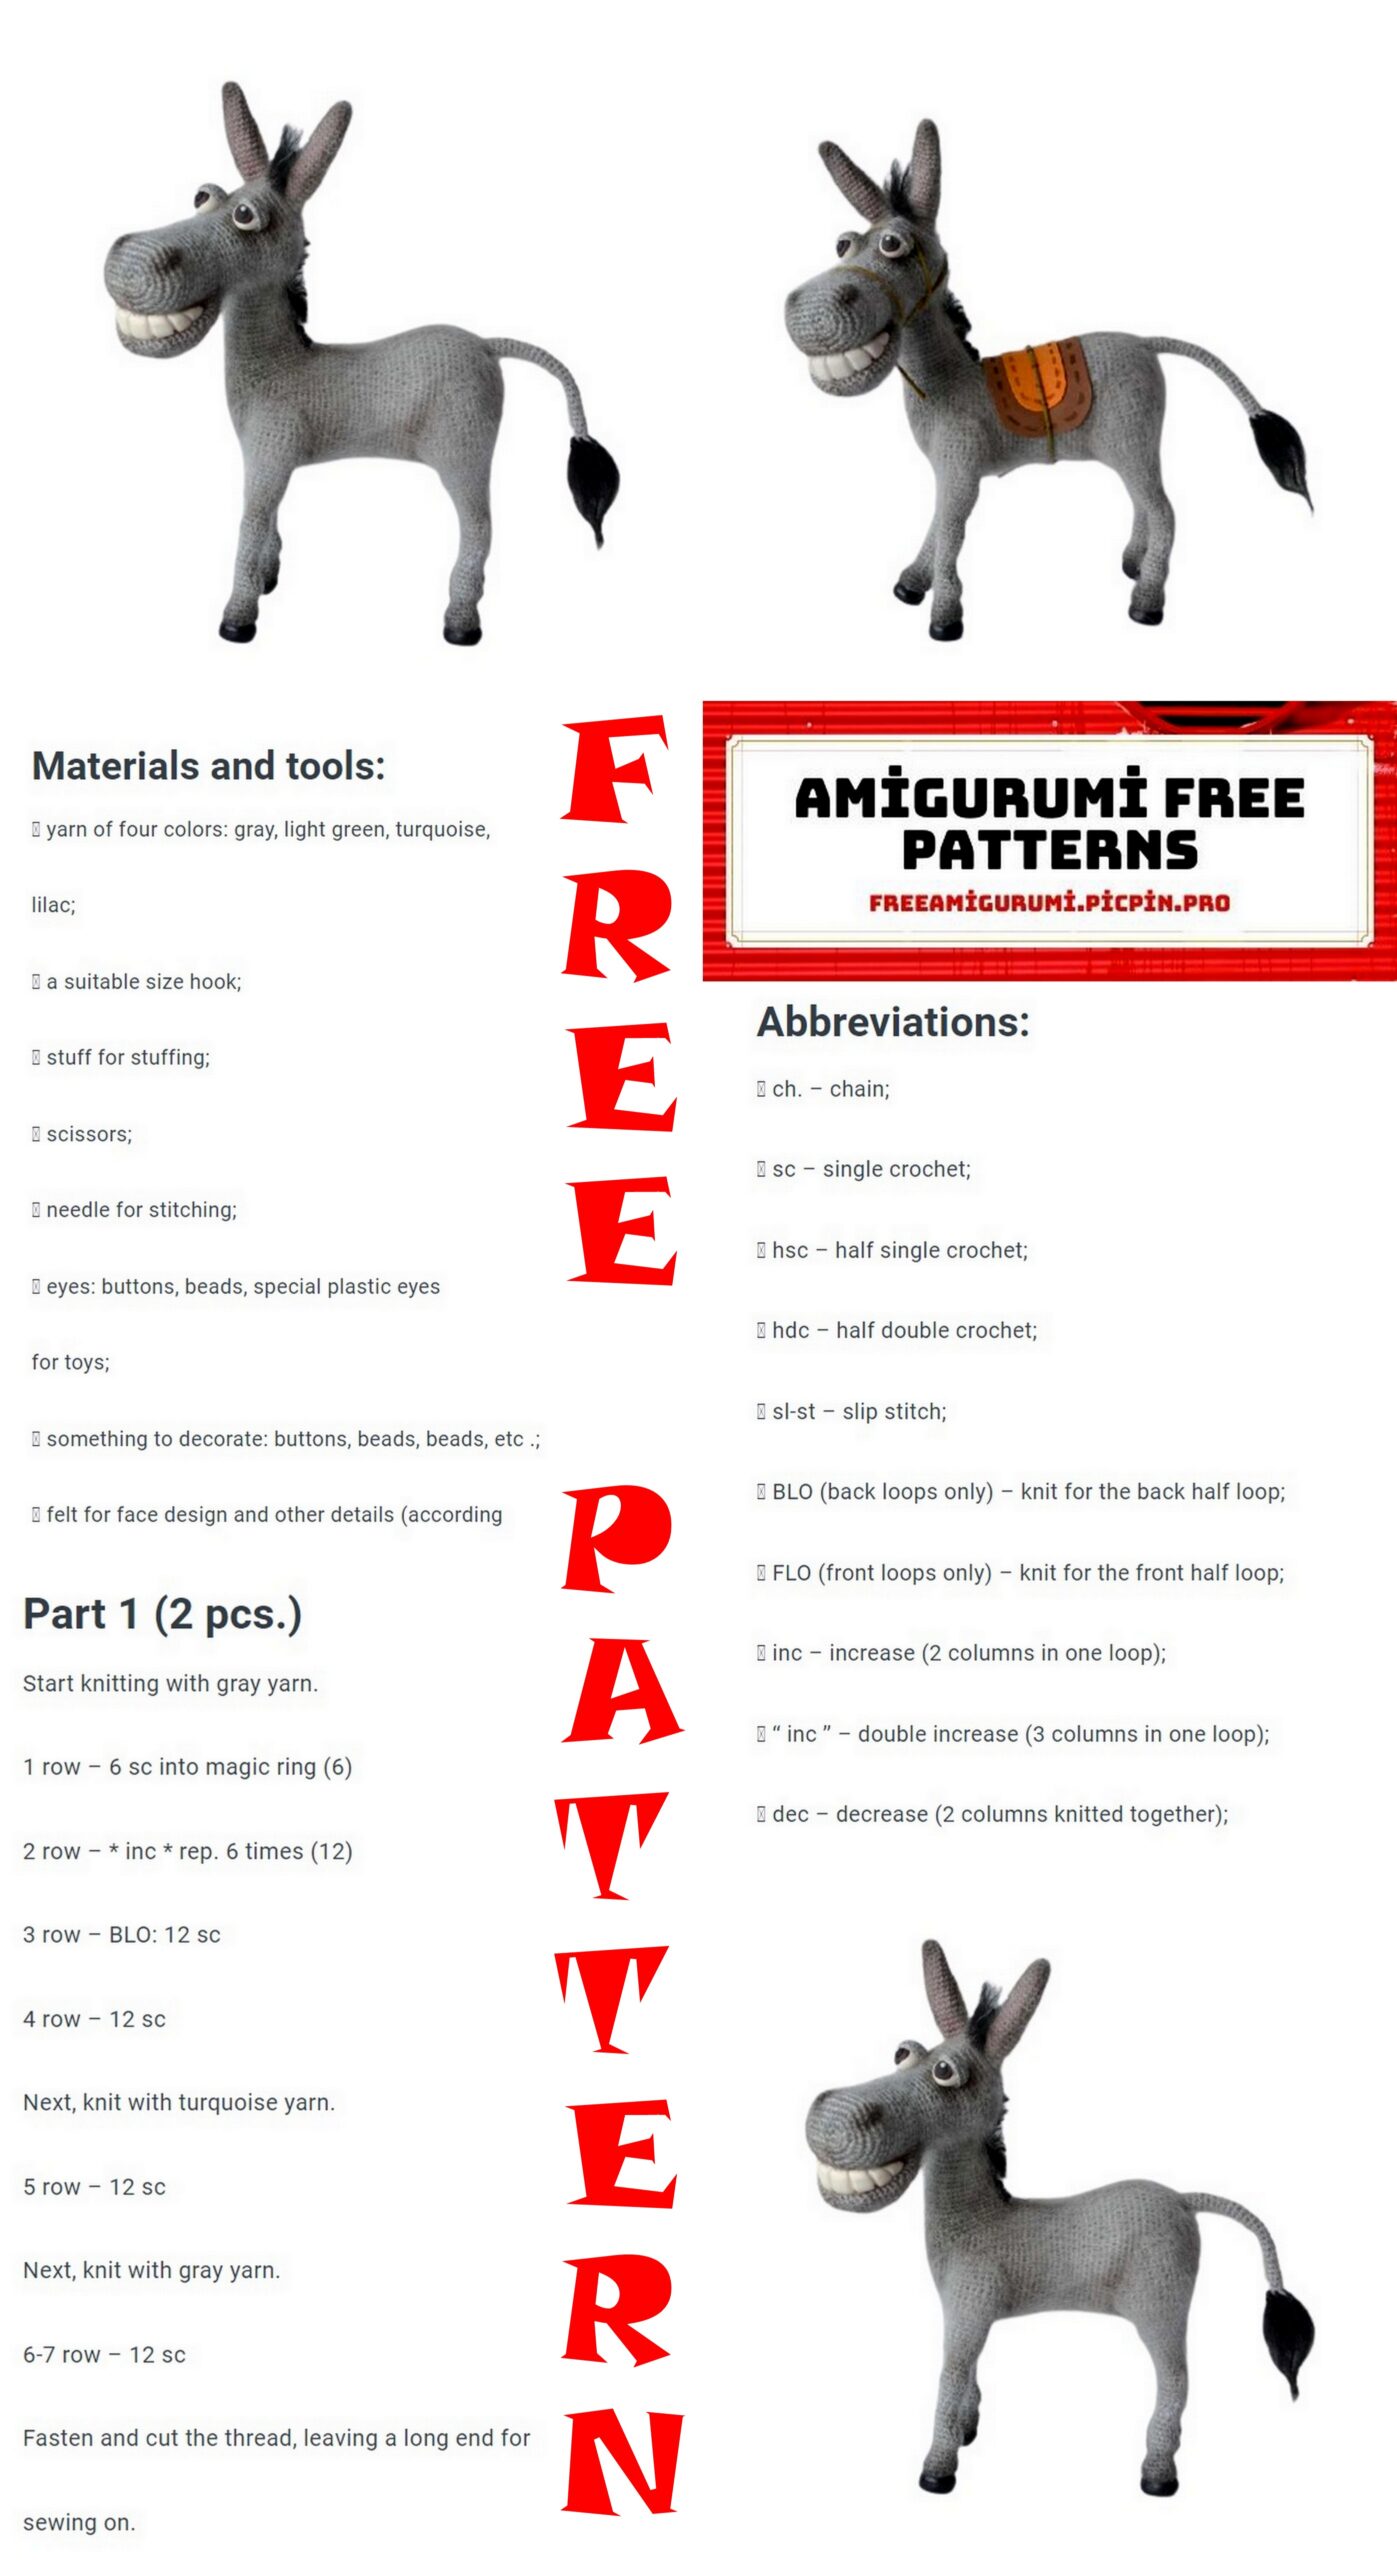
Donkey Amigurumi Free Crochet Pattern
Free amigurumi animal patterns for you on this site. I shared the amigurumi donkey pattern for you in this article.
“A donkey”
Height with ears 20 cm, length 17.5 cm without tail
Necessary materials:
● Base yarn – NAKO “King Moher” 100gr / 440m, 50% mohair, 50% premium acrylic. Color light gray No. 11282. Less than half a skein has gone. Or NAKO “Mohair Delicate” (40% MOHAIR, 60% ACRYL, 100 gr 500m)
For this donkey, I did not have enough king mohair yarn, so I knitted the head and neck from gray mohair delicacy, and the body, tail, ears and legs from king mohair. In principle, the transition is not very visible and looks even more interesting
● Mane and tail yarn – any black combed yarn, I used a ball of acrylic yarn
● Hook No. 1
● Sintepon (as filler)
● Needle for sewing on parts
● scissors
● Shadows of dark brown or black and pink for tinting, as well as a brush.
● Wire for legs and neck about 1 meter. Should be thin, about 1–2 mm, but keep its shape well.
● Polymer clay is black for the hooves and eyes, white for the teeth and eyes and brown for the pupil of the eye
● Glue moment crystal or glue gun
● Slicker for combing
Abbrevations:
Sc – single crochet
Hdc – half double crochet
Dc – double crochet
D2c – double crochet
Inc from 1d2c – raise from one column with two crochets
Inc – increase
Dec – decrease
Ch – air loop


You can knit the head completely of the same color as that of my donkey, or you can start to make it lighter as in the photo below. If you knit the beginning with a lighter one, then we knit the lower lip completely from light yarn, and the head from light to 18 rows, then we replace it with the main gray one.
Underlip
We do not follow the marker
1st row: 6 sc. in the ring amigurumi
2nd row: (inc) * 6 times – (12 sc)
3rd row: (1 sc. Inc) * 6 times – (18 sc)
4th row: (2 sc.inc) * 6 times – (24 sc)
5 row: (3 sc. Inc) * 6 times – (30 sc)
6 row: (4 sc. Inc) * 6 times – (36 sc)
7 row: (11 sc. Inc) * 3 times – (39 sc)
8-12 row: 39 sc (5 rows)
13 row: (11 sc. Dec) * 3 times – (36 sc)
14 row: (10 sc. Dec) * 3 times – (33 sc)
15-19 row: 33 sc (5 rows)
Break the thread


Head
The marker goes along the upper part, throughout the entire knitting, we follow it and align it if necessary!
Until the 14th row, knitting does NOT end on the marker, but to the right of it. Just knit and align the marker itself if necessary, in the 15th row we will move the last loop to the marker
1st row: Cast on a chain of 7 ch. Knit from the second loop from the hook: inc, 2 sc (attach marker), 2 sc, 4 sc. in the last loop, continue to knit on the reverse side – 4 sc., inc – 16 sc
2nd row: (inc) * 2 times, 4 sc, (inc) * 4 times, 4 sc, (inc) * 2 times – 24 sc
3rd row: (inc, 1 sc) * 2 times, 4 sc, (1 sc, inc) * 4 times, 4 sc, (inc, 1 sc) * 2 times – 32 sc
4th row: (inc, 1 sc) * 2 times, 8 sc, (1 sc, inc) * 4 times, 8 sc, (inc, 1 sc) * 2 times – 40 sc
5 row: (19 sc, inc) * 2 times – (42 sc)
6 row: (6 sc, inc) * 6 times – (48 sc)
7 row: 48 sc
Row 8: Knit 48 sc + 12 sc to marker. Someone can get more or less 12 sc, the main thing is to knit to the marker. The end of knitting will now end at the marker.
Row 9: 4 sc, decrease from 5 loops at the same time, 30 sc, decrease from 5 loops at the same time, 4 sc – 40 sc Decreases form nostrils.
10 row: 4 sc, dec, 28 sc, dec, 4 sc – 38 sc
11-14 row: 38 sc (4 rows)
15 row: connect the head to the lower lip. Knit 10 sc on the head, 18 sc simultaneously grabbing the loops from the lower lip and the loops of the head, 10 sc on the head – 35 sc. Next, we knit in a common circle (that is, along the outer edges of the head and lip).
16 row: 35 sc
17th row: 17 sc, dec, 16 sc – 34 sc
18 row: (15 sc, dec) * 2 times – 32 sc
Rows 19-23: 32 sc (5 rows)
24 row: (14 sc, dec) * 2 times – 30 sc
25 row: 6 sc, (inc, 5 sc) * 3 times, 6 sc – 33 sc
26 row: 6 sc, (6 sc, inc) * 3 times, 6 sc – 36 sc
27 row: 3 sc (additional eye marker), 3 sc, (inc, 7 sc) * 3 times, 3 sc (additional eye marker), 3 sc – 39 sc
28 row: 6 sc, (8 sc, inc) * 3 times, 6 sc – 42 sc
Row 29-30: 42 sc (2 rows)
31 row: (6 sc, inc) * 6 times – 48 sc
Row 32: (7 sc, inc) * 2 times, 7 sc, cast on 3 stitches, skip 2 sc and start from third stitch 6 sc, inc, (7 sc, inc) * 2 times – 54 sc. A hole for the wire is formed
33 row: 54 sc
34 row: (7 sc. Dec) * 6 times – (48 sc)
35 row: (6 sc. Dec) * 6 times – (42 sc)
Stuff your head with a synthetic winterizer moderately tight, DO NOT stuff your lower lip!
36 row: (5 sc. Dec) * 6 times – (36 sc)
37 row: (4 sc. Dec) * 6 times – (30 sc)
38 row: (3 sc. Dec) * 6 times – (24 sc)
Row 39: (2 sc. Dec) * 6 times – (18 sc)
Donate with padding polyester and after row 40 too
40 row: (1 sc. Dec) * 6 times – (12 sc)
41 row: (dec) * 6 times – (6 sc)
Row 42: Decreases to close.
Break the thread and hide
Neck
Marker on the back, follow and align throughout the entire knitting!
We knit the neck right on the head. Cut out a circle with a diameter of 2.4 cm from paper (in my case!) And pin it to the bottom of the head from 28 to 37 rows in the center
1 row: we fasten the yarn at the occipital point (shown in the top photo) and tie the circle with single crochet columns, counterclockwise, to get the front cloth. You should get 24 sc. At the end of the first row, put a marker and follow it throughout the entire knitting. The neck should be exactly in the center, otherwise it will be crooked!
Row 2-3: 24 sc (2 rows)
4th row: (7 sc, inc) * 3 times – 27 sc
5 row: (8 sc, inc) * 3 times – 30 sc
6-10 row: 30 sc (5 rows)
11 row: (9 sc, inc) * 3 times – 33 sc
12-14 row: 33 sc (3 rows)
15 row: (10 sc, inc) * 3 times – 36 sc
16 row: (11 sc, inc) * 3 times – 39 sc
17th row: 12 sc, 2 hdc, 11 dc, 2 hdc, 12 sc – 39 sc
18 row: 12 sc, 2 hdc, 4 dc, 3 d2c, 4 dc, 2 hdc, 12 sc – 39 sc
19th row: 12 sc, 2 hdc, 4 dc, 1 d2c, inc from 1d2c, 1 d2c, 4 dc, 2 hdc, 12 sc – 39 sc
Break the thread, leave for sewing.
At this stage, we blind the teeth from white polymer clay (in the photo I show from plasticine (except for the last photo of finished teeth), everything comes out much neater and more beautiful from polymer).
Roll a ball about 2 cm in diameter (depending on the size of your donkey). Roll out a sausage from the ball under the mouth of your donkey (from one edge to the other). My length turned out = 7 cm. The sausage should be thinner at the edges, thicker in the middle.
Press down on the sausage making it a little thinner. The thickness of the dental plate should be about 0.5 cm.
Next, using a thick needle, make vertical lines on the plate (not through).
I got 7 divisions and 8 teeth. We make the first line exactly in the center of the plate. Above and below we also make these lines.
Next, we bend the dental plate into an arc, try to insert a donkey into the mouth, adjust it to the desired and suitable shape Using a needle, carefully round out the gaps in the lower part of the teeth and bake the teeth You should get such teeth Now we grease the upper and lower parts of the teeth with glue, insert into the mouth, clamp the upper and the lower lip and hold it for a couple of minutes to adhere well. I used a transparent crystal moment glue.
Ears (2 pcs.)
We do not follow the marker
1st row: 6 sc. in the ring amigurumi
2nd row: (2 sc, inc) * 2 times – 8 sc
3rd row: (3 sc, inc) * 2 times – 10 sc
4-5 row: 10 sc (2 rows)
6 row: (4 sc, inc) * 2 times – 12 sc
7 row: 12 sc
8 row: (5 sc, inc) * 2 times – 14 sc
9-17 row: 14 sc (9 rows)
18 row: (5 sc, dec) * 2 times – 12 sc
19 row: (4 sc, dec) * 2 times – 10 sc
Row 20-22: 10 sc (3 rows)
Row 23: Work 5 sc on both sides together.
Break the thread, leave for sewing
We attach the ears to the 39th row of the head, the distance between the ears is 4 sc., And sew. The ears should be “V” shaped.
Next, we will make the eyes tighten.
We insert the needle into the back of the head and bring it to point “2”, insert the needle near point “2” and bring it to point “1”. We tighten.
We enter next to point “1” and output to point “2”. We tighten. We enter again at point “2” and output to the back of the head. We tighten.
Repeat the tightening if necessary
Now let’s insert a wire into the neck. Bend one end of the wire and wrap it with a thin layer of masking tape. Bend “L” shaped and insert into the hole of the head, as shown in the photo below. A wire of about 3.5 cm should stick out of the neck, wrap the tip as well, we will insert it into the body later. We fill moderately tight with padding polyester.
Eyelids (2 pcs.)
1st row: 6 sc. in the ring amigurumi
2nd row: (inc) * 6 times – (12 sc)
3rd row: (1 sc. Inc) * 6 times – (18 sc)
4-5 row: 18 sc (2 rows)
Break the thread and hide it inside.
At this stage, we immediately blind our eyes. The diameter of the eyes should be slightly less than the diameter of the eyelids, as the eyes are inserted into the eyelid. We sculpt balls of white polymer clay and small balls of brown polymer clay for the iris and black for the pupil.
We carefully press down the brown balls to make a thin cake almost over the entire eye, from black polymer clay we make a pupil in the middle and from white polymer clay we make highlights. We bake. Inside the knitted eyelid, smear with glue and insert a molded eye there as in the photo below. We glue the eyes to the muzzle almost at the very end, but for now we put them aside.
Torso
The marker goes along the belly, throughout the entire knitting we follow it and align it if necessary!
1st row: 6 sc. in the ring amigurumi
2nd row: (inc) * 6 times – (12 sc)
3rd row: (1 sc. Inc) * 6 times – (18 sc)
4th row: (2 sc.inc) * 6 times – (24 sc)
5 row: (3 sc. Inc) * 6 times – (30 sc)
6 row: (4 sc. Inc) * 6 times – (36 sc)
7 row: (5 sc. Inc) * 6 times – (42 sc)
8 row: (6 sc. Inc) * 6 times – (48 sc)
9th row: (7 sc. Inc) * 6 times – (54 sc)
10 row: (8 sc. Inc) * 6 times – (60 sc)
Row 11-20: 60 sc (10 rows)
21 row: (18 sc, dec) * 3 times – 57 sc
22 row: (17 sc, dec) * 3 times – 54 sc
23 row: 13 sc, (7 sc, dec) * 3 times, 14 sc – 51 sc
24 row: 14 sc, (dec, 6 sc) * 3 times, 13 sc – 48 sc
25 row: 13 sc, (5 sc, dec) * 3 times, 14 sc – 45 sc
26 row: 14 sc, (dec, 4 sc) * 3 times, 13 sc – 42 sc
27 row: 42 sc
28 row: inc, 6 sc, inc, 27 sc, inc, 6 sc – 45 sc
Row 29-33: 45 sc (5 rows)
34 row: (14 sc, inc) * 3 times – 48 sc
35 row: (15sc, inc) * 3 times – 51 sc
36 row: (16 sc, inc) * 3 times – 54 sc
Row 37-43: 54 sc (7 rows)
44 row: (16 sc, dec) * 3 times – 51 sc
45 row: (15 sc, dec) * 3 times – 48 sc
46 row: (14 sc, dec) * 3 times – 45 sc
Fill tightly with padding polyester
47 row: (13 sc, dec) * 3 times – 42 sc
Row 48-49: 42 sc (2 rows)
50 row: (5 sc, dec) * 6 times – 36 sc
51 row: 36 sc
52 row: (4 sc, dec) * 6 times – 30 sc
53 row: (3 sc, dec) * 6 times – 24 sc
54 row: (2 sc, dec) * 6 times – 18 sc
Donate with padding polyester
55 row: (1 sc, dec) * 6 times – 12 sc
56 row: (dec) * 6 times – 6 sc
Donate with padding polyester
Row 57: Decreases to close
Break the thread and hide.
At this stage, we will sew the head and neck to the body. We insert the wire sticking out of the neck into the 50th row of the body, fix the neck. The lower front of the neck, which is attached to the abdomen, is in the 55th torso on the marker. The upper part, which is attached to the back, is in the 39th row of the torso.
Sew in a circle. Closer to the end of knitting, when a small hole remains, fill the neck with padding polyester and sew it completely.
Front legs (2 pcs)
Both knit equally up to 31 rows. Marker on the back, follow and align throughout the entire knitting.
1st row: 6 sc. in the ring amigurumi
2nd row: (inc) * 6 times – 12 sc
3rd row: (1 sc, inc) * 6 times – 18 sc
4th row: 18 sc behind the back half of the previous row
5 row: (4 sc, dec) * 3 times – 15 sc
6 row: (3 sc, dec) * 3 times – 12 sc
7 row: (2 sc, dec) * 3 times – 9 sc
8 row: (inc) * 2 times, 5 sc, (inc) * 2 times – 13 sc
9th row: (1 sc, inc) * 2 times, 5 sc, (1 sc, inc) * 2 times – 17 sc
10 row: 17 sc
11 row: (dec) * 2 times, 9 sc, (dec) * 2 times – 13 sc
12 row: (dec) * 2 times, 5 sc, (dec) * 2 times – 9 sc
Row 13-17: 9 sc (5 rows)
18 row: (2 sc, inc) * 3 times – 12 sc
19 row: (3 sc, inc) * 3 times – 15 sc
Row 20: 15 sc
21 row: (1 sc, dec) * 5 times – 10 sc
Rows 22-23: 10 sc
24 row: (4 sc, inc) * 2 times – 12 sc
25 row: 12 sc
26 row: (5 sc, inc) * 2 times – 14 sc
27 row: 14 sc
28 row: (6 sc, inc) * 2 times – 16 sc
Row 29: 16 sc
30 row: (7 sc, inc) * 2 times – 18 sc
Row 31: 18 sc
Left leg
32 row: 17 sc, do not tie 1 sc to marker
33 row: 12 sc, turn knitting and then knit in turning rows with a lifting loop at the beginning of each row
Row 34: inc, 10 sc, inc – 14 sc
35 row: 14 sc
36 row: dec, 10 sc, dec – 12 sc
37 row: dec, 8 sc, dec -10 sc
Row 38-39: 10 sc (2 rows)
40 row: dec, 6 sc, dec – 8 sc
41 row: 8 sc
42 row: dec, 4 sc, dec – 6 sc
43 row: dec, 2 sc, dec – 4 sc
44 row: (dec) * 2 times -2 sc
Break the thread and leave for sewing.
Right leg
32 row: 18 sc. + 1 sc after the marker.
33 row: immediately turn knitting and knit 12 sc, then knit in pivoting rows with a lifting loop at the beginning of each row
Row 34: inc, 10 sc, inc – 14 sc
35 row: 14 sc
36 row: dec, 10 sc, dec – 12 sc
37 row: dec, 8 sc, dec -10 sc
Row 38-39: 10 sc (2 rows)
40 row: dec, 6 sc, dec – 8 sc
41 row: 8 sc
42 row: dec, 4 sc, dec – 6 sc
43 row: dec, 2 sc, dec – 4 sc
44 row: (dec) * 2 times -2 sc
Break the thread and leave for sewing.
Hind legs
Both knit equally up to 34 rows. Marker on the back, follow and align throughout the entire knitting
1st row: 6 sc. in the ring amigurumi
2nd row: (inc) * 6 times – 12 sc
3rd row: (1 sc, inc) * 6 times – 18 sc
4th row: 18 sc behind the back half of the previous row
5 row: (4 sc, dec) * 3 times – 15 sc
6 row: (3 sc, dec) * 3 times – 12 sc
7 row: (2 sc, dec) * 3 times – 9 sc
8 row: (inc) * 2 times, 5 sc, (inc) * 2 times – 13 sc
9th row: (1 sc, inc) * 2 times, 5 sc, (1 sc, inc) * 2 times – 17 sc
10 row: 17 sc
11 row: (dec) * 2 times, 9 sc, (dec) * 2 times – 13 sc
12 row: (dec) * 2 times, 5 sc, (dec) * 2 times – 9 sc
Row 13-17: 9 sc (5 rows)
18 row: (2 sc, inc) * 3 times – 12 sc
19 row: (3 sc, inc) * 3 times – 15 sc
Row 20: 15 sc
21 row: (1 sc, dec) * 5 times – 10 sc
Rows 22-23: 10 sc (2 rows)
24 row: (4 sc, inc) * 2 times – 12 sc
Rows 25-26: 12 sc (2 rows)
27 row: (5 sc, inc) * 2 times – 14 sc
28 row: (6 sc, inc) * 2 times – 16 sc
Row 29: (7 sc, inc) * 2 times – 18 sc
30 row: 18 sc
31 row: (8 sc, inc) * 2 times – 20 sc
32 row: (9 sc, inc) * 2 times – 22 sc
33 row: (10 sc, inc) * 2 times – 24 sc
34 row: (11 sc, inc) * 2 times – 26 sc
Left leg
35 row: 24 sc, (do not tie 2 sc to marker)
36 row: 17 sc, turn knitting and then knit in turning rows with a lifting loop at the beginning of each row
Row 37-41: 17 sc (5 rows)
42 row: dec, 13 sc, dec – 15 sc
43 row: 15 sc
Row 44: dec, 11 sc, dec – 13 sc
45 row: dec, 9 sc, dec – 11 sc
46 row: 11 sc
47 row: dec, 7 sc, dec – 9 sc
48 row: 9 sc
Row 49: dec, 5 sc, dec – 7 sc
Row 50: dec, 3 sc, dec – 5 sc
Row 51: dec, 1 sc, dec – 3 sc
Break the thread, leave for sewing.
Right leg
35 row: 26 sc + 2 sc after marker.
36 row: immediately turn knitting and knit 17 sc. Next, we knit in rotary rows with a lifting loop at the beginning of each row.
Row 37-41: 17 sc (5 rows)
42 row: dec, 13 sc, dec – 15 sc
43 row: 15 sc
Row 44: dec, 11 sc, dec – 13 sc
45 row: dec, 9 sc, dec – 11 sc
46 row: 11 sc
47 row: dec, 7 sc, dec – 9 sc
48 row: 9 sc
Row 49: dec, 5 sc, dec – 7 sc
Row 50: dec, 3 sc, dec – 5 sc
Row 51: dec, 1 sc, dec – 3 sc
Break the thread, leave for sewing.
We insert a wire into the front and hind legs. A wire about 0.6 cm should stick out from the hoof (leave more, then you can remove the excess), and bend the wire in the thighs and wrap it with a thin layer of masking tape. Stuff your legs not tight with padding polyester.
At the bottom, where the hoof is, there should be no tubercle from the padding polyester, the hoof should be even, so that later the molded hooves can be glued without any problems.
Now we will sew the legs to the body. To do this, we first roughly designate the main points of attachment of the legs to the body with the help of needles with a hat.Then we attach the legs at these points. The wire sticking out of the upper part of the legs must be bent L-shaped and inserted into the body. The hind legs are slightly longer than the front ones.
Sew in a circle, closer to the end, when a small hole remains, you need to moderately fill your thighs with padding polyester and sew to the end.
Now we sculpt 4 identical hooves from black polymer clay. Roll the balls with a diameter of about 1 cm Lightly press each ball into a cake With a wire that stands at the feet, make a hole in the center of the hoof a little more than half the depth and bake them.
We grease the wire and the bottom of the knitted leg with glue, wait a minute and glue the hoof to the leg. Insert the wire protruding from the bottom of the leg into the hole in the hoof, which we made with the same wire.
We glue our eyes to the places of the head weights
Tail
1st row: 6 sc. in the ring amigurumi
2nd row: 6 sc
3rd row: (2 sc, inc) * 2 times – 8 sc
4th row: 8 sc
5 row: (2 sc, dec) * 2 times –6 sc
6-22 rows: 6 sc (17 rows)
23 row: (2 sc, inc) * 2 times – 8 sc
Row 24-27: 8 sc (4 rows)
Break the thread, leave for sewing
The beginning of knitting, this is the tip of the tail, on this tip we now tie the black combing yarn from the 1st to the 3rd row, cut off the excess and comb it well.
Sew the tail to the body on the back, exactly in the middle of the 9th row for both walls.
Mane
For the mane, we take the same black yarn as for the tail. In a donkey, it is short, my total piece of thread is about 5 cm, if folded in half, it turns out 2.5 cm.First, we completely tie the mane, then cut it off as needed and comb it very well.On the crown of the head, we begin to tie the mane on the marker from the 36th row of the head and to the bottom of the neck along the marker.
With the help of a hook, we thread the thread into a loop on the stamp, folding it in half, as shown in the photo below. We comb it well, cut off the excess and comb again Completely (except for the lower parts of the legs) we comb the donkey itself. We comb the muzzle and tail weakly, the neck, ears, body and thighs are slightly stronger.
Next, let’s revive the donkey using toning. We tint with black or dark brown shades over the black hoof, black at the base, slightly more transparent above.
We also tint with dark shadows the places that are marked in the photo below and pink shadows need to be tinted inside the ears and around the teeth with slightly pink + dark.
Saddle
We do it at will. You will need two pieces of felt or fleece. The size of the orange piece is 4x9cm, the blue piece is 2.3×6 cm. Round the edges. Sew the decorative stitches around the edges with brown thread and glue the blue part onto the orange one.
Take a thick thread, about 22 cm (depending on the girth of the belly of your toy), put it on the saddle and sew. This completes the saddle! We tie it on the back of the donkey.
Our donkey is ready!