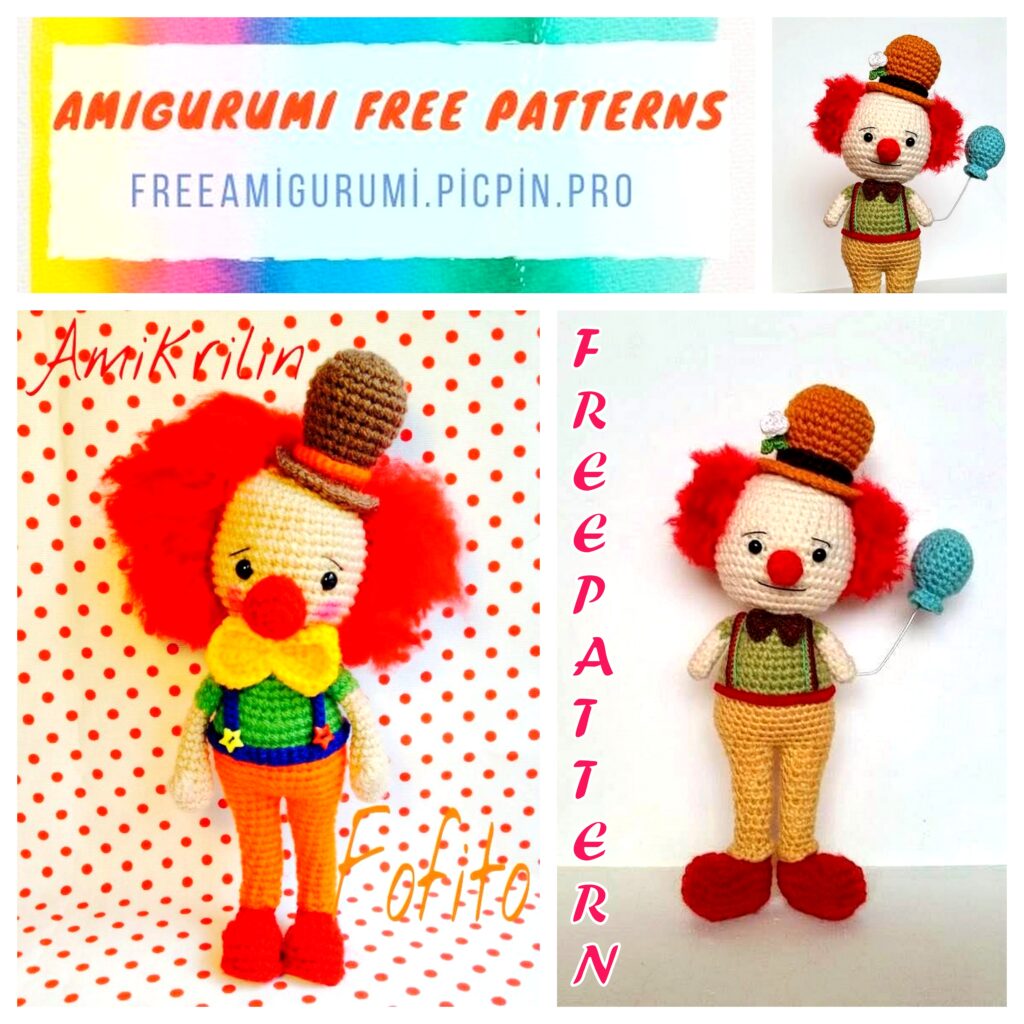
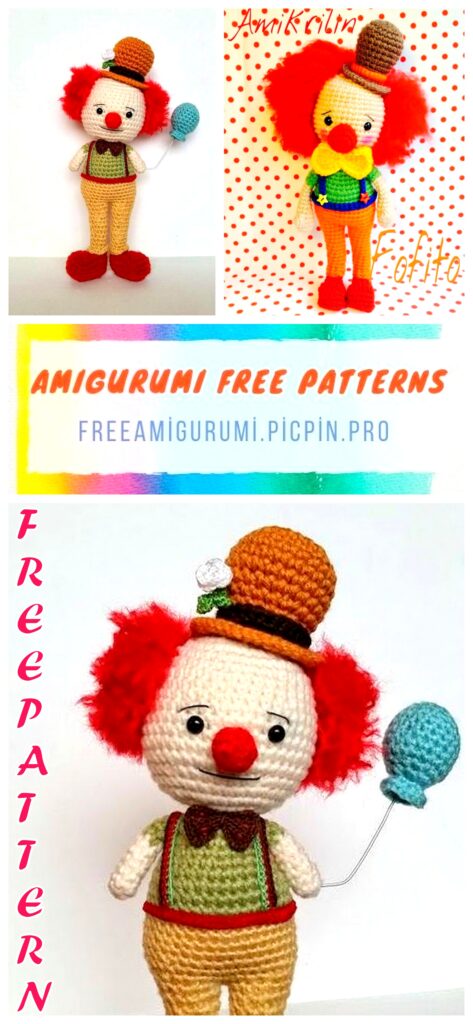
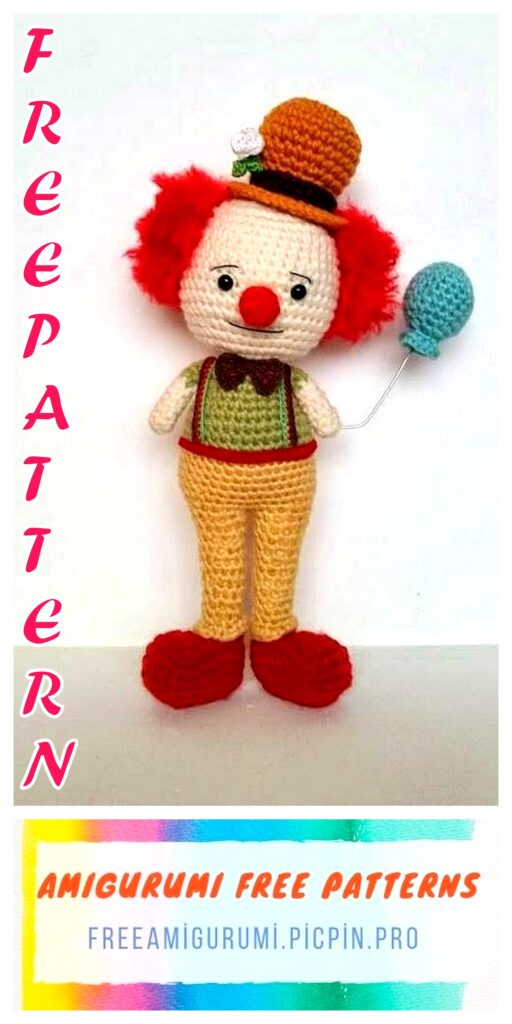
Cute Clown Amigurumi Free Crochet Pattern
We continue to share free amigurumi patterns with you. In this article, we shared with you the amigurumi clown pattern.
Supplies
1mm Crochet Hook (You will use this hook to create the flower and stem only)
1.5mm Crochet Hook (You will use this hook to create the Suspenders and Bow Tie)
2.75mm Crochet Hook
Worsted Weight Yarn in Red, Off White, Green, Yellow, Orange and Brown
Crochet Thread in White, Green, Brown, Black and Red
Stuffing
7.5mm Safety Eyes
Scissors
Needle
Stitch Markers
Wire Brush
Abbreviations
Ch-Chain
Sc-Single Crochet
Inc-Increase
Dec-Decrease
Hdc-Half Double Crochet
Fo-Fasten Off
Finished Size
12 inches from the top of his hat to his shoes
Head and Body
Rd1: Starting at the top of your dolls head with off white yarn do 6sc in a ring (6)
Rd2: Inc x 6 (12)
Rd3: Inc x 12 (24)
Rd4: [Sc, inc] x 12 (36)
Rd5-9: Sc x 36 (36)
Rd10: [Sc x 4, inc] x 7, sc (43)
Rd11-12: Sc x 43 (43)
Rd13: You will be marking where you will be placing the eyes in this round. Sc x 17, place a stitch marker in the last stitch, sc x 6, place a stitch marker in the last stitch, sc x 20 (43)
Rd14-16: Sc x 43 (43)
Rd17: [Sc x 6, dec] x 5, sc x 3 (38)
Rd18: Sc x 38 (38)
Rd19: [Sc x 4, dec] x 6, sc x 2, now insert your eyes where you placed the stitch markers between Rd13 and Rd14 (32)
Rd20: Dec x 16 (16)
Rd21: Dec x 8 (8)
Rd22: Change to green and inc x 8 (16)
Rd23: [Sc x 2, inc] x 5, sc (21)
Rd24: [Sc x 4, inc] x 4, sc (25)
Rd25-26: Sc x 25 (25)
Rd27: [Sc x 3, inc] x 6, sc (31)
Rd28: Sc x 31 (31)
Rd29: Sc x 12, inc x 3, sc x 10, inc x 3, sc x 3 (37)
Rd30-31: Sc x 37 (37)
Rd32: Sc x 4, switch to yellow and sc x 33 (37)
Rd33-37: Sc x 37 (37)
Rd38: Sc x 12, dec x 4, sc x 9, dec x 4 (29)
Rd39: You will now be starting the first leg. Sc x 6, skip 15 stitches, sc x 8 (14)
Rd40: Sc x 12, dec (13)
Rd41: Sc x 13 (13)
Rd42: Dec, sc x 11 (12)
Rd43: Sc x 12 (12)
Rd44: Dec, Sc x 10 (11)
Rd45: Sc x 11 (11)
Rd46: Dec, sc x 9 (10)
Rd47-49: Sc x 10 (10)
Rd50: Sc in front loop x 10 (10)
Rd51: [Sc, inc] x 5, fo (15)
Second Leg
Rd1: With the back of your doll facing you insert your hook into the first stitch to the left of your first leg and with yellow yarn sc, sc x 4, dec, sc x 8 (14)
Rd2: Jump back over to the first stitch and sc x 6, dec, sc x 6 (13)
Rd3: Sc x 13 (13)
Rd4: Sc x 6, dec, sc x 5 (12)
Rd5: Sc x 12 (12)
Rd6: Sc x 6, dec, sc x 4 (11)
Rd7: Sc x 11 (11)
Rd8: Sc x 6, dec, sc x 3 (10)
Rd9-11: Sc x 10 (10)
Rd12: Sc in front loop x 10 (10)
Rd13: [Sc, inc] x 5, fo (15)
Arm (Make 2)
Rd1: With off white yarn sc x 6 in a ring (6)
Rd2-7: Sc x 6 (6)
Rd8: Change to green and sc x 6 (6)
Rd9-10: Sc x 6, fo at the end of Rd10 (6)
Nose
Rd1: With red yarn do 5sc in a ring (5)
Rd2: Inc, sc x 4 (6)
Rd3-4: Sc x 6 (6)
Rd5: Dec x 3, fo (3)
Shoe (Make 2)
Rd1: With red yarn ch 9, join (9)
Rd2-3: Sc x 9 (9)
Row4: Turn, sc x 3 (3)
Row5: Turn, ch, inc, sc, inc (5)
Row6: Turn, ch, inc, sc x 3, inc (7)
Row7: Turn, ch, sc x 7, place a stitch marker in the last stitch of this round (7)
Rd8: Sc around the entire piece to the stitch before the stitch marker x 23 (23)
Rd9-10: Sc x 24, fo at the end of Rd10 (24)
Sole of Shoe (Make 2)
Row1: With red yarn ch 7 (7)
Row2: Turn, sc x 6 (6)
Row3: Turn, ch, sc x 6 (6)
Row4: Turn, chain, dec, sc x 2, dec (4)
Row5-7: Turn, ch, sc x 4 (4)
Row8: Turn, ch, sc, dec, sc, fo (3)
Hat
Rd1: With orange yarn do 6 sc in a ring (6)
Rd2: Inc x 6 (12)
Rd3: [Sc, inc] x 6 (18)
Rd4: [Sc x 2, inc] x 6 (24)
Rd5: Sc in front loop x 24 (24)
Rd6-9: Sc x 24 (24)
Rd10: [Sc x 4, dec] x 4 (20)
Rd11-12: Sc x 20 (20)
Rd13: [Sc x 2, dec] x 5 (15)
Rd14: Inc in front loop of next st x 15 (30)
Rd15: Sc x 30 (30)
Rd16: [Sc, inc] x 15, fo (45)
Band On The Hat
Row1: With brown yarn ch 25 (25)
Row2: Turn, sc x 24 , fo (24)
Flower
Row1: With white embroidery thread and a 1mm hook ch 16 (16)
Row2: Turn, [hdc x 4 in next stitch, sc] x 7, sc, fo (36)
Stem
Rd1: With green embroidery thread and a 1mm hook do 5sc in a ring (5)
Rd2-5: Sc x 5, fo at the end of Rd5 (5)
Leaf
Row1: With green embroidery thread and a 1mm hook ch 4 (4)
Row2: Turn, sc x 3 (4)
Row3: Turn, ch, sc x 3 (3)
Row4: Turn, ch, dec, sc (2)
Row5: Turn, ch, dec (1)
Rd6: Now sc around the entire piece, fo
Suspenders (Make 2)
Row1: With green embroidery thread and a 1.5mm hook ch36 (36)
Row2: Turn, sc x 35 (35)
Row3: Turn, change to red, ch, sc x 35 (35)
Row4: Turn, change to brown, ch, sc x 35, fo (35)
Bow Tie
Row1: With brown crochet thread and a 1.5mm hook ch 12 (12)
Row2: Turn, sc x 11 (11)
Row3-7: Turn, ch, sc x 11 (11)
Rd8: Now hdc around the entire piece, fo
Belt
Row1: With brown embroidery thread and a 1.5mm hook ch 60 (60)
Row2: Turn, hdc x 59, fo (59)
Hair
To make the hair cut long strips of red yarn. Then count 7 rounds down from the top of your dolls head. Add hair in this round with the loop method. Contniue this method for five more rounds down. Then use your wire brush and brush out all of the hair, then trim it.
Balloon
Rd1: With blue yarn do 6 sc in a ring (6)
Rd2: Inc x 6 (12)
Rd3: Sc x 12 (12)
Rd4: [Sc, inc] x 6 (18)
Rd5-9: Sc x 18 (18)
Rd10: [Sc, dec] x 6 (12)
Rd11: Dec x 6, stuff balloon firmly(6)
Rd12: Sc in back loop x 6 (6)
Rd13: Dec x 3, fo weave in end (3)
Trim On The Balloon
Rd1: With blue yarn insert hook into any one of the front loops of Rd12 and inc x 6, fo and weave in your end (12)
Assembly
Sew the soles onto your shoes, stuff your doll and shoes firmly. Sew the shoes onto your doll, you sew them onto the back loops of the second last round of each leg. I made the shoes separate, so I could decide later on once my doll was finished exactly where I wanted the shoes to be placed. Sew the arms and nose onto your doll. Sew on the suspenders and belt. Embroider little tiny dots onto your bow tie. Then take a long piece of yarn and tie a knot with the long yarn in the middle of the bowtie, and sew the tie in place. Sew the band onto the hat. Sew the flower and leaf onto the stem, and sew the flower onto the hat. Stuff the hat and sew it onto your doll. Embroider on eyebrows and a mouth. Weave in all ends and trim them. Then cut a piece of craft wire and bend the one end, then insert the bent end into the bottom of your balloon
