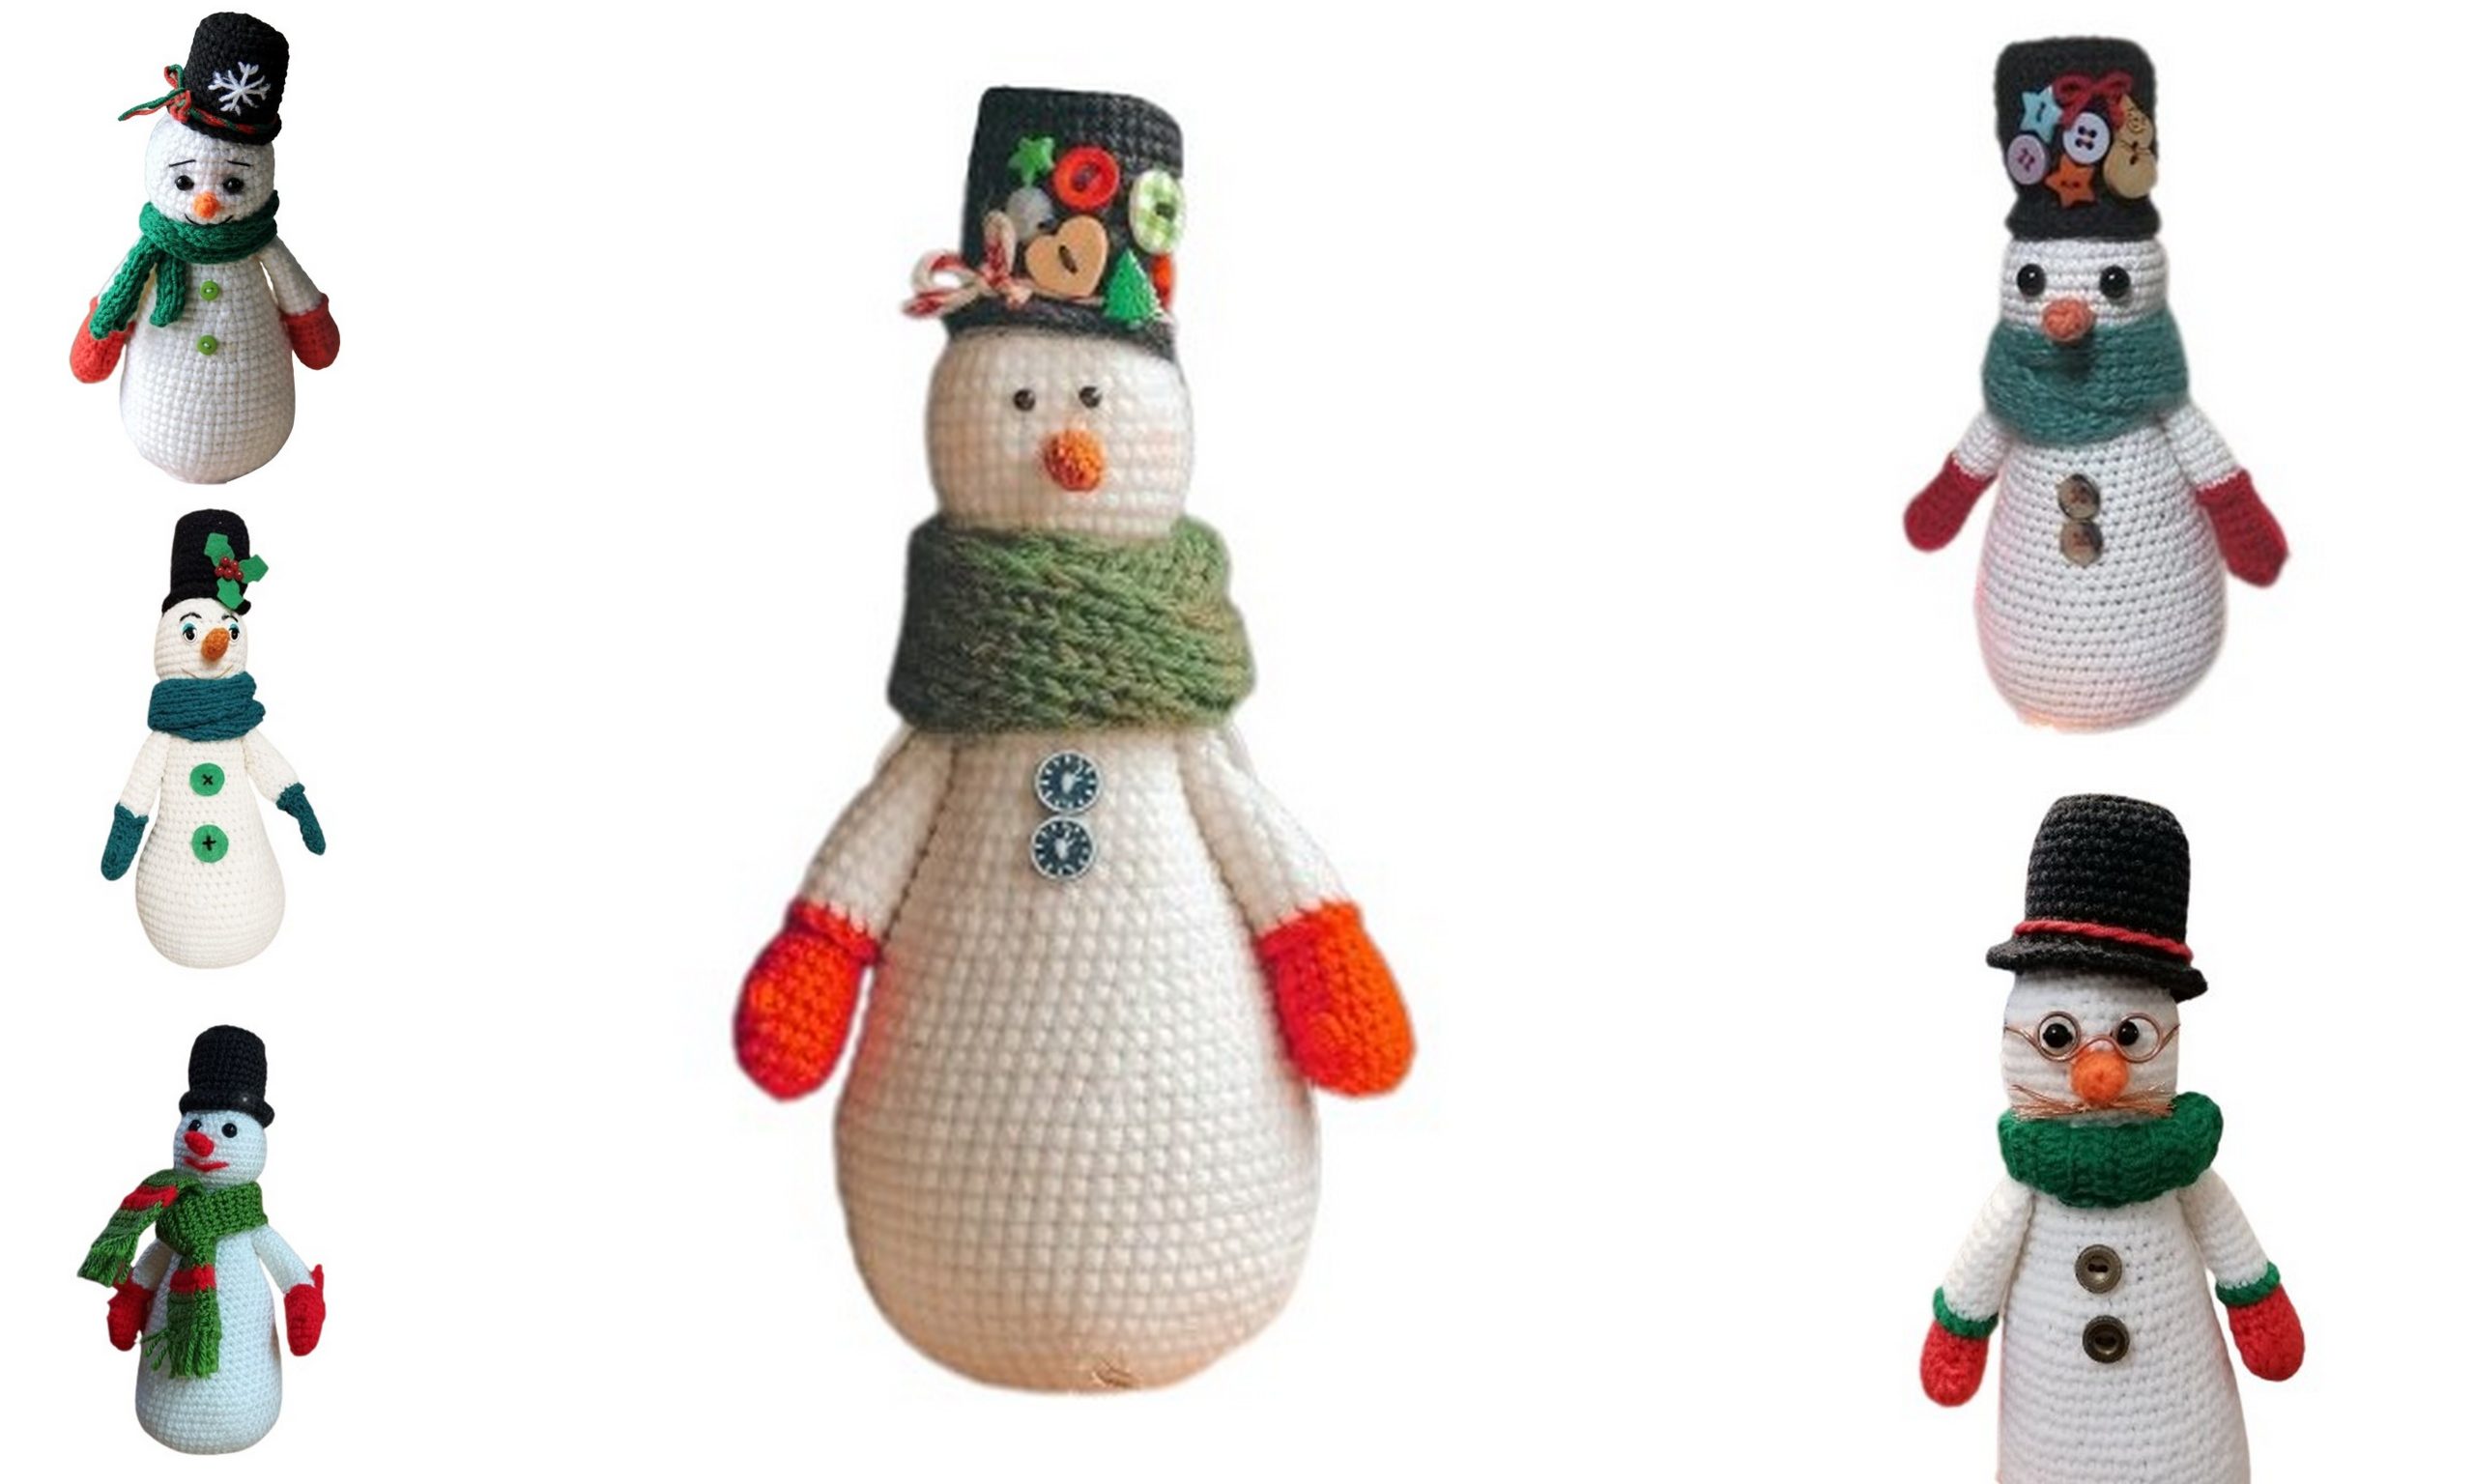
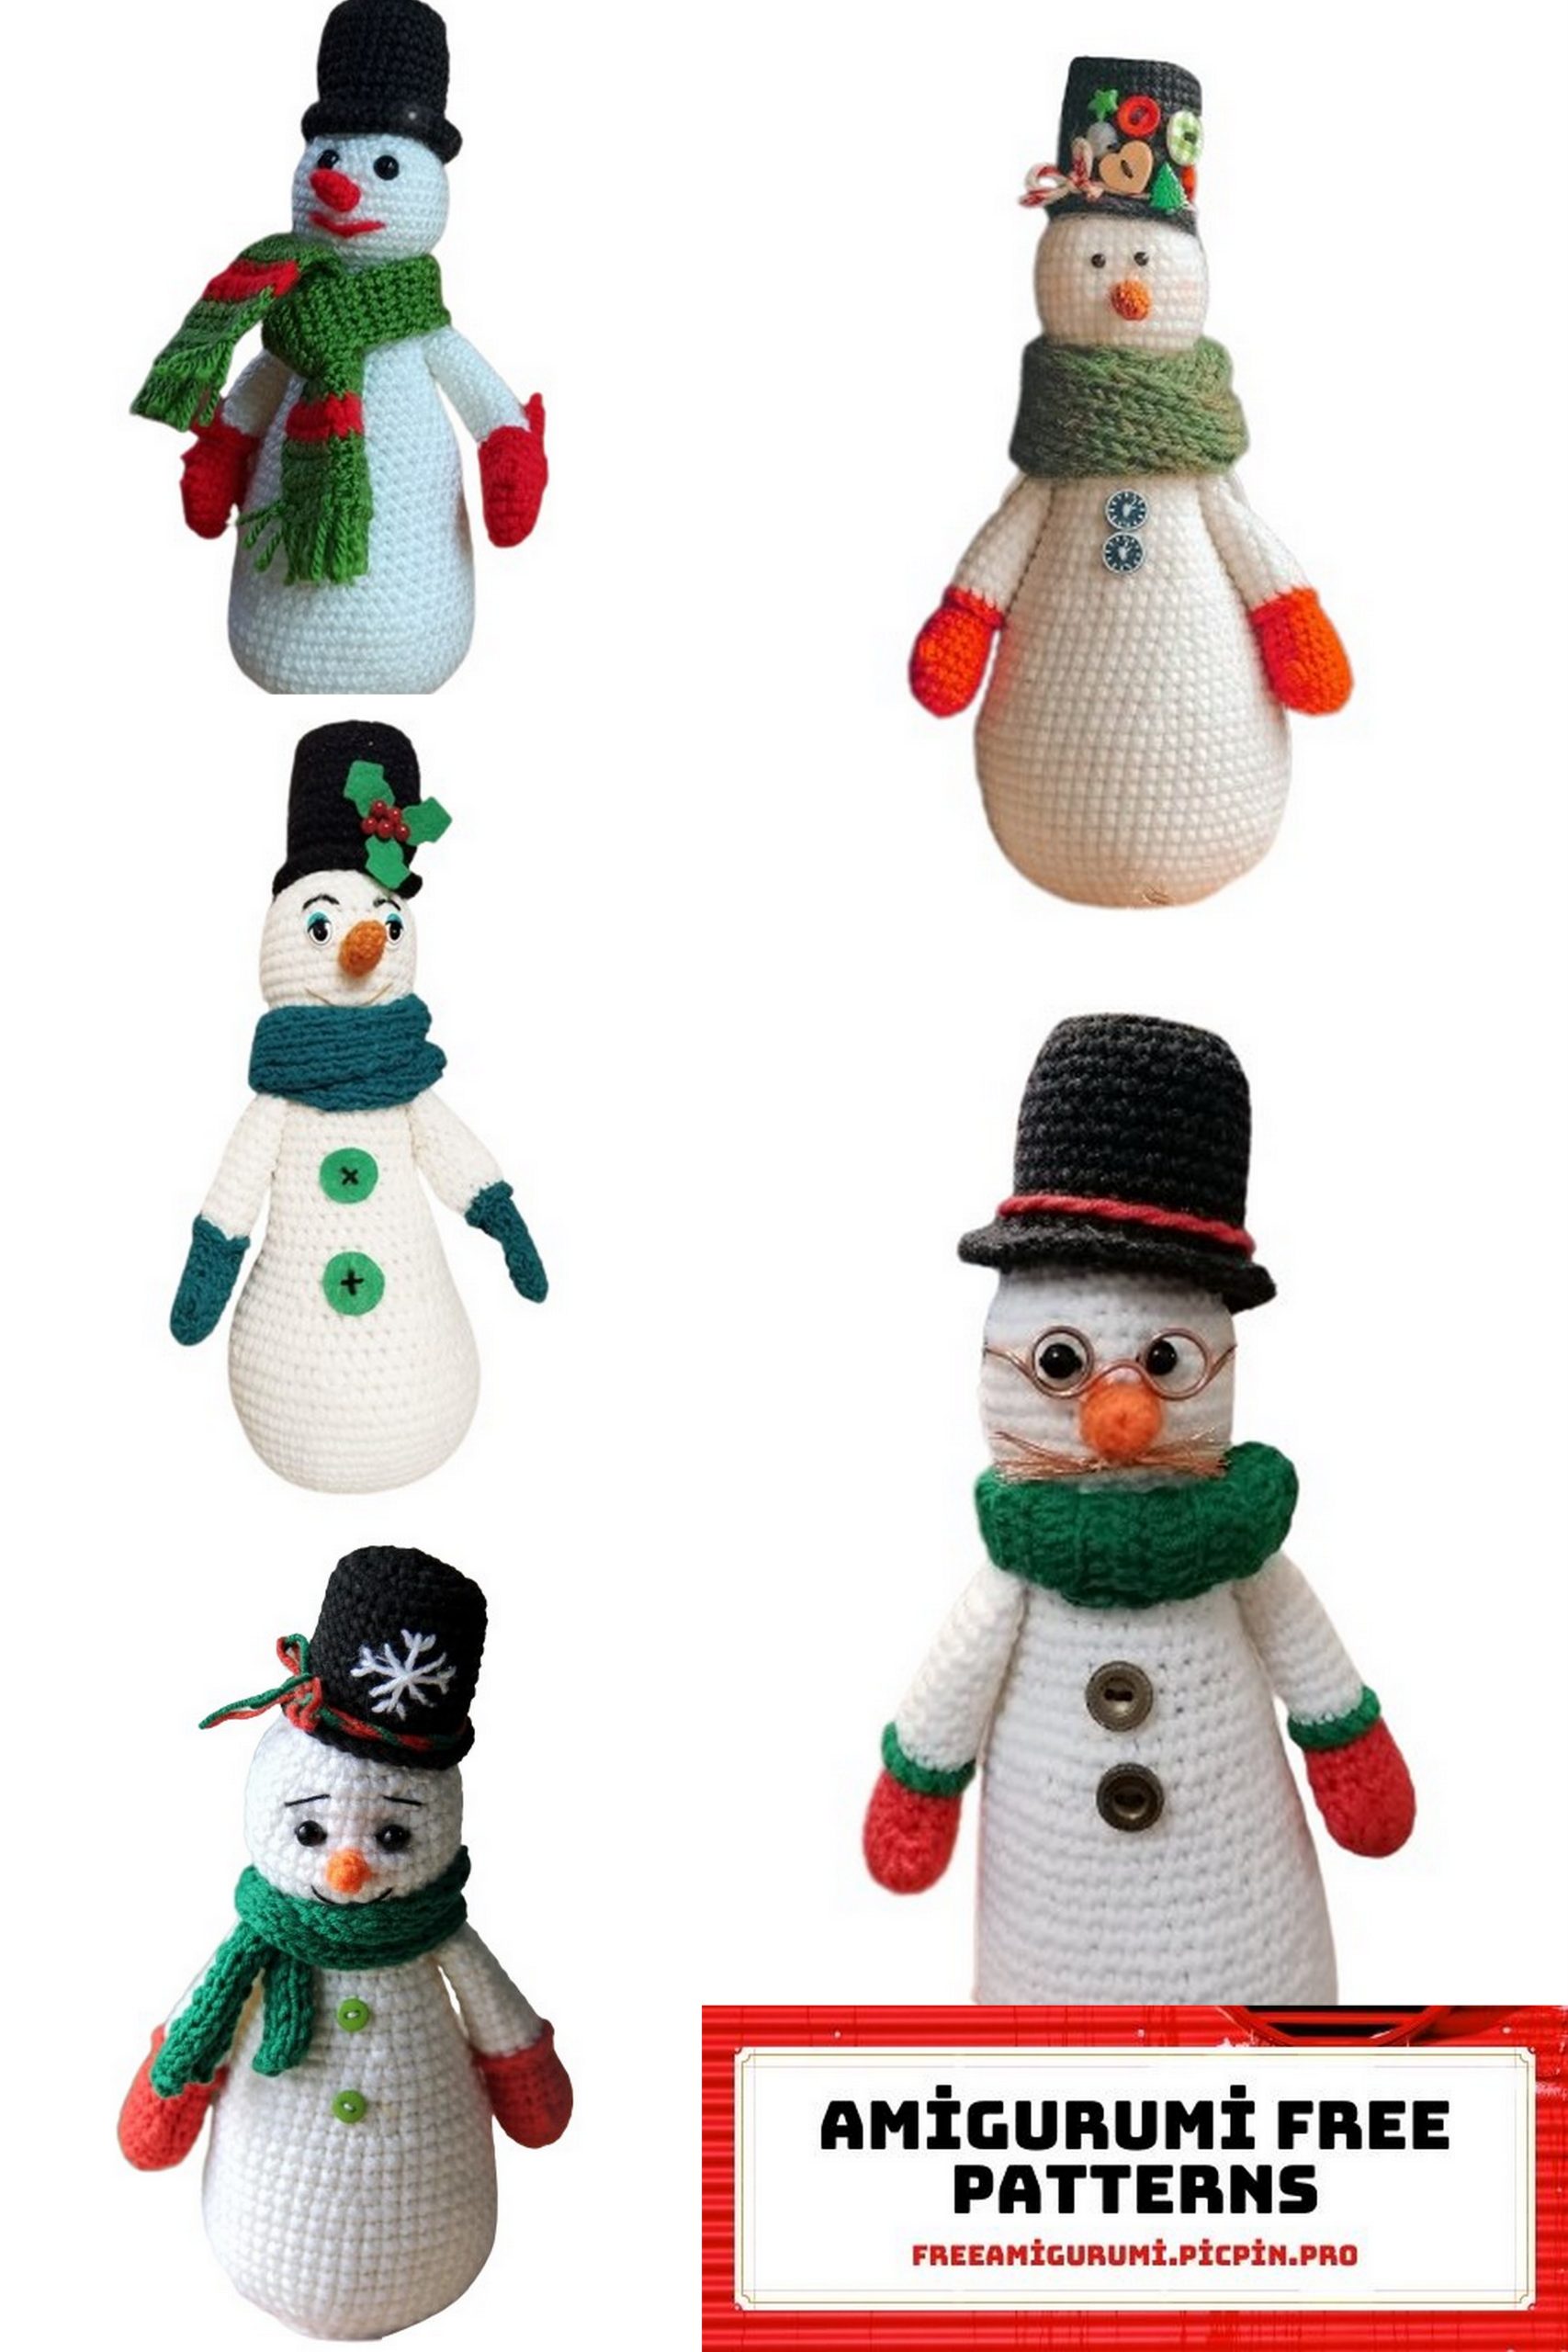
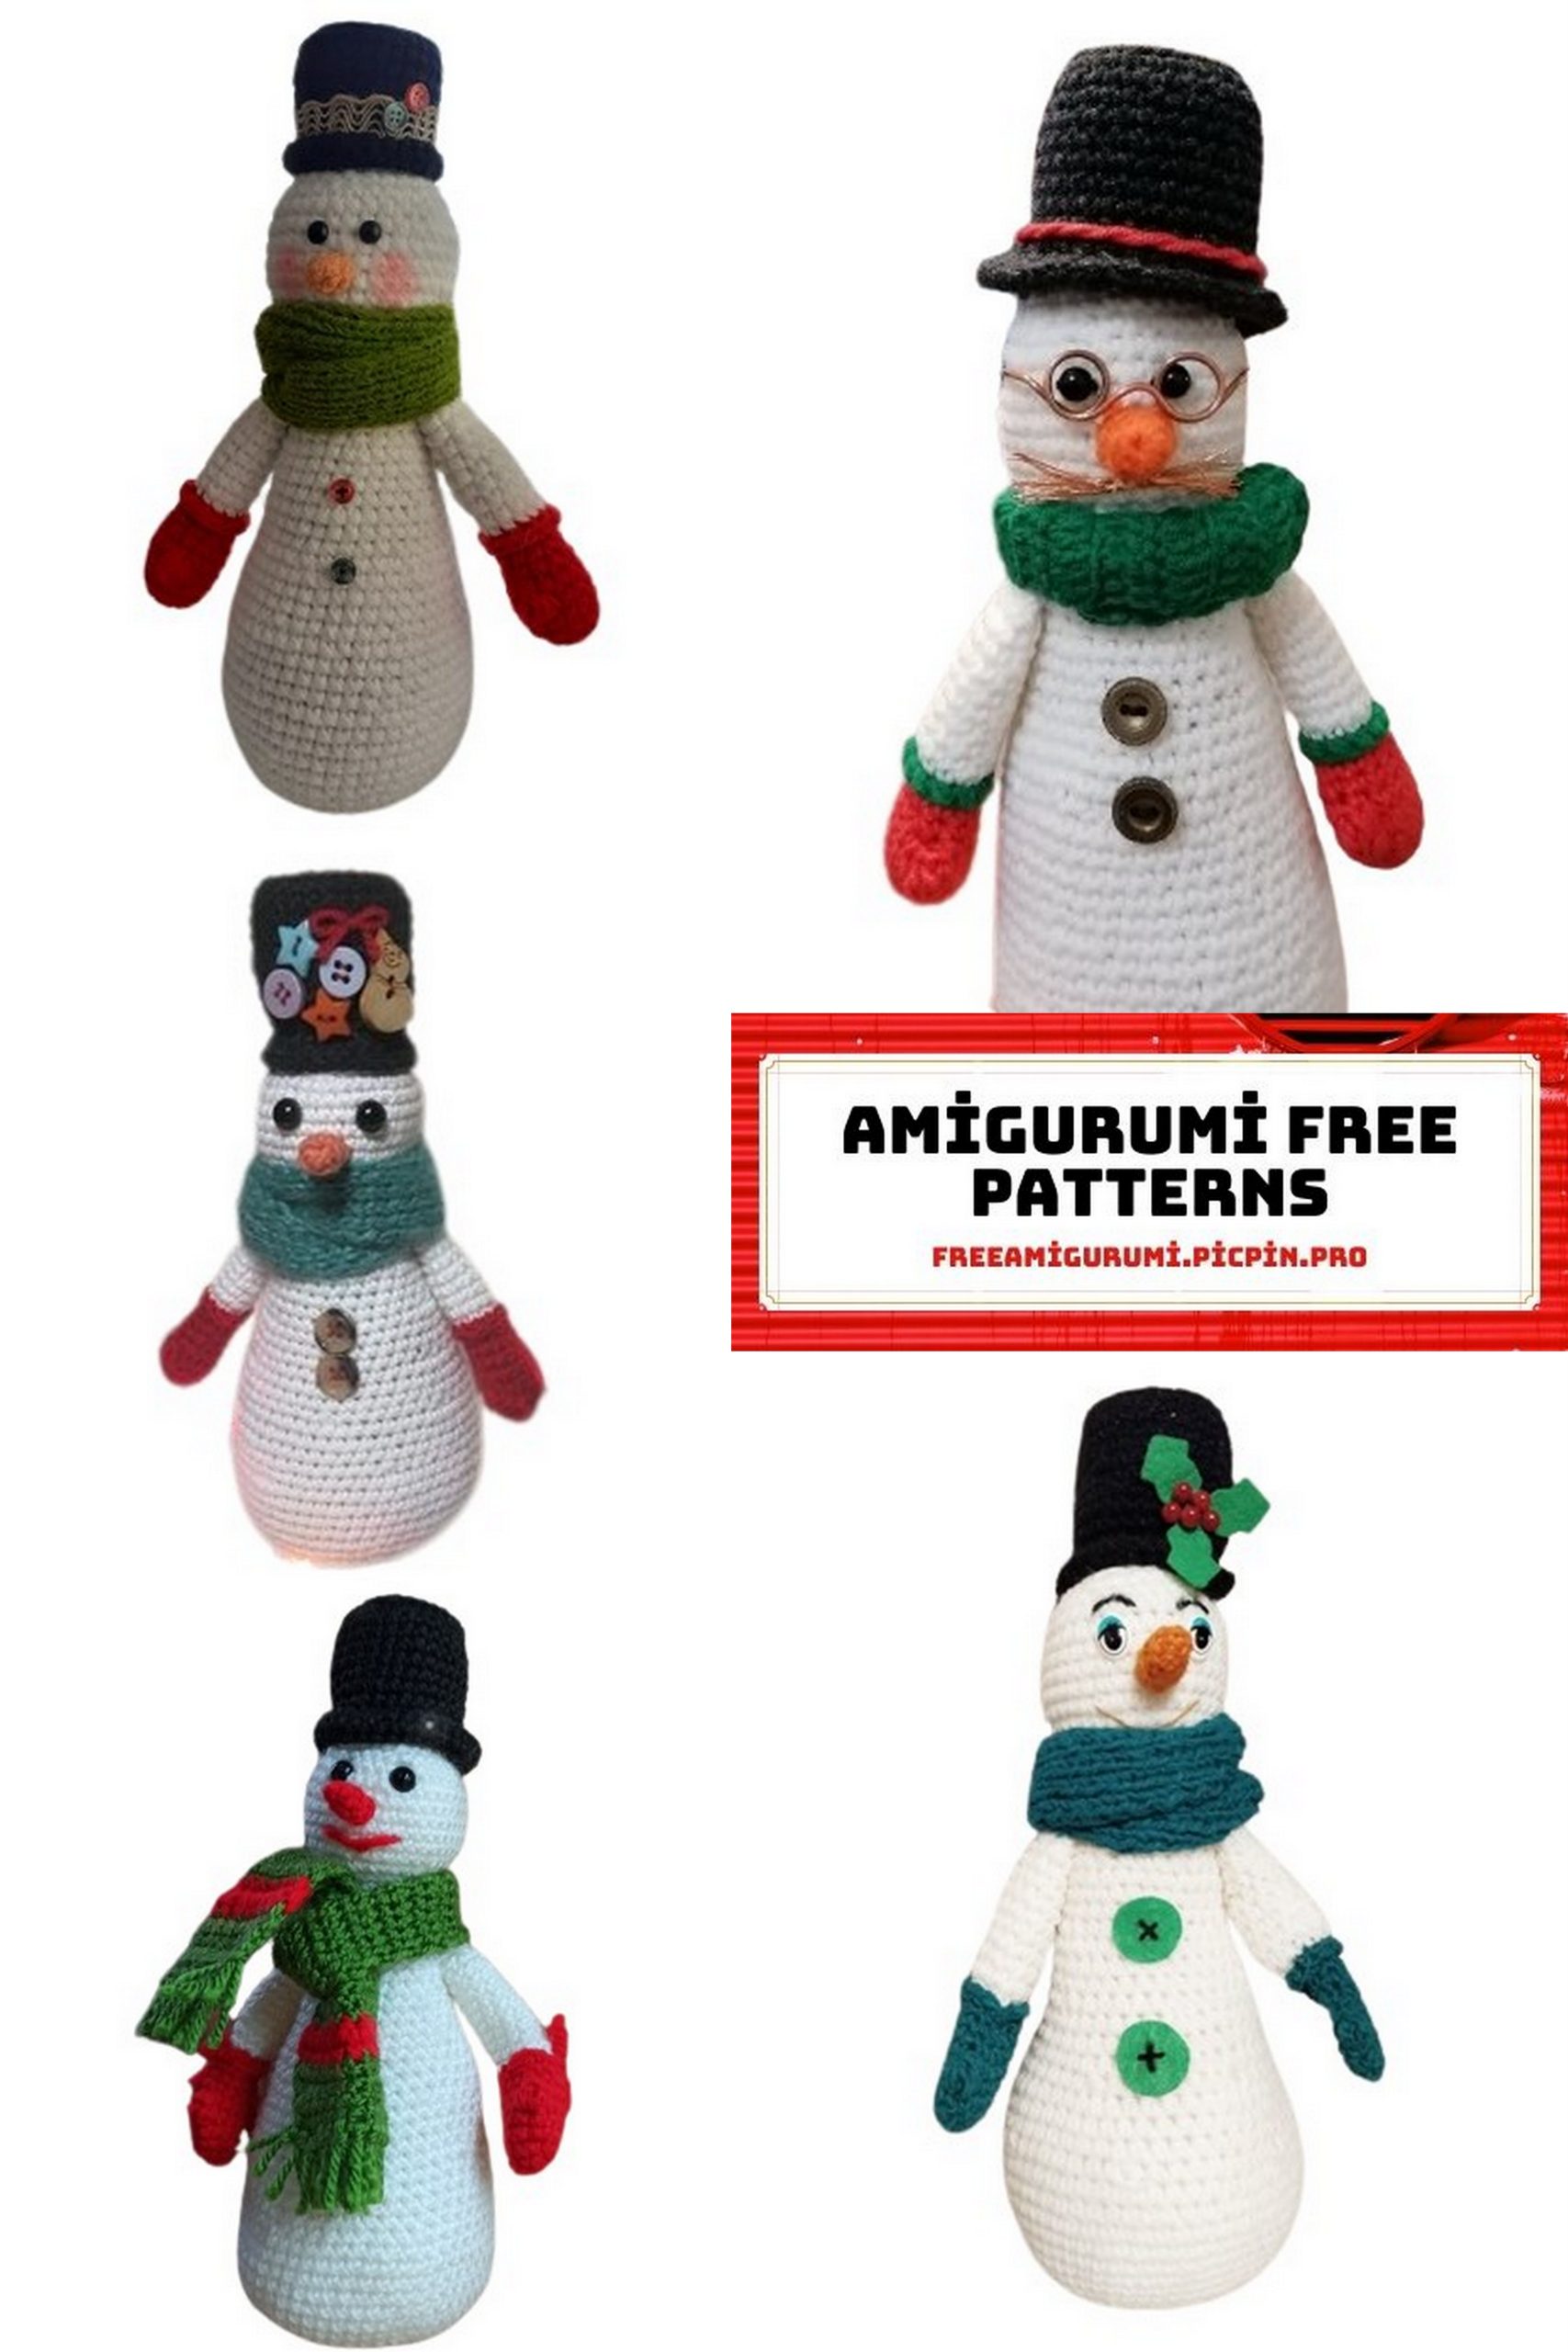
Create a Snowman Amigurumi with Our Free Pattern
As winter approaches, how about adding a touch of charm to your home with an adorable snowman amigurumi? And the best part is, this fantastic pattern is completely free! We’re here to guide you step by step on how to craft your very own Snowman Amigurumi.
Materials and Tools:
White yarn for the body (e.g., yarn from Troitsk “Podmoskovnaya” 100g/250m)
Yarn for mittens (e.g., yarn from Troitsk “Podmoskovnaya” 100g/250m, gray color)
Yarn for the cylinder (e.g., Alize Cotton Gold, 100g/330m, black color)
Yarn for the scarf (any woolen yarn)
Yarn for the nose (carrot) (e.g., Alize Cotton Gold, 100g/330m, orange color)
Buttons for sewing hands, 15 mm – 2 pieces
Buttons and decorations for the cylinder
3mm safety eyes
2.5mm crochet hook
Knitting needles for the scarf, 3.5mm
Polyester stuffing
Glass granulate
Strong thread for sewing hands
Pins
Scissors
Abbreviations:
Crochet Hook:
MR – magic ring
Ch – chain
Sl St – slip stitch
Sc – single crochet
Inc – increase
Dec – decrease
Instructions:
Work in any order: hands, body, nose, and cylinder. Attach the nose and hands to the body. Decorate the cylinder and attach it to the head.
PATTERN
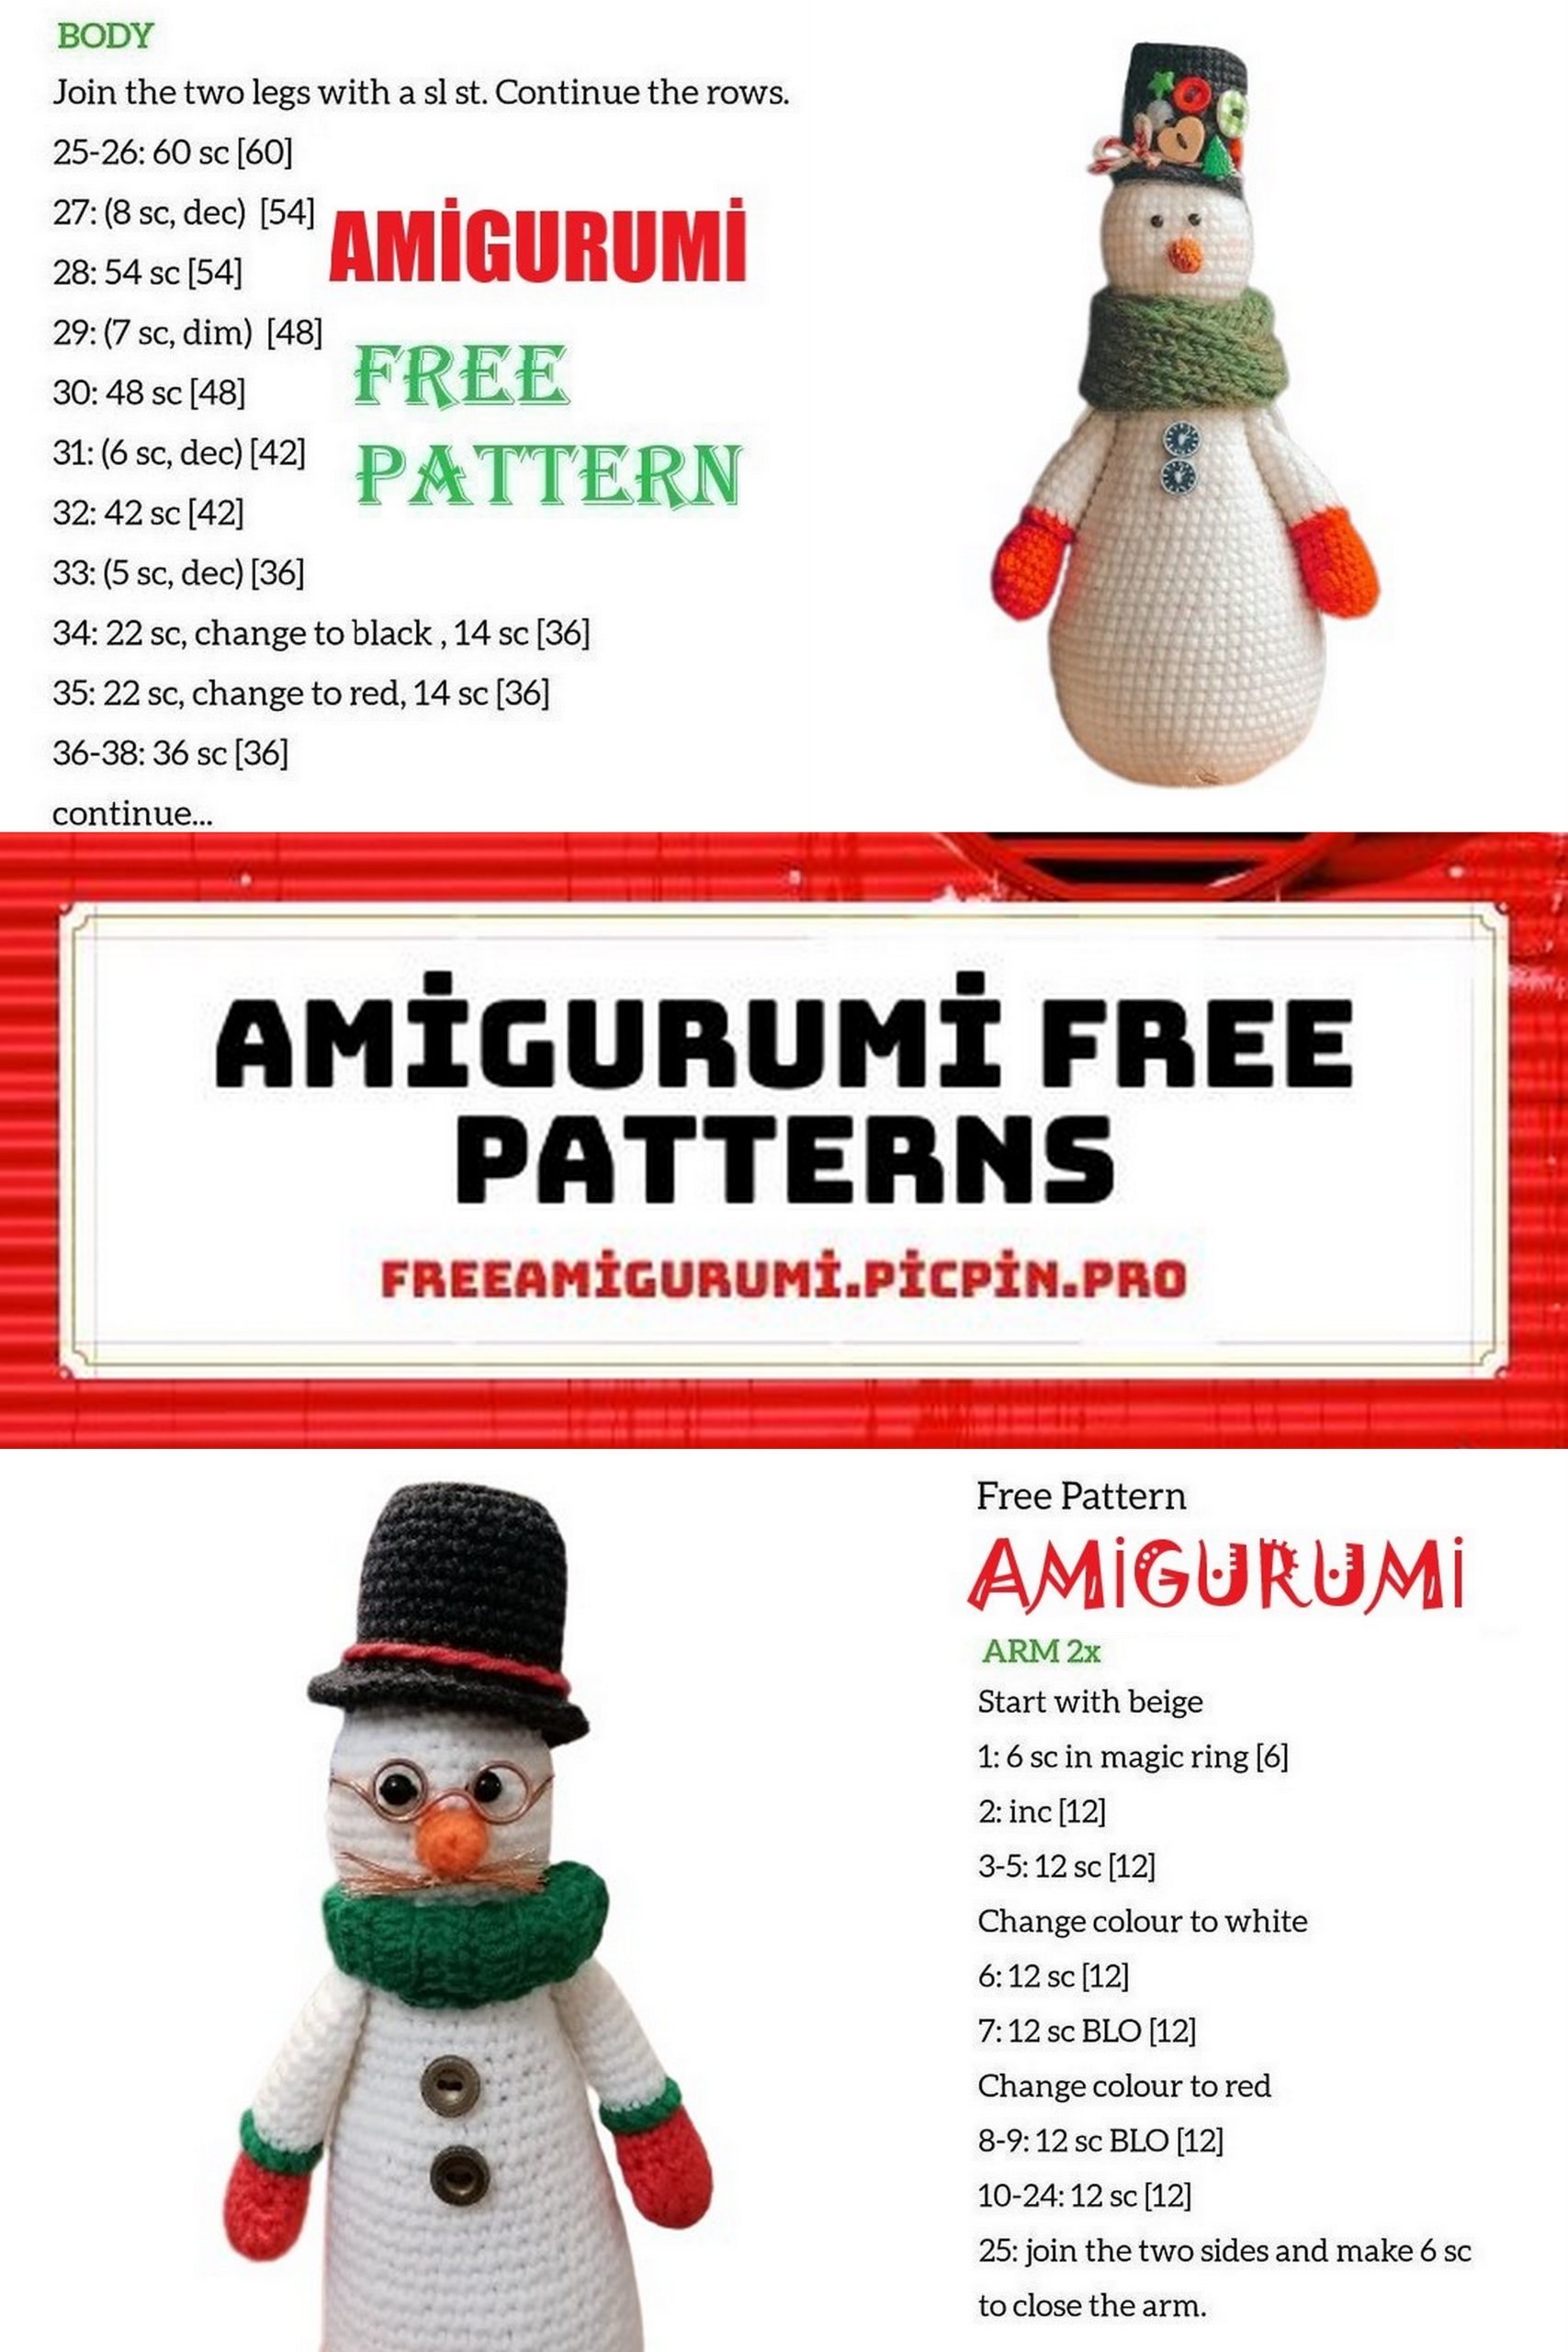
Body and Head:
The body and head are crocheted as one piece. It is recommended to crochet the bottom (rows 1-11) with a hook one size smaller to prevent it from curving.
Row 1: 6 in MR (6)
Row 2: 6 inc (12)
Row 3: 1 sc, inc x 6 (18)
Row 4: 2 sc, inc x 6 (24)
Row 5: 3 sc, inc x 6 (30)
Row 6: 4 sc, inc x 6 (36)
Row 7: 5 sc, inc x 6 (42)
Row 8: 6 sc, inc x 6 (48)
Row 9: 7 sc, inc x 6 (54)
Rows 10-16: 54 sc (7 rows)
Row 17: 7 sc, dec x 6 (48)
Rows 18-20: 48 sc (3 rows)
Row 21: 6 sc, dec x 6 (42)
Rows 22-24: 42 sc (3 rows)
Row 25: 5 sc, dec x 6 (36)
Rows 26-28: 36 sc
Row 29: 4 sc, dec x 6 (30)
Rows 30-32: 30 sc
Row 33: 3 sc, dec x 6 (24)
Rows 34-37: 24 sc
Row 38: 2 sc, dec x 6 (18)
Row 39: 18 sc
Row 40: 18 inc (36)
Rows 41-47: 36 sc
Row 48: 4 sc, dec x 6 (30)
Row 49: 3 sc, dec x 6 (24)
Row 50: 2 sc, dec x 6 (18)
Row 51: 1 sc, dec x 6 (12)
Row 52: 6 dec (6)
Cut the yarn, fasten off, and hide the remaining loops.

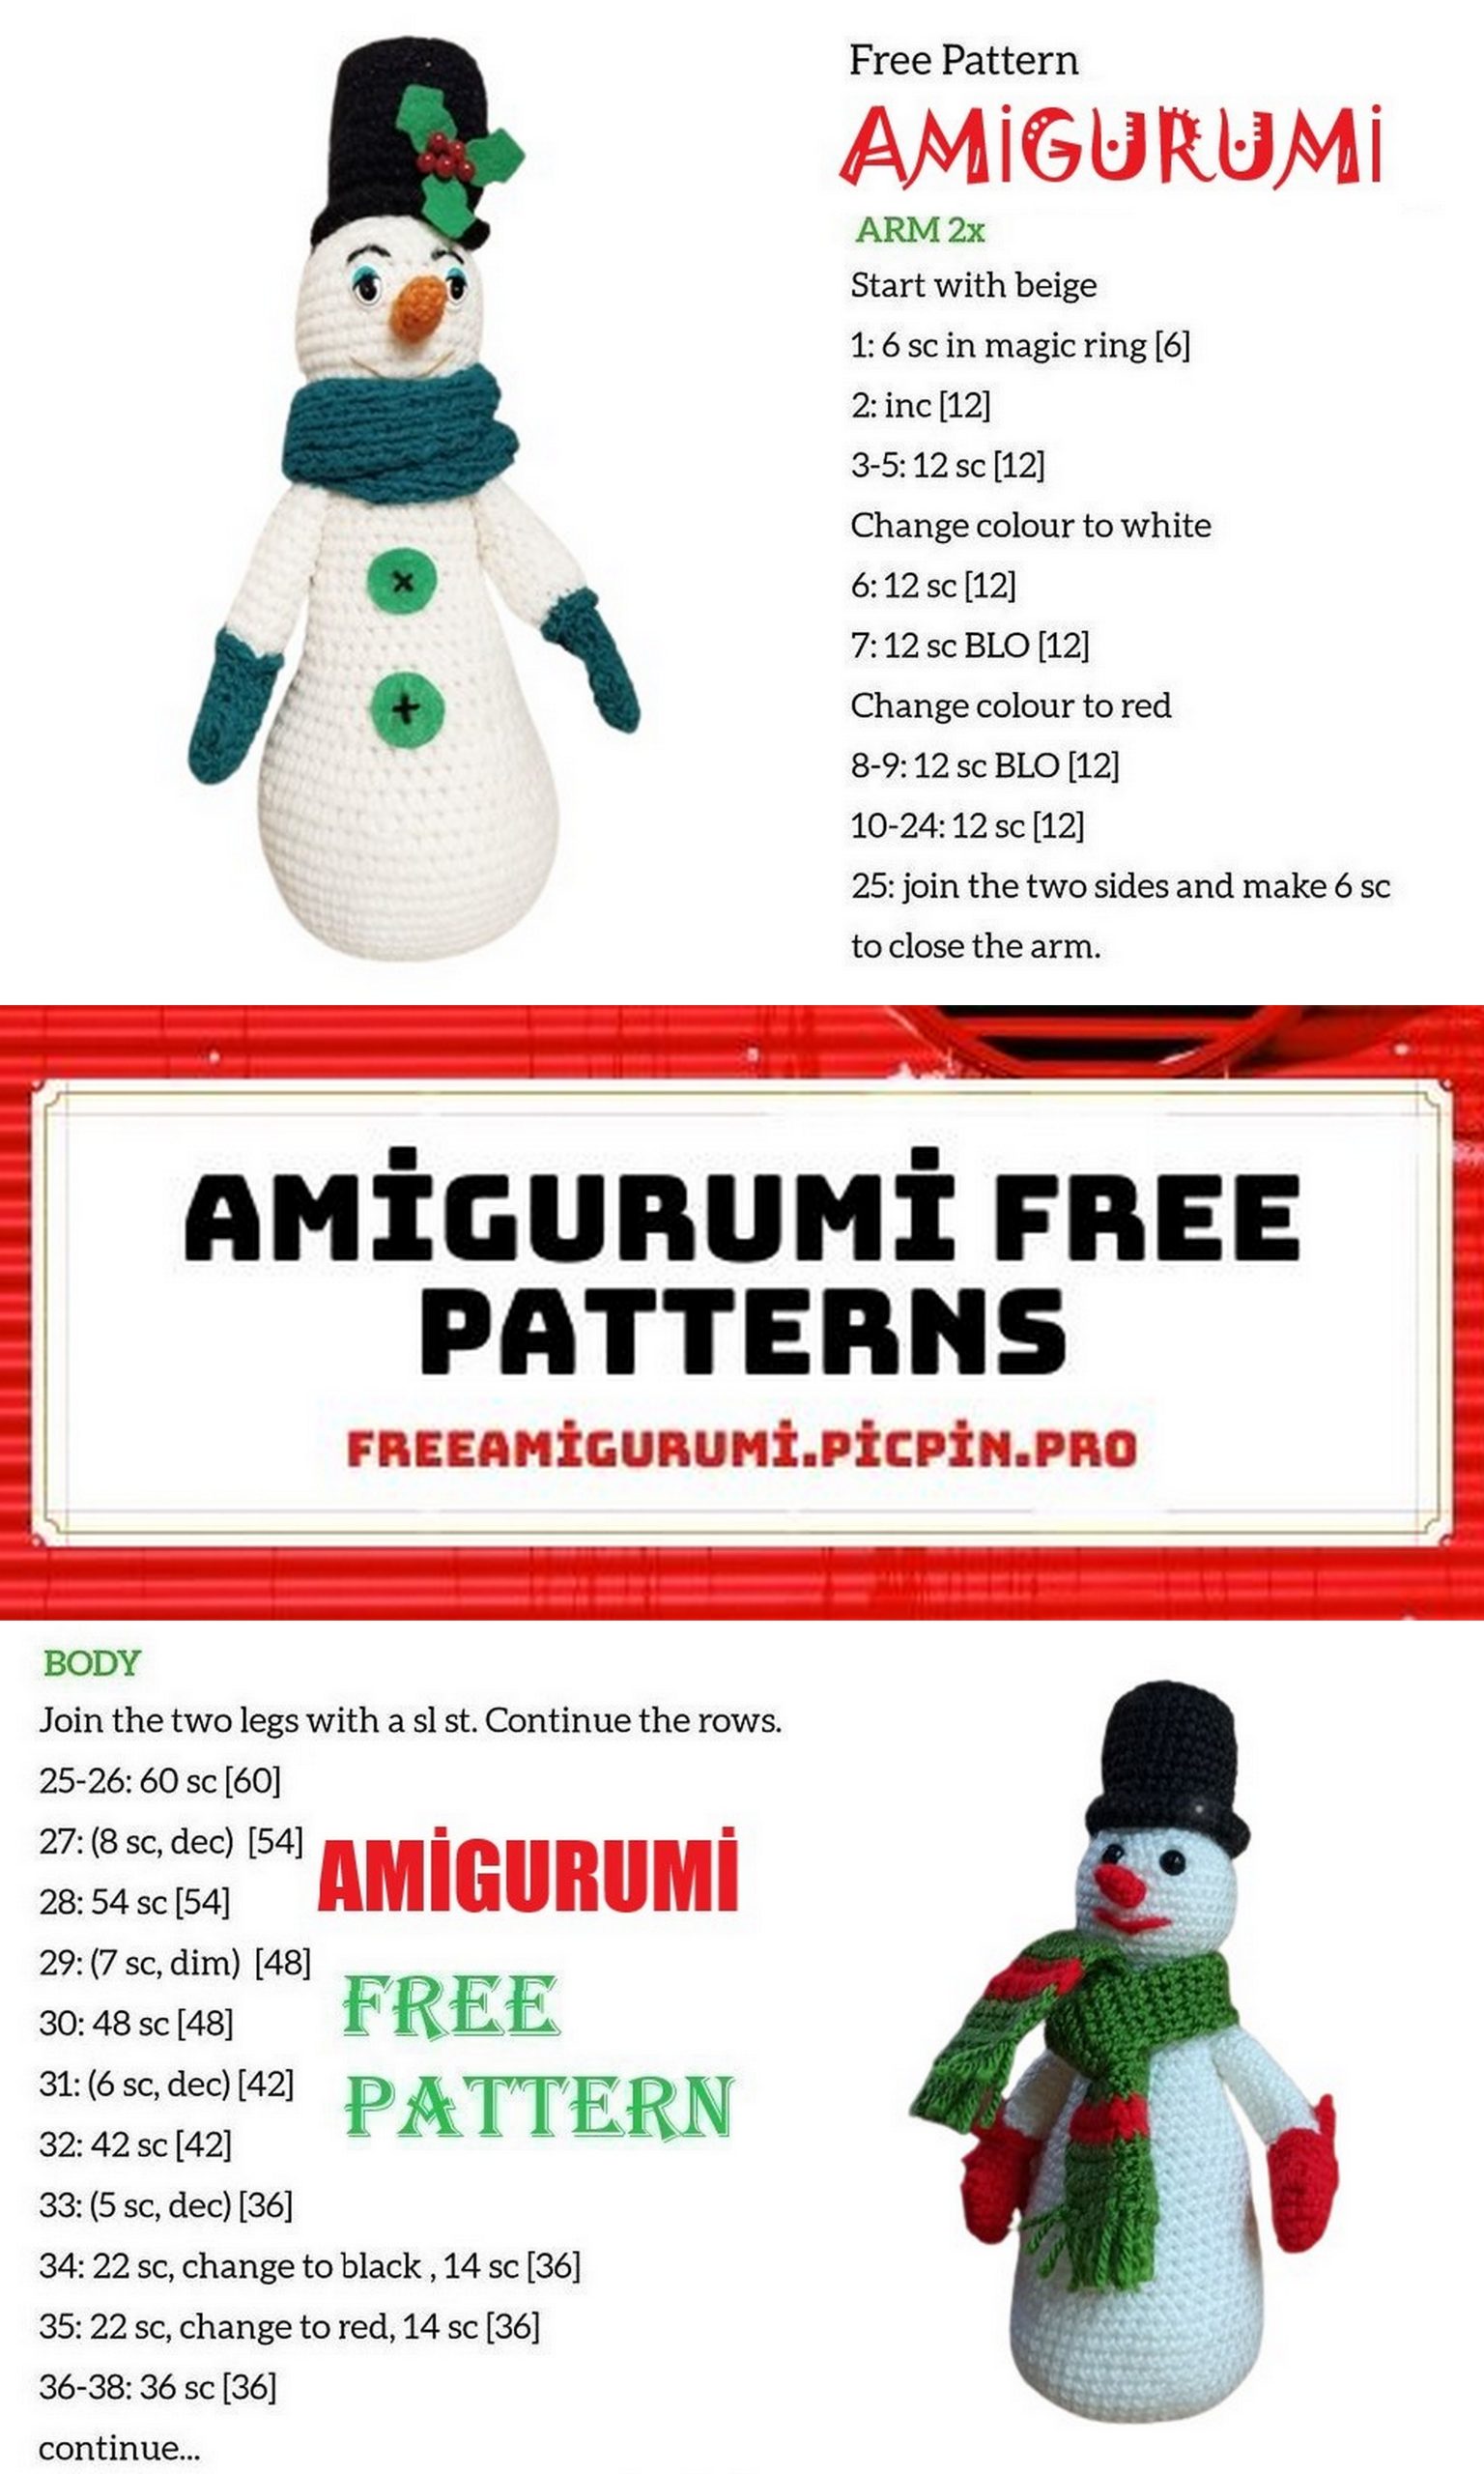
Hands:
Crochet with red yarn:
Row 1: 6 in MR (6)
Row 2: 6 inc (12)
Row 3: 3 sc, inc x 3 (15)
Row 4: 15 sc
Row 5: 7 sc, 1 puff stitch, 7 sc (15)
Row 6: 15 sc
Row 7: 3 sc, dec x 3 (12)
Rows 8-9: 12 sc
Switch to gray yarn without cutting the red yarn, which will be used to make the mitten cuffs.
Rows 10-19: 12 sc (10 rows)
In the 10th row, use gray yarn for the back loops and make 12 sc. Stuff the hand in the 19th row.
Row 20: 6 dec (6).
Return to the 10th row, and crochet with red yarn through the front loops, making 12 sc. Cut the red yarn and hide it inside the hand.
Cut the gray yarn, thread the remaining loops onto a needle, tighten, secure, and hide.
Make the second hand following the same instructions.
Nose:
Row 1: 5 in MR (5)
Rows 2-4: 5 sc (3 rows)
Stuff the nose tightly. Cut the yarn, leaving a long tail for sewing.
Cylinder:
Row 1: 6 in MR (6)
Row 2: 6 inc (12)
Row 3: 12 inc (24)
Row 4: 3 sc, inc x 6 (30)
Row 5: 30 sc in the back loops only
Rows 6-14: 30 sc (9 rows)
Row 15: 30 sc in the front loops only
Row 16: 30 sc
Row 17: 30 sl st
The last row reinforces the edge of the cylinder.
Scarf:
Using 3.5mm knitting needles, cast on 10 stitches and knit in ribbing pattern: 1 knit, 1 purl. Don’t forget to slip the first stitch knitwise and purl the last stitch. These are the edge stitches.
Row 1: Edge, 1 knit, 1 purl (repeat to the end of the row), purl the last stitch.
Row 2: Edge, continue knitting the pattern, purl the last stitch.
Repeat these two rows for a total of 74 rows.
In the 75th row, bind off the stitches according to the pattern.
Sew the scarf into a loop, making it into a cowl. Seam the beginning of the scarf to the end.
Assembly:
Sew the nose to the head.
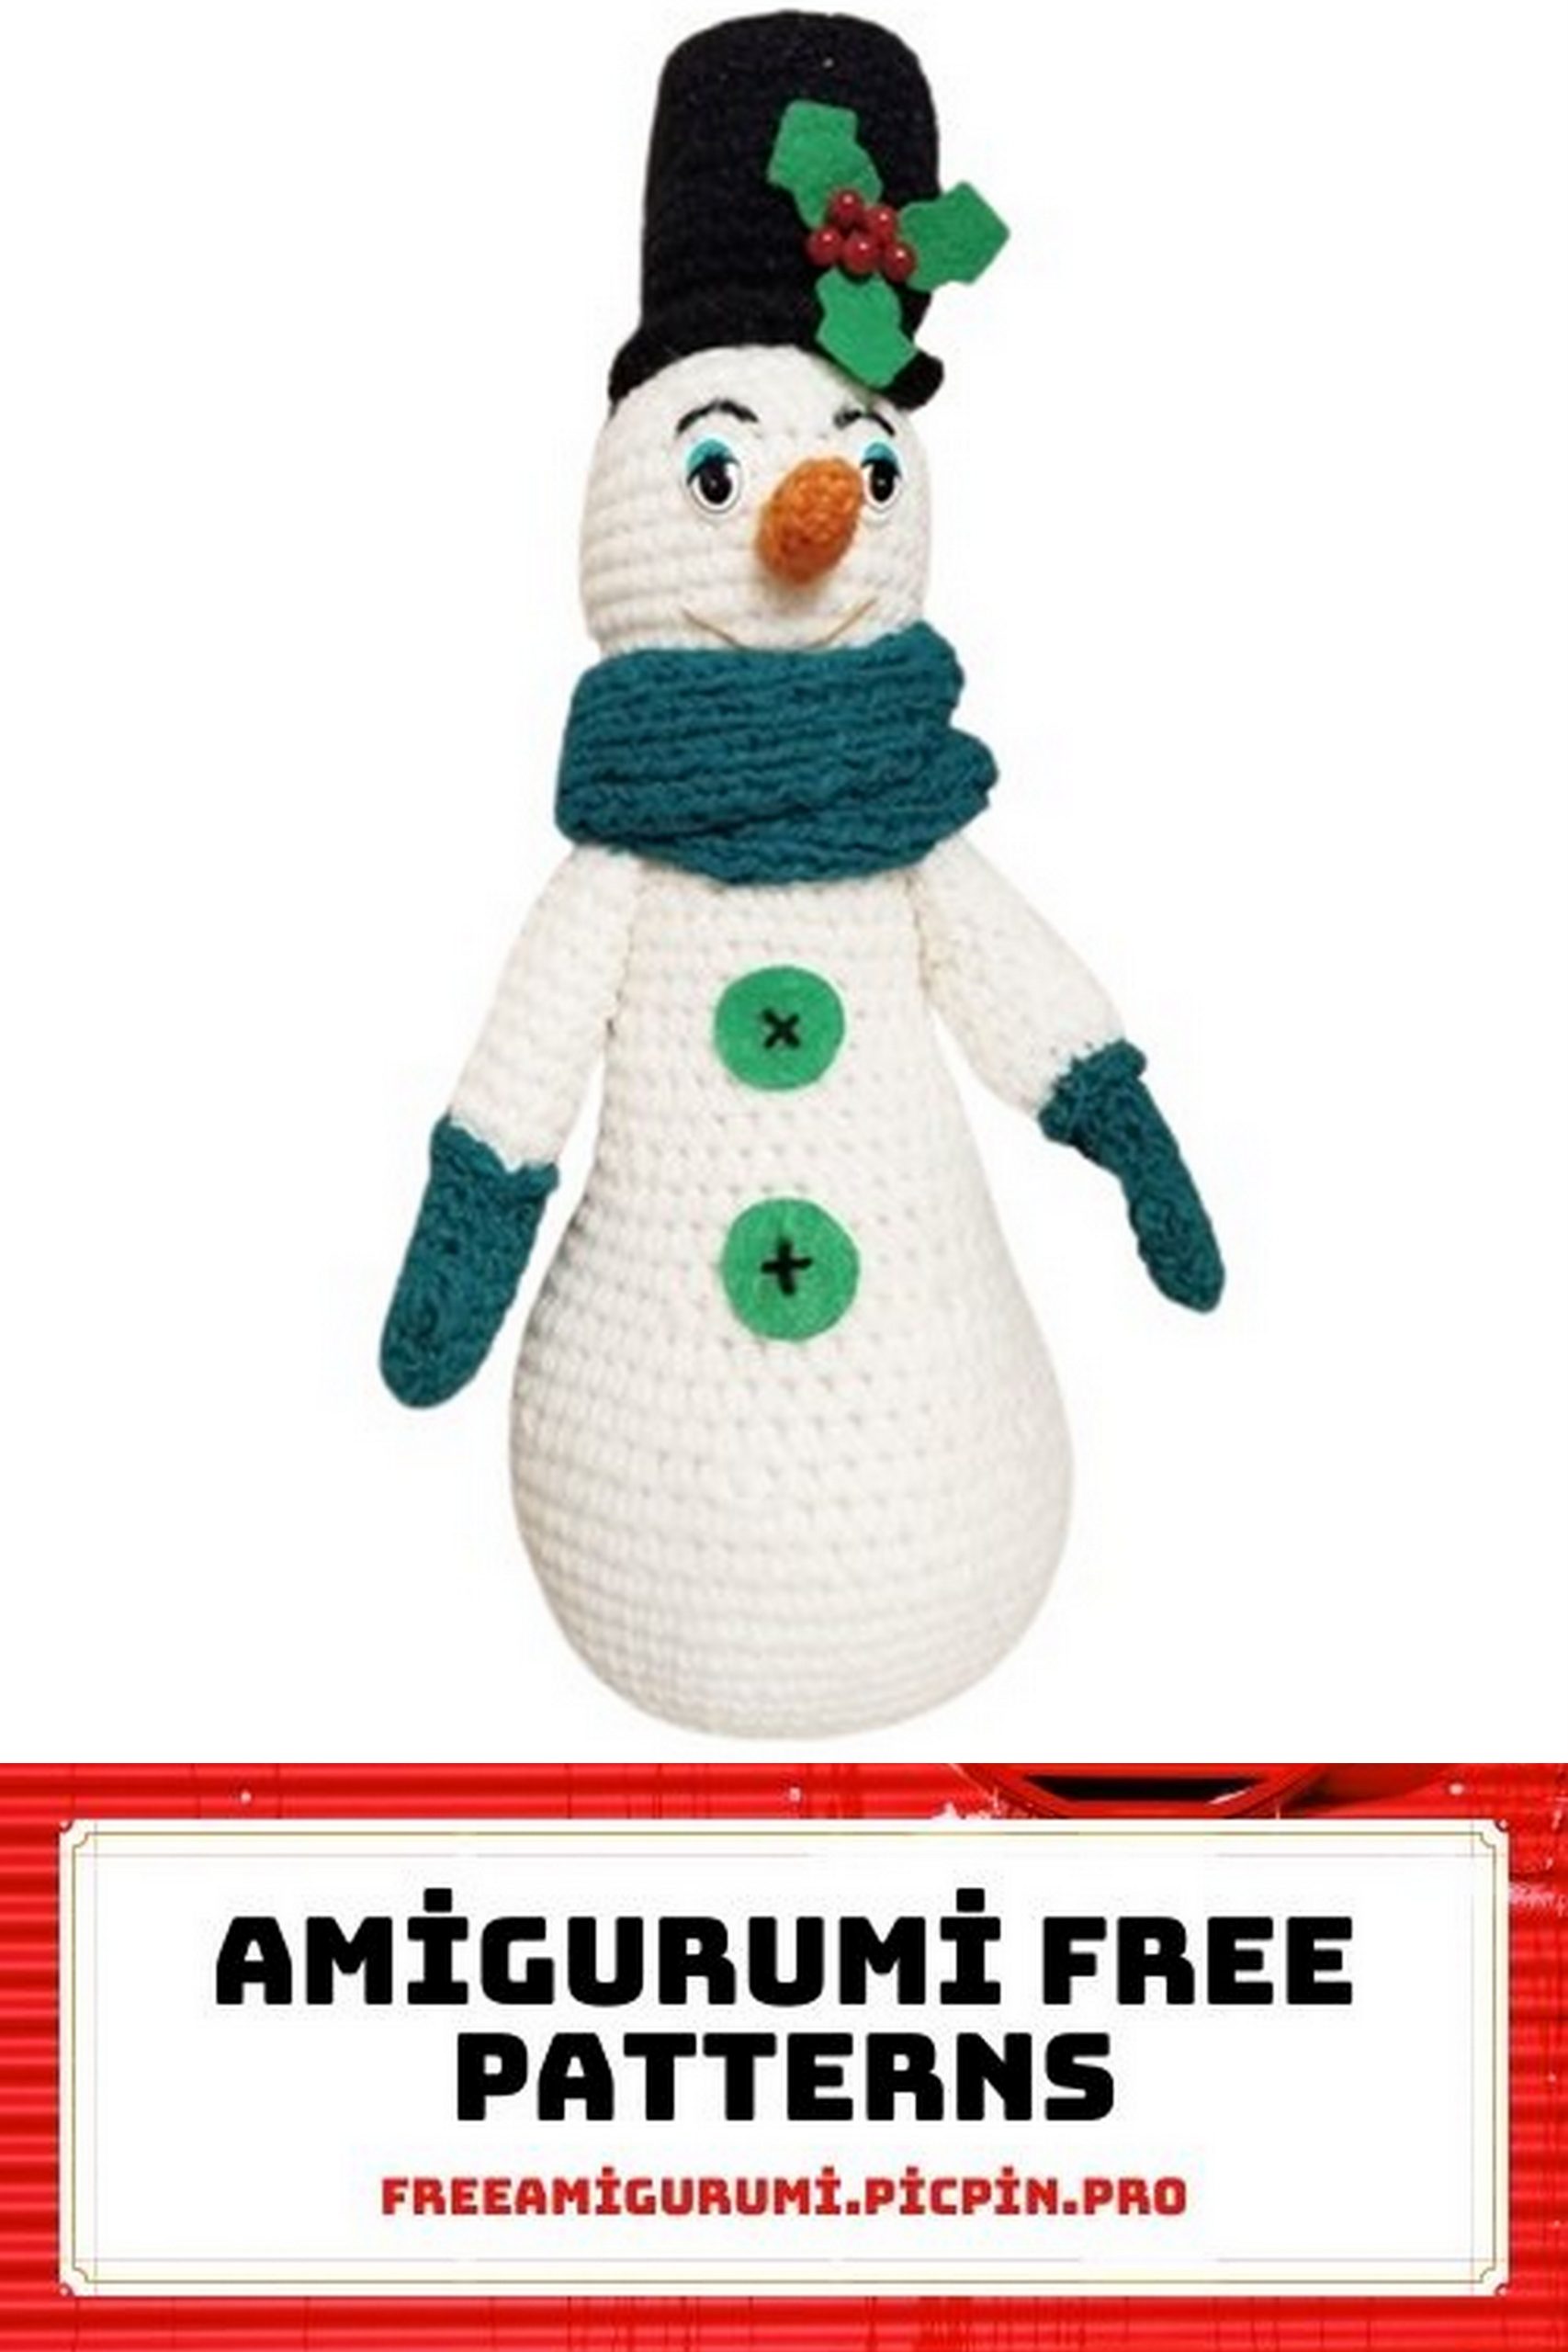
Attach the safety eyes.
Sew on the hands. Mark the attachment points for the hands along the body edges with pins.
Sew buttons for the hands.
Attach buttons to the snowman’s body. Before doing this, put the scarf on the body and mark the button attachment points.
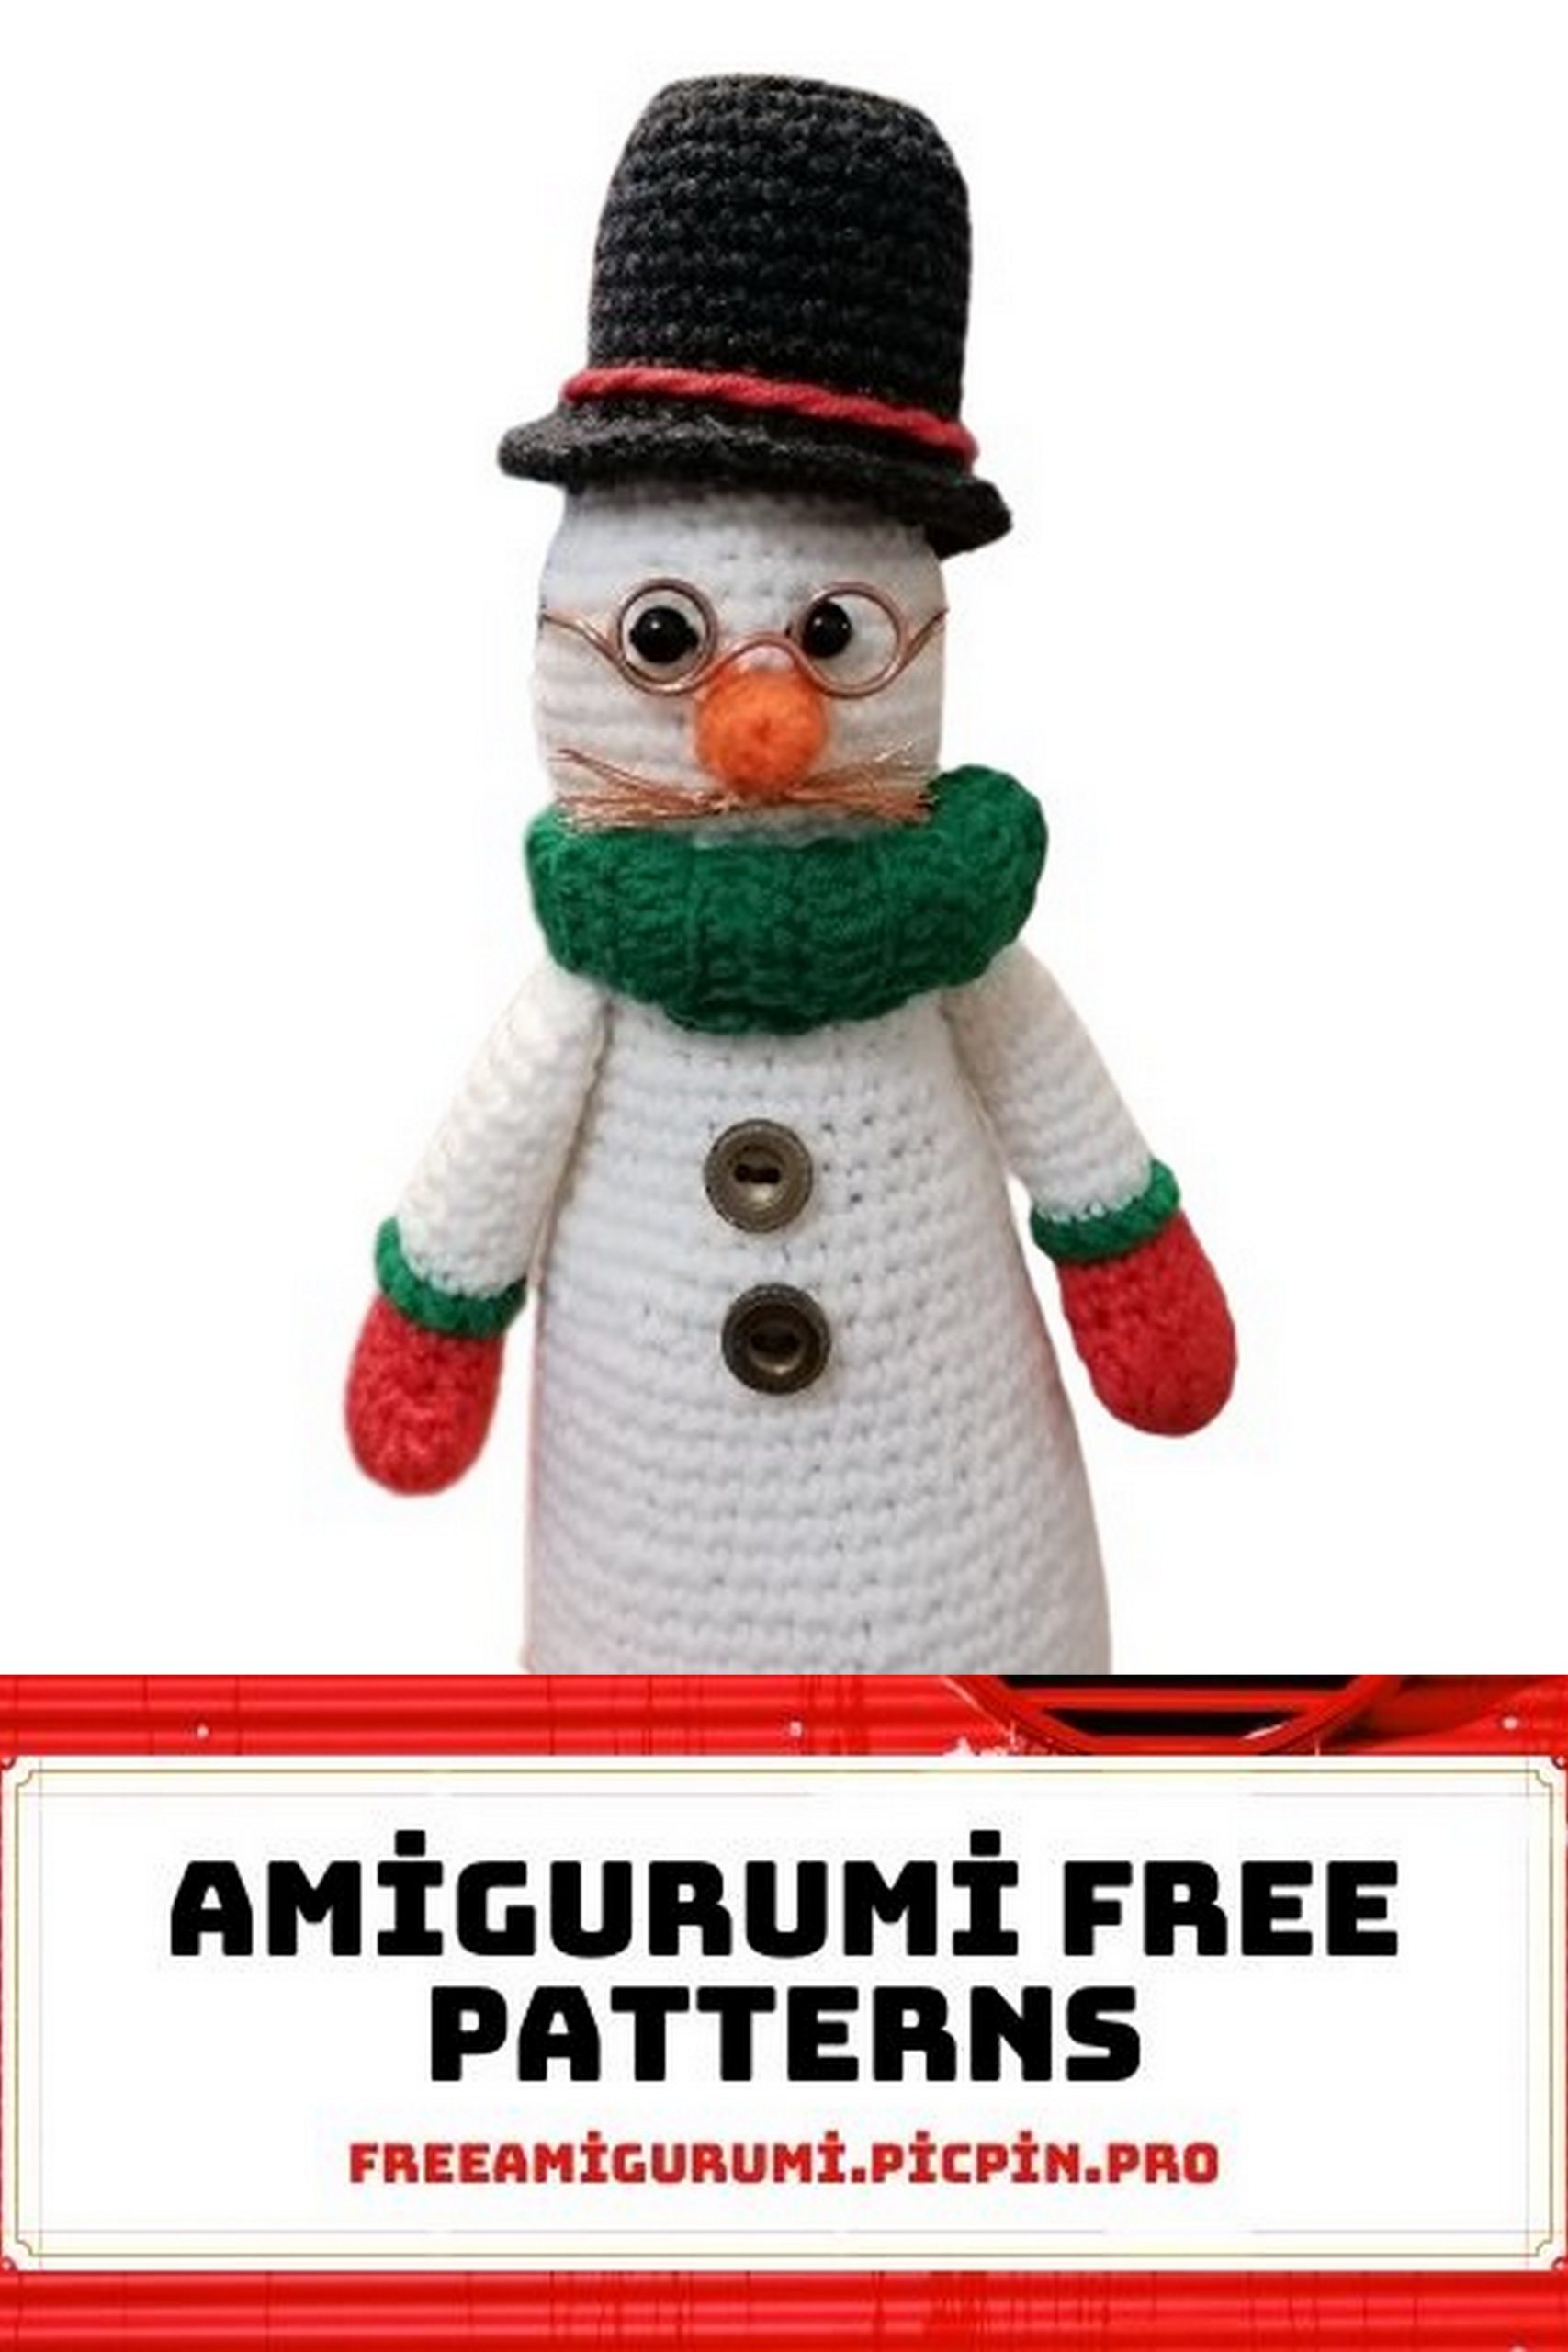
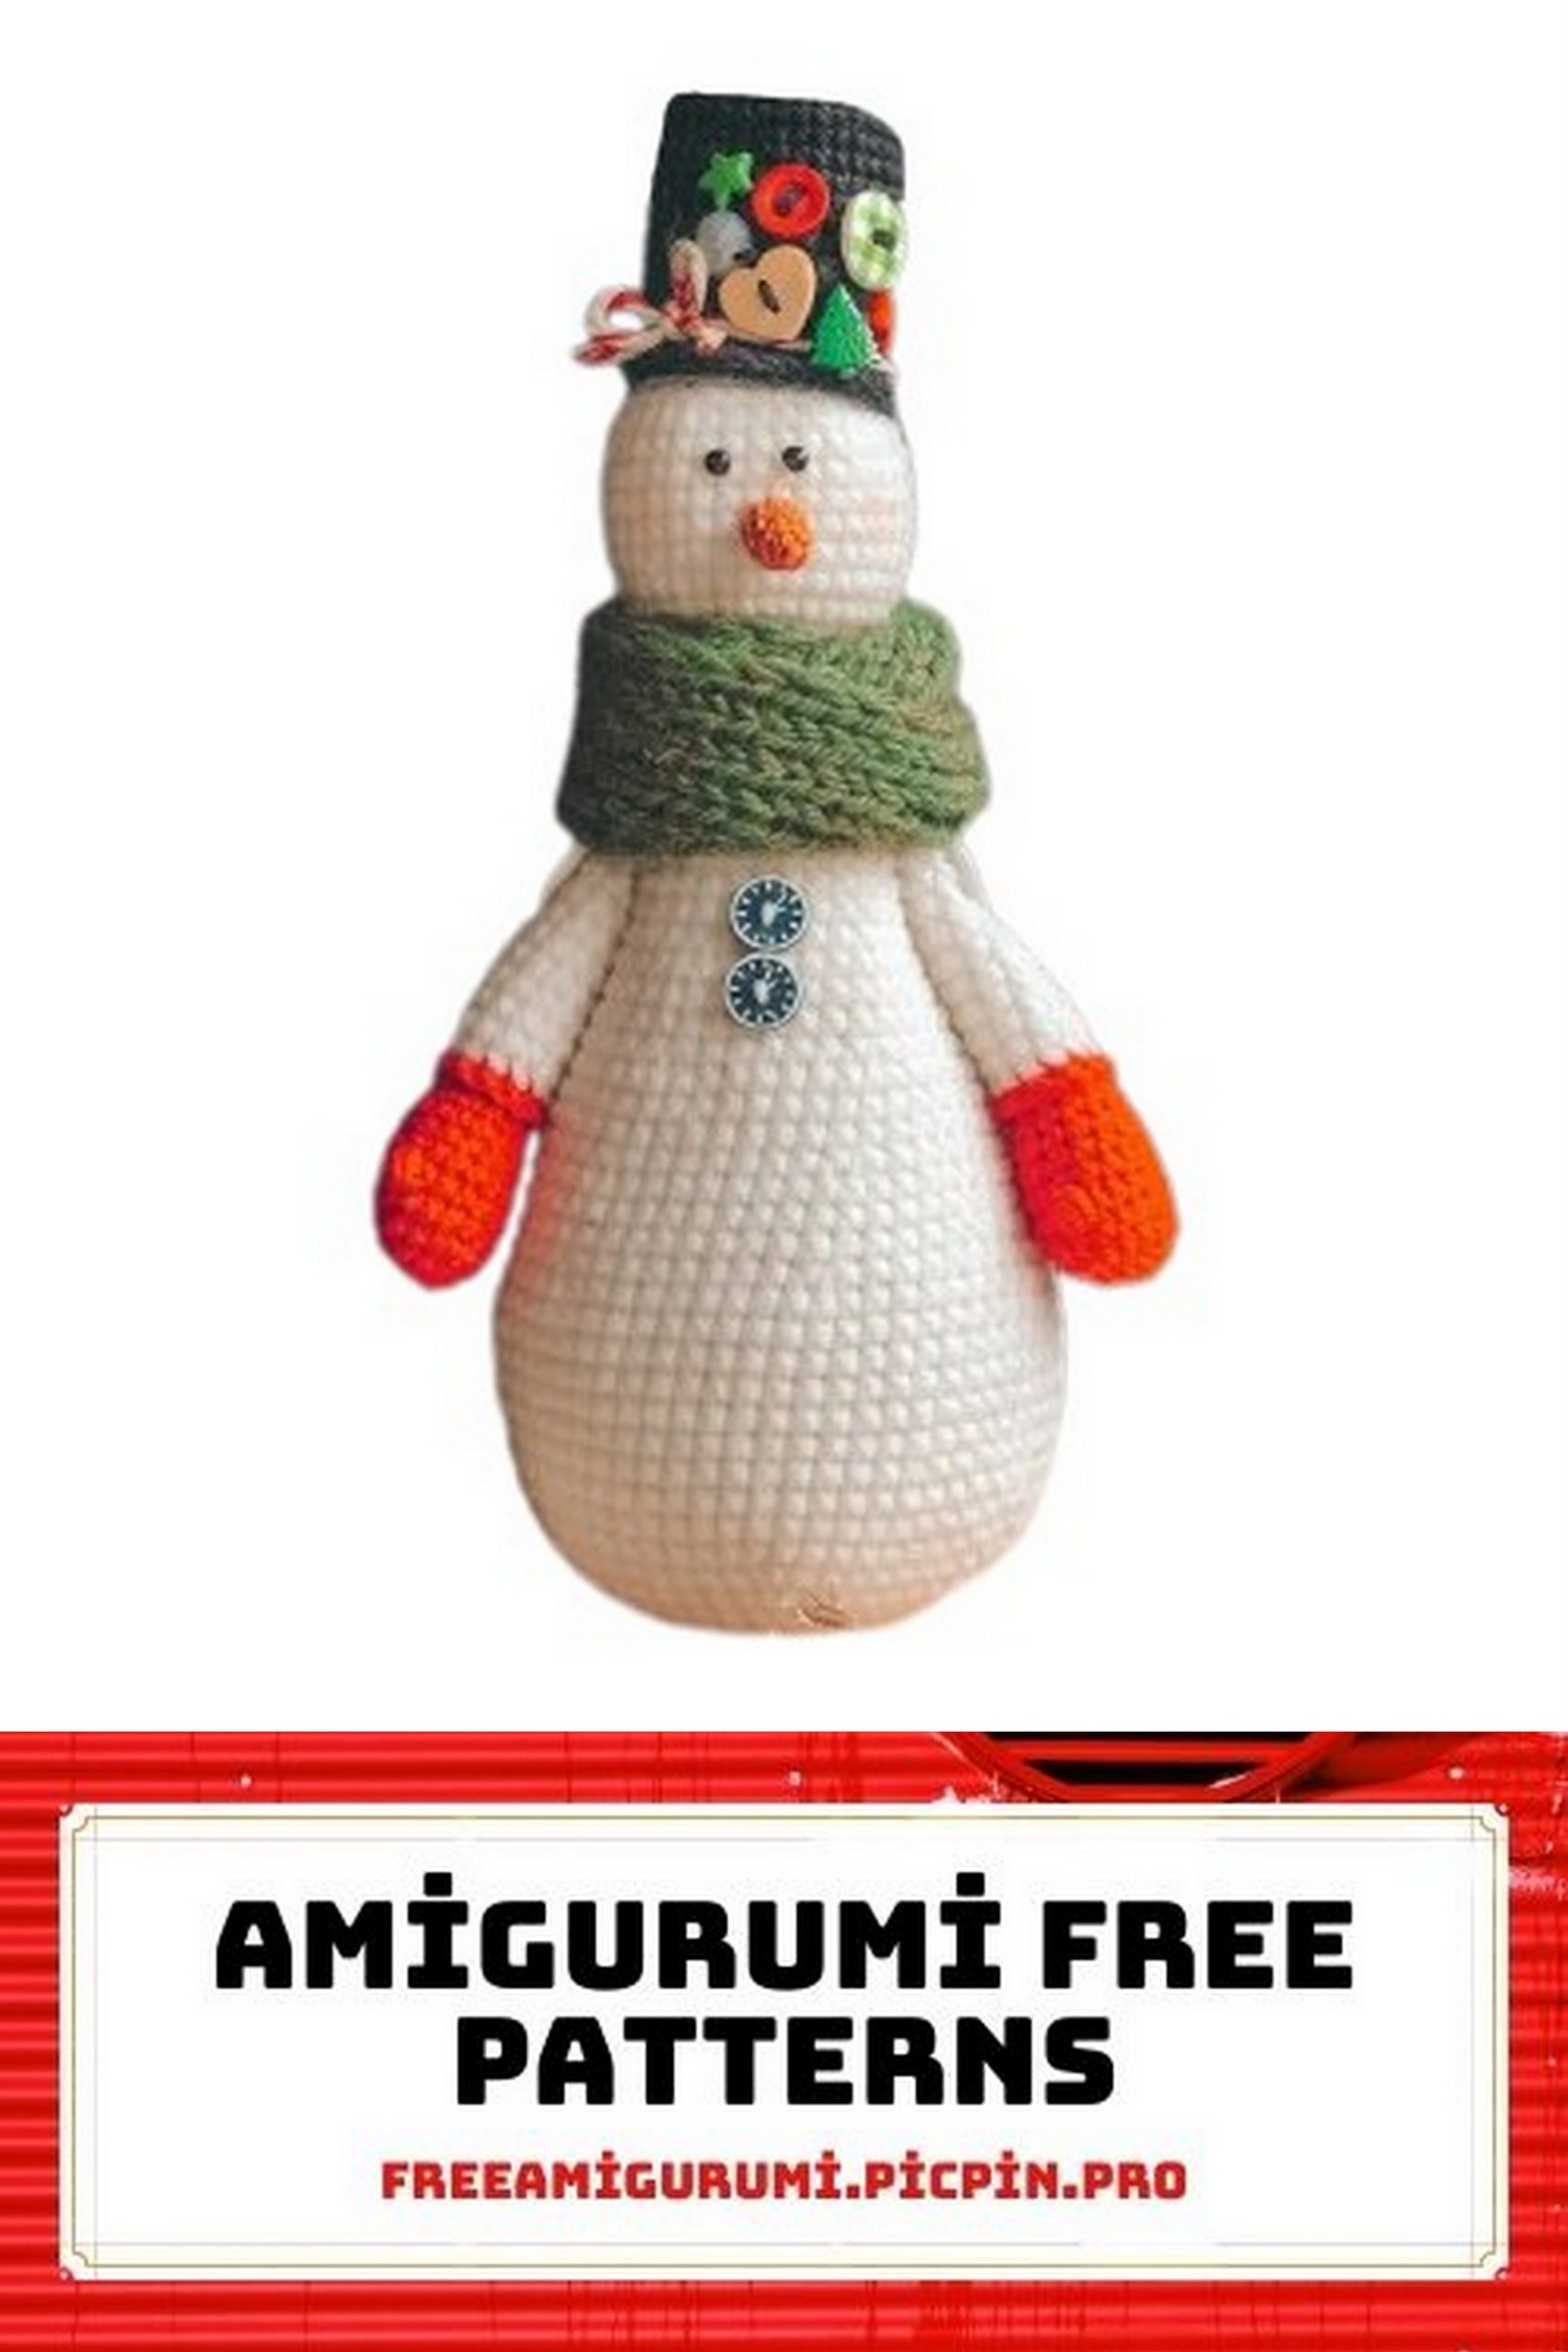
Decorate the cylinder with any desired decorations. You can use buttons of various sizes and colors, add beads, wooden figurines, artificial flowers, berries, etc.
Decorate the cylinder, put it on the head, and sew it in place.