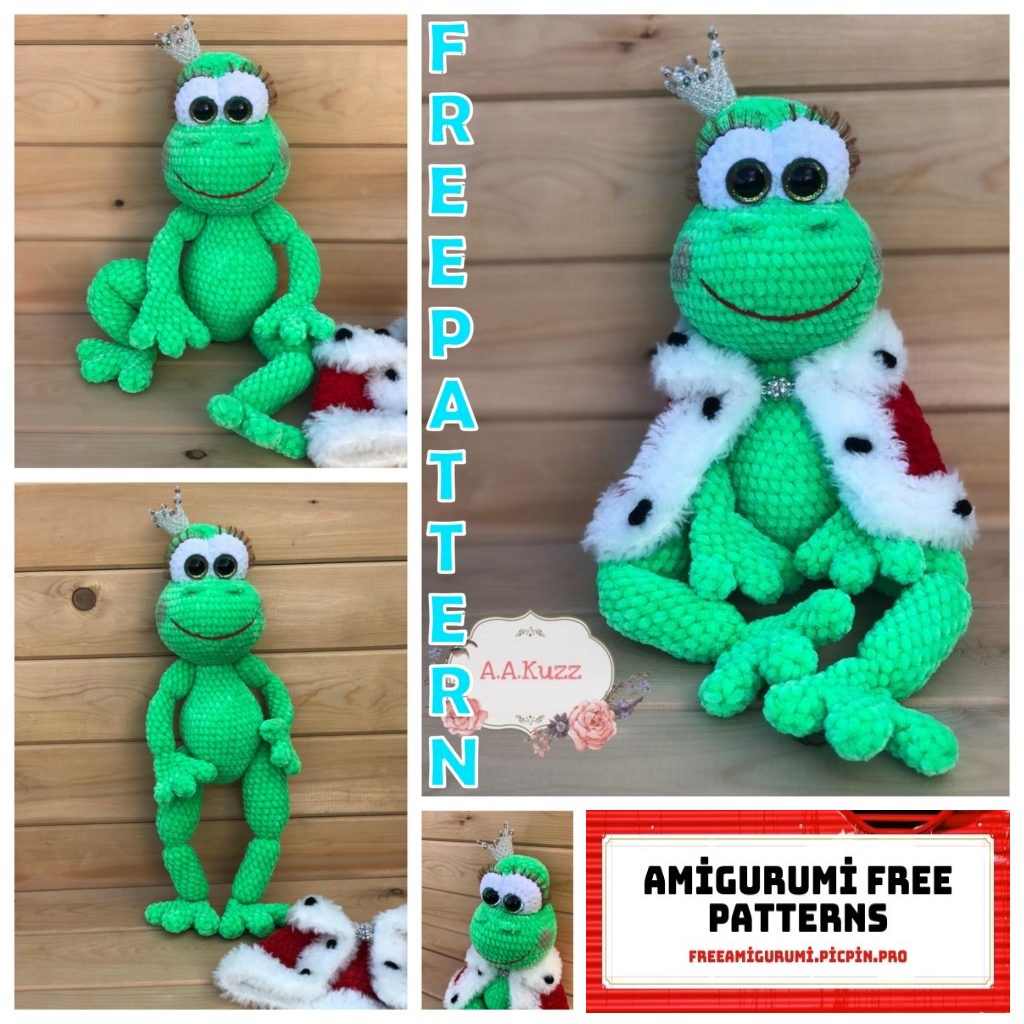
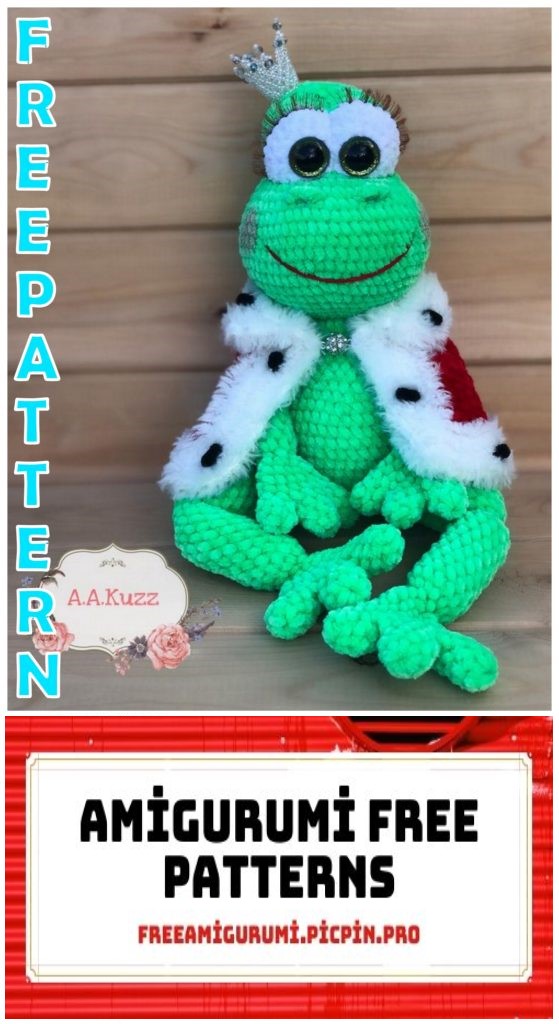
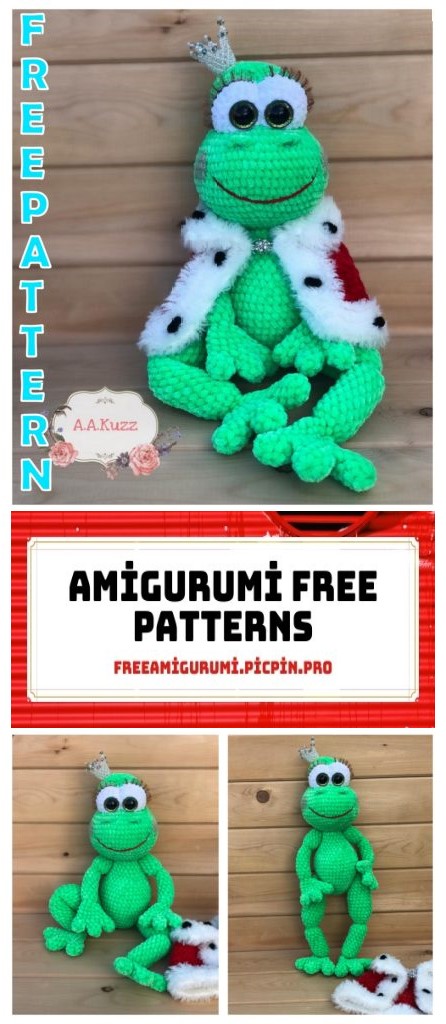
Amigurumi The Frog Prince Free Crochet Pattern
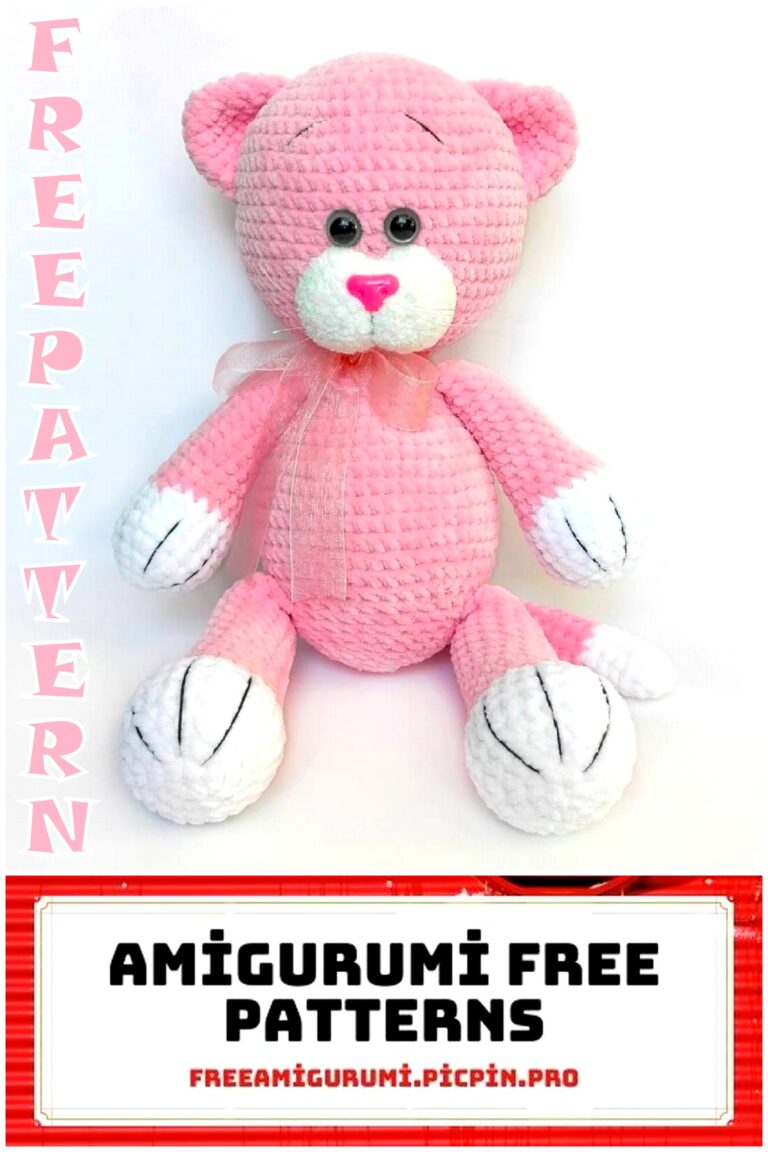
We share the most beautiful amigurumi patterns for free. In this article, we shared the amigurumi frog pattern with you.
ABBREVIATIONS:
•Mr: Magic ring,
• sc: single crochet,
•İnc: increase,
•DEC decrease,
• x: repeat.
•BLO: Back Loop only,
•FLO: Front Loop only,
•DC: Double crochet.
Master – class “Prince Frog”
You will need:
1. Yarn YarnArt Mink color No. 330 (mantle) (dairy)
2. Yarn YarnArt Velor color No. 861 (almost 1 skein) (green)
3. Yarn YarnArt Velor color No. 840 (eyes) (white)
4. Yarn YarnArt Velor color No. 846 (mantle) (red)
5. Himalaya dolphin baby color No. 80311 (mantle) (black)
6. Hook number 3,5
7. Filler holofiber / syntheshar
8. Eyes 18 mm
9. Brown cilia on a ribbon
10. The crown of beads
Head
knit in a spiral
1 row. in the amigurumi ring do 6 SC
2 row. 6 İNC (12SC)
3 row. (1 SC 1 İNC) * 6 (18SC)
4 row. (2 SC 1 İNC) * 6 (24SC)
5 row. (3SC 1 İNC) * 6 (30SC)
6 row. (4 SC 1 İNC) * 6 (36SC)
7 row. (5 SC 1 İNC) * 6 (42SC)
8 row. (6SC 1 İNC) * 6 (48SC)
9 row. (7SC 1 İNC) * 6 (54SC)
10 row. (8SC 1 İNC) * 6 (60SC)
11 row. 60 SC
12 row. 60 SC
13 row. 60 SC
14 row. 60 SC
15 row. 60 SC
16 row. (8SC 1 DEC) * 6 (54SC)
17 row. (7SC 1 DEC) * 6 (48SC)
18 row. (6SC 1 DEC) * 6 (42SC)
19 row. 13SC – 8 DEC – 13 SC (34 SC)
20 row. 13SC – 4 DEC – 13 SC (30 SC)
21 row. 13SC – 2 DEC – 13 SC (28 SC)
22 row. 13SC – 1 DEC – 13 SC (27 SC)
23 row. (6SC 1 İNC) * 3 (30SC)
24 row. 30 SC
25 row. 30 SC
26 row. 30 SC
27 row. 30 SC
28 row. (3SC 1 DEC) * 6 (24SC)
Stuffing the head with holofiber
29 row. (2SC 1 DEC) * 6 (18SC)
30 row. (1SC 1 DEC) * 6 (12SC)
31 row. 6 dec
Cut the thread, fasten and hide.
Eyes
White thread (knit in rotary rows)
1 row. 3 CH
2 row. 1SC – 3 SC in 1 loop. – 1 SC on the other side.
Expand knitting
3 row. CH 1SC – 3 İNC – 1 SC
Expand knitting
4 row. CH 1SC – (1İNC- 1SC) * 3 – 2 SC
Expand knitting
5 row. CH 2SC – (1İNC- 2SC) * 3 – 2 SC
Expand knitting
6 row. CH 2SC – (1İNC- 3SC) * 3 – 3 SC
7 row. tie SC
Cut the white thread. Green thread
tie 2 rows of SC on the top edge
Insert eyes
Sew cilia (I have cilia on a brown ribbon)
I sewed 2 layers of cilia with a thin fishing line, so that they were fluffy.
Sew eyes to the face, gradually stuffing with holofiber
Outline the nostrils
Nostrils
We pass the hook through the intended hole. We do CH and in s. loop we make a half-crochet with a crochet, in 2 loop we also make a half-crochet with a crochet, in 3 connecting post. Cut and hide
a thread.
We also make 2 nostrils.
We embroider with a red cotton thread
mouth.
With the help of a thread we tighten our eyes.
We draw cheeks with blush
Torso
1 row. in the amigurumi ring do 6 SC
2 row. 6 İNC (12SC)
3 row. (1 SC 1 İNC) * 6 (18SC)
4th row. (2 SC 1 İNC) * 6 (24SC)
5 row. (3SC 1 İNC) * 6 (30SC)
6 row. (4 SC 1 İNC) * 6 (36SC)
7 row. (5 SC 1 İNC) * 6 (42SC)
8 row. (6SC 1 İNC) * 6 (48SC)
9 row. 48 SC
10 row. 48 SC
11 row. 48 SC
12 row. 48 SC
13 row. 48 SC
14 row. 48 SC
15 row. (6SC 1 DEC) * 6 (42SC)
16 row. (5SC 1 DEC) * 6 (36SC)
17 row. (4SC 1 DEC) * 6 (30SC)
18 row. 28SC 1DEC (29 SC)
19 row. 27SC 1DEC (28 SC)
20 row. 26SC 1DEC (27 SC)
21 row. 25SC 1DEC (26 SC)
22 row. 24SC 1DEC (25 SC)
23 row. 23SC 1DEC (24 SC)
24 row. 24 SC
Stuff the body with holofiber
Cut the thread, fasten and hide.
Sew the torso to the head.
Paws
Fingers (knit in a spiral) 3 parts
1 row. in the amigurumi ring do 6 SC
2 row. 6 SC
3 row. 6 SC
Cut the thread on 2 parts, do not cut the thread on the 3rd finger.
Connect fingers
1 row. start knitting on 2 fingers, knit 3 SC – attach 3 fingers – knit 6 SC –
continue knitting with 3 fingers on the other side 3 SC – on the first finger knit 5 SC.
lay a contrasting thread to see the beginning and end of the row.
2 row. 1DEC – 1 SC – 1DEC – 4SC – 2DEC – 4SC
3 row. 2DEC – 11 SC
4 row. 1DEC – 11 SC
5 row. 6dec
6 row. 6 SC
7 row. (1İNC – 1 SC) * 3 (9SC)
8 row. 9SC
9 row. 9SC
10 row. 9SC
11 row. 9SC
12 row. 9SC
13 row. 9SC
14 row. 9SC
15 row. 9SC
Stuff with holofiber
16 row. (1DEC – 1 SC) * 3 (6SC)
17 row. 6 SC
18 row. 6 inc
19 row. 12SC
20 row. 12SC
21 row. 12SC
22 row. 12SC
23 row. 12SC
Stuff with holofiber
24 row. 6 dec
Cut the thread, fasten and hide.
Also knit 2 foot. (these are the front paws)
Hind legs fit in the same way as the front legs, only more.
Fingers (knit in a spiral) 3 parts
1 row. in the amigurumi ring do 8 SC
2 row. 8 SC
3 row. 8 SC
4 row. 8 SC
Cut the thread on 2 parts, do not cut the thread on the 3rd finger.
Connect fingers
1 row. start knitting on 2 fingers, knit 4 SC – attach 3 fingers – knit 8 SC –
continue to knit 4 SC on the other side with 4 SC – knit 7 SC on the first finger.
2 row. 1DEC – 2 SC – 1DEC – 5SC – 2DEC – 6SC
3 row. 2DEC – 14 SC
4 row. 1DEC – 14 SC
5 row. 1DEC – 3SC – 1DEC – 3SC – 1DEC – 3SC
6 row. 6 dec
7 row. 6 SC
8 row. 6 İNC (12SC)
9 row. 12 SC
10 row. 12SC
11 row. 12SC
12 row. 12SC
13 row. 12SC
14 row. 12 SC
15 row. 12SC
16 row. 12SC
17 row. 12SC
18 row. 12SC
Stuff with holofiber
19 row. 6 dec
20 row. 6 SC
21 row. 6 İNC (12SC)
22 row. 12 SC
23 row. (1SC 1 İNC) * 6 (18SC)
24 row. 18 SC
25 row. 18 SC
26 row. 18 SC
27 row. 18 SC
28 row. 18 SC
29 row. 18 SC
30 row. 18 SC
31 row. 18 SC
32 row. 18 SC
33 row. 18 SC
34 row. 18 SC
35 row : (1SC 1 DEC) * 6 (12SC)
Stuff with holofiber
36 row. 12 SC
37 row. 6 dec
Sew the legs to the body with a hinge
Mantle.
Knit in rotary rows.
1 row. 25 CH + 1 p. Rise.
2 row. CH starting from the same loop to knit 25 SC
3 row. CH – (4SC – 1 İNC) * 5 (30 SC)
4 row. CH – 30 SC
5 row. CH – (5SC – 1 İNC) * 5 (35 SC)
6 row. CH – 35 SC
7 row. CH – (6SC – 1 İNC) * 5 (40 SC)
8 row. CH – 40 SC
9 row. CH – (7SC – 1 İNC) * 5 (45 SC)
10 row. CH – 45 SC
11 row. CH – (8SC – 1 İNC) * 5 (50 SC)
12 row. CH – 50 SC
13 row. CH – (9SC – 1 İNC) * 5 (55 SC)
14 row. CH – 55 SC
15 row. CH – (10SC – 1 İNC) * 5 (60 SC)
Tie SC around the entire perimeter at the corners making increments, no matter what the angles contract.
Cut the thread.
Introducing a white thread (Mink)
We tie SC on the sides and bottom with rotary rows (at the corners, make increments as necessary,
so that the corners are not pulled together) – 6 rows
Then we knit only the collar in rotary rows – 6 rows
Cut, fasten and hide the thread.
Sew a clasp onto the mantle (I have a magnetic one)
We make black blotches on the fur.
Black plush yarn, cut off not large pieces
On the sides we remove the villi
We tie a knot over the beginning of the villous
parts
Using a hook, pull the strings and tie a knot
Sew the crown to the head. How to make a bead crown I found on YouTube.
Congratulations, your princess frog is ready!
I wish you success in your work!